Having trouble while using a nail gun must be annoying for an artisan. But if you have some troubleshooting knowledge, you can solve such problems on your own. Nailers may refuse to fire or get jammed repeatedly. Yet, they are not difficult to solve.
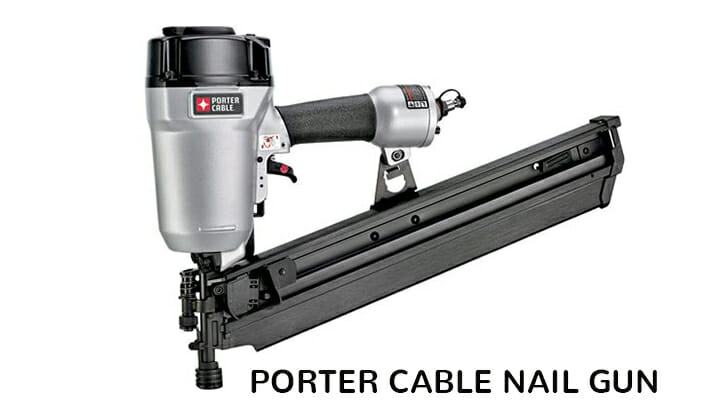
Rest assured, only unjamming and cleaning your nailer solves most of your problems! This article will provide the essence of my decade-long knowledge about troubleshooting Porter Cable nail guns.
Table of Contents
Porter-Cable Nail Gun Troubleshooting Suggestions
Nail guns come in several forms, such as finish nailer, brad nailer, framing nailer, roofing nailer, and so on. Almost every Porter Cable nail gun has identical troubleshooting processes. I will discuss them all together instead of one by one.
If your Porter Cable nail gun does not operate properly, follow the following instructions.
Clear jams
Jams are the most common culprit for not firing. When nails feed incorrectly and wedge against the driver blade, this prevents the nailer from cycling properly. Furthermore, dust, debris, and other residual properties also jam the nailer. But it is not very difficult to clean your nailer.
Firstly, disconnect the air supply from the tool for safety. Then, retract the feeder mechanism and take aside the additional fasteners from the magazine.
The cleaning process varies from model to model. Some models require the magazine to be detached, and some require a particular tool to access the nosepiece. It is better to clean your nailer according to the manual for the specific models.
Inspect Your Air Supply
Sometimes your tool may drive a nail, but it might not sink fully. Occasionally, the opposite can occur. That means the fasteners may thrust into the wood deeply. The first one happens when the tool does not get enough air, and the latter occurs when air pressure is way more than the requirement.
Inspect your compressor, hose, and fittings. Damaged fittings may cause this problem. Also, adjust air pressure settings and make sure that your compressor is compatible with your type of tool. However, be careful when changing the air pressure and do not raise air pressure above 120 psi.
Additionally, if you hear any air hissing from the fittings, apply thread sealant tape or replace the entire fittings if needed.
Replace Seals and O-Rings
If seals and O-Rings are not lubricated regularly or over lubricated, they degrade over time. There must be something wrong with the piston when the nail doesn’t fire, process but not for the jamming issue.
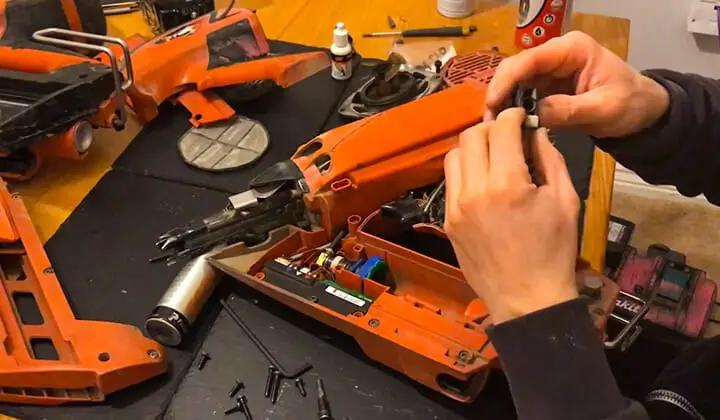
Damaged seals seem to be the culprit when you hear the drive piston moving while shaking the tool or hissing from the exhaust vent. Disassemble the nailer and replace old seals and O-Rings with new ones. And if you are not an expert in disassembling, contact an authorized service center.
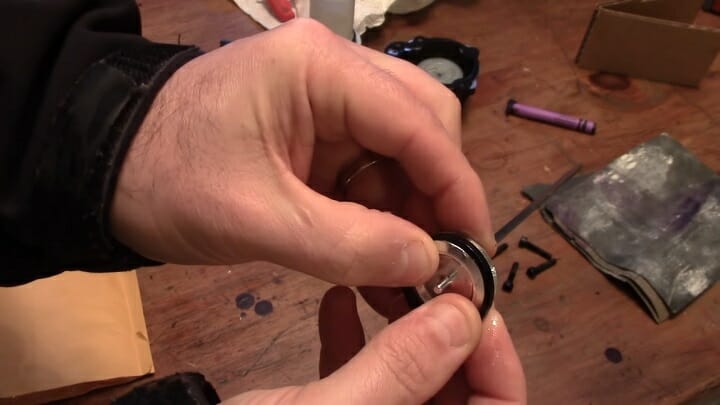
Replace O-Ring
Clean the Tool
If your tool is dry firing, inspect its magazine. The magazine becomes dirty, and the feeder mechanism may stick as you work in a job site with lots of dirt and sawdust scattered.
After removing fasteners, check out what’s wrong with the magazine operating system. If you find an area where it “hangs up,” clean it with pressed air or a nylon brush. Clean the trigger valve and trigger assembly as well.
Check Your Nails
Wrong fasteners commonly cause jams. The wrong length, gauge, angle of the magazine also stops nails from firing. Though this mistake is more common for beginners, professionals might face it as well.
As you have multiple nailers and fasteners in the shop or job site, make sure you insert suitable nails for your specific nailer. Furthermore, be specific while you choose the collation type for your tool.
Tighten the Screws
If your Porter Cable nailer simultaneously leaks air from the exhaust port, inspect the screws and seals. Because loose screws and damaged seals are the main culprits for air leakage, tighten all the screws and seal the gaps to prevent leaking. If tightening the screws does not work, replace the screws instead.
Air leakage can also occur when the head valve bumper gets cracked or worn out. Replace the entire bumper to get rid of this problem.
Lubricate Your Machine
Regular lubrication ensures that the nailer is functioning at its best. Adding a few drops of oil into the air inlet each time reduces heat and friction. Besides, it protects valve seals and O-Rings from wearing out. Lubricate your tool frequently if you use it more often.
For lubricating your nailer, stand it up and put a few drops of pneumatic tool oil into the air inlet. After that, hook up the air hose to the input to push the oil into the gun.
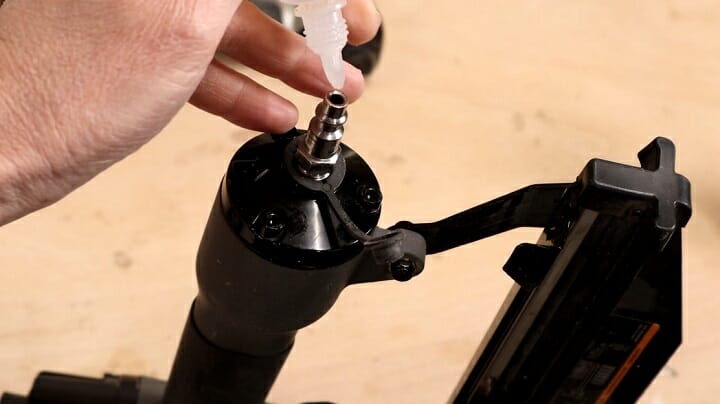
Lubricate Nailer
Inspect for Damage
If none of the methods get your nailer firing again, inspect the tool for damage thoroughly. For example, dents and dings in the magazine might cause the feeder to get stuck.
Investigate if any sort of damage occurred to your trigger assembly, or hose fittings, nosepiece, or any other parts. If you notice any, stop using it until you get it repaired.
Frequently Asked Question
Why is the Porter Cable Nail Gun Slow to cycle?
Only one phenomenon is not the cause for slowing the nailer to cycle. Porter-Cable nail guns may get slow to cycle if the cylinder sleeve does not fit on the bottom bumper, the nailer is dry, or the air pressure is sluggish.
Why does my Porter Cable nail gun keep jamming?
If your nail gun is not lubricated properly, it may face jamming. The air cylinder in the nose requires plenty of oil to function appropriately. Too little oiling makes the nails slow to feed and causes a jam. Dust and debris also cause jamming. To unjam your nail gun, make sure the machine is lubricated perfectly and cleaned after every usage.
Conclusion
Your main priority while troubleshooting should be safety. Though troubleshooting is not that much of a difficult task, subtle carelessness can cause a disaster. Be careful while you are trying to disassemble the porter cable nail gun. Moreover, make sure you disconnect the air supply before inspecting the nailer.

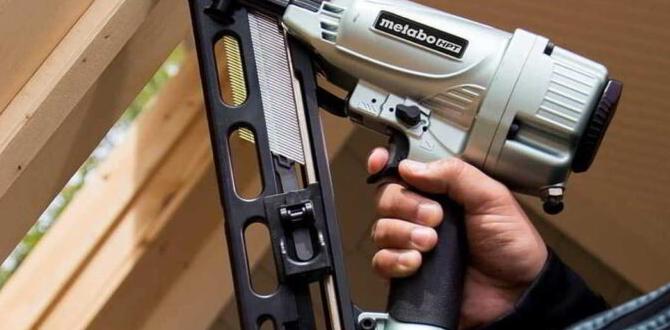
My porter cable finish nailer keeps double and triple shooting when I’m trying to fire one nail. Any ideas?
I have an FN250A just like the video’s. I did enjoy the person in the video, he was easy to relate to and understand. I did not have the sleeve break. My issue started with a jam condition. I opened the top assembly and found a square sided o ring broken. I did not see in the on line part order diagrams a square sided o ring. I ordered a rebuild kit that consisted of the plunger, bottom bumper and gasket. I did replace that o ring with a traditional o ring. I lubed and installed now I hear a small air hiss with the plunger stuck fully extended and will not retract continually. Do you have any thoughts on this?
The driver on my porter cable finish nailer is not retracting completely and prevents the nails from feeding, cauings dry firing. The O ring appears to be fine. Any suggestions?
My gun is firing or dumping several nails when I pull the trigger. Any ideas? I just recently torn it down and cleaned the piston chamber, seals and O rings and worked fine for a day and half and started same thing.
any ideas on how to tell what model porter cable nail gun i have? bought it in 2000 and it has no label telling what model is on it. it got flooded and i need a rebuild kit but can’t tell which one to get.
This wasn’t too terribly helpful to be honest. My mail gun suddenly won’t push the first nail into position, it pushes it just up to the point that it would be nailed out but it won’t go any further unless I tap the queue of nails, pushing it into position manually.
I oiled the gun, blew it out with the air blower, disassembled the front of it to see if anything was blocking the nails and nothing. Still won’t fire the nails. And it was working perfectly fine prior!
My 16-finish nail gun does not fire – there is a constant air flow thru the exhaust vent on the top of the gun and there is no pressure at the trigger – what is the likely problem/issue and how do I fix/repair?
Thank you
My 16-finish nail gun does not fire – there is a constant air flow thru the exhaust vent on the top of the gun and there is no pressure at the trigger – what is the likely problem/issue and how do I fix/repair? Thank you
set earlier but had an error in my email address
Bn200. My plunger won’t return all the up. Cylinder cap gasket did not come in the kit and idk where the thick clear o ring fits. My nailer is older with aluminum guts. Drive side is strong, no more air leakage but it’s now just a single shot thing.