The Paslode is a world-famous brand of the finish nail gun. They are dominating the market for more than 50 years. You know with proper care and maintenance any tool lasts longer and provides better service.
There is no way to deny the importance of cleaning a Paslode finish nailer and you have to do it properly. If you are the owner of a Paslode finish nailer you should have good knowledge about your tool so that you can take care of it properly.
In this article, I will discuss the type of Paslode finish nailers available in the market and how to clean a Paslode finish nailer that you have in your arsenal.
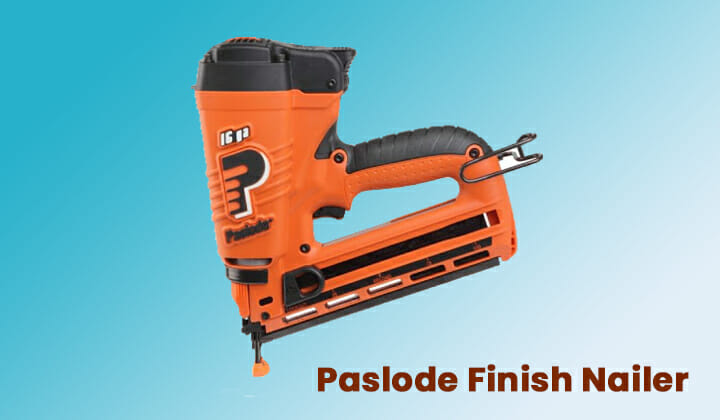
Table of Contents
Types of Paslode Finish Nailer
The Paslode company manufactures two types of finish nail guns
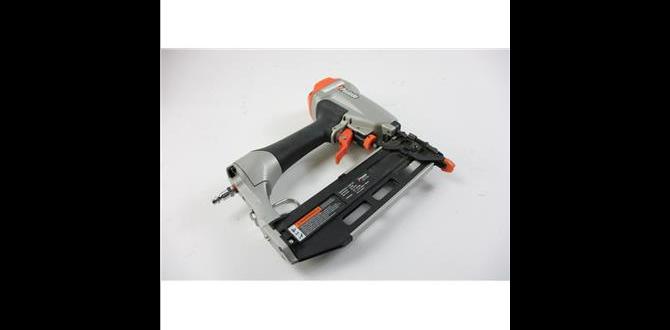
Pneumatic finish nail gun
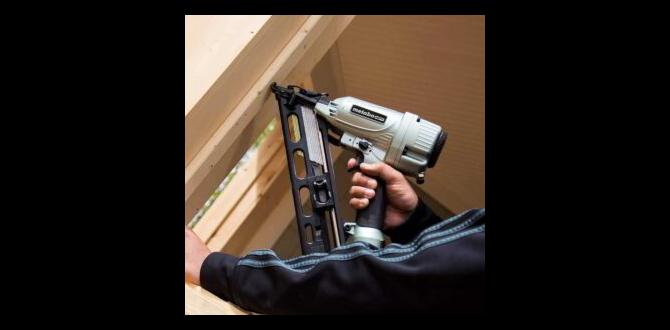
The pneumatic finish nail guns run with the power of an air compressor. These are very powerful nail guns and can drive big nails deep into framing and roofing materials.
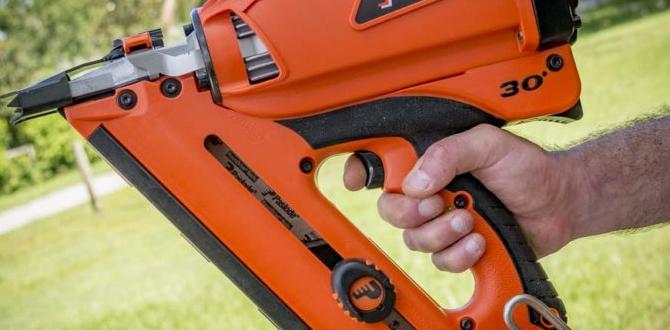
Cordless gas finish nail guns run by the power of rechargeable lithium-ion batteries. The battery charges the spark plug which works with a small gas canister. It creates combustion and drives the nails.
Required Cleaning Tools
Both the pneumatic and cordless Paslode finish nail guns require some common cleaning tools. The Paslode company produces some special cleaners for their product. Here is the list of all the necessary cleaning tools required for cleaning your Paslode finish nailer.
- Allen wrench: You need a 5/32 inch Allen wrench for cordless nailer and a 9/64 inch Allen wrench for pneumatic nailer
- Lint-free rag: To prevent the spreading of the dirt and scratching the internal parts of the nailer a lint-free rag is needed.
- Paslode lubricating oil and degreaser cleaner: Paslode lubricating oil and the degreasing cleaner are formulated to prevent the building up of the combustion residue and the chemical damage of the working parts.
- Soapy Water: Some parts of the nailer require soapy water to be cleaned.
7 Steps to Clean a Cordless Paslode Nail Gun
[aawp box=”B019K23K2S” template=”vertical”]
Cleaning a nail gun is not a hard job at all. But you have to be cautious about a certain matter. When you are cleaning a cordless nailer you must separate the battery from the nailer, otherwise, the fuel canister may cause accidental firing.
Step 1: Separate the Handle from Magazine
You will notice a pair of socket head screws in the nose piece of the nailer. Using the hex key wrench remove the screws and pivot the magazine/handle from the assembly of the motor. Then tilt the handle/magazine and gently pull so that the handle becomes separated from the magazine.
Step 2: Clean the Grill and Air Filter
You will find the grill and air filter beneath the cap. Separate these parts and wash them in soapy water to remove the dust and oil accumulated on the parts.
Step 3: Remove the Grease from the Cylinder Head
Spray degreaser on the cylinder head to remove grease from it. Take the lint-free rag and wipe the blades, seal rings and spark plug to clean the grease and dirt.
Step 4: Lubricate the Seal Rings with Proper Lubricator
Lubricate the seal ring with the Paslode special lubricator. It is important to apply the lubricator evenly around the rings.
Step 5: Clean the Motor
To clean the motor assembly you have to push the piston into the down position. You can do this using a narrow piece of wood or you also can use the handle of your screwdriver.
Then spray the cleaner inside the sleeve and combustion chamber. Then invert it so that the dirt can drain out from the machine assembly. Use a rag to clean any remaining cleaner and dirt.
Step 6: Lubricate the Motor
After cleaning the motor assembly pour 4 to 5 drops of oil into the sleeve, and 5 to 6 drops into the lower lip of the combustion chamber. To distribute the oil evenly around the sleeve and lip rotate the motor manually.
Step 7: Reassemble the Nailer
When all the parts are cleaned properly it is time to reassemble the separated parts. Firstly, push the driver back to the top and then tilt the moto assembly upright. Then spread a few drops of oil around the top of the combustion chamber and reassemble the nailer by following the steps in a reverse way.
Steps to Clean a Pneumatic Paslode Nail Gun
Cleaning a pneumatic nail gun is not a difficult task. Since it uses air compressor which remains connected to the nailer with a hose you must disconnect the hose and power from the gun before starting cleaning.
Step 1: Separate the Parts of the Nail Gun
There are 6 socket head cap screws to attach to the cap assembly. Below that there are cap, filter, and grille. You can remove the filter by lifting the grille of the cap. Then clean the filter using soapy water.
Step 2: Separate the Cylinder Head
The circuit board and the spark plug wire are contained in an electrical connector. Unplug all the electrical connectors carefully because any mistake may cause electrical damage to your tool.
Then rotate the cylinder head clockwise to separate it from the nailer. Then spray the degreaser and wipe the cylinder head using a lint-free rag.
Step 3: Repeat Step 3 to 7
From now on all other steps are as same as the cordless Paslode coil gun.
Final Verdict
For cordless Paslode nail gun, it is important to check the expiry date of the fuel cell. If you clean your Paslode nail gun following the steps shown in this article regularly it will serve you for a longer time.
No matter you are a professional or a hobbyist nail gun user you should take proper care of your tool. These cleaning steps do not require a lot of time to perform. Spending a little time cleaning your nail gun will increase its longevity.
