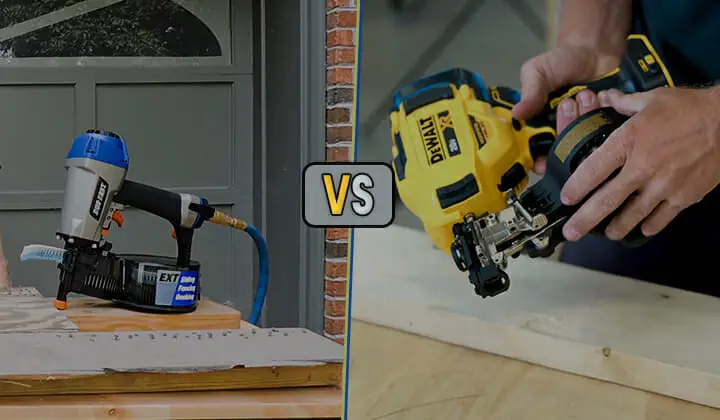
Siding nailers and roofing nailers do different jobs. As a handyman or carpenter, you may need to have both the tool depending on your work.
I do not see anything that may confuse one to choose between these two. Well, this may confuse you, if you do not have a good idea about these nailers. So to remove the confusion you should have good knowledge about the job, features, pros, and cons of these nailers which is the main focus of this article.

Table of Contents
Siding Nailer
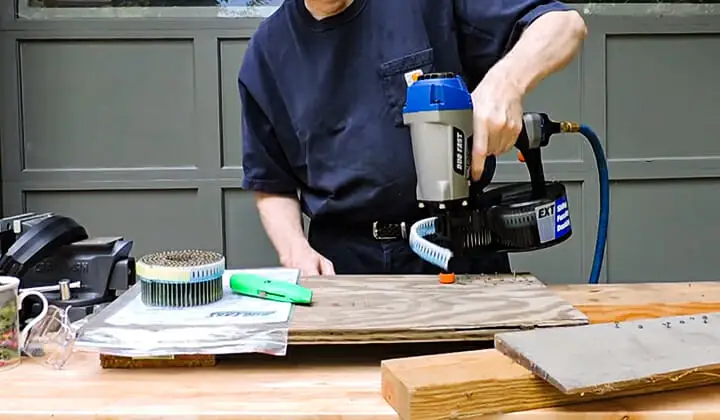
Siding nailer is a smaller version of the framing nailer that is designed to hold the sidings for a longer period and that is the reason it is named as siding nailers.
The nails you have to use in siding nailers depend on the thickness of the side. If it is thick you have to use longer nails than the regular nails but if the nails are thin you can use the regular nails.
Siding nailers are widely used for joining the wooden or vinyl side. A siding nailer is a great tool for solving all kinds of siding problems like a pro.
For example, if you try to join two different materials like wood and vinyl you will find it difficult to finish the task properly. But if you use a siding nailer you will be able to do the job easily without causing any serious fault.
Some may say that you can do the job of siding nailer with a framing nailer and I already have said that the siding nailer is a miniature version of the framing nailer. Yes, you can do the job of a siding nailer with a framing nailer but even if you use the best framing nailer you will not get the perfect finishing.
So, if you are doing a siding job it is wise to use the siding nailer.

How to Use Siding Nailer?
It is simple to use the siding nailer. You can attach two different sides using a siding nailer by following the steps mentioned below:
Step 1: Shop the Nails
You cannot start your project if you do not have nails. Since the siding nails are adjustable you can load an array of nail lengths in the gun. So, you have to determine the right size of the nail length for your project.
Step 2: Load the Nails into the Nail Gun
After receiving the nails you have to load the nails into the gun. Generally, a standard siding nailer is designed to hold about 300 nails in a single magazine.
Step 3: Use Safety Equipment
Safety equipment is a must when you are using power tools. The nailers generate high sound during shooting. So you must need to protect your ear from loud sounds caused by the nailer. Using safety equipment to protect your eye and hand is also equally important.
Step 4: Set the Depth
You already know that the siding nailers feature depth to drive adjustment which lets you shoot the nails to the exact depth you want. Before starting the main work set the depth and make sure that the depth is matched with the length of the nail, otherwise, your work will go in vain
Step 5: Connect the Nailer to the Power Source
You can either use electricity or an air compressor as the source of the power for your nail gun. Connect the nail gun with the power source and it is ready to work.
Step 6: Shooting
Hold the bottom of the nailer strongly with one hand and hold the handle with the other hand and start shooting the nails.
Types of Siding Nailer
[aawp box=”B0006FKI5G” template=”vertical”]
Cordless Siding Nailers
Cordless siding nailers use the battery as the source of power. Since it runs through the power of the battery it is not as powerful as the corded siding nailers. For piercing harder objects you should not use a cordless siding nailer rather a corded siding nailer.
Pneumatic Siding Nailers
Pneumatic siding nailers run through the power of air compressors. You can use it in both harder and softer materials.
Coil siding nailers use a solenoid metal piston and are perfect for joining harder objects. You can also use it to attach soft materials by controlling the power.
Pros
The special features of siding nailers allow the user to enjoy the following benefits:
- Siding nailers ensure cleanliness. It includes an air filter that reduces dust and debris from the working site.
- The user is allowed to do both the bump shot and a single shot with a siding nailer. Most of the siding nailers feature a trigger lock system which prevents the unwanted shot. So, it helps to avoid mistakes and do the work perfectly. The trigger lock system also ensures safety.
- It is available in 3 different sizes – light, medium, and heavy. Depending on the nature of your work you can choose one that will ensure flexibility in your work.
- To ensure piercing the nailer to the exact depth side nailers feature depth-of-drive adjustment.
- As a professional user, you may need to take your tool in different places. Siding Nailers are easily portable which made it favorite to the professionals.
- Siding nailers feature“no-mark” tips that ensure no scratch or dents in the material.
- .It provides 360-degrees of accessibility so that you can shoot the gun in any direction you want.
Cons
- Siding nailers do not come with coil nail features. So, if you have to work for a long time you have to refill a lot that will cause a discontinuity in your work.
- Since siding nails do not have wide nail tip they cannot hold surface, they just can attach it with another surface.
- Siding nails are not able to penetrate through hard materials.
Roofing Nailer
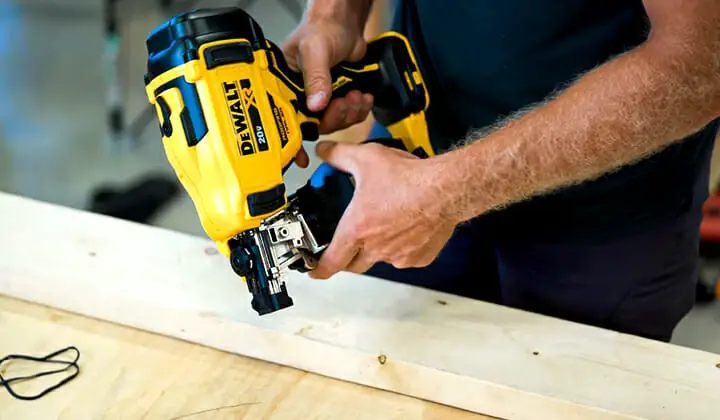
Roofing nailers are called roofing nailers as these nailers are designed to put asphalt or fiberglasses shingles, waterproof tar paper, and insulation board on the rooftop. You can use this tool for both roofing and re-roofing purposes.
The shingles need to be replaced every 20 years. This re-roofing period may become shorter due to the bad weather condition. To ensure ease in the re-roofing work roofing nailers include features that help to remove the nails easily from the roof.

How to Use Roofing Nailers?
Step 1: Choose the Right Compressor
The air compressor you will use as a source of power should be matched with the recommended air compressor of the manufacturer. You know a roofing nailer can shoot 10 nails per second which requires a lot of energy. So, choosing the right air compressor is a must.
Step 2: Load the Canister
Open the door of the feeder and the magazine. Then remove the retainer from the coil and insert the coil into the canister. The nails should be positioned pointed down and the first nail should remain in the barrel. After loading the canister close the doors of the feeder and the magazine.
Step 3: Adjust the Nail Depth
The nail depth should be matched with the length of the nail. You can run a test shooting before starting the main work to check whether the nail depth is matched with the nail length.
Step 4: Adjust the Exhaust Deflector
The exhaust deflector should be adjusted properly so that air blasting in your face during use can be prevented.
Step 5: Adjust the Shingle Guide
The distance between the two nails should be the same to hold the shingles properly. You can ensure it by adjusting the shingle guide.
Step 6: Select the Firing Mode
Nailers usually come with two firing modes – one is single action and the other is bump mode or contact mode.
If you use the single-action mode single nail will come out when the nail is in action but if you use the bump mode it will shoot nails continuously as long as the trigger is held. The single-action mode is slower than the bump mode but it is safer than the bump mode.
Controlling the nailer is difficult if you run it on the bump mode. If you are not a pro I will recommend you choose the single-action mode.
Step 7: Ensure Safety
Before starting the shooting work, wear the safety equipment to prevent any health hazards.
Step 8: Shooting
When all the previous steps are done and you are ready to wear safety equipment start shooting the nails and try to keep a pace rather than shooting the nails at a speed that exceeds your ability.
Types of Roofing Nailers
Like the siding nailers, the roofing nailers can also be divided into 3 types- spring-loaded roofing nailers, pneumatic roofing nailers, and the solenoid roofing nailers.
Spring loaded Roofing Nailers
This is the simplest version of roofing nailers. From its name you can understand that this nailer uses spring to shoot the nails.
Pneumatic Roofing Nailers
This roofing nailer is run by the power of compressed air and it is very powerful among all kinds of roofing nailers.
Solenoid Roofing Nailers
Solenoid roofing nailers use electromagnetic polarization as the source of power. It is also powerful but less than the pneumatic roofing nailers.
Pros
- Roofing nailers can drive coil nails. This feature ensures the continuity of your work. So, if you use a roofing nailer you do not have to stop and move off a rooftop after some time to refill the magazine.
- The ergonomic design of the roofing nailer made it easier to hold on the tool while moving on a roof.
- Some roofing nailers are made to hold nails of different sizes. If you need to use nails of different sizes you can go for the roofing nailers that can hold nails of different sizes.
- Some roofing nailers are waterproof that lets you work in the rainy season without any worry. For a full-time professional, it is wise to choose a waterproof roofing nailer. If you get a good job during the rainy season you do not have to quit the offer if your tool is waterproof.
Cons
- Compared to the siding nailer the roofing nailer is less potent.
- Jamming is a common problem for roofing nailers which is annoying when you are working. You can prevent jamming by oiling the nailer before each session.
- Sometimes it may double shoot and it also does not have the depth to drive features like the siding nailer.
- Roofing nailers become heavier because of coil nails which make them less handy than the siding nailer.
Final Thought
Taking good care of your nail gun in the right way is important to increase the longevity of your nail gun. Lubrication is necessary so that your nail gun can work smoothly. After each use, you should clean the nail gun and keep it in a safe place.
Using a proper air compressor, changing the hose and seals when it is necessary should also be taken care of to ensure the good condition of a nail gun.


