Have you ever stared at a jammed nail gun, wondering what to do next? It can feel frustrating, right? You might be surprised to learn that changing the nail gun tip is often the solution. Understanding how to change nail gun tips can save you time and trouble on your next project.
Imagine you are working on a DIY project. You’re excited to finish, but the wrong tip slows you down. What if I told you that with just a few simple steps, you could easily switch it out? Knowing how to change the nail gun tip turns your tool into a reliable partner.
In this article, we will explore easy ways to change nail gun tips. You will learn why it’s important and how it improves your work. So, are you ready to become a pro at changing those tips? Let’s get started!
Table of Contents
How To Change Nail Gun Tip: A Step-By-Step Guide
Changing a nail gun tip is easy and can improve your work. Knowing when to replace the tip can save you time and stress. First, ensure the nail gun is unplugged. Remove the old tip by unscrewing it. Choose the right replacement tip for your project type. Attach the new tip securely to avoid accidents. Did you know that a worn-out tip can cause nails to bend? Keeping your tools in good shape helps you work faster and smarter!
Understanding Nail Gun Tips
Types of nail gun tips and their functions. Importance of choosing the right tip for specific tasks.
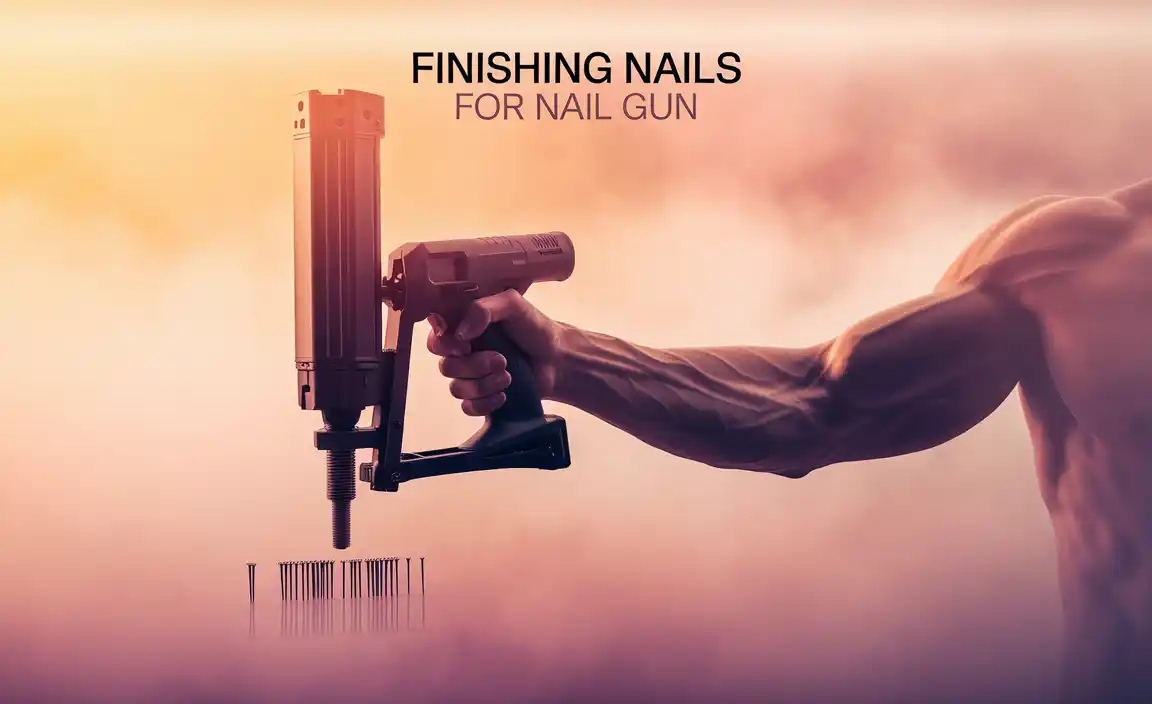
Nail gun tips come in different types. Each tip serves a special purpose. For example, a framing tip is great for big projects like building frames. A finishing tip works well for detail jobs like trim and molding. Using the right tip matters! It makes your work easier and helps avoid mistakes. Here are some common types:
- Framing Tip: Heavy-duty projects.
- Finishing Tip: Detailed and neat work.
- Flooring Tip: Perfect for laying down floors.
- Roofing Tip: Ideal for roof shingles.
What happens if I use the wrong nail gun tip?
Using the wrong nail gun tip can lead to bad results. You might damage the material or not get the job done right. Choosing the correct tip helps you work better.
Tools and Materials Needed
List of necessary tools for changing tips. Safety equipment to wear during the process.
Before you change the nail gun tip, gather some basic tools. You’ll need a wrench, a screwdriver, and maybe even a pair of pliers. And don’t forget your safety gear! Eye protection is a must. You never know when a rogue nail might fly off like a confetti cannon at a party! Here’s a quick list to ensure your tip-changing adventure goes smoothly:
| Tool | Purpose |
|---|---|
| Wrench | Tightening and loosening bolts |
| Screwdriver | Unscrewing the tip |
| Pliers | Gripping small parts |
| Safety glasses | Protecting your eyes |
With these tools at hand and a goofy smile on your face, you’re ready to roll!
Step-by-Step Instructions to Change Nail Gun Tip
Detailed steps for removing the old tip. How to properly install the new tip.
Changing the nail gun tip is easy. First, make sure the tool is unplugged. Next, look for the release button, usually near the front. Press it to remove the old tip. You may need to twist it gently. After that, take the new tip and line it up with the base. Push it in until it clicks. Give it a little tug to ensure it’s secure. Finally, you’re ready to nail!
How to remove the old nail gun tip?
To remove the old nail gun tip, press the release button and twist gently if needed.
How to install the new nail gun tip?
- Align the new tip with the base.
- Push it in until you hear a click.
- Pull gently to confirm it’s secure.
Common Issues When Changing Nail Gun Tips
Troubleshooting tips for stuck or difficult tips. Identifying signs of wear and when to replace the tip.
Changing nail gun tips can sometimes be tricky. Tips can get stuck or wear out over time. Signs of wear include dents, cracks, or rust. If a tip doesn’t fit right, it might be hard to remove. Here are some troubleshooting tips:
- Use pliers for stuck tips.
- Apply oil to loosen it.
- Check for damage before replacing.
Always replace worn tips immediately. A good nail gun works best with a solid tip.
What do I do if my nail gun tip is stuck?
If your nail gun tip is stuck, try using pliers to grip it. If that doesn’t work, apply some oil to help loosen it. Be patient and gentle during this process.
When should I replace my nail gun tip?
Replace your nail gun tip if you see any signs of wear, like dents, cracks, or rust. Using a worn tip can lead to poor performance.
Maintenance Tips for Nail Gun Tips
Best practices for tip care and longevity. How to clean and store nail gun tips properly.
Keeping nail gun tips in great shape is key for good performance. Here are some best tips for care and long life:
- Always clean the tips after each use.
- Store them in a dry place to avoid rust.
- Check the tips regularly for wear and tear.
Cleaning can be easy. Use a soft cloth to wipe dirt off. For storage, keep them in a toolbox or in protective cases. This way, you extend their lifespan and make sure they work well every time!
How often should I clean my nail gun tip?
You should clean your nail gun tip after each use. This keeps it free of dust and dirt. Regular care helps avoid problems later on.
Best cleaning technique:
- Use a soft brush to remove debris.
- Wipe with a damp cloth.
- Dry completely before storing.
When to Seek Professional Help
Situations where DIY might not be advisable. Budgeting for professional services if needed.
Some fixes are best left to the pros. If your nail gun starts spitting nails like a disgruntled porcupine, it’s time to call in a professional. They know how to tame wild tools. If you’re unsure about what went wrong, make a smart choice. Also, budgeting for a fix is wise! The smoother your nails go in, the happier you’ll be. Check out the table below for cost estimates.
| Service Type | Estimated Cost |
|---|---|
| Nail Gun Inspection | $25 – $50 |
| Parts Replacement | $20 – $100 |
| Full Repair Service | $75 – $150 |
Remember, it’s better to pay now than to end up in a nail-in-the-foot situation later!
Conclusion
In conclusion, changing a nail gun tip is simple. First, ensure the tool is off and unplugged. Then, remove the old tip and attach a new one. Always follow safety guidelines. You can find more tips and videos online to help you. With practice, you’ll change tips like a pro. Get started on your next project today!
FAQs
What Types Of Nail Gun Tips Are Available, And How Do I Choose The Right One For My Project?
There are a few types of nail gun tips you can use. Some are flat for getting into tight spots, while others are angled to help you reach corners. You should choose a tip based on the project you’re doing. For example, if you want to nail boards together, a straight tip might work best. Always think about the space you’re working in and what pieces you need to connect!
What Tools Or Equipment Do I Need To Safely Change The Tip On My Nail Gun?
To safely change the tip on your nail gun, you need a few tools. First, get safety goggles to protect your eyes. You should also have work gloves to keep your hands safe. Finally, use a screwdriver to help change the tip. Always make sure the nail gun is unplugged or the battery is removed before you start!
Are There Specific Safety Precautions I Should Take While Changing The Tip Of A Nail Gun?
Yes, there are safety precautions to follow. First, always unplug the nail gun or remove the battery. Check that the nail gun is empty and not loaded. Wear safety goggles to protect your eyes. Keep your hands clear of the area while changing the tip. Finally, follow the manufacturer’s instructions for changing tips safely.
How Do I Properly Remove And Replace The Tip Of A Nail Gun Without Damaging The Tool?
To remove the tip of a nail gun, first unplug it or take out the battery. Then, use a screwdriver to unscrew the tip carefully. Keep the screws in a safe place so you don’t lose them. To put a new tip on, line it up and screw it back on tightly. Make sure everything is secure before using the nail gun again!
Can I Use A Nail Gun Tip From A Different Brand Or Model, Or Do I Need To Stick To The Manufacturer’S Specifications?
You should stick to the manufacturer’s specifications. Using a different brand or model might not fit right. It could also be unsafe. Always check what your tool needs to work properly. It’s better to be safe than sorry!