Have you ever wondered how professionals get door trim to look so perfect? The secret often lies in using the right tools. One of the best tools for this job is a brad nailer. This handy device makes installing door trim quick and easy.
Imagine finishing a big project without the hassle of hammering nails. With a brad nailer, you can do just that. It fires brads that are smaller than regular nails. This means less damage to your wood and a cleaner finish.
Fun fact: Many people don’t realize that using a brad nailer can save time and effort. Instead of struggling with a hammer and nails, you can work smoothly and efficiently. Why not make your next DIY project more enjoyable with this simple tool?
If you enjoy woodworking or home improvement, a brad nailer for door trim could be just what you need. Let’s dive deeper into how this tool can make your projects a breeze!
Table of Contents
The Best Brad Nailer For Door Trim: A Comprehensive Guide

Brad Nailer for Door Trim
A brad nailer is a handy tool for installing door trim quickly and easily. It drives small nails, making it perfect for delicate work without splitting wood. Using a brad nailer can save you time and give your trim a professional look. Imagine completing your project in half the time! Plus, they’re lightweight and easy to maneuver. Knowing how to use a brad nailer can transform your door trim experience, turning a weekend task into a fun adventure.Understanding Brad Nailers
Definition and purpose of brad nailers. Difference between brad nailers and other types of nailers.A brad nailer is like a superhero for woodwork! This tool shoots small nails, known as brads, to hold pieces of trim together. It works wonders for projects like door trim. Unlike other nailers, it uses thinner nails, which means less wood splitting. This is great for finer work where you want to keep things neat. To make it easier to understand, here’s a simple table comparing brad nailers with other types:
| Type of Nail Gun | Size of Nails | Best For |
|---|---|---|
| Brad Nailer | 18-gauge | Trim and delicate work |
| Finish Nailer | 16-gauge | More heavy-duty tasks |
| Framing Nailer | 16d nails | Supports heavy frameworks |
In short, a brad nailer is perfect for small projects where neatness is key. Think of it as the artist’s brush in the world of nails!
Benefits of Using a Brad Nailer for Door Trim
Precision and finish quality. Time efficiency and ease of use.Using a brad nailer for door trim makes your projects look professional. Precision is key! With this tool, your nails go in straight, ensuring a nice finish. No more crooked nails that might make you cringe. Plus, it saves time! No need for a hammer and no sore arms afterward. Just aim and shoot—it’s as easy as pie (or cake, if you prefer). So, whether you’re a DIY novice or a seasoned pro, this tool is your best friend for quick, neat work.
| Benefit | Details |
|---|---|
| Precision | Nails go in straight for clean lines. |
| Time Efficiency | No hammering equals quicker projects. |
| Ease of Use | Just aim, pull the trigger, and voilà! |
Key Features to Look for in a Brad Nailer
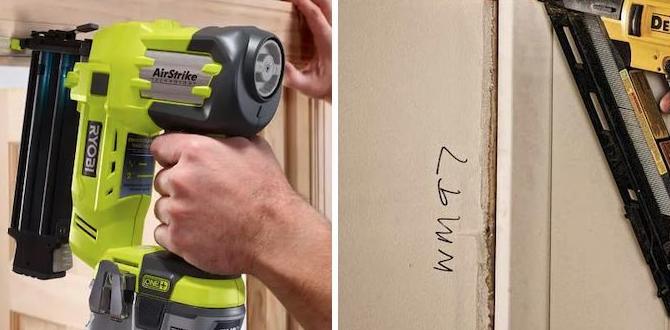
Types (cordless vs. pneumatic). Nail size compatibility. Magazine capacity and loading mechanisms.Choosing the right brad nailer is like picking your favorite ice cream flavor. Each type has its perks! Cordless nailers let you move freely, while pneumatic ones need air, like a balloon. Then, there’s nail size compatibility. A good brad nailer should handle different sizes, so you can nail everything from thin trim to chunkier projects. Check the magazine capacity, too; a bigger one means less reloading. Nobody enjoys stopping mid-project, right? If the tool is easy to load, even better! Remember, simplicity is key!
| Type | Features |
|---|---|
| Cordless | Portable, battery-operated, great for tight spaces. |
| Pneumatic | Powerful, needs an air compressor, great for bigger jobs. |
Top Brad Nailers for Door Trim in 2023
List of the bestrated brad nailers. Comparison of features, specs, and prices.Finding the right brad nailer can be tricky. In 2023, a few standouts are worth your attention! The Bostitch BTFP12233 is a favorite for its reliability and lightweight design. Next up, the DEWALT DWFP55130 impresses with its quiet operation. Finally, the Ryobi P320 wins points for battery convenience. Below is a handy comparison of features, specs, and prices to help you decide!
| Model | Features | Specs | Price |
|---|---|---|---|
| Bostitch BTFP12233 | Lightweight, Durable | 18-gauge, 1-1/4” | $99 |
| DEWALT DWFP55130 | Quiet, Corded | 18-gauge, 1-1/4” | $129 |
| Ryobi P320 | Battery Powered | 18-gauge, 1-1/4” | $89 |
These brad nailers make trim work easier and more fun! Grab one today, and make joining pieces of wood way less of a headache! Who knew nailing could be this exciting?
How to Properly Use a Brad Nailer for Door Trim
Stepbystep guide for setup and operation. Tips for achieving a professional finish.Using a brad nailer for door trim is easy with some simple steps. First, load the nails into the nailer. Next, adjust the depth setting for better control. It’s good to practice on a scrap piece of wood before starting. When you’re ready, hold the nailer at a right angle and squeeze the trigger. Remember to move slowly for even nail placement. To achieve a clean look, fill any holes with putty and sand the surface smooth.
- Always wear safety glasses for protection.
- Keep your fingers away from the trigger until ready.
- Check your nailer before use for any issues.
What is a brad nailer used for?
A brad nailer is used for attaching trim and molding. It helps you secure pieces without damaging the material. Use it for door frames, window sills, and more. It makes finishing projects faster and easier.
Maintenance Tips for Your Brad Nailer
Regular maintenance tasks to ensure longevity. Troubleshooting common issues.To keep your brad nailer in great shape, regular care is important. Start by cleaning it often. Wipe away dust and debris to keep it working smoothly. Check and change the oil as needed. This keeps the moving parts running well. If you notice jams or odd noises, troubleshoot right away.
- Clear any blockages.
- Check air pressure settings.
- Inspect for worn parts.
Doing these tasks can help your tool last longer and work better!
How often should you maintain your brad nailer?
For best results, check your brad nailer every few uses. Regular upkeep keeps it running like new!
Safety Tips When Using a Brad Nailer
Personal protective equipment (PPE). Safe operating procedures to minimize accidents.Using a brad nailer can be fun, but safety is very important. Always wear your personal protective equipment (PPE). This includes goggles to protect your eyes and gloves for your hands. Follow these safe operating procedures:
- Check the tool before use.
- Keep hands away from the firing area.
- Aim the tool away from yourself and others.
- Do not put your finger on the trigger until ready to shoot.
Being careful ensures everyone stays safe!
What should you wear when using a brad nailer?
When using a brad nailer, wear safety goggles to shield your eyes and sturdy gloves to protect your hands. These items help keep you safe from accidents.
FAQs about Brad Nailers for Door Trim
Common questions and expert answers. Tips for firsttime users.Many people have questions about using a brad nailer for door trim. Here are some common queries answered by the pros. First, can you use a brad nailer for heavy trims? The answer is no; it’s best for light to medium trim. Next, do you need to pre-drill holes? Most of the time, no; the nailer does the work! First-timers should hold the tool straight and not rush. A steady hand is key. Remember, precision beats power every time!
| Question | Answer |
|---|---|
| Can I use it for heavy trim? | No, it’s for light to medium trim. |
| Do I need to pre-drill? | No, the nailer does that. |
| Any tips for beginners? | Keep it straight and take your time! |
Where to Buy a Brad Nailer for Door Trim
Recommended retailers and online platforms. Factors to consider when shopping for a brad nailer.Looking for a brad nailer? You can find them at local hardware stores, but online shopping is often easier, especially if you want to compare models. Retailers like Home Depot, Lowe’s, and Amazon have great selections. Be sure to check the power, weight, and ease of use of each model. Don’t forget to read some reviews! You wouldn’t want a brad nailer that throws a tantrum every time it’s called to work, right?
| Retailer | Notes |
|---|---|
| Home Depot | Wide selection, in-store help |
| Lowe’s | Competitive prices, local availability |
| Amazon | Great range, customer reviews |
Conclusion
In conclusion, a brad nailer is your best friend for door trim projects. It makes attaching trim easy and quick. You’ll get neat results without damaging the wood. Remember to choose the right size brads for your trim. If you’re ready to start, consider reading more about tips and techniques to improve your skills. Happy DIYing!FAQs
Sure! Here Are Five Related Questions On The Topic Of Using A Brad Nailer For Door Trim:Using a brad nailer for door trim is easy and fun! First, you can pick the right size nails. This tool helps you quickly attach the trim to the wall. Make sure to hold it steady for straight nails. Always wear safety glasses to protect your eyes!
Sure! Please ask your question, and I’ll be happy to help you with a short answer.
What Gauge Brad Nails Are Best For Securing Door Trim With A Brad Nailer?The best gauge brad nails for securing door trim are usually 18-gauge nails. These nails are strong enough to hold the trim tightly. They are also small, so they won’t make big holes. You can use a brad nailer, which is a tool that shoots these nails into the wood. It’s easy and quick!
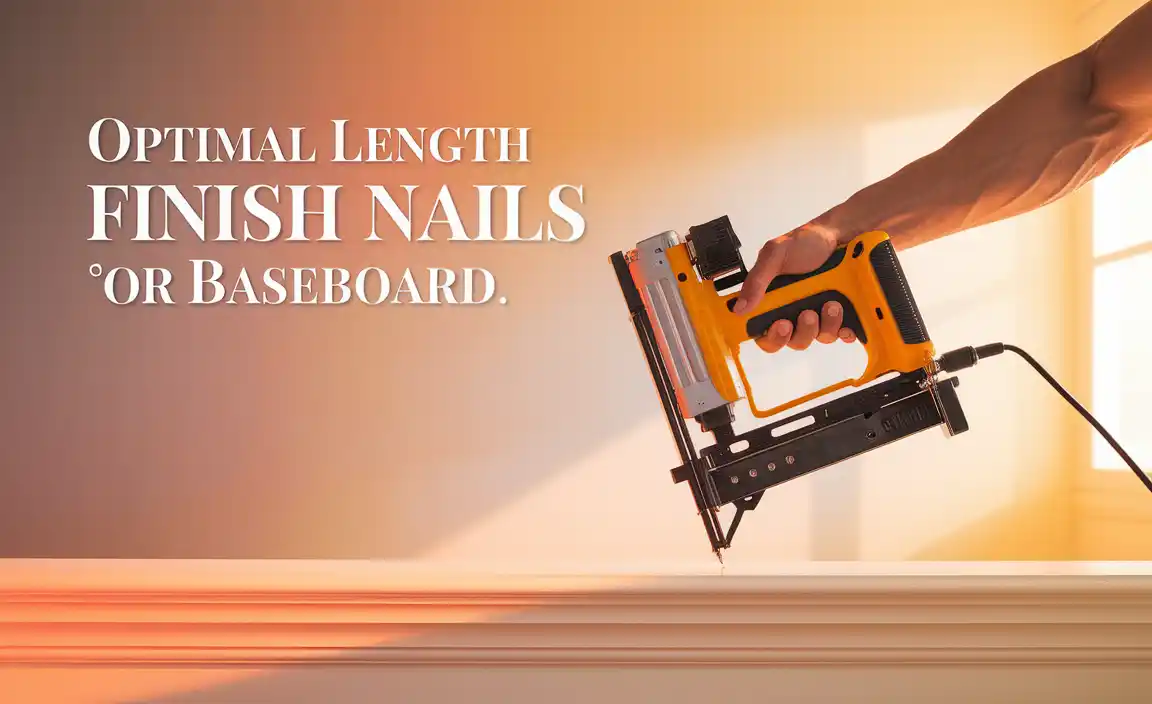
How Do I Determine The Appropriate Length Of Brad Nails To Use For Various Types Of Door Trim?To choose the right length of brad nails for door trim, first, check the thickness of the trim. You want the nail to go through the trim and into the wall. A good rule is to use nails that are one and a half times the trim’s thickness. For thin trim, 1-inch nails work well. For thicker trim, you might need 1.5-inch or 2-inch nails.
What Are The Advantages Of Using A Brad Nailer Over Other Fastening Methods For Door Trim Installation?Using a brad nailer for door trim is easier and faster than using screws or glue. It shoots small nails quickly, so you finish faster. You don’t need to drill holes, which can take extra time. Also, the nails rarely split the wood, so your trim looks nice. Overall, a brad nailer is great for making your projects tidy and quick.
Can A Brad Nailer Be Used Effectively On Different Materials, Such As Mdf, Wood, Or Composite Trims?Yes, you can use a brad nailer on many different materials! It works well on wood, MDF (which stands for Medium Density Fiberboard), and composite trims. Just make sure to adjust the settings if needed. This helps the nails go in without splitting the material. It’s a handy tool for building things!
What Safety Precautions Should I Take When Using A Brad Nailer To Install Door Trim?When using a brad nailer, always wear safety glasses to protect your eyes. Make sure your hands and fingers are clear of the tool’s tip. Keep the nailer away from your body when it isn’t in use. Never point it at anyone. Also, double-check the area to make sure nobody is in the way before you shoot a nail.