Have you ever needed to fix something around the house but didn’t want to leave marks everywhere? A nail gun with a no-mar tip is a lifesaver in those moments. It helps you quickly attach pieces of wood without damaging the surface. But how do you install this important accessory? Many people find it confusing. You may wonder why it matters so much.
Imagine nailing down a beautiful piece of trim. You pull the trigger, and suddenly, there’s a big dent. That’s not the look you want! This is where the no-mar tip shines. It prevents those ugly marks from happening. Installing it is simple, and knowing how can save your projects.
In this article, we’ll show you how to install a nail gun no-mar tip step by step. You’ll be ready for your next DIY adventure in no time. Are you ready to learn some handy tips?
Table of Contents
Nail Gun No-Mar Tip Install: A Step-By-Step Guide

Nail Gun No-Mar Tip Install
Installing a nail gun no-mar tip is quick and easy. This tip helps prevent marks on your projects. Start by identifying the right size. Then, remove the old tip and slide on the new one. Did you know that using a no-mar tip can enhance your work’s appearance? Imagine finishing a project without unsightly dents! Proper installation ensures your nail gun works smoothly and keeps your surfaces flawless. Always check the fit for the best results. Happy nailing!Understanding No-Mar Tips
Definition and purpose of nomar tips. Importance of using nomar tips for surface protection.No-mar tips are special attachments for nail guns. They help to keep surfaces safe while you work. Imagine trying to hammer a nail in and leaving a big mark! That’s where no-mar tips come to the rescue. They prevent scratches and dents on wood or other materials. This means your projects can look smooth and professional, like they were done by a superhero! Using these tips is important for protecting your surfaces, so you’ll avoid any facepalms later on.
| Benefits of No-Mar Tips | Why Use Them? |
|---|---|
| Protects surfaces | No more ugly marks! |
| Improves project quality | Look like a pro! |
Tools and Materials Needed for Installation
List of essential tools for installing nomar tips. Recommended materials for effective installation.Before you start, gather your tools and materials. Using the right items makes the installation smoother. Here’s what you’ll need:
- Safety goggles
- Work gloves
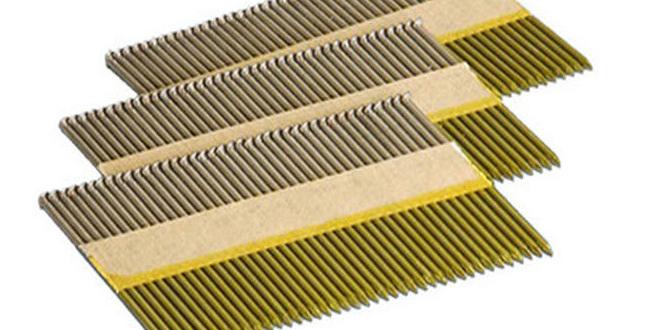
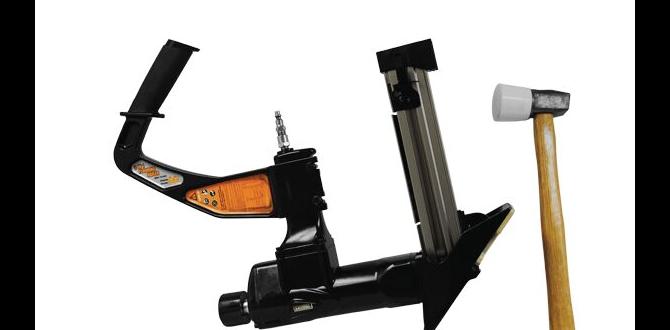
- Nail gun with no-mar tip
- Measuring tape
- Level
- Wood or surface to test on
Also, consider using high-quality wood glue for extra strength. Having these materials ready ensures your no-mar tip works perfectly.
What tools do you need for a no-mar tip installation?
You need safety goggles, work gloves, and a nail gun. Measuring tape and a level are also important for accurate placement.
Step-by-Step Installation Process
Detailed instructions on how to remove existing tips. Stepbystep guide on attaching nomar tips.First, you need to say goodbye to the old tips. Grab some pliers and pull off the existing ones. Give them a little wiggle, and they’ll pop off like a stubborn cork from a soda bottle. Now, let’s move on to the exciting part—attaching the brand new no-mar tips! Simply align the new tip with the nail gun and press it on firmly. You may hear a satisfying click, like a superhero cape snapping in the wind.
| Step | Action |
|---|---|
| 1 | Remove old tips using pliers. |
| 2 | Align the new no-mar tip. |
| 3 | Press until you hear a click. |
Now you’re ready to rock those nails without leaving a mark, like a stealthy ninja on a mission! Happy nailing!
Common Issues During Installation
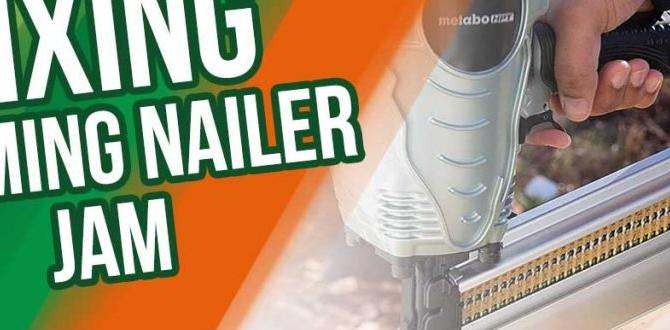
Potential problems that may arise while installing. Troubleshooting tips for successful installation.Installing a nail gun’s no-mar tip can be tricky. First, you might find that the tip won’t fit properly. This can happen if it’s the wrong size. If that’s the case, check your model! Another common issue is misalignment, causing nails to jam. Always check your angle before firing. Did you know? Many experts suggest practicing on scrap wood first. This helps build confidence—and saves wood too!
| Common Issue | Troubleshooting Tip |
|---|---|
| Incorrect fit | Verify the right size for your nail gun |
| Nails jamming | Check for proper alignment and clean the gun |
Maintenance of No-Mar Tips
Best practices for maintaining and cleaning nomar tips. Signs that indicate the need for replacement.To keep no-mar tips in great shape, follow a few simple steps. Clean the tips after each use to prevent buildup. Use a soft cloth or brush for this task. Inspect them regularly for any signs of wear. If the tip shows dents or cracks, it’s time for a replacement. Replace them to ensure a clean finish and avoid damage to surfaces. Taking care of your no-mar tips helps your nail gun work better.
How to maintain no-mar tips?
Regular cleaning and inspection can help you maintain no-mar tips effectively. Here are some best practices:
- Wipe with a soft cloth after use.
- Inspect for damage regularly.
- Replace if you see cracks or dents.
Benefits of Using No-Mar Tips on Various Projects
Discussing the impact on woodworking and construction projects. Benefits for DIY projects and professional use.Using no-mar tips can really save the day in woodworking and construction projects! These handy tips prevent ugly dents and scratches on surfaces, making your work look top-notch. For DIY enthusiasts, this means fewer errors and more time enjoying your projects instead of crying over mistakes. Even professionals appreciate the perfection these tips bring, leading to quicker jobs and happier clients. It’s like wearing socks on a hardwood floor—slip and slide without a scratch!
| Benefits | DIY Projects | Professional Use |
|---|---|---|
| Prevents Damage | Less Fixing. | Quality Results. |
| Saves Time | More Fun. | Faster Jobs. |
| Enhances Finish | Better Appearance. | Happy Clients. |
Frequently Asked Questions
Common queries regarding nomar tips and their installation. Expert answers to enhance understanding and usability.Many people wonder about no-mar tips for nail guns. Here are answers to common questions. It’s like having a nail gun buddy!
| Question | Answer |
|---|---|
| What is a no-mar tip? | A no-mar tip helps prevent dents and scratches on the wood! |
| How do I install it? | Simply unscrew the old tip and screw in the new one! |
| Do I need special tools? | Nope! Just your hands and maybe a tool for extra tight screws. |
Asking questions is smart! With the right tips, you’ll finish your projects like a pro. Plus, no one likes surprise dents. Happy nailing!
Conclusion
To install a no-mar tip on your nail gun, first, find the right size for your tool. Remove the old tip and attach the new one securely. This simple change helps prevent damage to your work surfaces. Remember, a no-mar tip makes your projects look better. For more tips, check guides or ask a friend for help!FAQs
Sure! Here Are Five Related Questions On The Topic Of Installing A No-Mar Tip On A Nail Gun:To install a no-mar tip on a nail gun, first, make sure your nail gun is turned off and unplugged. Then, find the old tip and unscrew it carefully. Next, take your new no-mar tip and screw it on tightly. Now, your nail gun is ready to use without leaving marks on the wood! Always remember to be safe when using tools.
Sure! Please provide the question you want me to answer.
What Is The Purpose Of A No-Mar Tip On A Nail Gun, And How Does It Benefit The Workpiece?A no-mar tip on a nail gun helps prevent marks or damage when you use it. It has a soft cover that protects the surface you are working on. This way, your project looks nice and clean without scratches or dents. Using a no-mar tip means you can work carefully and make fewer mistakes. It’s great for finishing touches on wood or other materials!
What Are The Steps Involved In Removing The Existing Tip On A Nail Gun To Install A No-Mar Tip?To remove the existing tip from a nail gun, first unplug the tool or take out the battery. Next, look for screws or a latch holding the tip. Use a screwdriver to remove the screws or push the latch. Once the old tip is off, place the no-mar tip onto the nail gun. Finally, secure it by tightening the screws or snapping the latch back in place. Now, you are ready to use your nail gun!
Are There Different Types Of No-Mar Tips Available For Various Models Of Nail Guns, And How Can One Determine The Correct Fit?Yes, there are different no-mar tips for nail guns. These tips help prevent marks on the wood while using the gun. To find the right one, check your nail gun’s brand and model. You can look in the manual or ask at a store. This way, you’ll pick the best no-mar tip for your nail gun.
How Can I Ensure That The No-Mar Tip Is Securely Attached And Functions Properly During Use?To make sure the no-mar tip is on tight, check the attachment point first. Twist it until it clicks into place. You can gently pull on it to see if it stays put. Before using, look for cracks or breaks that might stop it from working well. Always use the tip as the instructions say, and keep it clean.
What Safety Precautions Should I Take When Installing Or Replacing A No-Mar Tip On My Nail Gun?First, make sure the nail gun is unplugged or that the battery is removed. Wear safety goggles to protect your eyes. Keep your hands away from the tip while you work. Always use tools that are in good condition. Lastly, ask an adult for help if you’re unsure.