Have you ever wondered how deep a framing nailer drives nails? If you’ve used one, you might have noticed how important this is. Imagine building a treehouse or fixing a fence. The nails need to hold strong and go in just right. That’s where the framing nailer drive depth test comes in.
Testing the depth is key for any project. Too deep, and your wood might split. Not deep enough, and the nails won’t hold. It’s a balancing act. Did you know that getting this right can make a big difference in your work? Experts say that proper depth helps with the overall strength of structures.
In this article, we will explore the framing nailer drive depth test. We will look at how to do it, why it matters, and some tips to help you master it. Are you ready to dive into the world of nailing? Let’s get started!
Table of Contents
Understanding The Framing Nailer Drive Depth Test Today

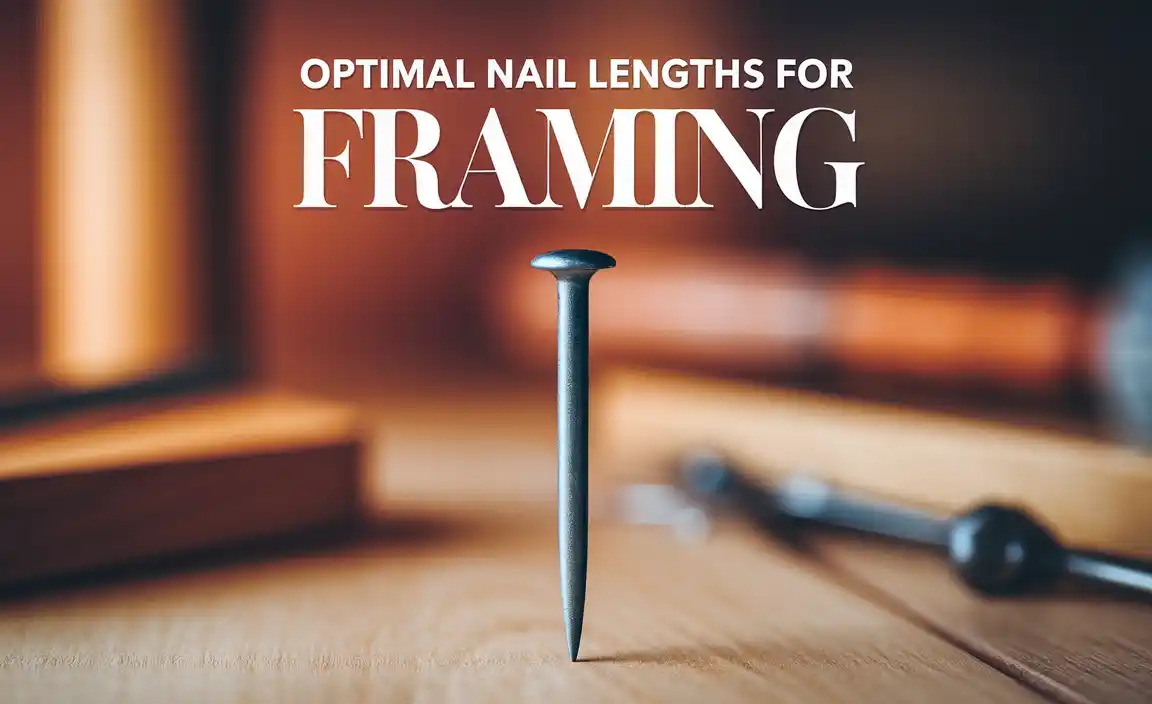
Framing Nailer Drive Depth Test
Understanding the framing nailer drive depth test is vital for any woodworking project. This test checks how deeply nails penetrate into the material. Why is that important? Proper depth ensures a strong hold, preventing future problems. A surprising fact is that too deep or shallow can both weaken your structure. Always adjust settings based on your material type. Remember, getting the right depth can make all the difference in your craftsmanship!The Importance of Drive Depth
Explanation of why drive depth is crucial for framing projects.. Impact of improper drive depth on materials and structural integrity..Drive depth matters a lot in framing projects. If it’s too shallow, the nail sticks out like a sore thumb. If it’s too deep, you might damage the wood. The right depth keeps everything snug and secure, ensuring strong joints. Did you know improper depth can weaken the structure? Your house might end up wobbling like a jello tower!
| Drive Depth | Impact |
|---|---|
| Too Shallow | Nails stick out |
| Too Deep | Can damage materials |
| Just Right | Strong and safe |
So, pay attention! It’s the tiny things that hold up big structures. Happy nailing!
Factors Affecting Drive Depth
The role of nail size and type in drive depth outcomes.. Influence of material density (softwood vs. hardwood) on drive depth..Nail size and type play a big role in how deep those nails go. Bigger nails might sink deeper, but they can also jam. On the other hand, a tiny nail can be a bit shy and not reach its full potential. Then there’s the material: softwoods are like butter, while hardwoods are more like a stubborn piece of concrete. You need to adjust the depth for the material, or you could end up unscrewing your project!
| Nail Type | Drive Depth |
|---|---|
| Large Nail | Higher Drive Depth |
| Small Nail | Lower Drive Depth |
Remember, if your nail refuses to go deep, it’s not you—it might just be the wood! Choose wisely, and let your framing nailer do its magic.
How to Conduct a Drive Depth Test
Stepbystep guide on setting up a drive depth test.. Tools and materials required for accurate testing..To set up a drive depth test, gather some essential tools and materials. You will need a framing nailer, nails, a piece of wood, and a depth gauge. Follow these steps:
- First, choose your piece of wood.
- Next, adjust the nailer for depth.
- Load the nails into the nailer.
- Finally, fire a nail and measure how deep it goes.
To ensure accurate readings, repeat the test five times and take the average. This helps you find the best depth setting for different materials.
What basic tools do you need for the test?
You will need a framing nailer, nails, wood for testing, and a depth gauge.Interpreting Drive Depth Results
How to measure and analyze the drive depth achieved.. Common benchmarks and acceptable depths for various materials..Measuring how deep your nails go is key to a good project. First, you need a depth gauge or ruler. Measure from the surface to the nail head. Keep track of your results. Different materials need different depths. For wood, aim for about 1/8 inch. If you’re nailing metal, around 1/4 inch is good. Too deep can lead to a messy job. Here’s a handy table for quick reference:
| Material | Acceptable Depth |
|---|---|
| Softwood | 1/8 inch |
| Hardwood | 3/16 inch |
| Metal | 1/4 inch |
If you hit the mark, your project will look great. Remember, practice makes perfect—and so does a little nail humor! Why did the nail refuse to play hide and seek? Because it couldn’t handle being ‘screwed’! Happy nailing!
Adjusting Drive Depth on Framing Nailers
Detailed instructions for adjusting the settings on different nailer brands.. Tips on finetuning depth for specific materials and conditions..Adjusting the depth on your framing nailer is important for good results. Each brand has its own way to change these settings. Here’s how you can adjust it:
- Find the dial or lever on your nailer. Picture it like a volume knob!
- Turn the dial to adjust the depth higher or lower. Test with a scrap piece of wood.
- For soft wood, set a shallower depth. For hard wood, go deeper.
Tuning the depth can improve your project. Is the depth too much? It can splinter the wood! Is it too low? Your nail won’t hold. So, take your time and tweak it carefully.
How to fine-tune depth for different materials?
Wood types can change how deep you shoot. Softwoods like pine need less depth. For hardwoods like oak, set more depth to get a secure hold.
- Softwoods: Shallow depth to avoid damage.
- Hardwoods: Deeper depth for better grip.
Common Issues and Troubleshooting
Common problems encountered during drive depth testing and their solutions.. Signs of drive depth issues and how to address them promptly..Many people face problems when testing the drive depth of their nailers. It’s important to recognize signs of drive depth issues early. Here are some common problems and their solutions:
- Inconsistent nail depth: Check the pressure setting on your nailer.
- Nails not sinking: Try adjusting the depth control knob.
- Nails jamming: Ensure proper nail alignment in the magazine.
- Excessive mark on wood: Reduce the drive depth to avoid damage.
Addressing these issues promptly can save time and material. Regular maintenance of your framing nailer will help prevent problems during drive depth testing.
What are signs of drive depth issues in a framing nailer?
Signs of drive depth issues include uneven nail depth and nails not fully sinking. Adjusting settings on your nailer can help fix these problems.
Best Practices for Optimal Drive Depth
Recommended techniques for achieving consistent drive depth in projects.. Safety precautions when operating framing nailers..To ace your drive depth with a framing nailer, you’ll want to use the right techniques. First, keep your tool clean and adjusted, as a cluttered nailer can lead to uneven driving. Test different materials first to find the best depth setting. It’s like finding the right shoe size; nobody wants blisters! Safety is key: wear eye protection and keep fingers away from the nozzle. Remember, a well-trained nailer is a happy nailer!
| Technique | Tip |
|---|---|
| Consistent Testing | Always test on scrap wood. |
| Depth Adjustment | Adjust based on the material. |
| Cleaning | Regularly clear dirt and debris. |
| Safety Gear | Wear goggles and gloves. |
Frequently Asked Questions about Drive Depth Testing
Answers to common queries regarding drive depth and nailer performance.. Clarifications on best practices and common misconceptions related to drive depth..Many people wonder about drive depth testing with nailers. It’s an important part of getting the job done right. Can a drive depth affect how well your nails hold? Absolutely! A proper depth ensures nails go in straight and secure. Some think deeper is always better, but that’s a myth! Too deep can damage materials. Here are quick answers to common questions:
| Question | Answer |
|---|---|
| What is drive depth? | It’s how deep a nail goes into the material. |
| Why test it? | To ensure nails are driven correctly! |
| What happens if it’s wrong? | Nails may come loose or damage your project. |
Now you know! Nail it right, and you won’t have to worry about a nail fiasco.
Conclusion
In conclusion, understanding the drive depth of a framing nailer is crucial. It affects how well your nails hold the wood. You should test it on scrap materials before starting a big project. This helps you get it just right. For more tips on using a framing nailer, check out guides or videos online to improve your skills!FAQs
Sure! Here Are Five Questions Related To A Framing Nailer Drive Depth Test:Sure! Here are the answers to the questions about a framing nailer drive depth test: 1. A framing nailer helps you drive nails deep into wood quickly and easily. 2. To check the depth, you can shoot a nail into a piece of wood and see how deep it goes. 3. If the nail is too deep, you might need to adjust the tool’s setting. 4. Using the right depth helps your project look nicer and hold better. 5. Always wear safety goggles when using a nailer to protect your eyes!
Sure! Please tell me the question you’d like me to answer.
What Factors Influence The Drive Depth Of Nails When Using A Framing Nailer?The depth that nails go in when using a framing nailer depends on a few things. First, it matters how hard you pull the trigger. If you pull it harder, the nail goes deeper. Second, the type of material you are nailing into makes a difference. Harder wood needs more power to drive the nail deep. Lastly, the size of the nails can affect how deep they go, too.
How Can The Drive Depth Of A Nail Be Adjusted On Different Models Of Framing Nailers?You can adjust how deep a nail goes with different framing nailers. Most nailers have a special wheel or knob you can turn. This changes the power of the tool, making the nails go deeper or shallower. Always check the tool’s instructions to see how to do it right. That way, you can get the perfect depth for your project!
What Are The Potential Consequences Of Improper Drive Depth In Framing Applications?If you don’t drive nails deep enough or push them in too far, bad things can happen. The wood might not hold together well, which can make things wobbly. If you drive them too deep, you could split the wood, making it weak. This can also make the project look messy. In the end, it could cost more time and money to fix mistakes!
How Can A User Effectively Test And Calibrate The Drive Depth Of Their Framing Nailer Prior To A Project?To test and calibrate the depth of your framing nailer, first, pick some scrap wood. You should then fire a nail into it. Check how deep the nail goes. If it’s too deep or not deep enough, adjust the drive depth knob on your nailer. Try again and see if it’s just right!
What Safety Precautions Should Be Taken When Conducting A Drive Depth Test With A Framing Nailer?When using a framing nailer, always wear safety glasses to protect your eyes. Make sure to keep your hands away from the area where you are nailing. Check the tool for any problems before you start. Always point the nailer away from yourself and others. Finally, never place your finger on the trigger until you’re ready to shoot.