Imagine trying to build a secret fort. You pick the best wood for the walls. But how do you keep everything together? That’s where brad nails come in. They’re small, but they make a big difference. Choosing the right brad nail length for trim can feel like solving a riddle. Too short, and the trim won’t stay put. Too long, and it might split the wood. Did you know even pros sometimes make a mistake with this? What if I told you that a simple tool could hold your dream project together? Let’s see how the right brad nail length for trim can make your next project a success. Isn’t that exciting?
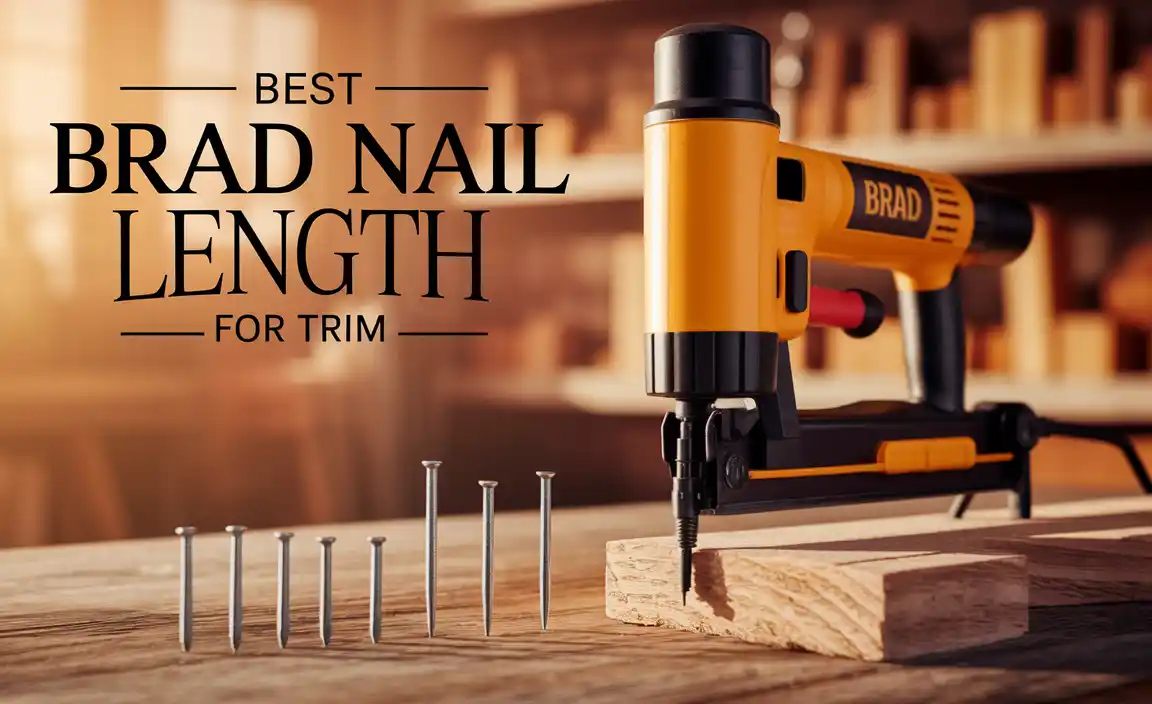
Table of Contents
Choosing The Right Brad Nail Length For Trim Projects
Imagine building a beautiful wooden frame, only to see it fall apart because the nails were wrong. A fun fact is that even a slight misjudgment in brad nail length can lead to disaster! For trim work, select nails that are at least twice as long as the trim’s thickness. This ensures the nails penetrate the trim securely, offering stability. Ever wonder why professional carpenters never have wobbly trim? They master choosing the right nail length!
Factors Influencing Brad Nail Length Selection
Consideration of trim thickness and material. Importance of accounting for nail penetration depth.
Choosing the right brad nail length is like solving a puzzle. You must think about the thickness of the trim and what it’s made of. If the material is thick, you need a longer nail. Why? So it can go deeper. But not too long, or it might come out the other side! Here’s a fun tip: the nail should be twice as long as the trim is thick. This ensures it holds well. So, measure the trim before picking your nail length.
Why is nail penetration depth important?
The depth matters a lot! It affects how strong the hold will be. If nails go too shallow, they might not hold the trim firmly. But, if they go too deep, they can damage walls. So, a balance is key for a perfect finish.
The Function and Uses of Brad Nails in Trim Work
Differences between brad nails and finish nails. Common applications and scenarios for using brad nails in trim.
Brad nails and finish nails may seem similar, but they serve different purposes. Brad nails are small and thin, making them perfect for delicate work. They don’t split the wood easily. Finish nails are thicker and used for heavy-duty tasks. But, what are the best uses for brad nails? Well, they are great for trim work on windows, doors, and baseboards. They hold tight and don’t leave big holes. This keeps the surface smooth. So, next time you work on a trim, think brad nails!
Why are brad nails good for trim?
Brad nails are ideal because they are thin. They don’t split the wood or leave large holes. This helps keep the trim looking neat. They also hold the trim in place, making sure it stays put without damaging it. This ensures that your trim looks clean and professionally done.
Recommended Brad Nail Lengths for Various Trim Types
Ideal nail lengths for baseboards and moldings. Suitable lengths for window and door casings.
Picking the right brad nail length is like choosing the right superhero for different trim jobs. If you’re working with baseboards or moldings, aim for a nail that’s 1.5 to 2 inches long. This keeps everything tightly in place, much like a belt keeps pants up. For those stylish window and door casings, go for nails that are 1.25 to 1.75 inches. These are the Goldilocks choice, offering the perfect grip without overreaching. And remember, different trims need different heroes!
| Trim Type | Recommended Nail Length |
|---|---|
| Baseboards & Moldings | 1.5″ – 2″ |
| Window & Door Casings | 1.25″ – 1.75″ |
Wondering why this matters? A good fit ensures a strong hold and less frustration later. Besides, nobody wants decorative trim to pull a disappearing act! According to experts, having the right nail length can prevent 80% of loose trim issues. So next time you’re at the hardware store, channel your inner nail ninja and choose wisely!
Tools and Techniques for Installing Brad Nails in Trim
Selection and usage of brad nailers. Proper techniques for achieving a seamless finish.
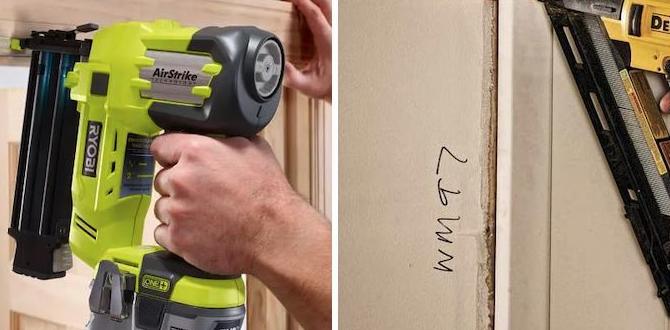
Picking the right tools for trim work is like choosing the correct brush for painting. A brad nailer, for instance, is your best friend! To install trim like a pro, consider brad chisels between 18-20 gauge. Always aim for the smoothest finish. Tilt the nailer slightly for a snug fit; think of it as pasta getting hugged by a fork. And hey, don’t poke anyone’s eye out while you’re at it!
| Tool | Usage Tip |
|---|---|
| Brad Nailer | Use for delicate trims |
| Nail Length | Opt for 18-20 gauge |
Ensuring accuracy is key. Place each nail neatly so you don’t end up with messy trim. As they say, “Measure twice, brad nail once!” And remember, settling for crooked nails is like eating a pizza without cheese—unacceptable!
Common Mistakes to Avoid When Choosing Brad Nail Length
Overpenetration issues and their impacts. Risks of using excessively short nails.
Oopsies happen often with brad nails! Using too long of a nail can cause overpenetration. Imagine nails peeking out, like curious moles surfacing unexpectedly! This not only looks odd, but it can harm walls and woodwork. On the other side, nails that are too short can fail to hold things together. It’s like trying to hold a cookies stack with toothpicks! Oops, that’s a crumble!
| Brad Nail Length | Potential Issue |
|---|---|
| Too Long | Overpenetration |
| Too Short | Weak Hold |
So, choosing the right size is crucial. Pay attention and you won’t have nails acting out!
Adjusting Nail Length for Different Environmental Conditions
Adapting to changes in trim material due to humidity. Considerations for exterior versus interior trim work.
Choosing the right nail length is essential when working on different trim materials. How does humidity affect nails? Materials expand or contract. So, it’s smart to adjust for humidity. Use longer nails for areas with more moisture. For outdoor trim, longer nails provide better hold against wind. Inside, think about using shorter nails to prevent cracking. Each environment shapes the choice. Always think about the space you’re working in. Is it rainy or dry? Every detail counts for a sturdy and lasting job.
Why is nail length important for indoor vs. outdoor trim?
Nail length matters because of exposure to weather and stress. Outdoor nails need to be longer. They face wind and rain. Inside, nails can be shorter. Longer nails inside might split wood. Choosing the right length helps make the trim stay strong.
Expert Tips for Perfecting Your Nail Length Choice
Guidance from carpentry professionals. Advice for DIY enthusiasts ensuring optimal results.
Carpentry experts share useful tips on picking the right nail length for trim. A perfect choice can make your project look neat and last long. Here’s what they say:
- Start by checking the thickness of the trim. The nail should be long enough to go through the trim and into the wall.
- Avoid using nails that are too long to prevent damage.
- If in doubt, consult a local hardware store expert for the best advice.
What nail length do professionals recommend for trim work?
Professionals often recommend 1.5 to 2 inches for most trim work. This length ensures stability and prevents splitting.
How can DIY enthusiasts achieve the best results?
Measure the trim before buying nails. Using the right nail length helps in achieving a clean, professional look. Always take your time to ensure every detail is perfect.
Use these tips to make your next DIY trim project shine. Carpentry is fun and rewarding, and using the right nails is key to success.
Conclusion
Choosing the right brad nail length for trim is important. Use shorter nails for thin trim and longer nails for thicker pieces. This ensures a strong hold and a neat finish. Remember, always match nail size with trim thickness. Now that you know the basics, try it out yourself, or read more guides for deeper understanding!
FAQs
What Is The Optimal Brad Nail Length For Installing Baseboard Trim?
When you want to put up baseboard trim, use brad nails that are about 1.5 to 2 inches long. These nails will hold the trim securely without going too deep. Long nails can poke through, and short ones might not hold well. Remember to always use the right-sized nail to keep the trim in place.
How Does The Thickness Of Trim Material Affect The Choice Of Brad Nail Length?
The thicker the trim material, the longer the brad nail should be. Brad nails are tiny nails you use to hold things together. If the trim is thick, a short nail won’t reach deep enough to keep it strong. So, pick a nail that’s long enough to hold the trim securely in place.
Are There Standard Brad Nail Lengths Recommended For Different Types Of Trim Work?
Yes, there are different brad nail lengths for different trim work. For thin trim, we use shorter brads, about 1 inch long. For thicker trim, we use longer brads, like 2 inches. Using the right length helps keep the trim in place. Always ask an adult if you’re unsure!
Can Using The Wrong Length Of Brad Nails Impact The Stability Of Installed Trim?
Yes, using the wrong length of brad nails can affect how strong and stable the trim is. If the nails are too short, the trim might fall off easily. If they’re too long, they can go through the wall and look messy. It’s important to choose the right size to keep everything safe and tidy.
What Factors Should Be Considered When Selecting Brad Nail Length For Crown Molding Installation?
When choosing the right brad nail length for crown molding, think about the thickness of the molding. Make sure the nail is long enough to go through the molding and into the wall. You want the nail to hold everything tightly without poking out. It’s like making sure a button on your shirt is fastened tight!