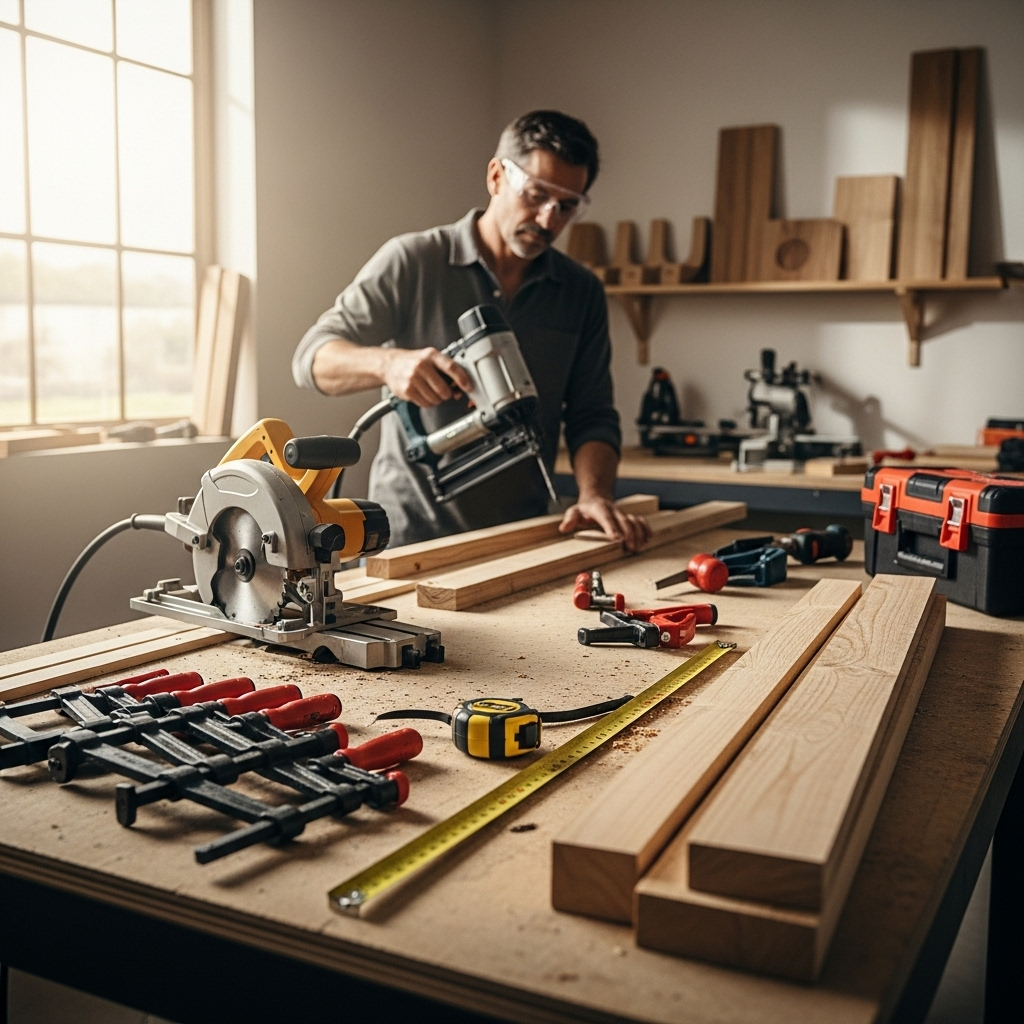
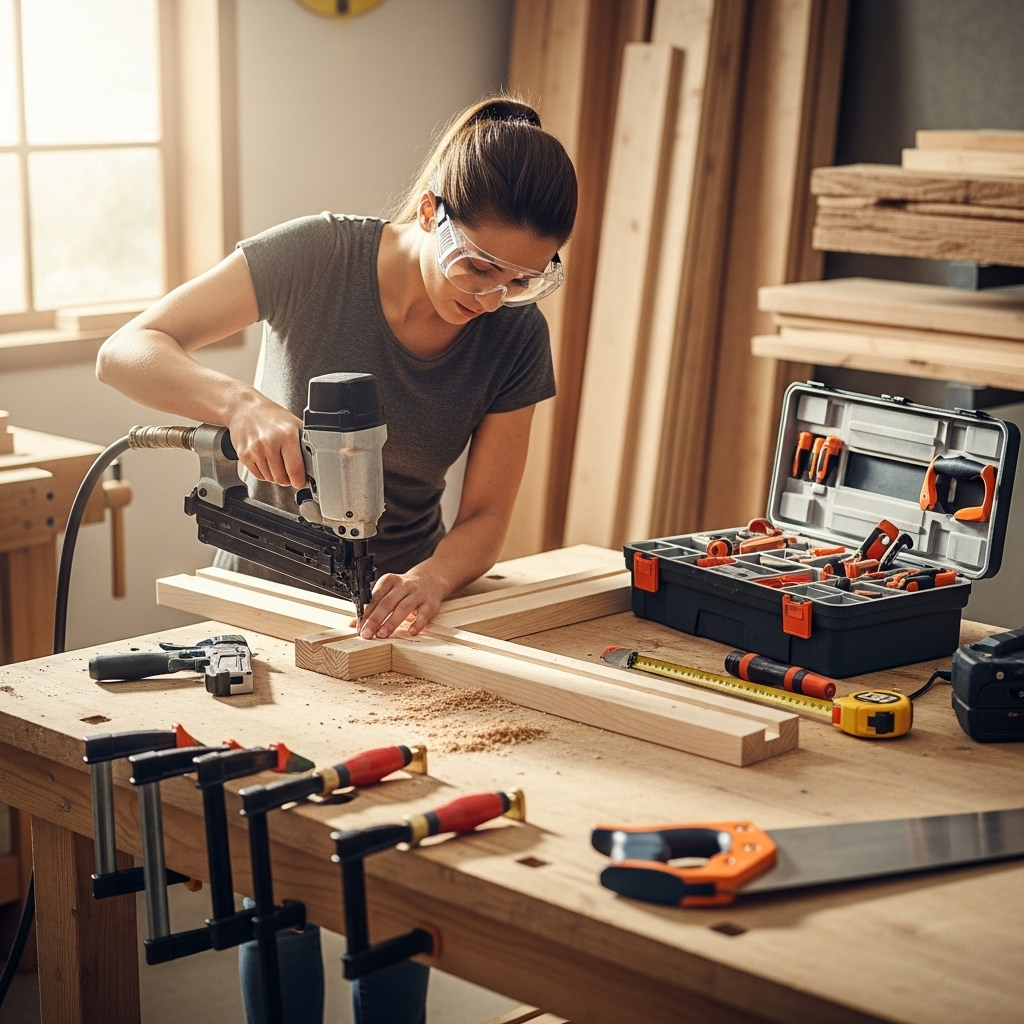
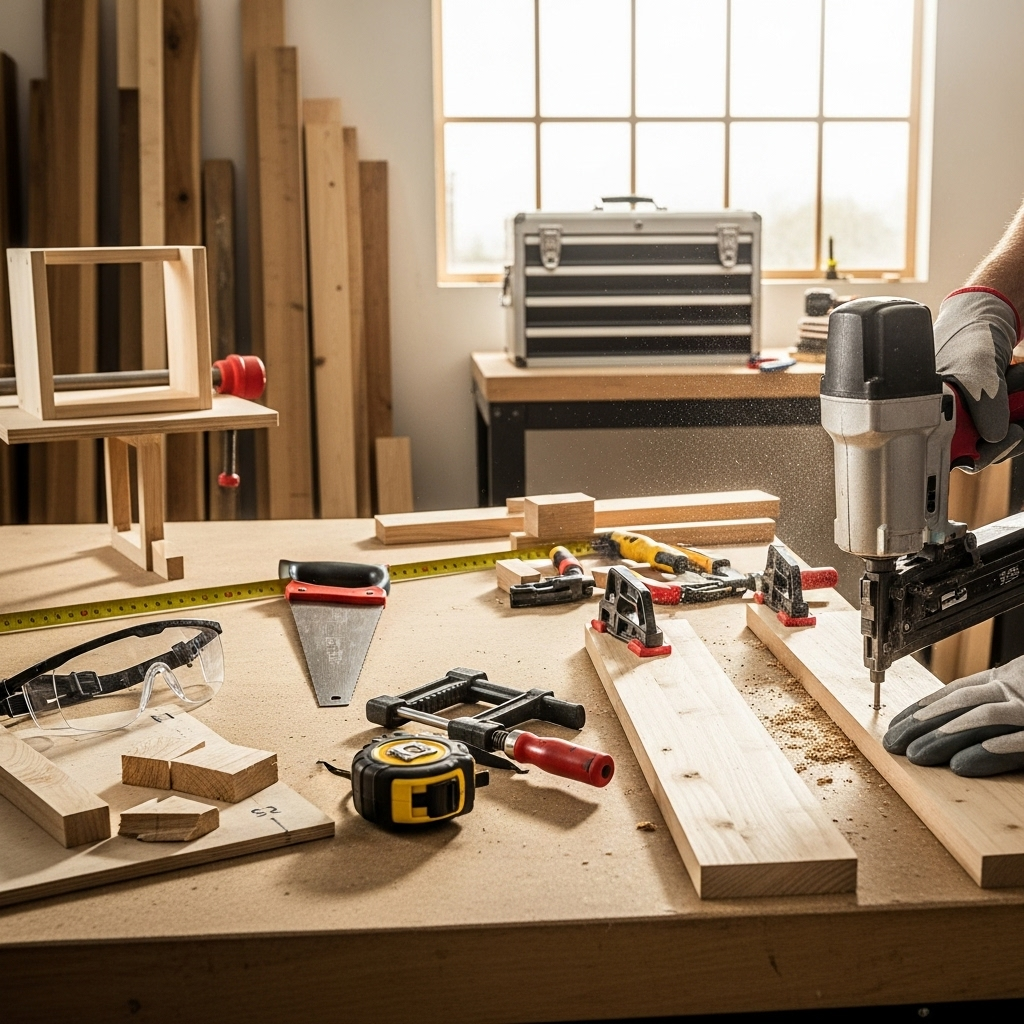
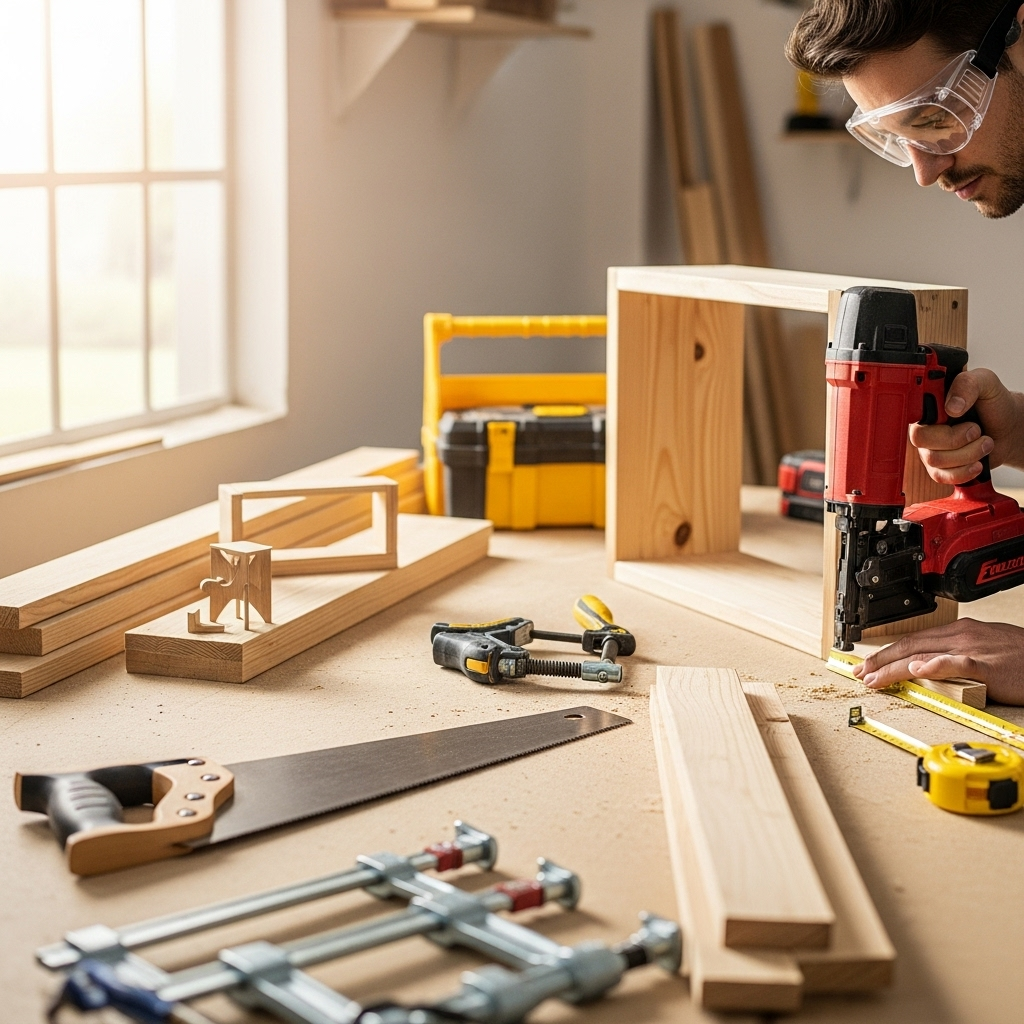
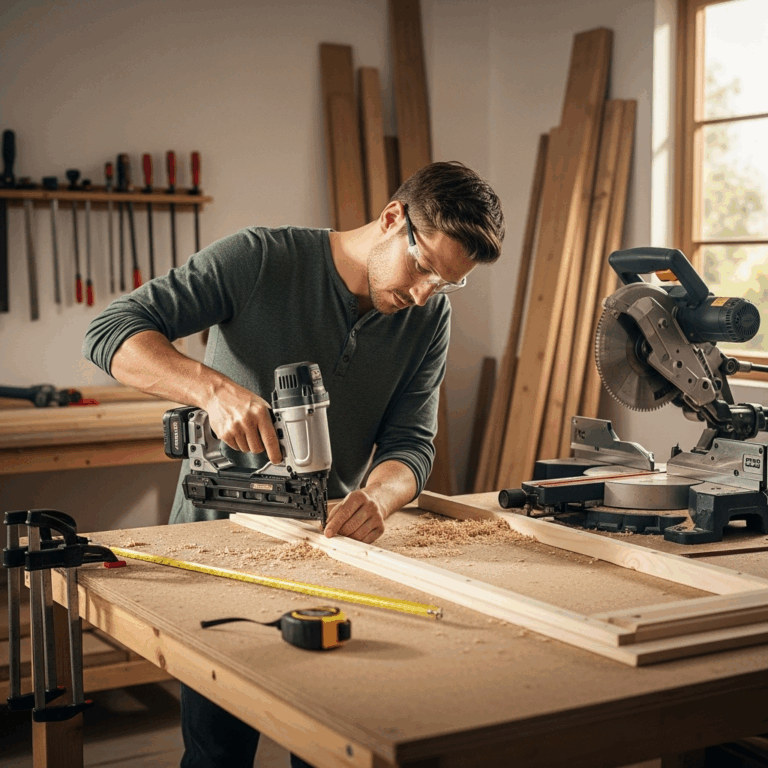
Want woodworking projects with a modern sleek look? Achieve a genius sleek design by focusing on clean lines, minimalist aesthetics, and smart material choices. This guide breaks down how to create stunning, modern pieces that are simple to build and visually impressive.
Hey folks, Jack Shaffer here from Nailerguy! Ever look at a beautifully crafted piece of modern furniture and think, “Wow, that looks so simple, but sophisticated”? Sometimes, the most impactful designs aren’t the most complicated. They’re the ones that use clean lines, smart proportions, and a touch of thoughtful detail. If stunning, sleek woodworking projects sound like your kind of jam, but you’re not sure where to start, you’ve come to the right place.
Many of us dream of creating furniture that looks like it came straight out of a design magazine. But the thought of intricate joinery and complex plans can be a bit intimidating, right? Don’t sweat it! The beauty of “sleek design” often lies in its apparent simplicity. We’re going to dive into how you can achieve that sophisticated, modern aesthetic with projects that are totally achievable, even if you’re just getting your feet wet in the woodworking world.
We’ll explore the core elements that make a design “sleek,” look at some fantastic beginner-friendly project ideas, and talk about the tools and techniques that will help you bring them to life. Get ready to build something awesome that will impress everyone who sees it!
<h2>What Makes a Woodworking Project “Sleek”?</h2>
When we talk about “sleek” in woodworking, we’re usually talking about a few key characteristics that contribute to a modern, sophisticated look. It’s not just about the wood itself, but how it’s shaped, joined, and finished. Think minimalist, functional, and visually uncluttered.
<h3>Key Elements of Sleek Design</h3>
<strong>Clean Lines:</strong> This is probably the most important aspect. Sleek designs feature straight lines, sharp corners (or very subtle, rounded ones), and a lack of ornate details. Imagine a perfectly straight edge that flows seamlessly into another.
<strong>Minimalist Aesthetics:</strong> Less is more! Sleek projects avoid unnecessary embellishments, carvings, or fussy hardware. They focus on the natural beauty of the wood and the form of the object.
<strong>Proportion and Balance:</strong> Even simple shapes need to be well-proportioned. A sleek piece will feel balanced visually, with elements that don’t overpower each other. Think about how tall something is compared to how wide, or how thick a piece of wood is relative to its length.
<strong>Smart Material Choices:</strong> While you can achieve sleekness with almost any wood, certain materials lend themselves well. Smooth finishes, hardwoods like maple, walnut, or cherry, or even high-quality plywood can enhance the modern feel. Sometimes, a striking contrast, like dark wood with a lighter accent, works wonders.
<strong>Thoughtful Joinery:</strong> In sleek designs, joinery is often hidden or designed to be part of the aesthetic. Think about flush joints, mitre joints that hide end grain, or simple butt joints that are well-executed and sanded smooth.
<h3>Why This Matters for Beginners</h3>
The good news is that focusing on these elements can actually simplify your woodworking. Instead of worrying about complex decorative techniques, you can concentrate on precise cuts, smooth finishes, and clever assembly. This makes sleek designs incredibly beginner-friendly!
<h2>Beginner-Friendly Sleek Woodworking Projects</h2>
Ready to get your hands dirty? Here are a few project ideas that are perfect for beginners and embody that genius sleek design. These will help you practice essential skills while creating something you’ll be proud to show off.
<h3>1. The Floating Shelf: Simple Elegance</h3>
Floating shelves are the epitome of sleek. They appear to magically float on the wall, offering storage and display space with minimal visual interruption.
<strong>Why it’s sleek:</strong> No visible brackets, clean lines, and a focus on the material.
<strong>Skills learned:</strong> Accurate measuring, cutting, sanding, and a bit of wall mounting know-how.
<strong>Build basic idea:</strong> You can build a basic floating shelf by creating a hollow box from wood (like plywood or solid wood boards) and then attaching a solid mounting cleat to the wall. The shelf box slides over the cleat. For a super sleek look, use a hardwood like oak or walnut and finish it with a clear coat or a subtle stain.
<strong>Pro-tip:</strong> Ensure your wall mounting is secure! You can find great guides on proper wall anchoring from resources like the U.S. Consumer Product Safety Commission (CPSC).
<h3>2. The Minimalist Side Table: Functional Art</h3>
A simple side table can make a big statement. Think a single slab of wood with clean legs, or a boxy design with hidden joinery.
<strong>Why it’s sleek:</strong> Uncluttered form, often using thick, substantial wood or a contrasting material for legs.
<strong>Skills learned:</strong> Cutting boards to size, attaching legs (either pre-made or built yourself), sanding, and finishing.
<strong>Build basic idea:</strong> You could use a single piece of beautiful hardwood for the tabletop. For legs, consider simple tapered wooden legs you can buy online, or create square legs from 2x2s or similar lumber, attached with strong wood glue and screws (countersunk for a clean look). Alternatively, a simple box design where the top, bottom, and sides are all flush can be very sleek.
<strong>Materials to consider:</strong> Walnut for a rich, dark look, maple for a bright, clean feel, or even a nice piece of pine if you plan to paint it a solid, modern color.
<h3>3. The Modern Crate/Box: Versatile Storage</h3>
Simple boxes or crates are incredibly versatile for storage and can be made to look surprisingly chic.
<strong>Why it’s sleek:</strong> Geometric form, clean edges, and can be stacked or arranged in minimalist patterns.
<strong>Skills learned:</strong> Precise cuts for square corners, basic glue-ups, and potentially adding simple reinforcing details like small corner blocks if needed.
<strong>Build basic idea:</strong> You can essentially build a simple wooden box using butt joints or mitre joints. Use good quality plywood or solid wood boards. For an extra sleek touch, consider “finger joints” for the corners if you have the tools, or a very neat mitre joint that hides the end grain. Finishing them in a consistent color or stain makes them look intentional and modern.
<strong>For a modern finish:</strong> Try a natural oil finish to highlight the wood grain, or a matte black or white paint for a strong contemporary look.
<h3>4. The Geometric Wall Art: Sculptural Wood</h3>
Woodworking isn’t just for furniture! Creating geometric wall art can add a sophisticated, modern touch to your home.
<strong>Why it’s sleek:</strong> Relies on shape, pattern, and often a monochromatic or limited color palette.
<strong>Skills learned:</strong> Precise angle cuts (miters), assembly of geometric shapes, and finishing.
<strong>Build basic idea:</strong> You can create a geometric pattern by cutting several pieces of wood (like 1x2s or lattice) at specific angles (often 30, 45, or 60 degrees) and assembling them into a frame or a repeating pattern. Think hexagons, chevrons, or abstract arrangements of triangles. Painting them in different shades of the same color or contrasting colors can create a stunning effect.
<strong>Mounting:</strong> Use D-rings or a French cleat system on the back to hang it securely.
<h2>Essential Tools for Sleek Design Projects</h2>
You don’t need a workshop full of fancy tools to create sleek designs, but a few key players will make your life much easier and your projects look professional.
<h3>The “Must-Haves” for Beginners</h3>
<strong>Measuring Tape and Pencil:</strong> Obvious, but absolutely crucial for accuracy. Double-check every measurement!
<strong>Hand Saw or Circular Saw:</strong> For making straight cuts. A circular saw with a good guide will give you the cleanest, straightest cuts needed for sleek designs.
<strong>Miter Box and Hand Saw (or a Power Miter Saw):</strong> If you’re aiming for those perfect 45-degree mitre joints for clean corners, a miter setup is key.
<strong>Sander (Orbital Sander is great):</strong> Smoothness is vital for a sleek look. An orbital sander will save you a ton of time and effort compared to sanding by hand.
<strong>Clamps:</strong> You’ll need these to hold pieces together while glue dries. Having a few different sizes is helpful.
<strong>Wood Glue:</strong> A strong, reliable wood glue is your best friend for solid joints.
<strong>Drill/Driver:</strong> For pre-drilling holes and driving screws. Countersinking bits are great for hiding screw heads.
<strong>Safety Gear:</strong> Always wear safety glasses and hearing protection!
<h3>Optional but Highly Recommended</h3>
<strong>Pocket Hole Jig:</strong> These jigs (like from Kreg Tool) allow you to create strong, hidden joints easily, which is perfect for sleek furniture.
<strong>Jigsaw:</strong> Useful for gentle curves if your design calls for them, but keep it minimal for a sleek look.
<strong>Router:</strong> Can create beautiful edges, dados, or even replicate joinery like dovetails for advanced projects.
<h2>Techniques for Achieving that Sleek Finish</h2>
It’s not just about the design; the execution is what truly sells a sleek look. A few simple techniques can elevate your projects from “DIY” to “designer.”
<h3>1. Precision Cutting:</h3>
This cannot be stressed enough. For sleek designs, your cuts need to be as accurate as possible. A slightly off cut will be very noticeable in a minimalist design.
<strong>Measure Twice, Cut Once:</strong> The classic adage holds true.
<strong>Use a Guide:</strong> For circular saws, a straight edge clamped to the wood or a dedicated track saw guide ensures a perfectly straight cut.
<strong>Set Up Your Miter Saw Carefully:</strong> Ensure your saw is calibrated for accurate 45 and 90-degree angles.
<h3>2. Smooth Joinery:</h3>
Visible gaps or poorly aligned joints will ruin a sleek aesthetic.
<strong>Flush Joints:</strong> Ensure the surfaces of adjoining pieces are perfectly level and smooth.
<strong>Mitre Joins:</strong> These are fantastic for hiding end grain and creating a clean, seamless look, especially for boxes or frames. You’ll need to be precise with your angles.
<strong>Countersinking Screws:</strong> If you’re using screws, drill pilot holes and then use a countersink bit so the screw heads sit flush or slightly below the surface. You can then fill these with wood filler matching your wood for an invisible fix.
<h3>3. The Power of Sanding:</h3>
Achieving a glass-smooth surface is non-negotiable for a sleek finish.
<strong>Start Coarse, Go Fine:</strong> Begin with a medium grit sandpaper (like 100-120 grit) to remove rough edges and mill marks.
<strong>Progress Gradually:</strong> Move to finer grits (180, 220, and even 320 grit) to achieve a silky smooth feel.
<strong>Sand with the Grain:</strong> Always sand parallel to the wood grain to avoid visible scratches.
<strong>Wipe Down:</strong> After sanding with each grit, wipe away dust with a tack cloth or a damp rag.
<h3>4. Finishing Touches:</h3>
The finish seals the wood and can dramatically impact the final look.
<strong>Clear Coats:</strong> Polyurethane, lacquer, or a simple oil finish (like Danish oil or Tung oil) can highlight the natural beauty of the wood while providing protection. Apply multiple thin coats.
<strong>Staining:</strong> If you choose to stain, opt for colors that enhance the wood’s natural tones or go for a bold, solid color. Test your stain on scrap wood first.
<strong>Matte Finishes:</strong> For a truly modern, sleek look, consider matte or satin finishes over high gloss, which can sometimes look dated depending on the project.
<h2>Material Matters: Choosing Wood for Sleek Designs</h2>
While you can make almost any wood look sleek with the right design and finish, some materials naturally lend themselves better to a modern aesthetic.
<h3>Popular Choices for Sleek Projects</h3>
<strong>Hardwoods:</strong>
<strong>Maple:</strong> Known for its fine, even grain and light color, maple is excellent for a clean, Scandinavian-inspired modern look.
<strong>Walnut:</strong> Offers a rich, dark brown color with beautiful grain patterns, perfect for a sophisticated, high-end feel.
<strong>Cherry:</strong> Transitions from a pinkish hue to a rich reddish-brown with age, providing warmth to modern designs.
<strong>Oak:</strong> While oak has a strong grain, it can still be used effectively for sleek designs, especially rift or quarter-sawn oak which has straighter grain. A matte clear finish works well.
<strong>Plywood:</strong>
<strong>High-Quality Hardwood Plywood:</strong> Birch, maple, or oak plywood can be incredibly cost-effective and offer a stable, flat surface. The exposed edges, when finished well (e.g., chamfered or rounded over slightly), can add a unique modern detail. Look for Baltic Birch plywood for its strength and consistent core.
<strong>Bamboo:</strong>
A sustainable option with a unique, often striped grain. It can bring a very contemporary, clean look to projects.
<h3>Consider the Grain and Color</h3>
For sleek designs, you often want wood with a subtle or consistent grain. Highly figured or wild grain patterns can sometimes detract from the minimalist aesthetic unless used very intentionally as a focal point. Light to medium wood tones often feel more modern and airy, but dark woods like walnut provide a luxurious and grounded feel.
<h2>Safety First! Always Prioritize Safety in Your Workshop</h2>
As we dive deeper into creating beautiful, sleek woodworking projects, it’s my absolute priority to remind you about something critically important: safety. Woodworking is incredibly rewarding, but it involves tools that can cause harm if not used with respect and caution.
<h3>Key Safety Practices</h3>
<strong>Read Your Tool Manuals:</strong> Seriously! Every tool is different, and understanding its specific safety features and operating procedures is your first line of defense.
<strong>Wear Your PPE:</strong>
<strong>Safety Glasses:</strong> Essential for protecting your eyes from sawdust, chips, and debris. They should be worn whenever you’re using a tool or in the workshop.
<strong>Hearing Protection:</strong> Power tools are loud! Earplugs or earmuffs protect your hearing from permanent damage.
<strong>Dust Mask/Respirator:</strong> Wood dust isn’t good for your lungs. A mask will help keep it out.
<strong>Gloves:</strong> Can be useful for handling rough lumber, but be cautious when operating tools where gloves might get caught (like with rotating blades). Generally, avoid loose-fitting gloves around machinery.
<strong>Keep Your Workspace Clean:</strong> A cluttered workshop is a dangerous workshop. Tripping hazards, sawdust buildup, and misplaced tools can lead to accidents.
<strong>Never Force Tools:</strong> If a tool is struggling, something is wrong. Don’t push it – check your blade, your technique, or the material.
<strong>Unplug Tools When Changing Blades/Bits:</strong> This seems obvious, but it prevents accidental startups.
<strong>Understand Push Sticks and Safety Guards:</strong> Always use push sticks for small pieces and ensure safety guards are in place and functioning. The U.S. Occupational Safety and Health Administration (OSHA) has detailed information on machine guarding available on their website.
<h2>Troubleshooting Common Issues</h2>
Even in simple projects, you might hit a snag. Here are a few common issues and how to fix them.
<h3>Problem: Gaps in Joints</h3>
<strong>Cause:</strong> Inaccurate cuts, insufficient clamping, or uneven glue application.
<strong>Solution:</strong> For minor gaps, wood filler or epoxy mixed with sawdust can work for less structural areas. For more critical joints, or larger gaps, you might need to re-cut the piece or use a different joining method. Mitre joints are particularly unforgiving of inaccuracies.
<h3>Problem: Sanding Scratches</h3>
<strong>Cause:</strong> Sanding across the grain, grit too coarse for the stage, or dust not being removed between grits.
<strong>Solution:</strong> If the scratches are deep, you’ll need to go back to a coarser grit and re-sand, progressing through the grits again, making sure to sand with the grain. Always ensure you’re cleaning off dust between grit changes.
<h3>Problem: Uneven Finish</h3>
<strong>Cause:</strong> Inconsistent application of stain or topcoat, or applying to a surface that wasn’t properly prepped.
<strong>Solution:</strong> For stains, uneven absorption can happen. Sometimes a pre-stain conditioner can help. For topcoats, always apply thin, even coats. If you have streaks or blotches, you may need to lightly sand the problematic area with fine-grit sandpaper and reapply the finish.
<h2>Frequently Asked Questions (FAQ)</h2>
<h3>Q1: What is the easiest sleek woodworking project for a beginner?</h3>
<p>The easiest sleek project is often a simple floating shelf or a geometric wall art piece. They require straightforward cuts and assembly, focusing on clean lines and smooth finishes, which are hallmarks of sleek design.</p>
<h3>Q2: Do I need expensive tools for sleek woodworking?</h3>
<p>No, you don’t need expensive tools. A good measuring tape, a reliable saw (hand or circular), a decent sander, wood glue, and clamps are usually enough to get started on many sleek projects. A pocket hole jig can be a great affordable addition for stronger, cleaner joints.</p>
<h3>Q3: How can I make my wood look “modern”?</h3>
<p>To make wood look modern and sleek, focus on clean lines, minimalist shapes, and smooth finishes. Opt for natural wood tones, subtle stains, or solid matte colors like black, white, or gray. Avoid ornate details.</p>
<h3>Q4: What kind of wood is best for a modern, sleek look?</h3>
<p>Woods with fine, consistent grain and lighter to medium tones are excellent choices for a modern, sleek look. Maple, birch, and some oaks are great. Darker woods like walnut also work well for a sophisticated, high-end feel. High-quality plywood with a clean edge treatment can also be very modern.</p>
<h3>Q5: How important is sanding for sleek designs?</h3>
<p>Sanding is extremely important! A perfectly smooth surface is crucial for a premium, sleek look. It ensures that finishes like paint or clear coats go on evenly and feel good to the touch.</p>
<h3>Q6: Can I use plywood for sleek projects?</h3>
<p>Absolutely! High-quality plywood, especially hardwood plywoods like maple or birch, are fantastic for sleek projects. They provide stability, are often more affordable, and the exposed edges can even add a modern design element when treated correctly.</p>
<h3>Q7: What are the best joinery methods for sleek designs?</h3>
<p>For sleek designs, the best joinery methods are generally those that are hidden or create a clean, seamless appearance. This includes mitre joints (where corners meet at an angle, hiding end grain), butt joints executed with precision and often reinforced internally, and pocket holes for strong, hidden connections.</p>
<h2>Conclusion: Embrace Simplicity, Create Stunning Woodworking</h2>
Building woodworking projects with a genius sleek design isn’t about mastering incredibly complex techniques; it’s about embracing simplicity, precision, and thoughtful execution. By focusing on clean lines, minimalist forms, and a great finish, you can create pieces that look sophisticated and professional, no matter your skill level.
Remember the core principles: accuracy in your cuts, smoothness in your sanding, and neatness in your joinery. Start with achievable projects like floating shelves or simple tables, and gradually build your skills. The tools you need are accessible, and the satisfaction of creating something beautiful with your own hands is immense.
So, gather your materials, get your safety gear on, and start planning your next sleek woodworking project. You’ve got this, and I can’t wait to see what you create! Happy building!
