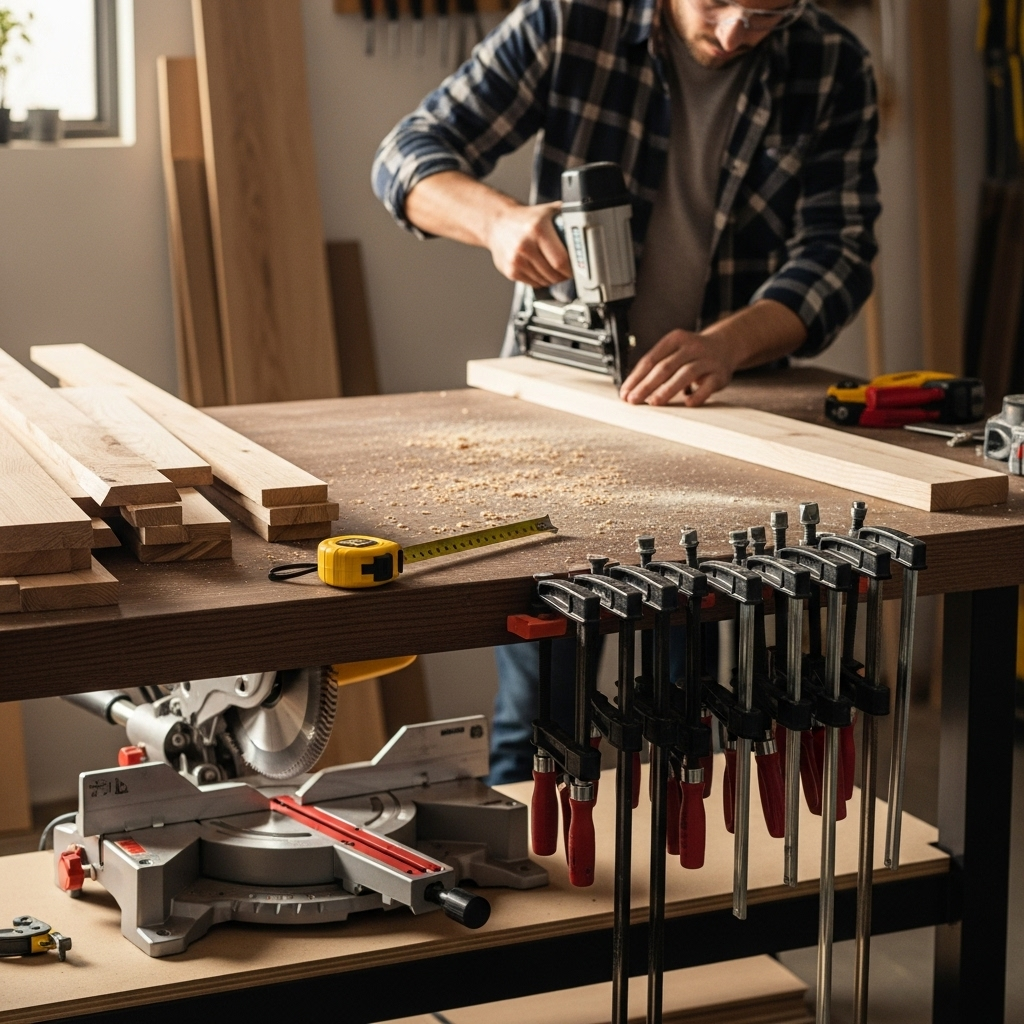
Don’t let a jammed nail gun stop your project! This guide offers simple, safe steps to quickly unjam your nail gun, getting you back to work efficiently. We’ll cover common causes and easy fixes for most nailer types.
Building or fixing things with a nail gun is a fantastic way to speed up your projects. But what happens when it suddenly stops firing and a nail gets stuck? It’s a common frustration for DIYers and pros alike! Don’t worry, a jammed nail gun doesn’t mean a trip to the repair shop. Most jams are surprisingly easy to fix yourself with a few simple steps and a little patience. You’ll be driving nails again in no time. Let’s dive into how you can tackle this common issue safely and effectively.
Table of Contents
Understanding Why Nail Guns Jam
Before we get to the fixes, it’s helpful to understand why nail guns jam. Knowing the cause can help prevent future jams and make clearing them easier. While each nailer type might have slight variations, a few common culprits are at play:
- Improper Nail Loading: This is probably the most frequent reason. If nails aren’t aligned correctly in the magazine or are of the wrong size/type, they can shift and misfeed, leading to a jam.
- Dry Firing: Repeatedly firing the nail gun without holding it firmly against the work surface (dry firing) can sometimes cause the driver blade to hit the magazine or recoil improperly, leading to a jam.
- Dull or Damaged Driver Blade: The driver blade is the part that strikes the nail head. If it’s bent, chipped, or worn out, it can miss the nail head, get stuck, or bend nails, causing jams.
- Lack of Lubrication: Most pneumatic nail guns require periodic lubrication to keep their internal parts moving smoothly. Without it, seals can dry out, and the piston might stick, causing jams.
- Debris in the Magazine: Small pieces of wood, dust, or old bent nails can accumulate in the magazine and obstruct the smooth feeding of new nails.
- Low Air Pressure (Pneumatic Nailers): If your air compressor isn’t providing enough pressure, the nail might not be fully driven, and subsequent nails can get jammed trying to push past it.
- Battery Issues (Cordless Nailers): For cordless models, a weak or improperly seated battery can cause inconsistent power, leading to misfires and jams.
Safety First: Essential Precautions Before Unjamming
Your safety is paramount. Never attempt to unjam a nail gun without taking these crucial safety steps. Working with a nail gun, even when it’s not firing, involves potential hazards. Always remember these points:
Step 1: Disconnect the Power Source
This is the single most important step. Never skip it!
- For Pneumatic Nailers: Completely disconnect the air hose from the nail gun. Make sure the airline is completely depressurized.
- For Cordless/Battery-Powered Nailers: Remove the battery pack from the nail gun.
- For Electric/Corded Nailers: Unplug the power cord from the outlet.
Step 2: Remove Any Remaining Nails
Once the power is disconnected, try to clear any nails from the magazine. This prevents them from being accidentally fired once you start working on the jam.
Step 3: Wear Safety Glasses
Always wear sturdy safety glasses. Even when the gun is powered off, springs are under tension, and small parts could potentially pop out unexpectedly as you work.
Step 4: Never Point the Nail Gun at Yourself or Others
This is a basic safety rule for using nail guns, but it bears repeating even when you’re trying to fix a jam. Treat it as if it were loaded and powered on.
How to Unjam a Nail Gun: Step-by-Step Fixes
Now that safety is covered, let’s get your nailer unjammed. The exact steps might vary slightly depending on your specific nail gun model, but these methods are generally applicable across most types, including framing nailers, finish nailers, and brad nailers.
Method 1: The Gentle Tap and Wiggle (For Minor Jams)
This is your first line of defense for a nail that’s simply not driving correctly or has jammed slightly forward in the nose.
- Ensure Power is Disconnected: Double-check that your air, battery, or power cord is disconnected.
- Locate the Jammed Nail: Look at the nose of the nail gun. Can you see exactly where the nail is stuck? Is it halfway driven, or is it bent?
- Gently Try to Pull the Nail: If a portion of the nail is sticking out, try to grip it with a pair of pliers (needle-nose pliers work best) and gently pull it straight out. Wiggling it slightly might help.
- Tap the Nose: Sometimes, a light tap on the nose of the nail gun against a soft surface (like a piece of scrap wood, not concrete!) can dislodge a nail that’s just slightly out of alignment. Be gentle, you don’t want to damage the tool.
- Check Magazine Feed: Ensure no other nails are sticking out incorrectly in the magazine itself.
- Re-test (Carefully): Once you believe the nail is free, reconnect your power source and try firing the nail gun into scrap wood to ensure it’s working correctly. If it still jams, proceed to the next method.
Method 2: Accessing the Magazine (For More Stubborn Jams)
Many nail guns have a way to open up the magazine to get to the internal feeding mechanism. This is where most common jams are resolved.
- Confirm Power Disconnection: Again, ensure the air hose, battery, or power cord is completely removed.
- Locate the Magazine Release: Most nail guns have a latch or lever, often near the front of the magazine, that allows you to slide or swing it open. Consult your nailer’s manual if you’re unsure. Some models might have a screw that needs to be loosened.
- Open the Magazine: Carefully operate the release mechanism to open the magazine. You’ll typically see a spring-loaded follower that pushes the nails forward.
- Visually Inspect for Obstructions: Look inside the magazine and the nose area. Is there a bent nail? Is the driver blade visible and potentially crooked? Is there any wood debris or foreign object?
- Remove the Obstruction:
- If you see a bent nail, try to carefully pull it out with pliers.
- If the driver blade appears stuck or crooked, do not force it. Sometimes a gentle nudge with a wooden dowel or the handle of a screwdriver (never metal directly on the blade if you can avoid it) can help it reseat.
- Clear out any dust or small wood chips. A small brush or compressed air can be helpful here.
- Reset the Follower: Carefully push the spring-loaded follower back into the magazine. Make sure it moves smoothly.
- Close the Magazine: Close the magazine, ensuring it latches securely.
- Re-check Nail Loading: Load a few nails and ensure they feed smoothly into the driver pathway.
- Reconnect Power and Test: Reconnect the air, battery, or power cord. Fire the nail gun into scrap wood to confirm the jam is cleared.
Method 3: Addressing Driver Blade Issues
If Method 2 didn’t solve the problem, the driver blade itself might be the issue. This is a bit more involved and requires careful handling.
- Power Disconnected & Magazine Open: Follow steps 1 and 2 from Method 2, ensuring the magazine is open.
- Examine the Driver Blade: Look into the nose of the nailer from where the nails fire. The driver blade is typically a long, thin piece of metal that strikes the nail. Is it bent? Is it stuck in a down position?
- Attempt to Reseat the Blade:
- Often, the driver blade can get slightly out of alignment. You might be able to gently push it back into its guides. Use a wooden dowel or the eraser end of a pencil to apply pressure. Avoid using excessive force or sharp metal objects that could damage the blade or its seals.
- If the blade is stuck down, it might be obstructed by a nail fragment or debris. Carefully try to dislodge any visible debris.
- Check for Damage: If the driver blade is noticeably bent or has chips, it may need to be replaced. This can sometimes be a DIY job, but it might be safer to take it to a professional if you’re not comfortable.
- Close Magazine and Test: Once you’ve addressed the blade, close the magazine securely, reconnect power, and test fire into scrap wood.
Method 4: Lubrication and Maintenance (Preventive and Responsive)
For pneumatic nail guns, proper lubrication is key to preventing jams and ensuring smooth operation. Cordless tools may have different maintenance needs.
For Pneumatic Nail Guns:
- Disconnect Air: Always disconnect the air hose.
- Locate Oil Port: Most pneumatic nailers have a small oil port, usually near the air inlet.
- Add Recommended Oil: Using only specialized nail gun oil (never WD-40 or household oils – these can dry out O-rings!), add 2-3 drops.
- Reconnect Air and Fire: Reconnect the air hose and fire the nail gun rapidly into scrap wood 5-10 times to distribute the oil internally.
- Check for Leaks: Listen for any air leaks.
For Cordless Nailers:
Cordless nailers are generally more sealed units. They typically don’t require user lubrication for the firing mechanism. Maintenance often focuses on keeping battery contacts clean and ensuring the tool is free of debris.
Regularly cleaning the exterior and magazine, and keeping batteries charged and clean, are the best maintenance practices. Refer to your cordless nailer’s manual for specific care instructions.
Common Nail Gun Jam Scenarios and Specific Fixes
Different types of nail guns can experience jams slightly differently. Here’s a look at some common scenarios:
Framing Nailer Jams
Framing nailers are workhorses, often firing full-size nails. Jams can be due to rough handling, forcing nails, or insufficient air pressure for full penetration.
- Scenario: Nail bent while driving, causing the next nail to jam.
- Fix: Disconnect air. Open the magazine. Carefully extract the bent nail with pliers. Inspect the driver blade for any damage. Ensure the magazine follower is moving freely.
- Scenario: Nail gun fires weakly, and the next nail jams.
- Fix: Check your air compressor setting. Ensure it’s delivering the manufacturer’s recommended PSI (pounds per square inch). For many framing nailers, this is around 90-120 PSI, but always check your tool’s specifications, perhaps on the Occupational Safety and Health Administration (OSHA) guidelines for tool safety. Also, check your air hose for kinks or leaks.
Finish Nailer and Brad Nailer Jams
These smaller nailers are used for trim work and delicate projects. Jams might be caused by using the wrong nail length, oily hands, or dirt build-up.
- Scenario: Nail is stuck halfway in the nose, preventing firing.
- Fix: Disconnect power. Try to gently pull the nail out with needle-nose pliers. If that doesn’t work, open the magazine. You may need to push the driver blade back slightly (using a wooden dowel) to free up its mechanism, then try to remove the nail.
- Scenario: Nails are not feeding into the magazine properly, leading to misfires and jams.
- Fix: Open the magazine and inspect the follower. Is it obstructed by sawdust or debris? Clean it out with a dry cloth or brush. Ensure the springs are intact and the follower slides back smoothly.
Cordless Nailer Jams
Cordless nailers offer portability but can sometimes jam due to battery issues or more complex internal mechanisms.
- Scenario: Nail gun fires, but the nail doesn’t drive, and the next one jams.
- Fix: Remove the battery. Check the battery contacts for dirt or damage. Ensure the battery is fully charged and seated correctly. Sometimes, a weak battery can cause inconsistent power leading to jams. Try firing into scrap repeatedly after reseating the battery. If it persists, inspect the nose area for obstructions after disconnecting power.
- Scenario: Tool makes a strange noise, and then jams.
- Fix: This could indicate a more internal issue. Disconnect the battery immediately. Inspect the magazine and nose for obvious debris or bent nails. Don’t force excessive pressure. If you suspect internal damage, consult your tool manufacturer’s documentation or contact their support.
Tools You Might Need for Unjamming
You probably have most of these in your toolbox already. Having them handy can make the process much smoother.
- Safety Glasses: Non-negotiable!
- Pliers: Needle-nose pliers are excellent for gripping stuck nails. Standard pliers can also work.
- Screwdriver (Flathead): Sometimes useful for gently prying open panels or nudging components, but use with extreme caution to avoid damage.
- Wooden Dowel or Pencil: For gently pushing back driver blades or dislodging stubborn debris without scratching metal parts.
- Small Brush: To clear out dust and debris from the magazine.
- Compressed Air (Optional): A can of compressed air can help blow out small debris from tight spots.
- Allen Wrench/Hex Key: Some nail guns require these to access certain parts of the magazine or nose.
- Nail Gun Oil: Specifically for pneumatic tools.
Table: Common Nail Gun Problems and Solutions
Here’s a quick reference table for common nail gun issues you might encounter, including jams:
| Problem | Likely Cause | Solution |
|---|---|---|
| Nail Gun Jams | Improperly loaded nails, bent driver blade, debris, lack of lubrication (pneumatic). | Disconnect power, open magazine, remove obstruction, check/reseat driver blade, lubricate (pneumatic). |
| Nails Not Firing | No power (air, battery, or electric), jammed mechanism, safety lockout engaged. | Check power source, ensure tool is against work surface, manually clear jams, check safety switch. |
| Nails Firing Weakly | Low air pressure (pneumatic), weak battery (cordless), internal issue. | Increase air pressure to recommended PSI, charge/replace battery, perform maintenance. |
| Nail Bending | Incorrect nail type/size, surface too hard, worn driver blade. | Use correct fasteners, ensure adequate air pressure, inspect driver blade for damage. |
| Air Leaks (Pneumatic) | Loose fittings, worn O-rings, damaged seals. | Tighten fittings, inspect seals, apply lubricant to seals, replace worn parts. |
When to Seek Professional Help
While most nail gun jams are DIY-friendly, there are times when it’s best to step away and consult a professional. If you’ve tried the steps above and the nail gun is still malfunctioning, or if you notice:
- A visibly bent or broken driver blade that you can’t reseat.
- Cracked housing or other significant physical damage.
- Persistent air leaks after lubrication and basic seal checks.
- The tool continues to jam repeatedly after multiple attempts to clear it, even with brand-new, correct nails.
- Any internal components seem completely seized or damaged.
In such cases, forcing the issue can cause more damage, leading to a more expensive repair. It’s often more cost-effective to take it to a tool repair shop or contact the manufacturer’s service department. Resources like the <a href