Quick Summary:
Reduce nail gun shock by using the right tool, adjusting settings, maintaining grip, and practicing good technique. Proper setup and material handling are key to a smoother, more controlled nailing experience, protecting your hands and improving project accuracy. This guide provides essential tips for a vibration-free project.
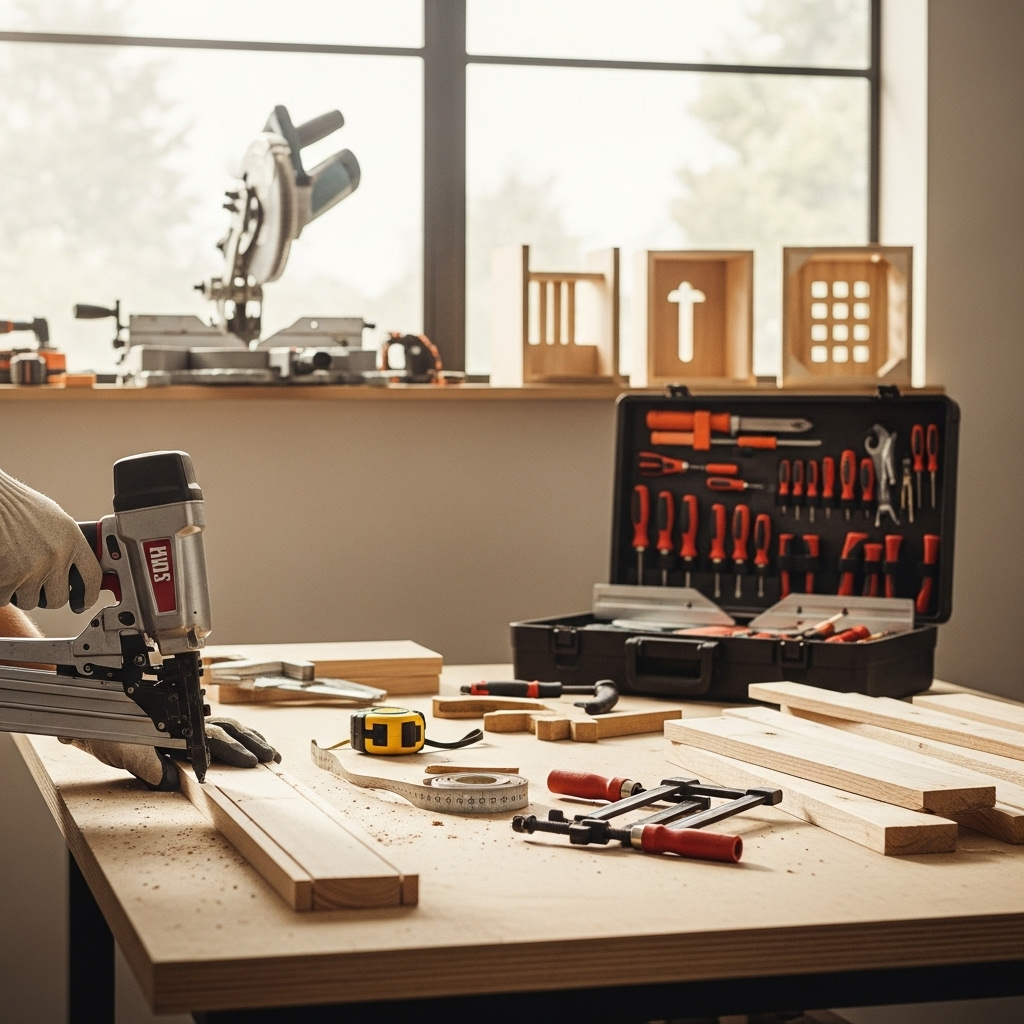
Hey DIYers and aspiring woodworkers! It’s Jack from Nailerguy, and I know that feeling. You’re excited about your project, you pull the trigger on your nailer, and BAM! A jolt runs up your arm, the nail goes in crooked, or maybe it just doesn’t go in at all. Vibration is a common frustration with nailing, whether you’re using a trusty hammer or a powerful nail gun. It can be uncomfortable, lead to inaccurate work, and even cause damage. But don’t worry! It’s totally manageable. Today, we’re going to walk through some proven, essential methods to significantly reduce vibration when nailing, making your DIY tasks smoother, safer, and much more enjoyable. Get ready to say goodbye to that jarring shock and hello to precise, clean nail placements!
Table of Contents
Why Does Nailing Cause Vibration?
Before we dive into solutions, let’s quickly touch on why vibration happens in the first place. When you strike a nail, either with a hammer or a nail gun, you’re imparting a sudden, concentrated force. This force travels through the nail, into the material, and up through the tool and your hand. Think of it like a mini-shockwave. With a hammer, your hand and arm absorb a lot of this energy. With a nail gun, especially pneumatic or gas-powered ones, the internal mechanisms (like the piston and air exhaust) also contribute to the overall recoil and vibration. The intensity of this vibration depends on several factors, including the type of tool, the power source, the size of the nail, and the material you’re working with.
Proven Strategies to Reduce Vibration When Nailing
Tackling vibration isn’t about a single fix; it’s about a combination of smart choices and techniques. I’ve broken down the most effective methods to help you get a more comfortable and controlled nailing experience.
1. Choose the Right Nailer for the Job
This is your first line of defense against excessive vibration. Different types of nailers have fundamentally different ways of driving nails, which directly impacts the shock you feel.
- Electric Nailers (Corded & Battery): These are generally the smoothest. Instead of a powerful blast of air or gas, they use a motor and a flywheel or a spring-loaded mechanism. The force is more controlled and gradual, resulting in less jarring impact. They are excellent for general DIY tasks and interior trim work.
- Pneumatic (Air) Nailers: These are powerful and efficient, but they can also produce noticeable vibration, especially larger framing or roofing nailers. The “bang” comes from compressed air driving a piston. The exhaust of this air can contribute to recoil.
- Gas-Powered Nailers: These use a fuel cell and battery to ignite a small charge, driving the nail. They are very powerful and portable, but the combustion process can lead to more pronounced recoil and vibration. They are often used for concrete or heavy-duty framing where portability is key.
2. Optimize Your Nailer’s Settings
Many modern nailers offer adjustable settings that can make a big difference in how they operate and how much vibration you experience.
- Depth Adjustment: Ensure your depth adjustment is set correctly. If the nailer is set too deep, it might be driving the nail into the underlying material harder than necessary, leading to extra shock. Conversely, if it’s not deep enough, you might be tempted to press harder, which can also increase perceived vibration. Aim for the nail head to be flush or slightly countersunk without overdriving.
- Nail Pressure (for Pneumatic Nailers): For air-powered nailers, adjusting the air pressure from your compressor is crucial. Too much pressure will drive nails with excessive force, increasing recoil. Too little will lead to inefficient nailing. You want just enough pressure to drive the nail effectively into the material. Refer to your nailer’s manual for recommended pressure ranges. Typically, this will be between 70-120 PSI. Working with lower acceptable pressure will reduce vibration.
3. Master Your Grip and Stance
How you hold and position yourself can absorb or amplify the vibration. It might seem simple, but these details are essential!
- Firm, Not White-Knuckle Grip: Hold the nailer firmly but avoid squeezing it too tightly. An overly tight grip can tense your muscles, making you more susceptible to feeling the vibration. Relax your grip slightly while maintaining control of the tool.
- Proper Stance: Stand with your feet shoulder-width apart for a stable base. This allows your body to absorb some of the impact naturally. Avoid standing on uneven surfaces or in an awkward position that forces you to brace yourself unnaturally.
- Absorb the Recoil: Instead of fighting the recoil, learn to absorb it. Keep the nailer pressed firmly against the surface you are nailing. When you trigger the nailer, allow the tool to move slightly back into your hand, using your arm and shoulder to absorb the shock. Think of it like a gentle push rather than a sudden jolt.
4. Consider the Material Being Nailed
The material you’re working with plays a significant role in how vibration is transmitted.
- Hardwoods vs. Softwoods: Nailing into hardwoods will generally result in more vibration than nailing into softwoods. The dense nature of hardwoods requires more force to drive a nail, and this resistance leads to greater impact shock.
- Substrates and Backing: If you’re nailing into a material that has a firm substrate behind it (like solid wood framing or a concrete block wall), you’ll feel more vibration than if you’re nailing into something softer or with some give. For example, nailing directly into drywall without hitting a stud can cause more flutter and vibration. Always aim for solid backing.
- Using the Right Nail: Make sure you’re using the correct size and type of nail for the job and material. Too thin a nail in hardwood can bend and cause extra resistance, increasing vibration. Too large a nail in softwood might split the wood, leading to an uneven drive and potentially more impact.
For more on choosing the right fasteners, check out this helpful guide on nail types from Family Handyman. They offer some great insights into matching nails to your projects.
5. Employ Smart Nailing Techniques
Your technique can minimize the perceived impact and improve accuracy.
- Sequential vs. Contact Actuation: Most nailers have two firing modes: sequential (trigger pull then nose contact) and contact (nose contact then trigger pull, also called “bump fire”). While contact actuation is faster, it can lead to more accidental firings and potentially more vibration if not used precisely. For reducing perceived vibration and improving control, especially for beginners, sequential firing is often better. It ensures you’re deliberate with each nail placement.
- Maintain a Clean Workspace: Ensure you’re not working around loose debris or unstable materials that can shift when you nail. A stable environment contributes to a stable nailing experience.
- Pre-drilling for Hardwoods (When Appropriate): For very hard woods where splitting is a risk, or when you want maximum control, pre-drilling a pilot hole slightly smaller than your nail can reduce the resistance and thus the vibration significantly. This is a common practice in fine woodworking.
6. Maintain Your Tools and Use Accessories
A well-maintained tool works more efficiently and often with less vibration.
- Regular Maintenance: Keep your nailer clean and lubricated according to the manufacturer’s instructions. For pneumatic nailers, ensure your air hose is free of leaks and your air fittings are secure. A well-oiled piston and cylinder will run smoother.
- Anti-Vibration Gloves: While not a direct tool adjustment, wearing anti-vibration gloves can significantly dampen the shock that reaches your hands. These gloves have specialized padding designed to absorb impact and reduce fatigue. They are a worthwhile investment for anyone who does a lot of nailing.
- Check O-rings and Seals: Worn O-rings or seals in pneumatic nailers can lead to inconsistent power and increased vibration. Check your tool’s manual for replacement procedures or consult a repair shop if you suspect an issue.
7. When to Use a Hammer (and How to Reduce Vibration There Too!)
Sometimes, for smaller projects or specific situations, a good old-fashioned hammer is the best tool. And yes, you can reduce vibration when hammering too!
- Choose the Right Hammer: A hammer with some weight and a well-balanced design will feel more comfortable. Fiberglass handles can also help dampen some vibration compared to solid steel.
- Grip: Hold the hammer towards the end of the handle for maximum leverage and control. Avoid gripping too tightly. Let the weight of the hammer do the work.
- Swing: Use your wrist and elbow for the swing, not just your shoulder. A smooth, controlled swing generates more accurate force and less jarring.
- Use the Right Nails: Again, pairing the nail with the wood and using a good quality nail is essential.
- Shock-Absorbing Mallets: For delicate work, consider using a specialized mallet or a rubber hammer which is designed to deliver force with less impact.
The National Safety Council provides excellent resources on tool safety, which includes best practices for handling tools that can cause vibration. You can find more information on their site at nsc.org/work-safety/tools-equipment.
Troubleshooting Common Vibration Issues
Even with the best techniques, you might encounter persistent vibration. Here’s a quick troubleshooting guide:
| Problem | Possible Cause | Solution |
|---|---|---|
| Excessive vibration with pneumatic nailer | Air pressure too high | Lower air pressure to recommended range (70-120 PSI, check manual) |
| Excessive vibration with pneumatic nailer | Worn O-rings or seals | Inspect and replace worn parts. |
| Excessive vibration with pneumatic nailer | Air leaks in hose or fittings | Repair or replace damaged hoses/fittings. |
| Excessive vibration with ANY nailer | Improper grip or stance | Practice a firm, relaxed grip and a stable stance. Absorb recoil. |
| Excessive vibration with ANY nailer | Nailing into very hard material without proper setup | Consider pre-drilling, using smaller nails, or adjusting depth settings. |
| Tool feels “loose” and vibrates a lot | Lack of maintenance; needs lubrication or cleaning | Perform regular maintenance as per the tool’s manual. |
DIY Nailer Vibration Reduction: Essential Gear
While most vibration reduction comes from technique and tool settings, a few helpful accessories can make a big difference:
- Anti-Vibration Gloves: As mentioned, these are fantastic for absorbing shock.
- Air Filters/Lubricators (for Pneumatic): A clean, lubricated air supply ensures your tool runs smoothly, reducing internal friction and vibration.
- Tool Mats: While not directly reducing nailing vibration, a good mat can help stabilize your work surface and prevent tools from sliding, contributing to a safer and more controlled environment.
Frequently Asked Questions (FAQ)
Q1: Will electric nailers reduce vibration compared to air nailers?
A1: Yes, generally, electric nailers (both corded and battery) tend to have less recoil and vibration than pneumatic (air) or gas-powered nailers. They use different drive mechanisms that are often smoother.
Q2: How much air pressure should I use for my pneumatic nailer?
A2: The ideal air pressure varies by nailer model and the task. A common range is between 70-120 PSI, but always consult your tool’s user manual for the manufacturer’s recommended settings. Using the lowest effective pressure can minimize vibration.
Q3: Does the type of wood affect nail gun vibration?
A3: Absolutely. Nailing into dense hardwoods will typically create more vibration than nailing into softer woods because they offer more resistance to the nail driving force.
Q4: Can I use my nailer for long periods without breaking?
A4: It’s wise to take breaks, especially if you’re experiencing fatigue or discomfort. Prolonged exposure to even moderate vibration can lead to health issues like Hand-Arm Vibration Syndrome (HAVS). Regular breaks help manage this risk.
Q5: What’s the best way to hold a nail gun to minimize vibration?
A5: Hold the nail gun firmly, but not with a death grip. Allow the tool to press against the material and absorb the recoil into your arm and shoulder. Relax your grip slightly to prevent tensing up.
Q6: My nail gun feels weak and vibrates a lot. What could be wrong?
A6: This could be due to low air pressure (for pneumatic), a clogged or unlubricated mechanism, or worn internal parts like O-rings. Check your air supply and perform basic maintenance. If the problem persists, refer to the manual or seek professional repair.
Q7: Are there any DIY tricks to absorb vibration?
A7: While professional anti-vibration gloves are best, ensuring you have a firm, stable stance, not over-tightening your grip, and using the tool’s recoil dampening features (by letting it absorb into your body) are effective DIY techniques.
Conclusion
Reducing vibration when nailing is entirely achievable for any DIYer. It’s not about eliminating it completely, but about managing it smartly. By selecting the right tool, understanding and adjusting your nailer’s settings, adopting a proper grip and stance, considering your materials, and practicing good techniques, you’ll notice a significant difference. Don’t forget that regular tool maintenance and considering accessories like anti-vibration gloves can further enhance your comfort and control.
Remember, patience and practice are your best friends. Each nail you drive using these techniques is a step towards more enjoyable, accurate, and safer woodworking projects. You’ve got this! Keep building, keep learning, and always nail with confidence. Happy building from your friend at Nailerguy!