Proper ventilation setup for pneumatic nailers is crucial for tool longevity, efficiency, and your safety, ensuring clean, dry air reaches the tool and harmful exhaust is managed effectively.
Hey there, fellow DIYers and woodworking enthusiasts! Jack Shaffer here from Nailerguy. Ever noticed your nailer sputtering a bit, or maybe heard a strange hiss that wasn’t part of the usual charm? It’s often down to the air supply. Getting the right ventilation setup for your pneumatic nailer isn’t just about keeping your tool happy; it’s key to making sure it works reliably every single time you pull the trigger. Don’t worry, it’s not as complicated as it sounds! We’re going to walk through this step-by-step, making sure you get clean air to your nailer and safely manage the exhaust. Ready to power up your projects with confidence? Let’s dive in!
Table of Contents
Why Proper Ventilation Matters for Your Pneumatic Nailer
So, why all the fuss about air and exhaust? Think of your pneumatic nailer like a high-performance race car. It needs the right fuel (clean, dry air) and its exhaust needs to be managed properly so it doesn’t choke or break down.
When you use a pneumatic nailer, it powerfully drives a nail using compressed air. This air comes from a compressor and travels through hoses. If this air isn’t clean and dry, it can cause real problems:
Rust and Corrosion: Water in the air system acts like a tiny rust accelerant. Over time, this can damage internal parts of your nailer, leading to leaks and eventual failure.
Lubrication Issues: Air compressors often inject a small amount of oil into the air stream to lubricate the tool. However, too much oil or the wrong type can gum up the works. Conversely, no oil can lead to premature wear.
Reduced Performance: Clogged filters or moisture can restrict airflow, making your nailer less powerful. You might find nails not sinking fully into the wood, which is super frustrating mid-project.
Component Damage: Debris in the air supply, like dust or metal shavings from the compressor, can scratch or damage delicate seals and pistons inside your nailer.
Safety Concerns: While less common, a poorly maintained system could potentially lead to erratic firing or other safety issues.
Beyond the air going in, there’s the air coming out. Pneumatic nailers exhaust air after each shot. If this exhaust is directed unsafely or into an enclosed space without proper airflow, it can create a dusty, noisy, and potentially hazardous environment.
The good news is that setting up proper ventilation is straightforward and easily manageable. By the end of this guide, you’ll completely understand how to keep your nailer running smoothly and safely, project after project.
Understanding the Key Components of a Pneumatic Air System
Before we set up ventilation, let’s quickly look at the main players involved. Think of this as your toolkit for perfect air.
Your pneumatic nailer runs on compressed air. This air starts its journey at an air compressor and travels through various components before reaching your nailer. Each part plays a vital role in ensuring the air is clean, the pressure is correct, and the tool operates efficiently.
Here are the essential components you’ll encounter:
Air Compressor: This is the heart of the system. It takes ambient air, compresses it, and stores it in a tank. Compressors come in various sizes, and choosing the right one for your nailer is important. You can learn more about selecting the right air compressor for your needs over at Family Handyman’s comprehensive guide.
Air Hose: This is the flexible conduit that carries the compressed air from the compressor to your nailer. It needs to be the right diameter and length for your application, and it must be rated for the pressure of your compressor.
Air Filter: This component removes dust, dirt, and other particulate matter from the compressed air. It’s like a coffee filter for your air, ensuring only clean air makes it to your tool. Good filters are essential for preventing debris from entering and damaging your nailer.
Air Regulator: This device controls and maintains the air pressure supplied to your nailer. Most nailers have a recommended operating pressure range, and a regulator ensures you’re always within it. Too much pressure can damage the tool; too little means it won’t perform correctly.
Air Lubricator (Optional but Recommended for Some Tools): For tools that require it, a lubricator injects a fine mist of oil into the compressed air. This is crucial for maintaining the internal moving parts of certain pneumatic tools. However, NOT all nailers need lubrication, so always check your tool’s manual.
Quick Connect Couplers: These fittings allow you to easily connect and disconnect your air hose from the compressor, tools, and other air line accessories.
Moisture Trap/Water Separator: This is arguably the most critical component specifically for your nailer’s health involving ventilation. It actively removes water vapor from the compressed air, preventing moisture from reaching your tool.
Understanding these parts helps us see how a complete setup ensures your nailer gets the best possible air.
Step-by-Step: Setting Up Proper Ventilation for Your Pneumatic Nailer
Let’s get our hands dirty and set up this system. Follow these steps to ensure your nailer is breathing easy and performing at its best.
Step 1: Connect the Air Source (Compressor)
First things first, make sure your air compressor is placed on a stable, level surface. It needs adequate space around it for airflow and cooling. Connect your main air hose to the compressor’s output port. Use a reliable coupler.
Ensure the compressor’s tank is drained of any accumulated water before starting.
Check the compressor’s manual for correct hose connection procedures.
Step 2: Integrate Essential Air Treatment Components
This is where the magic of clean, dry air happens. You’ll typically want to install these in sequence, usually right after the compressor and before the hose that goes to your tool.
The ideal setup includes a filter, regulator, and potentially a lubricator (if your nailer requires it). This trio is sometimes called an “air preparation unit” or “air service unit.”
Here’s the common order:
1. Air Filter: Connects directly to the compressor’s outlet. It’s the first line of defense against particulates.
2. Air Regulator: Connects after the filter. This allows you to dial in the precise air pressure your nailer needs.
3. Air Lubricator (Optional): Connects after the regulator. If your nailer’s manual specifies lubrication, this is where it goes.
Important Note on Air Treatment Order: Always check the manufacturer’s recommendations for your specific air treatment components. While the Filter-Regulator-Lubricator (F-R-L) is standard, some units might be combined, or the order might vary in very specific setups.
You’ll want to use short, strong pipe nipples or adapters to connect these units if they aren’t already integrated into a single manifold. Pipe thread tape (PTFE tape) is essential for creating a leak-proof seal at each connection.
Step 3: Attach Your Air Hose and Connect to the Nailer
Now, connect your main air hose to the output of your air treatment unit (the regulator or lubricator). Make sure you use a high-quality quick-connect coupler that matches your nailer’s fitting.
Use the correct size hose. A hose that’s too narrow can restrict airflow and reduce your nailer’s power. A 3/8-inch or 1/2-inch diameter hose is generally suitable for most pneumatic nailers used in woodworking.
Ensure the hose is rated for at least 150 PSI or more, depending on your compressor’s maximum pressure.
Once the hose is securely connected to the air line, attach the other end to your pneumatic nailer. Again, a good quality quick-connect makes this process swift and secure, preventing those frustrating air leaks.
Step 4: Set the Correct Air Pressure (Crucial!)
This is arguably the most critical step for your nailer’s performance and longevity.
1. Consult Your Nailer’s Manual: Every nailer has a recommended operating pressure range. This is usually listed in PSI (Pounds per Square Inch). This information is vital! You can find detailed specifications on tool manufacturer websites or in the physical manual that came with your nailer.
2. Turn On the Compressor: Let your compressor build up pressure.
3. Adjust the Regulator: With the nailer NOT firing (safety first!), slowly adjust the regulator’s knob. Most regulators have a small dial or screw you can turn.
If the pressure is too low, your nailer won’t drive nails properly.
If the pressure is too high, you risk damaging the nailer, blowing seals, or even causing dangerous malfunctions.
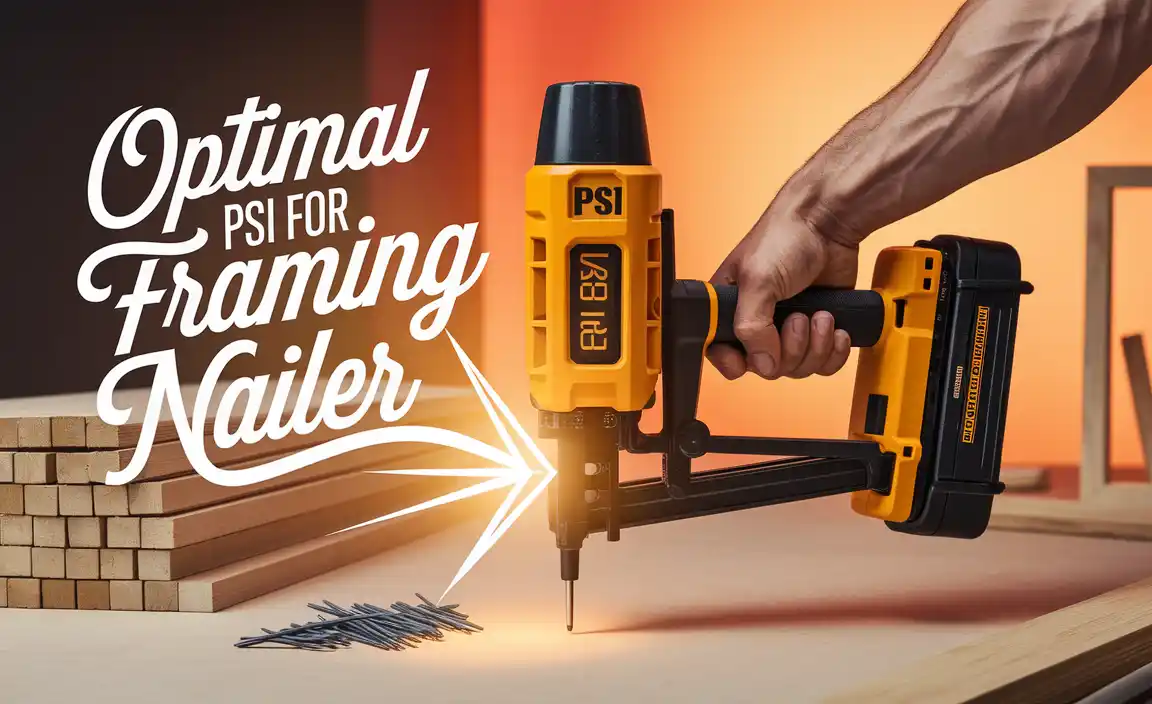
4. Test and Fine-Tune: A common starting point for many framing and finishing nailers is around 90-100 PSI. However, always start with your manual’s recommendation. You might need to make minor adjustments based on the type of wood you’re using and the length/type of nails.
For example, a delicate trim nailer might operate best at 70-80 PSI, while a framing nailer might need 90-120 PSI. Always err on the side of caution and start at the lower end of the recommended range.
You can get a general idea of typical operating pressures for different nailer types in this helpful chart:
| Nailer Type | Typical Operating Pressure (PSI) | Notes |
|---|---|---|
| Framing Nailer | 90 – 120 PSI | Requires higher pressure for driving large nails into harder woods. |
| Finish Nailer (Angled & Straight) | 70 – 100 PSI | Versatile for various trim and molding applications. |
| Brad Nailer | 60 – 90 PSI | Ideal for detailed trim, panels, and delicate woodworking. |
| Pin Nailer | 40 – 70 PSI | Used for very fine work, tacking, or pre-drilling pilot holes where no holding power is needed. |
| Stapler | 70 – 100 PSI | Pressure varies depending on staple size and material. |
Step 5: Manage the Exhaust Air
Now, let’s talk about the air that’s expelled after each nail is fired. Most pneumatic nailers exhaust air from a port near the trigger or handle.
Direction: Many nailers have adjustable exhaust ports. If yours does, direct the exhaust away from your face, your work area, and especially away from sawdust. You don’t want to be blowing dust and debris directly into your eyes or onto your perfectly cut pieces.
Noise Reduction: The exhaust can be noisy. Some nailers come with baffles or mufflers integrated into the exhaust port to reduce sound. If yours doesn’t, or if you find it too loud, consider aftermarket exhaust mufflers that can thread onto the port. These are inexpensive and can significantly improve your working environment.
Dust Control: In areas where dust is a major concern (like indoors or with fine woodworking), you might want to attach a small hose or flexible duct to the exhaust port and run it to a vent or a dust collection system if you have one. This helps keep your workspace cleaner.
Maintaining Your Pneumatic Nailer for Optimal Performance
Proper setup is just the beginning. Regular maintenance ensures that your nailer continues to perform optimally and lasts for years.
Think of maintaining your bike: a little tune-up goes a long way. Your nailer is no different!
Here are some key maintenance tips:
Regular Air Line Checks
Leak Detection: Periodically disconnect the air hose from the nailer (ensure the compressor is off and the system is depressurized!) and listen or use soapy water to check for leaks at all connection points – compressor, regulator, couplers, and hose ends. Even small leaks waste air and money.
Hose Condition: Inspect your air hoses for cracks, abrasions, or damage. Damaged hoses can rupture under pressure, which is dangerous.
Filter and Water Separator Maintenance
Drain Regularly: Moisture traps and water separators are designed to collect water. You need to drain them regularly. For daily use, try to drain them at the end of each workday. For less frequent use, drain them before and after each project.
Clean or Replace Filters: Your air filter will eventually clog with dust and debris. Check it periodically as per the manufacturer’s recommendation and clean or replace it as needed. A clogged filter is a major cause of reduced airflow and poor nailer performance.
Nailer Lubrication (If Applicable)
Follow the Manual: If your nailer requires oil, use only the type recommended by the manufacturer. Over-oiling or using the wrong oil can cause more harm than good. A few drops before a day of heavy use is often sufficient.
Check for Clogs: If you miss lubrication, you might hear internal parts grinding. If you’re using an inline lubricator, ensure it’s filled and functioning correctly.
Storage
Depressurize: Always depressurize your tool and disconnect the air hose before storing it.
Keep it Clean: Store your nailer in a dry place, free from dust and moisture. A protective case is a great investment.
Troubleshooting Common Ventilation-Related Issues
Even with the best setup, you might run into a hiccup now and then. Here are some common problems and their solutions related to your pneumatic setup.
Problem: Nailer isn’t driving nails fully.
Cause: Insufficient air pressure or restricted airflow.
Solution:
Check your regulator setting. Ensure it’s within the nailer’s recommended range.
Inspect your air filter for clogs. Clean or replace it.
Check your air hose for kinks or damage that restricts flow. Ensure the hose diameter is adequate for your tool.
Check for leaks in the air line or at couplers.
Ensure your air compressor can keep up with the demand of your nailer.
Problem: Nailer is “spitting” or has inconsistent firing.
Cause: Moisture in the air line or debris.
Solution:
Drain your compressor tank, water separators, and any inline moisture traps.
Check your air filter for debris and clean or replace it.
If your nailer requires oil and you use an inline lubricator, ensure it’s filled and functioning. If it doesn’t require oil, ensure you haven’t accidentally added one or that your compressor isn’t over-oiling.
Problem: Air leaks are constant.
Cause: Loose connections, damaged O-rings or seals, or worn-out couplers.
Solution:
Visually inspect all connection points (around regulators, filters, hoses, couplers).
Use soapy water to pinpoint leaks and then tighten connections. Reapply PTFE tape if necessary.
Replace any worn or damaged O-rings or seals in your couplers or tool fittings.
Problem: Excessive moisture in the air.
Cause: Inadequate moisture trap, compressor running too close to its duty cycle, or very humid ambient air.
Solution:
Ensure your moisture trap is functioning and drained regularly. Consider upgrading to a more effective unit if needed.
Be mindful of your compressor’s duty cycle (the percentage of time it can run continuously). Don’t run it past its limit, as this can cause it to overheat and put more moisture into the air.
* Consider an air dryer if you work in extremely humid conditions or need exceptionally dry air. You can learn more about preventing moisture in compressed air systems from the Compressed Air Best Practices association.
Frequently Asked Questions (FAQ) About Pneumatic Nailer Ventilation
Here are some common questions beginners have about keeping their pneumatic nailers running smoothly with proper air setup.
Q1: Do all pneumatic nailers need oil?
No, not all pneumatic nailers require oil. Many modern nailers, especially smaller or precision ones like brad nailers and finish nailers, are designed to be “oil-free.” Always check your tool’s manual. If it doesn’t specify oil, it likely doesn’t need it, and adding oil can actually damage the tool.
Q2: How often should I drain the water from my compressor tank and moisture traps?
It’s best practice to drain your compressor tank at the end of every workday. Moisture traps and inline separators should be checked and drained daily, or after each significant use. If you live in a humid climate, you may need to drain them even more frequently.
Q3: What is the ideal air pressure for my nailer?
The ideal air pressure is strictly determined by your specific nailer model. Always refer to the manufacturer’s manual for the recommended operating pressure range. Common ranges are 70-120 PSI, but this can vary significantly. Setting it too high can damage the tool; too low will result in poor performance.