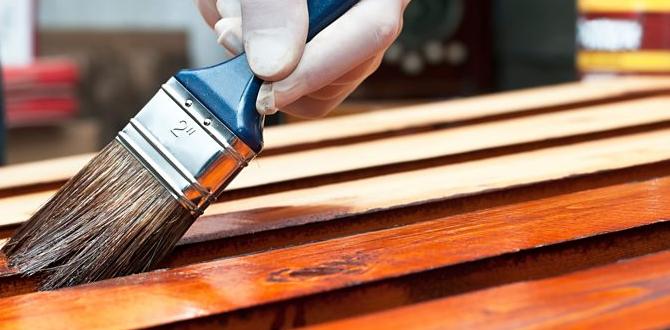
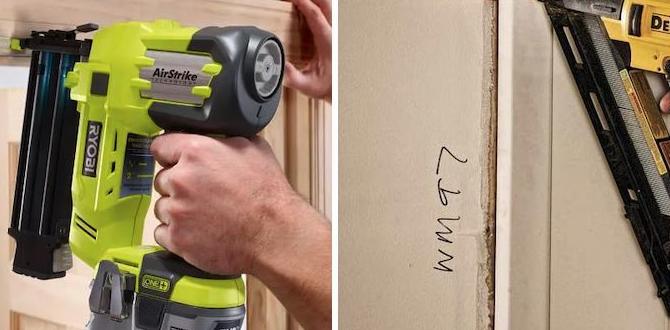
Have you ever tried to hang delicate trim in your home? It can be tricky! You want everything to look perfect without damaging your materials. That’s where a pin nailer for delicate trim can save the day. This handy tool uses tiny nails to hold your trim in place without splitting the wood.
Imagine working on a beautiful project like a new baseboard or crown molding. You want it to shine, but you worry about those big nails. Using a pin nailer lets you secure your trim easily and it stays hidden! Plus, this tool makes your work faster and cleaner.
Here’s a fun fact: did you know that pin nailers have been around since the 1960s? They’ve made life easier for carpenters and DIY lovers alike. With just a squeeze of the trigger, you can create stunning designs without the worry of damage.
Ready to learn more about how a pin nailer can help your project? Let’s dive in and explore its benefits!
Table of Contents
The Best Pin Nailer For Delicate Trim: Precision Tools Review
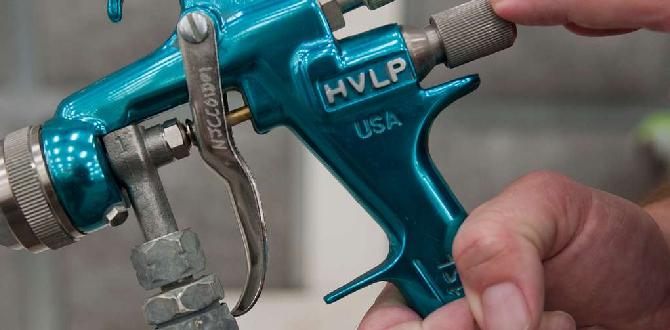
A pin nailer is a handy tool for delicate trim work. It uses thin nails that leave tiny holes, making it perfect for detailed projects. Have you ever struggled with big nails ruining your handiwork? This tool helps avoid that! It’s ideal for attaching small moldings or panels without split wood. Plus, it can speed up your work. With a pin nailer, you can achieve a clean and professional finish on your trim projects effortlessly!
What is a Pin Nailer?
Definition and purpose of a pin nailer. Difference between pin nailers and other nailers.
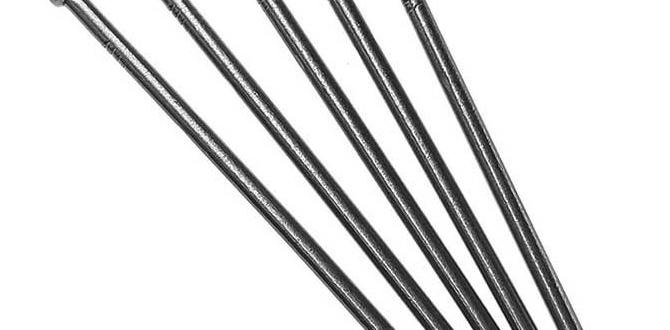
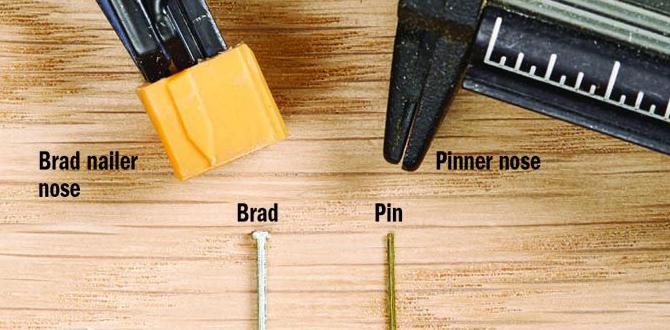
A pin nailer is a special tool that shoots tiny nails called pins into wood. It helps attach small pieces of trim without making big holes. Imagine trying to fasten a feather with a hammer! It’s tricky, right? Pin nailers are different from regular nailers. Regular nailers use bigger nails and can leave noticeable marks. Here’s a quick comparison:
| Aspect | Pin Nailer | Other Nailers |
|---|---|---|
| Nail Size | Very small pins | Standard nails |
| Usage | Delicate trim | Heavy duty tasks |
| Visibility | Minimal holes | More noticeable marks |
Using a pin nailer keeps your projects neat and tidy. It’s perfect for delicate work, like crown molding! So, say goodbye to those awkward hammer moments!
Benefits of Using a Pin Nailer for Delicate Trim
Precision and finesse in nailing. Minimization of damage to fine trim materials.
A pin nailer is perfect for delicate trim. It helps with precision and finesse in nailing. This tool drives in tiny nails that hold trim firm without leaving big holes. You can work on fine trim materials without much hassle. Here are some benefits:
- Less damage to your trim
- Quick and easy nailing
- Great for detailed designs
Your trim looks nice and clean. Why struggle with heavy tools? A pin nailer can make your work easier and more fun!
Why should I use a pin nailer for delicate trim?
A pin nailer helps you work on delicate trim without damaging it. It ensures a clean finish and saves you time!
Key Features to Look for in a Pin Nailer
Gauge size and nail length options. Depth adjustment features. Weight and ergonomics for ease of use.
Choosing the right pin nailer makes a difference. Look for these key features:
- Gauge size and nail length: Check if the nailer offers different sizes. They help fit various trim styles.
- Depth adjustment: This feature lets you control how deep the nails go. It helps avoid damage to your trim.
- Weight and ergonomics: A lighter nailer is easier to use. Good grip means less fatigue when working.
These features help make your projects smoother and more enjoyable!
What should I consider when buying a pin nailer?
Think about gauge size, depth adjustment, and weight. These features can improve your experience and results!
Top Pin Nailers for Delicate Trim in 2023
Reviews and comparisons of popular models. Pros and cons of each model.
Many pin nailers on the market excel at delicate trim work. Here are some popular models and their features:
- Model A: Lightweight, easy to handle, good for small projects.
- Model B: Powerful and accurate, but heavier. Great for bigger jobs.
- Model C: Compact design, perfect for tight spaces, though battery life is short.
Each model has its ups and downs. Choose one based on what’s most important for your work. Do you need light weight, power, or small size?
How to Properly Use a Pin Nailer for Delicate Trim
Stepbystep instructions for beginners. Tips for achieving the best results.
Using a pin nailer can be easy and fun! Follow these steps for delicate trim:
- Start by choosing the right pin size for your project.
- Hold the pin nailer at a 90-degree angle to the trim.
- Press the trigger gently while keeping your hand steady.
- Check your work and fill any gaps if needed.
For the best results:
- Use a scrap piece to test first.
- Keep the tool clean for smooth performance.
- Wear safety goggles to protect your eyes.
Remember, practice makes perfect!
What is the best way to use a pin nailer?
The best way to use a pin nailer is to be steady and patient. Test it on scrap wood first and adjust your technique as needed.
Common Mistakes to Avoid When Using a Pin Nailer
Incorrect pressure settings and their effects. Using the wrong type of nails for the job.
Using a pin nailer is like cooking pasta; too much pressure can ruin the dish! Set the pressure too high, and you might split your delicate trim. Use too low, and the nails might not hold. Remember, using the right nails is key. For instance, using bigger nails can turn your masterpiece into a mess! Always check what you need before starting. Here’s a quick guide:
| Pressure Setting | Effect |
|---|---|
| Too High | Splits trim |
| Too Low | Nails pop out |
| Correct | Smooth finish |
By avoiding these common mistakes, you’ll impress everyone with your trim work and keep the laughs coming instead of the repairs!
Maintenance Tips for Your Pin Nailer
Cleaning and lubrication routines. Storage tips to prolong the life of the tool.
Taking care of your pin nailer keeps it happy and working its best. Start with regular cleaning; wipe down the outside and clear any dust from the vents. For smoother operation, apply a few drops of oil to the moving parts. Remember, a well-greased tool is a happy tool!
| Maintenance Tips | Frequency |
|---|---|
| Clean the exterior | After each use |
| Lubricate the moving parts | Every month |
| Check air pressure | Every use |
| Store in a cool, dry place | Always |
Storing your pin nailer correctly is also key. Keep it in a dry spot away from heat. A cool storage place keeps the parts from rusting. Think of it as giving your tool the best vacation ever, away from danger!
Frequently Asked Questions (FAQs) about Pin Nailers
Common queries and expert answers. Troubleshooting tips for common issues.
Have you ever wondered about pin nailers? Here are some common questions. You know, like, why won’t my pin nailer shoot nails? Check your air pressure! If it’s too low, it’s like trying to blow up a balloon with a tiny straw. Another question might be, why do those nails bend? That happens if you’re using the wrong size nails. Size really does matter! Here’s a quick table to clear things up:
| Question | Answer |
|---|---|
| What type of nails should I use? | Use 23-gauge for delicate trim. |
| Why is it jamming? | Make sure the nails are loaded correctly. |
| How can I maintain it? | Keep it clean and lubricated! |
With these tips, your pin nailer will work better than ever. Happy nailing!
Conclusion
In summary, a pin nailer is perfect for delicate trim work. It drives tiny nails that won’t split your wood. This tool is easy to use and helps you finish projects neatly. If you’re working on trim, consider getting a pin nailer. For more tips on using it, check out additional guides or videos. Happy crafting!
FAQs
What Is The Best Pin Nailer For Installing Delicate Trim Without Damaging The Material?
The best pin nailer for delicate trim is the BOSTITCH HP118K. It has a light touch, so it won’t hurt your materials. You can use it for small and tricky spots. It also help keep your trim looking nice. Make sure to practice with it before starting your project!
How Do You Determine The Appropriate Nail Length When Using A Pin Nailer For Fine Trim Work?
To choose the right nail length for a pin nailer, think about what you’re attaching. The nails should be long enough to go through the trim and a little into the wood underneath. A good rule is to use nails that are about half the thickness of the trim. For example, if your trim is 1 inch thick, use a 1.5-inch nail. Always test on a scrap piece first to make sure it works well!
What Are The Advantages Of Using A Pin Nailer Over Traditional Methods When Working With Delicate Trim?
A pin nailer is great for working with delicate trim because it uses tiny nails that are easy to hide. This means your trim looks nice without big holes. It also makes it faster to finish your work, which is fun! Plus, you won’t damage the trim as much compared to using a hammer. Overall, a pin nailer helps you do a cleaner job.
Can A Pin Nailer Effectively Secure Lightweight Trim Pieces Like Molding Or Veneer Without Splitting?
Yes, a pin nailer can securely attach lightweight trim pieces like molding or veneer. It uses very small nails that help prevent splitting. You can easily use it for small projects around your home. Just make sure to hold the nailer steady when you shoot the nails in.
What Safety Precautions Should Be Taken When Using A Pin Nailer On Fragile Or Ornate Trim?
When using a pin nailer on fragile or fancy trim, we should be careful. First, always wear safety goggles to protect your eyes. Keep your hands away from the nail area to avoid getting hurt. Use the tool gently so you don’t break the trim. Finally, make sure the area is clear of other people to keep everyone safe.