Have you ever admired a beautiful wall of wainscoting in a friend’s home? It’s like a magic touch that makes any room look grand and cozy. But how do those perfect panels get attached so neatly? That’s where a nailer for wainscoting steps in! This handy tool is a game-changer for DIY enthusiasts and professional builders alike.
Using the right nailer can make your wainscoting project smooth and fun. Imagine the satisfaction of watching your vision come to life with each nail you drive in. Have you ever thought about taking on a project like this? You don’t need to be an expert to get started!
In this article, we’ll explore how a nailer for wainscoting can help you achieve stunning results. We’ll look into different types and share tips to make your project a breeze. Are you ready to learn more about this essential tool? Let’s dive in!
Table of Contents
The Best Nailer For Wainscoting: Efficiency And Precision

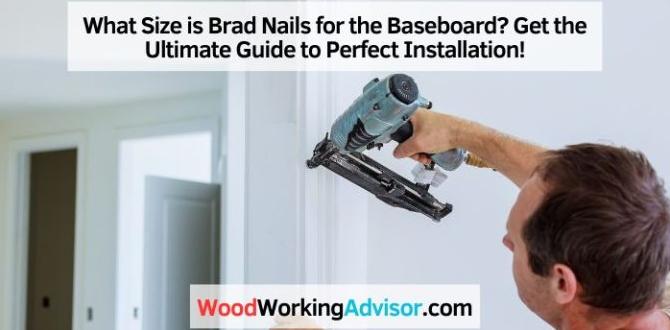
Nailer for Wainscoting
Wainscoting can transform your room. But how do you attach it securely? A **nailer for wainscoting** is the answer! This handy tool helps you place boards easily and firmly. You’ll learn about the different types of nailers, like pneumatic and electric. Each has advantages for your projects. Choosing the right one can save you time and effort. Imagine finishing your wainscoting beautifully and quickly. Getting the right nailer makes that dream a reality!
Understanding Wainscoting
Definition and purpose of wainscoting. Types of wainscoting styles (e.g., beadboard, raised panel, etc.).
Wainscoting is a decorative wall treatment. It adds beauty and protection to lower walls. People use it to make rooms look elegant and stylish. There are different types of wainscoting styles. Some popular ones are:
- Beadboard: A series of vertical planks with grooves.
- Raised Panel: Panels are raised to create depth.
- Flat Panel: Simple and smooth for a modern look.
Choosing the right style can transform a room. It also helps protect walls from damage and wear.
What is wainscoting?
Wainscoting is wall paneling that adds style and protection. It’s a great way to enhance your home’s design.
The Importance of Proper Nailing Techniques
How nailing affects the durability and aesthetics of wainscoting. Common mistakes to avoid when nailing.
Using the right nailing techniques is crucial for your wainscoting project. Proper nailing affects both the strength and beauty of the finish. If nails are placed incorrectly, the wainscoting may not last long or look good. To keep your work neat, avoid these common mistakes:
- Nailing at the wrong angle can cause splitting.
- Using too few nails makes the panels weak.
- Driving nails too deep can create dents.
Remember, well-placed nails keep everything secure and nice-looking!
How does nailing affect durability and appearance?
Proper nailing maintains the strength and visual appeal of wainscoting. Incorrect nailing can lead to damage or an unfinished look.
Key Features to Look for in a Nailer
Power source options (electric vs. pneumatic). Nail size compatibility and depth adjustment.
Choosing the right nailer involves looking at a few key features. First, consider the power source options. Nailers can be electric or pneumatic. Electric nailers are quieter and easier to use. Pneumatic nailers are powerful but need air compression. Next, check nail size compatibility. Make sure the nailer can handle the sizes you need for your projects. Lastly, look for depth adjustment settings. This lets you control how deep the nails go. Having control is important for a nice finish.
What should you consider when buying a nailer?
First, think about power types: electric is easy, while pneumatic is strong. Check the nails: sizes must fit your needs. Adjust depth: control how deep the nails sink.
Best Nailers for Wainscoting in 2023
Comprehensive reviews of top nailers on the market. Comparison of features, prices, and user ratings.
Finding the best nailers for wainscoting is important for any DIY project. These tools help fasten wood panels securely to your walls. In 2023, let’s look at top options!
- Product A: Lightweight, great for corners, $150, user rating 4.8/5
- Product B: Powerful and fast, $200, user rating 4.6/5
- Product C: Great value, $120, user rating 4.5/5
Each nailer has unique features to fit different needs. Always check prices and user reviews before buying. A strong nailer makes installation easier!
What to consider when buying a nailer for wainscoting?
Look for weight, price, and user ratings. These will help you find the right tool!
Key Features to Compare:
- Weight
- Depth adjustment
- Magazine capacity
- Price
How to Use a Nailer for Wainscoting Installation
Stepbystep guide for using a nailer effectively. Tips for achieving precise and straight nailing.
Using a nailer for wainscoting can be easy and fun! Follow these steps:
- Choose the right nailer for your project.
- Measure and mark where you will place the wainscoting.
- Align the wainscoting with your marks.
- Hold the nailer firmly against the board.
- Squeeze the trigger gently to drive the nail.
For straight and precise nailing, try these tips:
- Check your nails regularly to avoid jams.
- Practice on scrap wood before the real job.
- Use a level to keep things straight.
With these simple steps, you will have nice-looking wainscoting!
How do you safely use a nailer?
To use a nailer safely, always wear safety goggles and keep your fingers clear of the nailing area. Make sure to read the nailer’s instructions first!
Maintenance and Safety Tips for Nailers
Regular maintenance practices to extend tool life. Safety precautions to consider while using nailers.
Keeping your nailer in tip-top shape is easier than you think! Regularly clean it to ensure smooth operation. Check for any loose parts or leaks to prevent mishaps. Use the right nails and pressure to avoid surprises, like nails popping out like popcorn!
Safety is key, too. Always wear goggles to protect your eyes. Keep your fingers clear of the nailer’s path; they aren’t as tough as they seem! And don’t forget to unplug the tool when not in use. Remember, nailers are great helpers—but they don’t have a sense of humor!
| Maintenance Tips | Safety Precautions |
|---|---|
| Clean regularly | Wear safety glasses |
| Check for leaks | Keep fingers clear |
| Inspect for loose parts | Unplug when not in use |
Cost Considerations
Budgeting for a nailer and additional supplies. Costsaving tips for DIYers.
Planning your budget for a nailer and supplies is key for any DIY project. A nailer for wainscoting can cost between $100 to $300. Don’t forget to add expenses for materials like trim and nails. Here are some tips to save money:
- Buy a reliable used nailer.
- Check local stores for sales or discounts.
- Join DIY groups for shared tools.
With smart shopping, you can enjoy your project without overspending!
How can I save money on a nailer for wainscoting?
You can buy a used tool, look for sales, or borrow tools from friends.
FAQs about Nailers and Wainscoting
Common questions and answers regarding nailers and their use in wainscoting projects. Addressing misconceptions and providing expert insights.
Many people have questions about using nailers for wainscoting. Here are some common ones:
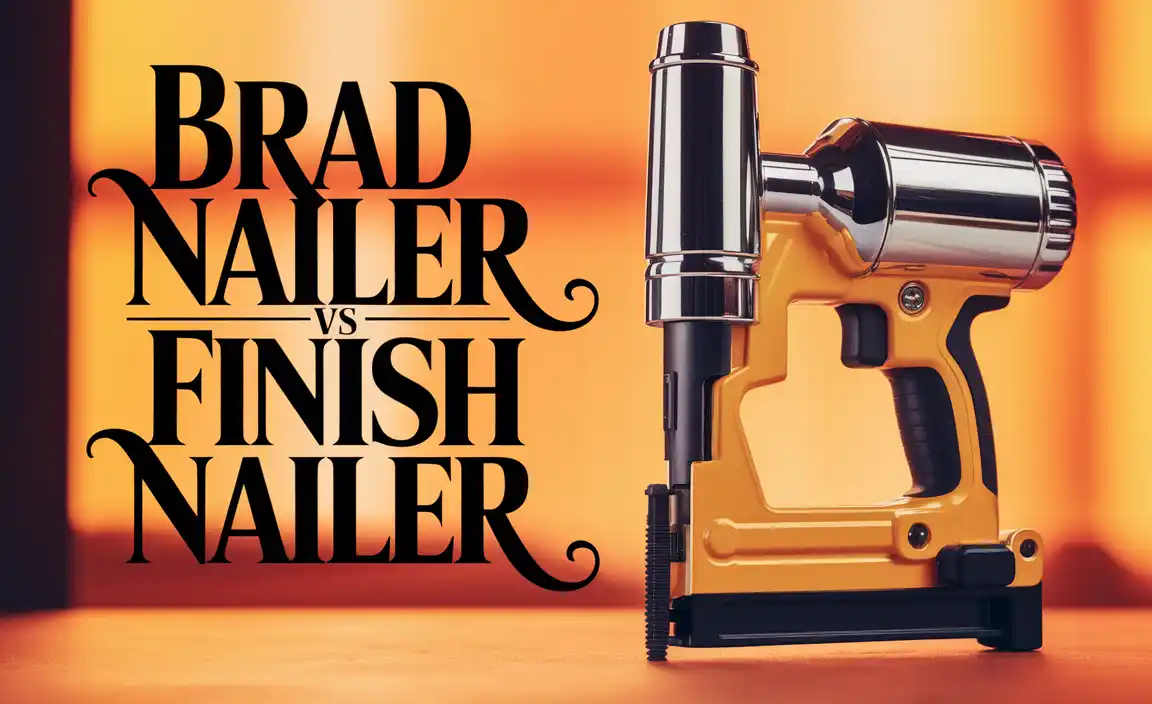
What type of nailer should I use for wainscoting?
A finish nailer is best for wainscoting projects. It provides strong support without damaging the wood.
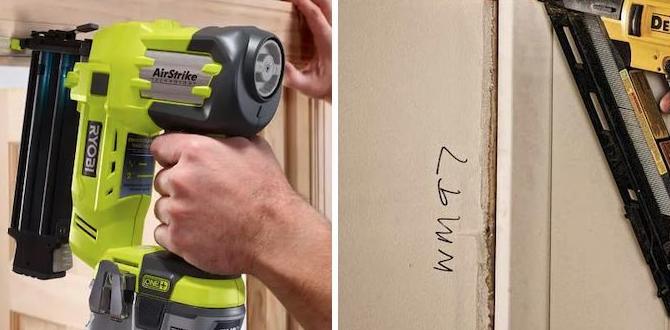
Can I use a brad nailer instead?
A brad nailer is fine for lighter panels. But, it may not hold heavier pieces well.
Do I need to glue wainscoting?
Gluing is not necessary, but it can add extra strength. It helps keep the panels secure during use.
Is wainscoting hard to install?
Wainscoting can be tricky, but a nailer makes it easier. With practice, anyone can do it!
These insights can help clear up some myths about nailers and wainscoting.
Conclusion
In conclusion, using a nailer for wainscoting makes your project easier and faster. Choose a nailer that fits your needs, like a finish nailer or brad nailer. Always practice safety while working. If you want to learn more, look up tutorials or guides. With the right tools and tips, you can create beautiful wainscoting in your home!
FAQs
What Type Of Nailer Is Best Suited For Installing Wainscoting: A Brad Nailer Or A Finish Nailer?
A finish nailer is the best choice for installing wainscoting. It uses thicker nails that hold better. Wainscoting needs strong support, so these nails are perfect. A brad nailer uses thinner nails, which might not be strong enough. Using a finish nailer will help your wainscoting stay up nicely!
How Do You Determine The Appropriate Nail Length For Wainscoting Installation With A Nailer?
To find the right nail length for wainscoting, you first measure the thickness of the wood. You want your nails to go through the wood and into the wall. A good rule is to use nails that are about 1.5 times as long as the wood is thick. So if your wainscoting is half an inch thick, use nails that are at least three-quarters of an inch long. This helps keep everything nice and tight!
Are There Any Specific Features To Look For In A Nailer When Working With Different Types Of Wainscoting Materials, Such As Mdf Or Solid Wood?
When you choose a nailer for wainscoting, think about the materials you will use. For MDF, a nailer that can handle thinner nails is best. For solid wood, you might need a nailer that can use thicker nails. Also, if the nailer has an adjustable depth, it helps to sink nails just right. Lastly, lightweight nailers are easier to use for long projects.
What Techniques Should Be Used For Proper Nail Placement To Ensure A Seamless Finish When Using A Nailer For Wainscoting?
To get a smooth finish when using a nailer for wainscoting, you should aim for the right spots. Place nails about every 16 inches along the edges. You can use a pencil to mark where to put them. Make sure to angle the nails slightly, so they hold well. Finally, countersink the nails slightly below the wood’s surface for a clean look.
Can You Use A Pneumatic Nailer For Wainscoting Installation, And If So, What Adjustments Should Be Made For Optimal Results?
Yes, you can use a pneumatic nailer for wainscoting. It makes the job faster and easier. To get the best results, adjust the nail depth. This means setting how far the nail goes in. You want it to be just right—too deep or too shallow can cause problems. Also, use the right size nails for your wainscoting boards.
{“@context”:”https://schema.org”,”@type”: “FAQPage”,”mainEntity”:[{“@type”: “Question”,”name”: “What Type Of Nailer Is Best Suited For Installing Wainscoting: A Brad Nailer Or A Finish Nailer? “,”acceptedAnswer”: {“@type”: “Answer”,”text”: “A finish nailer is the best choice for installing wainscoting. It uses thicker nails that hold better. Wainscoting needs strong support, so these nails are perfect. A brad nailer uses thinner nails, which might not be strong enough. Using a finish nailer will help your wainscoting stay up nicely!”}},{“@type”: “Question”,”name”: “How Do You Determine The Appropriate Nail Length For Wainscoting Installation With A Nailer? “,”acceptedAnswer”: {“@type”: “Answer”,”text”: “To find the right nail length for wainscoting, you first measure the thickness of the wood. You want your nails to go through the wood and into the wall. A good rule is to use nails that are about 1.5 times as long as the wood is thick. So if your wainscoting is half an inch thick, use nails that are at least three-quarters of an inch long. This helps keep everything nice and tight!”}},{“@type”: “Question”,”name”: “Are There Any Specific Features To Look For In A Nailer When Working With Different Types Of Wainscoting Materials, Such As Mdf Or Solid Wood? “,”acceptedAnswer”: {“@type”: “Answer”,”text”: “When you choose a nailer for wainscoting, think about the materials you will use. For MDF, a nailer that can handle thinner nails is best. For solid wood, you might need a nailer that can use thicker nails. Also, if the nailer has an adjustable depth, it helps to sink nails just right. Lastly, lightweight nailers are easier to use for long projects.”}},{“@type”: “Question”,”name”: “What Techniques Should Be Used For Proper Nail Placement To Ensure A Seamless Finish When Using A Nailer For Wainscoting? “,”acceptedAnswer”: {“@type”: “Answer”,”text”: “To get a smooth finish when using a nailer for wainscoting, you should aim for the right spots. Place nails about every 16 inches along the edges. You can use a pencil to mark where to put them. Make sure to angle the nails slightly, so they hold well. Finally, countersink the nails slightly below the wood’s surface for a clean look.”}},{“@type”: “Question”,”name”: “Can You Use A Pneumatic Nailer For Wainscoting Installation, And If So, What Adjustments Should Be Made For Optimal Results? “,”acceptedAnswer”: {“@type”: “Answer”,”text”: “Yes, you can use a pneumatic nailer for wainscoting. It makes the job faster and easier. To get the best results, adjust the nail depth. This means setting how far the nail goes in. You want it to be just right—too deep or too shallow can cause problems. Also, use the right size nails for your wainscoting boards.”}}]}