Mastering your nailer’s magazine is simple! This guide shows you exactly how to load nails into any type of nailer, ensuring smooth operation and successful DIY projects. We’ll cover common nailer types, essential steps, and troubleshooting tips for a frustration-free experience. Get ready to nail it!
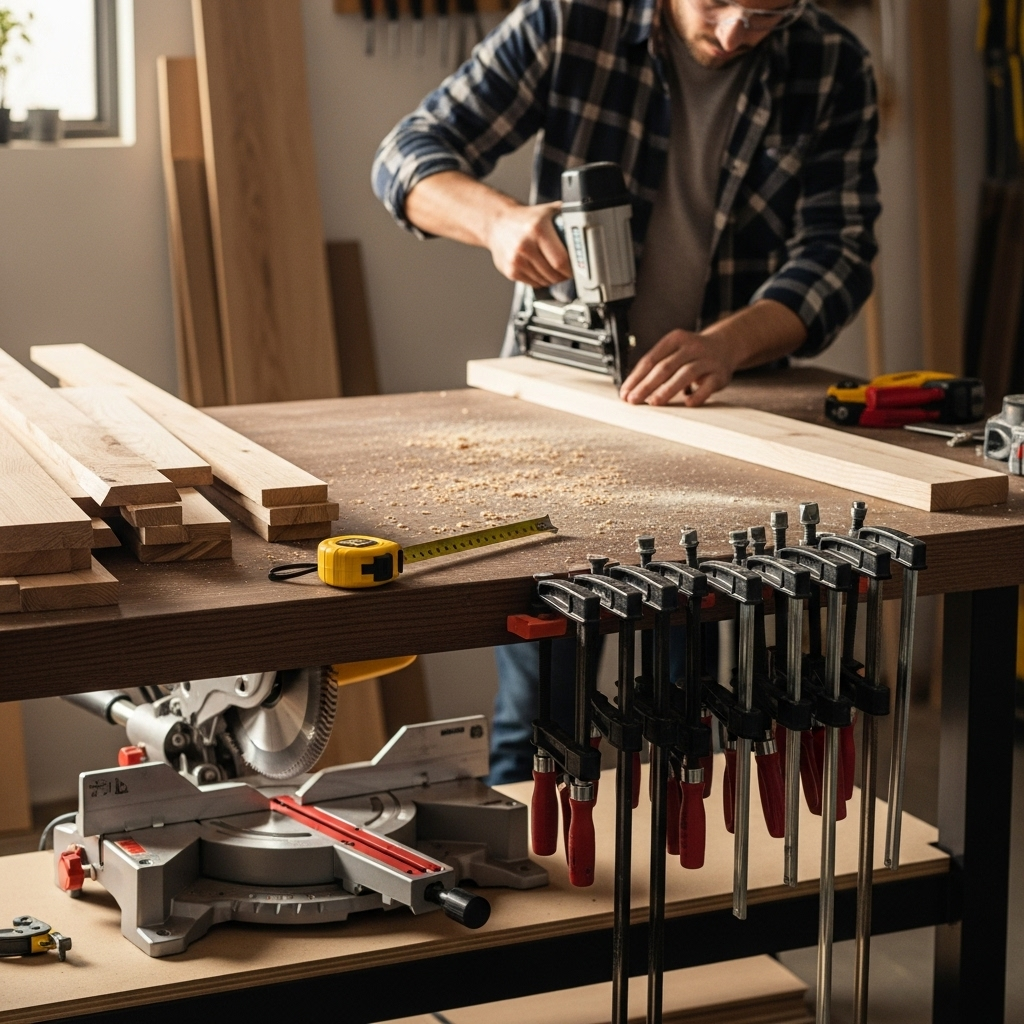
Hey there, DIYers! Jack Shaffer here from Nailerguy. Ever felt that thunk of a nailer misfiring when you’re in the middle of a project? Or maybe you’ve stared at a new nail gun, wondering how on earth those little fasteners even get inside. Trust me, I’ve been there. Loading nails might seem straightforward, but doing it right makes all the difference between a smooth build and a frustrating delay. It’s a foundational skill for anyone using a nail gun, whether it’s for framing a wall, adding trim, or assembling furniture. This guide is all about taking that guesswork out of the equation. We’ll walk through loading common nailer types step-by-step, so you can get back to building with confidence.
Table of Contents
Why Getting Nail Loading Right Matters
Loading your nailer correctly isn’t just about getting a nail to fire. It’s crucial for the tool’s performance, longevity, and, most importantly, your safety. A properly loaded magazine ensures:
- Consistent Firing: The nailer feeds nails smoothly, reducing jams and misfires.
- Tool Protection: Prevents wear and tear on the firing mechanism often caused by incorrectly seated nails.
- Safety: Minimizes the risk of accidental firing or fastener jams that could lead to injury.
- Efficiency: Saves you time and frustration, letting you focus on your project.
Understanding Your Nailer’s Magazine
Most nailers have a magazine – that long, often metal, part that holds the nails. The way nails are held and fed varies slightly depending on the type of nailer. Here are the most common types you’ll encounter:
| Nailer Type | Nail Magazine Description | Common Uses |
|---|---|---|
| Brad Nailer | Typically holds thin, headless or nearly headless nails (e.g., 18-gauge brads). The magazine is usually long and slender. | Attaching delicate trim, molding, baseboards, and small crafts. |
| Finish Nailer | Uses slightly thicker nails (e.g., 15-gauge or 16-gauge) with a small head. The magazine is similar to a brad nailer but might be a bit wider. | Door and window trim, crown molding, chair rails, and more substantial trim work. |
| Framing Nailer | Designed for large, structural nails (e.g., 2-inch to 3.5-inch nails) with full heads. Magazines are often angled or straight and can be quite robust. | Building house frames, decks, fences, and other heavy-duty construction. |
| Stapler | Uses staples rather than nails. The magazine holds staples in strips. | Upholstery, attaching sheathing, fencing, and crafting. |
Before you load, take a moment to identify your nailer type. This will help you grab the right kind of nails and understand how the magazine operates.
Essential Tools and Materials You’ll Need
Loading nails is mostly a tool-on-tool interaction, but a few things can make the process smoother and safer:
- Your Nailer: Of course!
- Correct Nails/Staples: This is critical. Using the wrong size or type of fastener will cause jams, damage your tool, and compromise your project. Always check your nailer’s manual for recommended fastener specifications. You can usually find this information near the magazine or on the tool itself. For great resources on fastener types, the Tooling.com guide can be very helpful.
- Safety Glasses: Non-negotiable. Always protect your eyes.
- Work Gloves (Optional): Can protect your hands from sharp fastener edges, though some people prefer the dexterity of bare hands.
- A Clean Workspace: Clutter can lead to dropped fasteners and frustration.
How to Load Nails: Step-by-Step Guide
The basic principle is consistent across most nailers: load fasteners into the magazine, compress them, and close it up. Let’s break it down.
Step 1: Safety First – Disconnect Power!
This is not an option; it’s a requirement. Before you do anything else, ensure your nailer is not powered. For pneumatic nailers, this means disconnecting the air hose. Electric or battery-powered nailers require removing the battery pack or unplugging the tool. This prevents accidental firing while you’re handling fasteners.
When it comes to pneumatic tools, always check out resources like the Occupational Safety and Health Administration (OSHA) guidelines for compressed air safety if you’re unsure. They offer valuable information on safe tool operation.
Step 2: Open the Magazine
Nailer magazines typically have a spring-loaded mechanism to feed nails. You’ll need to open it to insert the fasteners.
- Locate the Release: Most magazines have a latch, button, or a part of the magazine you can slide or pull to release the spring-loaded follower. Sometimes, you simply need to grasp the nose of the magazine and pull the front section forward or backward.
- Pull it Open: Gently pull the movable part of the magazine open until it stays in place. You should see the track where the nails will sit and the spring-loaded pusher behind them.
Step 3: Select and Load the Correct Fasteners
This is where using the right nails or staples is paramount. Check your nailer’s manual! They’ll specify the gauge (thickness) and length range, as well as the collation angle (the angle at which the nails are glued or wired together).
- Identify Nail Type: For example, a brad nailer typically uses 18-gauge brads, while a finish nailer might use 16-gauge nails. Make sure you have a strip of nails that matches your tool.
- Orient the Nails: Most magazines are designed to accept nails in a specific orientation.
- For most nailers, the nail heads (the part that sits against the wood surface) should face away from the spring-loaded pusher.
- The pointed ends should face the tip of the nailer, ready to fire.
- If your nails are collated (joined by paper, plastic, or wire), ensure the collation material is oriented correctly. For angled nailers, the angle of the nails must match the angle of the magazine and nose piece.
- Insert the Strip: Place the strip of nails into the magazine track. They should slide in smoothly. If you feel resistance, re-check the orientation and ensure there are no bent nails or debris in the track.
Step 4: Engage the Spring-Loaded Pusher
Once the nails are in place, you need to compress the spring that pushes them forward. This is usually done by pulling the follower back.
- Grasp the Pusher: You’ll see a part of the magazine (the follower) that’s spring-loaded. It might have a small handle or a tab. Carefully pull this follower back until it can hold the last nail in the strip.
- Hold it in Place: Keep the follower pulled back. It should be held by a catch or simply tension.
Step 5: Close the Magazine Securely
With the nails loaded and the pusher engaged, it’s time to close the magazine.
- Slide or Snap it Shut: Gently push the movable part of the magazine back into its original position. You should hear or feel it click or snap securely into place.
- Check for Gaps: Ensure there are no gaps between the magazine sections. A closed magazine prevents dust and debris from entering and helps the nailer feed properly.
Step 6: Re-engage Power and Test Fire
Once the magazine is securely closed and you’ve double-checked that your safety glasses are on, you can re-apply power.
- Reconnect: Reconnect the air hose for pneumatic nailers or reinsert the battery/plug in electric ones.
- Test Fire: Aim the nailer at a scrap piece of wood. Depress the trigger. You should hear the satisfying thwack of a nail firing. If it doesn’t fire, or if you hear a weak or strange sound, it’s time for troubleshooting (see below).
Special Considerations for Different Nailer Types
While the general steps are similar, there are nuances:
Cordless and Electric Brad/Finish Nailers
These often have magazines that slide out or open with a simple latch. The internal mechanism is similar to pneumatic versions, with a spring-loaded follower. The primary difference is the power source (battery), which you must remove for safety.
How to load nails into a cordless brad nailer: The process mirrors the steps above. Ensure the battery is removed. Open the magazine, typically by pulling a lever or sliding the front section. Insert the correct gauge and length brad nails, ensuring the heads are facing outwards and the points are towards the nose. Pull back the spring-loaded follower, insert the nail strip, and then close the magazine firmly. Reinsert the battery and test.
Pneumatic Nailers
These are powered by an air compressor. Always disconnect the air hose before loading. Some models may have quick-release latches, while others require a bit more force to open the magazine. Ensure the air pressure is set correctly according to your nailer’s specifications, usually between 70-120 PSI, as recommended by many tool manufacturers. You can find general guidelines for air pressure on sites like Popular Mechanics.
Framing Nailers
Because they handle larger nails, framing nailer magazines are often sturdier. They might be straight or angled. Pay close attention to the collation angle (e.g., 21°, 28°, 30°, 34°) of your nails and ensure it matches the angle of your framing nailer’s magazine. This is critical for proper feeding and safety.
| Nailer Type | Collation Angle | Nail Type | Important Loading Tip |
|---|---|---|---|
| Framing Nailer (Common) | 21-22° | Full round head or clipped head nails | Ensure nails match the magazine’s angle. |
| Framing Nailer (Less Common) | 28° | D-head nails (offset heads) | D-head nails can offer better holding power but require a specific angle matcher. |
| Framing Nailer (Less Common) | 30-34° | Round head nails | Match the collation angle precisely. |
Staplers
Loading staples is very similar to loading nails, but the fasteners are, of course, staples. Ensure you use the correct size and width of staple. The legs (the straight parts) of the staple should point forward, ready to penetrate the material.
Troubleshooting Common Nail Loading Issues
Even with careful loading, you might run into problems. Here’s how to tackle them:
- Nailer Not Firing:
- Did you re-engage the power source (battery/air hose)?
- Is the magazine fully closed and latched?
- Is there at least one nail loaded and pushed forward by the follower?
- Is the safety tip (or contact nose) depressed against the material? (Most nailers require this for firing).
- Nails Jamming:
- Are you using the correct type, gauge, and length of nails?
- Are the nails properly oriented in the magazine? Check that heads are out, points are forward, and the collation is correct for angled nailers.
- Is there any debris or bent nails in the magazine track? Clean it out.
- Is the magazine latch properly secured? An improperly closed magazine can misalign nails.
- Nails Not Feeding:
- Is the spring-loaded pusher functioning correctly? It might be stuck or not providing enough tension.
- Are the nails too short for the magazine? They might not reach the pusher properly.
- Is the magazine clean and free of obstructions?
- Weak Firing or “Riding” Nails (Nail not fully driven):
- For pneumatic tools, check your air pressure. It might be too low.
- Is the magazine loaded with enough nails? Sometimes a nearly empty magazine can cause feeding issues.
- Are the nails bent before they even fire? This can be a sign of incorrect loading or a damaged magazine.
If you’re still having trouble, consult your nailer’s manual. Many manufacturers provide excellent troubleshooting guides themselves or on their websites. For instance, DeWalt offers a comprehensive FAQ and support section for their tools.
Frequently Asked Questions (FAQ)
Q1: What happens if I use the wrong size nails in my nailer?
A1: Using the wrong size nails is a sure way to cause jams, damage your nailer’s internal components, and compromise the structural integrity of your project. Always match your nailer’s specifications for gauge, length, and collation angle.
Q2: Do I need to disconnect power every time I load nails?
A2: Absolutely. Whether it’s an air hose or a battery, always disconnect the power source before loading or performing any maintenance. This prevents accidental discharge and keeps you safe.
Q3: My nailer is jamming a lot. What could be the cause?
A3: Common causes include using the wrong fasteners, improper nail orientation, debris in the magazine, or a faulty spring-loaded pusher. Ensure you’re using the right nails and that the magazine is clean and securely closed.
Q4: How do I know which collation angle my framing nailer needs?
A4: The collation angle is usually marked on the nailer itself, often near the magazine or on a label. You can also find this information in your nailer’s user manual. It’s crucial to match the nail collation angle to your nailer’s design to prevent jams and ensure proper feeding.
Q5: Can I leave nails loaded in my nailer overnight?
A5: It’s generally best practice to unload nails at the end of your work session, especially for pneumatic nailers where you can disconnect the air. This prevents the spring from being constantly compressed, which can eventually weaken it. For battery-powered units, it’s also good to remove the battery if storing for an extended period.
Q6: My brad nailer’s magazine feels loose. Is this normal?
A6: While some magazines have a bit of play, a significantly loose magazine can indicate a problem. Check if all latches and locking mechanisms are secure. If it feels excessively wobbly or doesn’t close properly, consult your manual or consider contacting the manufacturer for a replacement part or repair.
Conclusion
Loading nails into your nailer might seem like a small detail, but mastering it is key to successful and enjoyable DIY projects. By understanding your tool, using the correct fasteners, and following these simple, safe steps, you can avoid frustration and ensure your nailer performs at its best, project after project. Remember to always prioritize safety – disconnect power, wear your eye protection, and double-check your fasteners. With a little practice, loading nails will become second nature, allowing you to focus on the creative and rewarding part of building. Happy nailing!