Have you ever noticed how a wooden level can make building projects so much easier? Imagine trying to hang a picture or build a shelf without one. It can turn into a frustrating task!
Today, we will dive into the art of crafting your own wooden level. This guide offers simple steps to help anyone become a DIY expert. You might be surprised at how fun and satisfying it is to make your tools.
Did you know that wooden levels date back hundreds of years? People relied on them long before power tools existed. Learning how to make a wooden level not only connects us to history but also gives us a useful tool for any project.
So, are you ready to impress your friends with your handmade level? Let’s get started and unlock the secrets of DIY mastery!
Table of Contents
How To Make A Wooden Level: Diy Mastery Guide Unleashed

How to Make a Wooden Level: DIY Mastery Guide
Are you ready for a fun project that boosts your DIY skills? Making a wooden level is easier than you think! You’ll learn to gather your materials, measure accurately, and craft with care. Each step offers a chance to be creative. Imagine impressing your friends with your newfound tool! Plus, using a handmade level can improve your home projects. Get started with simple tools, and discover the satisfaction of making something useful. What are you waiting for? Dive in!Materials Needed for Making a Wooden Level
List of essential materials, including types of wood and tools.. Importance of selecting the right wood for durability and precision..To create a wooden level, you need some key materials. First, choose the right wood; hardwoods like oak or maple are great options for strength and accuracy. Next, gather essential tools: a saw, a drill, sandpaper, and a measuring tape. Each tool plays a vital role in making sure your level is just right. Remember, the right wood choice makes your project last longer and look fantastic!
| Material | Type |
|---|---|
| Wood | Hardwood (e.g., Oak, Maple) |
| Tools | Saw, Drill, Sandpaper, Measuring Tape |
Choosing wisely here will save you from a funky, wobbly level! After all, we want straight lines, not a rollercoaster ride.
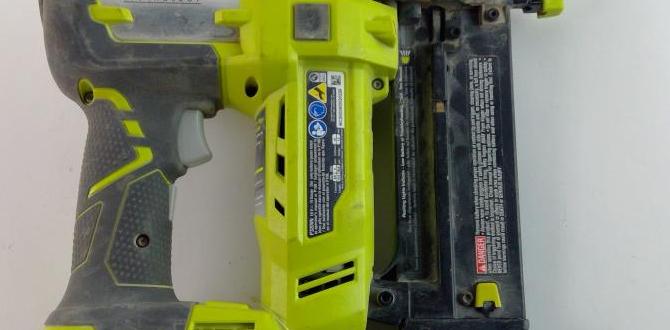
Tools Required for the Project
Detailed description of hand tools and power tools needed.. Tips on tool usage and maintenance to ensure the best results..Gathering the right tools for your wooden level project is key! You’ll need a few hand tools like a saw for cutting wood, a chisel to shape it, and a trusty tape measure for accuracy. Power tools like a drill make life easier, especially when you want to attach pieces together. Remember, always keep your tools clean and sharp, just like your wit! Check out the helpful table below for an easy overview:
| Tool | Purpose | Maintenance Tips |
|---|---|---|
| Saw | Cut wood | Keep the blade sharp! |
| Chisel | Shape wood | Oil the handle for smooth use. |
| Tape Measure | Measure accurately | Store it away neatly to avoid tangles! |
| Drill | Attach parts | Check battery levels before starting! |
Step-by-Step Process to Create Your Wooden Level
Detailed breakdown of each step involved in crafting the level.. Tips on measuring and cutting wood accurately..Crafting your own wooden level can be fun! Start by gathering wood, a saw, a ruler, and some sandpaper. First, measure and mark the pieces you need. Be like a chef but with wood instead of food! Next, carefully cut the wood along your marks. Remember, slow and steady wins the race. Smooth the edges with sandpaper so you don’t get any splinters. Finally, put everything together with some glue and let it dry. Voila, you made a wooden level!
| Step | Action |
|---|---|
| 1 | Gather materials |
| 2 | Measure and mark |
| 3 | Cut the wood |
| 4 | Smooth with sandpaper |
| 5 | Assemble and let dry |
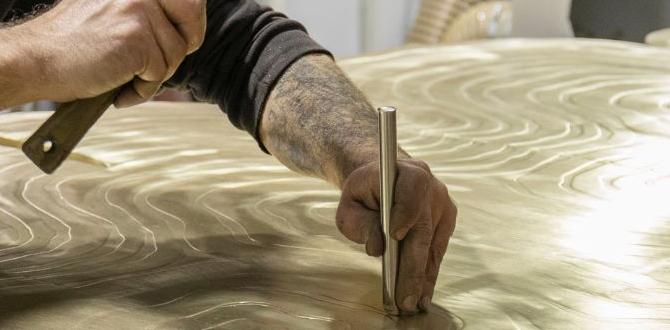
Techniques for Achieving Accuracy and Precision
Explanation of techniques for ensuring accuracy during construction.. Importance of leveling and calibration for the finished product..To build a great wooden level, keeping things accurate is key. Start by using good measuring tools. Always double-check your measurements to avoid mistakes. Accuracy ensures your level works well. Calibration is also important. It fine-tunes your level for perfect balance. This makes your finished product more reliable and sturdy. Remember, a level saves you time and effort in your projects!
Why is leveling important in construction?
Leveling ensures products are straight and even, which is crucial for any construction project. A level that is off can lead to major problems later. Ensure you take the time to level accurately.
Key techniques for accuracy:
- Use a reliable ruler or tape measure.
- Mark all points before cutting.
- Check level regularly while building.
- Adjust as needed for perfect balance.
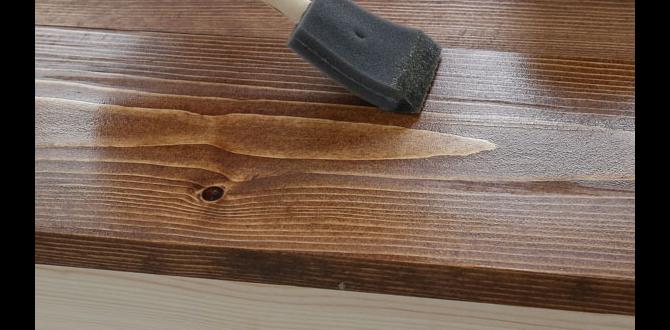
Finishing Touches: Sanding and Sealing Your Wooden Level
Best practices for sanding to achieve a smooth finish.. Recommendations for sealants or finishes to protect the wood..To make your wooden level perfect, start by sanding it well. Sanding removes rough spots and gives the wood a smooth finish. Use fine sandpaper, like 220-grit, and be gentle. Move in the same direction as the wood grain. Once it’s smooth, you can seal it.
For sealing, choose a water-based polyurethane or wood oil. These options protect the wood and enhance its look. Apply a thin coat, let it dry, then sand lightly before adding another coat. Repeat until you like the finish.
What is the best way to sand wood for a smooth finish?
The best way to sand wood is to use fine sandpaper and work in the direction of the grain.Tips for Sanding:
- Start with medium grit paper, then use fine grit.
- Sand lightly to avoid scratches.
- Always check your work with your hand.
Common Mistakes to Avoid During the Process
Identification of frequent errors DIYers make and how to prevent them.. Tips on troubleshooting issues that may arise during construction..Making a wooden level can seem easy, but many DIYers run into problems. Common mistakes include measuring incorrectly and cutting unevenly. Always double-check your measurements before cutting. If parts don’t fit, try sanding them down gently. Here are some tips:
- Use a clear plan or guide.
- Test fit pieces before gluing.
- Stay patient; mistakes happen!
By avoiding these errors, your project will go smoother and be more enjoyable!
What are the most common mistakes in DIY projects?
Many DIYers make mistakes like poor measurements or imprecise cuts. Double-check your work to avoid these errors. Taking your time helps lead to a better outcome.
Customization Options for Personalization
Ideas for personalized designs and features to enhance functionality.. Options for adding markings or measurements for increased usability..Adding your own twist to a wooden level makes it special. You can think about designs that reflect your style. Consider these ideas:
- Add colorful paint or stain.
- Engrave your name or a favorite quote.
- Attach unique handles for better grip.
Markings can boost its usefulness. Adding measurements helps in accurate leveling. Here are some tips:
- Paint lines for quick reading.
- Use stickers for easy identification.
Your wooden level can be both fun and functional!
What kind of designs can I add to my level?
You can add colorful paints or even engrave a name to personalize it. Consider fun shapes or unique handles for a better grip!
Maintenance and Care for Your Wooden Level
Guidelines on how to care for and store your wooden level.. Tips for repairs and upkeep to extend the life of the tool..Keep your wooden level in great shape with proper care! Start by storing it in a cool, dry place. This helps prevent warping and damage. Make sure to clean your tool regularly. Dry wood needs protection, so apply a thin coat of mineral oil to keep it smooth and shiny. If it gets a scratch, sand it lightly and reapply the oil. Check for loose parts and tighten them as needed. This ensures your level lasts a long time and works well.
What’s the best way to store a wooden level?
Store your wooden level in a protective case or hang it up to avoid bending and damage.
Quick Tips for Maintenance:
- Clean after each use.
- Apply mineral oil every few months.
- Inspect for wear and tear regularly.
- Fix minor scratches with sandpaper.
Conclusion
In conclusion, making a wooden level is a fun and rewarding project. You’ll need some basic tools and materials, so gather them first. Follow the steps carefully, and don’t rush. Remember, practice makes perfect! If you enjoyed this guide, check out more DIY projects to keep improving your skills. Let’s build something amazing together!FAQs
What Materials And Tools Are Necessary To Build A Wooden Level From Scratch?To build a wooden level, you need some wood, a saw, and sandpaper. You’ll also need a measuring tape and a small bubble level. Lastly, grab some glue or nails to hold it together. Make sure you have a pencil to mark your cuts, too!
What Are The Key Design Elements To Consider When Creating A Wooden Level?When making a wooden level, you should think about a few important things. First, choose strong wood that will not bend easily. Second, make sure the level is straight so it works well. Third, add clear lines or markings so you can see the measurements easily. Finally, finish the wood with a smooth surface to make it nice to hold.
How Can I Ensure The Accuracy And Precision Of My Wooden Level During The Construction Process?To make sure your wooden level is accurate, check it often. Set the level on a flat surface and see if the bubble is in the middle. If not, you might need to adjust it or use a different level. Keep your wooden level clean and store it carefully to avoid damage. This way, it will help you build straight and strong!
What Finishing Techniques Can I Use To Protect My Wooden Level And Enhance Its Appearance?You can use several finishing techniques to protect your wooden level and make it look nice. First, you can apply wood stain to add color and highlight the wood grain. Then, use a clear coat like polyurethane to protect it from scratches and water. You can also wax the wood for a smooth, shiny finish. These steps will help your wooden level look great and last longer!
Are There Any Specific Woodworking Techniques Or Tips For Beginners To Successfully Craft A Wooden Level?To make a wooden level, start with a straight piece of wood. You’ll need a small bubble level. Measure and mark where the bubble level will go. Use a drill to make a space for it. Then, glue the bubble level in place. Finally, sand the wood to make it smooth and nice. Remember to take your time and have fun!