Have you ever wanted to create something beautiful with your own hands? Making a wooden cross stand up is easier than you think! Imagine crafting a lovely piece that can brighten your home or serve as a special gift. With just a few simple tools and materials, you can bring this creative project to life.
Did you know that wooden crosses are often symbols of hope and faith? They hold a special meaning for many people. Building one can be a fun activity for the whole family. Plus, it’s a great way to explore your artistic side. Wouldn’t it be exciting to see your finished creation proudly standing tall?
In this easy DIY guide, we will walk you through each simple step. You will gain confidence in your woodworking skills along the way. So, gather your supplies and let’s get started on how to make a wooden cross stand up!
Table of Contents
How To Make A Wooden Cross Stand Up: Easy Diy Guide
Creating a wooden cross that stands tall is simple and fun! You only need a few materials and tools. Start with sturdy wood for the cross and a heavier base for stability. Did you know that using a triangle shape can give extra support? Once you cut and assemble the pieces, paint or decorate your cross for a special touch. This DIY project can be a great way to express creativity while learning basic woodworking skills. Want to give it a try?
Materials Required
List of wood types suitable for cross making. Tools needed for cutting and assembling.
Making a wooden cross can be fun and easy! For the wood, you can choose from types like pine, oak, or cedar. Each type has its perks and adds a special charm. Now, let’s talk tools. You’ll need a few things to get started: a saw for cutting, sandpaper for smooth edges, and glue or nails for assembly. Remember, no one likes splinters! Here’s a handy table to keep things organized:
| Wood Type | Characteristics |
|---|---|
| Pine | Lightweight and easy to work with |
| Oak | Strong and durable, but heavier |
| Cedar | Water-resistant and aromatic |
With the right materials and tools, you’re ready to create something beautiful. So, grab your gear and let’s get building!
Designing Your Cross
Basic cross design ideas for beginners. Tips for customizing your cross design.
Creating your wooden cross can be fun and simple. Start with basic shapes like the traditional cross or a heart-shaped design if you want to mix things up. Want to add flair? Consider painting it bright colors or adding symbols that are special to you, like a star or a flower. Use this quick guide:
| Design Idea | Customization Tip |
|---|---|
| Traditional Cross | Add your favorite colors. |
| Heart Cross | Use glitter for sparkle! |
| Rustic Cross | Paint with nature themes. |
Remember, there’s no wrong way to design your cross. Let your creativity shine and have fun with it! Who knew wood could be so stylish?
Step-by-Step Instructions
Detailed cutting and shaping process. Assembly techniques for a sturdy construction.
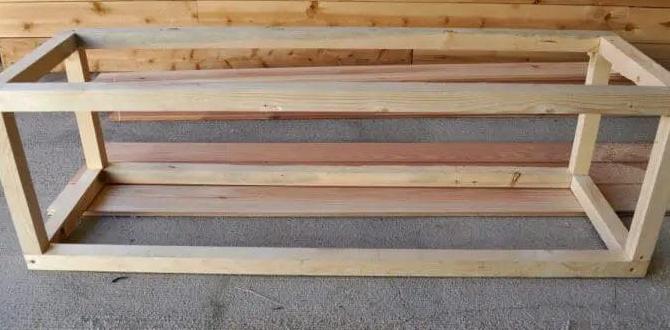
The first step is cutting your wood pieces. Grab a saw and cut two long pieces for the cross and one short piece for the base. Remember, measure twice, cut once! For a strong stand, shape the ends of the support pieces. You want them to fit snugly. Next, use good glue or screws for assembly. This ensures your cross won’t topple over. Want it to be extra sturdy? You might even add a triangle brace. Now, here’s a tip: Don’t build it during a windy day, or you might find your cross flying away!
| Step | Description |
|---|---|
| 1 | Cut wood pieces to size |
| 2 | Shape ends for a better fit |
| 3 | Assemble with glue or screws |
| 4 | Add a brace for stability |
Finishing Touches
Sanding and smoothing the wood surface. Options for painting or staining the cross.
Once you’ve built your cross, it’s time for the fun part—making it look great! Start by sanding the wood to make it smooth. No one wants splinters, right? Use sandpaper and make your wood shine like a superstar! Next up, painting or staining. You can choose bright colors or earthy tones—whatever tickles your fancy. Here’s a quick table to help you decide:
| Option | Description |
|---|---|
| Paint | Create bold designs and fun patterns! |
| Stain | Enhance the wood’s natural beauty with rich colors. |
In the end, it’s all about expressing yourself. So, grab those brushes and let your creativity flow!
Creating a Stable Base
Types of stands or supports for stability. How to attach the cross to its base securely.
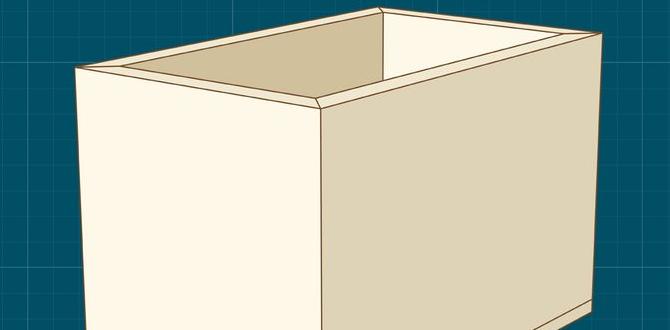
To create a sturdy base, you can choose different types of stands. Here are some options:
- Wooden Block: A simple and strong choice.
- Metal Bracket: Provides extra support.
- Weighted Base: Helps prevent tipping.
Attach the cross securely to its base using screws or glue. Make sure to check that everything fits well. A solid connection keeps your cross standing tall and strong.
How to secure your cross to its base?
To secure your cross properly, use screws or durable glue. Ensure everything is tightly fitted for better stability.
Safety Tips While Working
Essential safety gear to wear. Common woodworking hazards to avoid.
Staying safe is important when working with wood. Always wear safety gear like goggles, gloves, and a dust mask. These items protect your eyes, hands, and lungs. Here are some common woodworking hazards to avoid:
- Sharp tools: Keep blades away from your body.
- Heavy pieces: Lift carefully to avoid back pain.
- Dust: Always wear a mask to avoid breathing it in.
Moving slowly and being careful helps keep you safe while having fun!
What gear do I need for woodworking safety?
For woodworking safety, it’s essential to wear the right gear. You need safety goggles to protect your eyes, gloves to keep your hands safe, and a dust mask to avoid breathing harmful dust.
Common Mistakes and How to Avoid Them
Frequent errors made by DIYers. Best practices for ensuring a successful build.
Many DIYers make mistakes that can ruin their projects. Here are some common errors and how to avoid them:
- Wrong Measurements: Always double-check your sizes to ensure a snug fit.
- Poor Materials: Choose strong wood for stability.
- Skipping Safety: Wear goggles and gloves for protection.
- Not Planning: Sketch your design first for a clear roadmap.
Following these tips will help you build a sturdy wooden cross that stands tall!
What is the best way to stabilize a wooden cross?
The best way to stabilize a wooden cross is by using a sturdy base and secure joints. Use wood glue and screws for extra strength. Also, consider adding weights at the bottom for better balance.
Additional Ideas and Variations
Inspiration for themed cross designs. Unique materials or embellishments to consider.
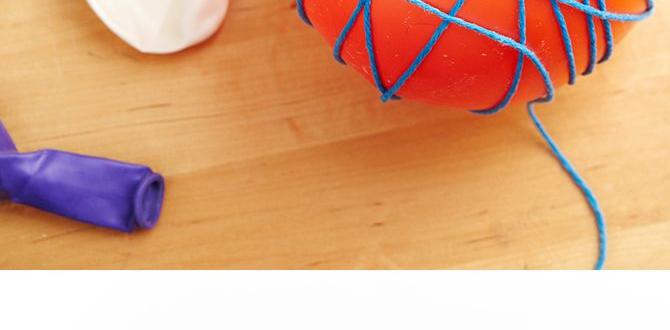
Want to make your wooden cross special? Here are some fun ideas! Try adding themes like nature by decorating with leaves and flowers. You could even go for a sports theme with tiny basketballs or soccer balls attached! Get creative with materials. Instead of wood, use colorful cardboard, or add glitter and paint for sparkle. Think outside the box! You can also personalize it with your name or inspirational quotes.
| Theme | Material | Embellishments |
|---|---|---|
| Nature | Wood | Leaves and Flowers |
| Sports | Cardboard | Tiny Balls |
| Glitter | Paint | Quotes |
With these ideas, your cross will stand out like a superhero in a crowd! Get crafting!
Conclusion
In conclusion, making a wooden cross stand up is simple and fun. We need basic materials like wood, glue, and screws. Follow the steps carefully for a strong result. You can decorate it to match your style. Now, gather your supplies and start crafting! For more DIY projects, check out other guides and unleash your creativity!
FAQs
What Materials Do I Need To Build A Wooden Cross Stand?
To build a wooden cross stand, you need a few things. First, get some sturdy wood pieces. You will need two long pieces for the cross and one for the base. Also, grab nails or screws to hold it together. Finally, have sandpaper and paint or wood finish if you want to make it look nice.
How Do I Determine The Right Dimensions For My Wooden Cross?
To find the right dimensions for your wooden cross, think about where you want to place it. Measure that space first. A common size for a cross can be around 3 feet tall and 2 feet wide. You can also look at pictures for ideas. Make sure it feels right for you!
What Are Some Tips For Securely Attaching The Crosspiece To The Vertical Post?
To securely attach the crosspiece to the vertical post, use strong screws or bolts. Make sure the holes are lined up straight. You can add wood glue for extra strength. Always check that everything is tight and secure before using it. This will help keep it safe and sturdy!
How Can I Ensure My Wooden Cross Stand Is Stable And Won’T Tip Over?
To keep your wooden cross stand stable, use a flat and sturdy surface. You can add weight to the bottom to make it heavier. Make sure the cross is centered on the stand. Avoid placing it where it can be bumped or knocked over. Check it often to ensure it’s still standing strong.
What Finish Or Treatment Should I Apply To Protect The Wooden Cross From The Elements?
To protect the wooden cross, you should use outdoor wood sealant. This helps keep water and sun away. You can also paint it with special outdoor paint. Be sure to apply it every year to keep it safe. Remember to let it dry completely before putting it outside!