Imagine stepping into a warm, inviting wooden bathtub after a long day. The soothing feel of wood surrounds you, creating a relaxing space right in your home. Have you ever thought about how to make a wooden bathtub? It sounds like a luxury experience, but creating your own DIY wooden bathtub can be simpler than you think!
Many people dream of having a stylish bathroom. A wooden bathtub can add a touch of nature and comfort. Plus, it becomes a unique centerpiece, making your bathroom stand out. Did you know that wooden bathtubs have been used for centuries? They offer a blend of beauty and function that few other materials can match.
In this guide, you will learn everything about making a wooden bathtub. You will discover the type of wood to use, the tools needed, and steps to follow. By the end, you could be enjoying your very own luxurious soaking experience. So, are you ready to dive into the world of DIY projects? Let’s get started!
Table of Contents
How To Make A Wooden Bathtub: Diy Luxury Guide Explained
Creating a wooden bathtub at home brings a touch of luxury to your bathroom. Imagine soaking in a beautiful, handcrafted tub made just for you! Start by picking the right type of wood. Cedar or redwood are great choices, as they resist water. Next, gather tools like a saw, drill, and sandpaper. Measure your space before cutting the wood. Don’t forget to waterproof the inside! Finally, think about adding a splash of color. Making your own bathtub can be a rewarding DIY project, transforming your space into a personal oasis. Why not give it a try?
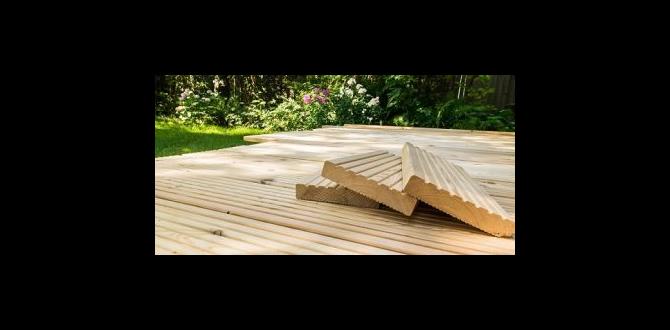
Choosing the Right Wood
Explore the best types of wood for bathtubs, such as cedar, teak, and pine.. Discuss the benefits and drawbacks of each wood type in terms of durability and aesthetics..
Choosing the right kind of wood is key for a wooden bathtub. Some wood types are better than others for this project. Here are popular options:
- Cedar: It’s very durable and smells nice. However, it can be expensive.
- Teak: This wood is strong and water-resistant. Yet, it costs a lot too.
- Pine: This choice is cheap and easy to work with. But, it might not last as long.
Think about how each wood looks and feels. The look adds style to your bathroom while strength helps it last. Choose wisely!
What are the best types of wood for bathtubs?
The best wood types for bathtubs are cedar, teak, and pine. Cedar is durable and aromatic, teak offers strength, and pine is budget-friendly but less durable.
Essential Tools and Materials
List the required tools such as saws, drills, and sanders.. Provide a comprehensive material list including wood, sealants, and fittings..
Before you start making a wooden bathtub, gather the right tools and materials. You will need:
- Handsaw or Circular Saw
- Drill with Bits
- Sander or Sandpaper
- Measuring Tape
- Square Tool
Next, collect these materials:
- Wood (cedar or pine is best)
- Sealant (to keep water in)
- Fittings (like screws and brackets)
Having everything ready will help your project go smoothly!
What tools do I need for a wooden bathtub?
You need tools like a saw, drill, and sander to build a wooden bathtub. These tools help you cut, shape, and smooth the wood.
Designing Your Wooden Bathtub
Outline design elements to consider, including size, shape, and ergonomics.. Offer guidance on sketching or modeling your bathtub design..
Creating your dream wooden bathtub is all about fun designs! First, think about the size. Will it fit in your bathroom, or will you need a bigger space? Next, consider the shape. Do you want a sleek modern look or something more classic? Ergonomics is key too! You want it comfy for soaking. It’s like choosing the best chair for a movie marathon but with water!
Before you start building, grab some paper and sketch your ideas. A little drawing can go a long way. If art isn’t your strong suit, try making a simple model with clay. This will give you a better feel for the size and shape. It’s like playing with play-dough but for adults!
| Design Element | Consideration |
|---|---|
| Size | Space available in your bathroom |
| Shape | Sleek or classic style? |
| Ergonomics | Comfort for long soaks |
Designing is half the fun! So get creative and let your ideas flow like water in your future tub!
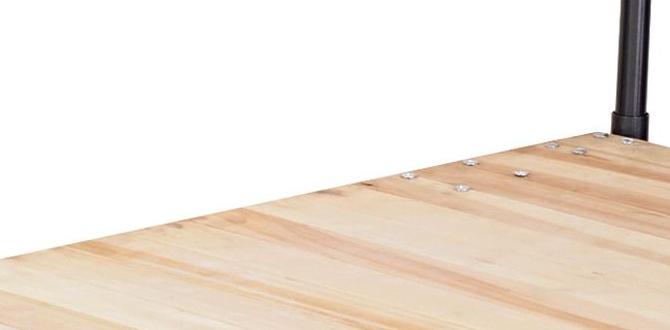
Preparing the Wood
Explain techniques for cutting and shaping wood pieces accurately.. Discuss the importance of sanding and treating the wood to enhance longevity..
Start by measuring and cutting your wood carefully. Use a saw for straight cuts, and try a jigsaw for curves. Precision is key! After cutting, shape the edges with a sander. This makes the wood smooth and safe to touch. Treat your wood with a sealant to protect it from water. This step is important for the bathtub’s longevity. Well-treated wood lasts longer and stays beautiful.
How can I make the wood last longer?
To make wood last longer, seal it with a water-resistant treatment. Sanding also helps remove rough spots, making it smoother and safer.
Assembling the Bathtub
Provide stepbystep instructions for assembling the bathtub.. Highlight tips for ensuring structural integrity and waterproofing..
Start by gathering all your materials. Make sure you have planks, wood glue, and screws. Begin by building the base. Use strong, thick wood for support. Then, attach the sides to the base. Secure them tightly to avoid gaps. Pay extra attention to corners; your bathtub needs them to be strong. Waterproofing is essential. Apply a good sealant on all joints and surfaces.
- Check for any loose screws or gaps.
- Use wood treatment to prevent rot.
- Test the bathtub for leaks before heavy use.
How can I ensure my bathtub is waterproof?
Apply a waterproof sealant to all joints and surfaces. Make sure there are no gaps. Regularly check after installation for any signs of leaks.
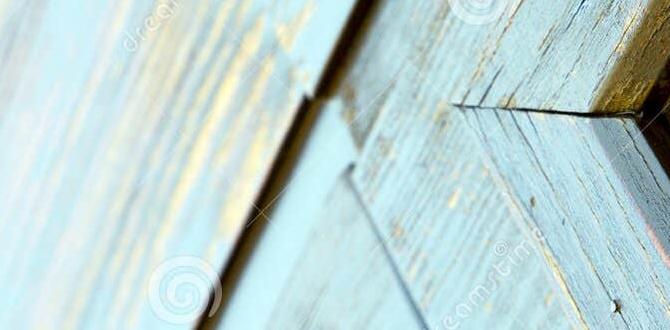
Finishing Touches
Discuss sealing and finishing options to protect the wood and enhance appearance.. Offer suggestions for adding accessories like taps, drains, and lighting..
Adding the final touches to your wooden bathtub is key. Use a good wood sealant to protect against water damage and enhance the beauty of the wood. Popular options include oil-based stains and polyurethane. Choose taps and drains that match your style. Add soft lighting to create a cozy atmosphere. Here are some ideas:
- Tap styles: Modern, vintage, or minimalist
- Drain types: Pop-up or overflow
- Lighting: Soft LED lights or candles
These elements will make your bathtub look great and keep it safe for years!
What is the best way to seal a wooden bathtub?
To seal a wooden bathtub, use marine-grade sealant. It protects against water damage and lasts longer in wet conditions. Ensure the surface is clean before applying.
Maintenance and Care for Wooden Bathtubs
Provide best practices for cleaning and maintaining the wooden surface.. Discuss periodic treatment options to prevent rot and damage..
Cleaning your wooden bathtub is easy with the right steps. Use a soft sponge and a gentle soap to avoid scratches. Rinse well to remove soap residue. For deep cleaning, combine vinegar and baking soda. This mix helps remove mildew and keeps it fresh.
To prevent rot and damage, consider these treatments:
- Apply a wood oil every few months.
- Use sealants to protect surfaces.
- Avoid leaving water standing for long periods.
With proper care, your bathtub will stay beautiful and last a long time!
How do you clean a wooden bathtub?
Use a soft sponge with gentle soap, rinse well, and occasionally deep clean with vinegar and baking soda.
Cost Considerations and Budgeting
Estimate the overall cost of materials, tools, and time investment.. Discuss budgetfriendly alternatives without compromising quality..
Building your own wooden bathtub can be exciting, but costs matter. First, you need to gather materials like wood, sealant, and tools. Estimate spending around $500 to $1,500. Determine how much time you can spend on this project. Finding budget-friendly options is key! Look for quality wood at sales or check second-hand stores.
- Buy used tools if you can.
- Use affordable wood, like pine.
- Consider simpler designs to save on material costs.
Don’t forget to plan for extra costs, like plumbing or finishing touches. Careful budgeting ensures your project stays fun and stress-free!
What is a cost-effective way to build a wooden bathtub?
To save money, choose less expensive wood and buy used tools. You can also simplify your design to reduce costs. Always search for deals, especially on materials!
Conclusion
In conclusion, making a wooden bathtub can be a fun DIY project. You’ll need the right materials and tools. Remember to follow safety tips and focus on waterproofing. This unique bathtub adds luxury to your home. Now that you have the basics, why not start planning your project? Explore more guides and get inspired to create your own masterpiece!
FAQs
What Materials Are Best Suited For Constructing A Wooden Bathtub, And Why?
The best materials for a wooden bathtub are cedar, teak, and redwood. These woods are strong and resist water well. They also smell nice and look beautiful. You want a wood that won’t rot and can handle heat, so these choices are great!
How Do I Properly Seal And Waterproof A Wooden Bathtub To Prevent Leaks And Damage?
To seal and waterproof a wooden bathtub, start by cleaning the wood well. Next, use a waterproof sealant. You can brush it on or spray it evenly over the wood. Let it dry completely, then add a second coat. Finally, check for any spots that need extra sealing. This will help keep your tub safe from leaks and damage.
What Are The Essential Tools And Equipment Needed For A Diy Wooden Bathtub Project?
To make a wooden bathtub, you need some important tools and equipment. First, you’ll need a saw to cut the wood pieces. Then, grab a drill to make holes for screws. You should also have sandpaper to smooth the wood. Don’t forget waterproof sealant to keep the bathtub from leaking!
Are There Specific Wood Types That Are More Durable And Suitable For A Bathtub, Especially In Terms Of Moisture Resistance?
Yes, some wood types are better for bathtubs because they resist water. You can use mahogany or teak. These woods don’t swell or rot easily. They can stay strong and good-looking even in wet places. Choosing the right wood helps your bathtub last longer!
What Are The Steps Involved In Designing And Building A Custom Wooden Bathtub To Ensure Both Functionality And Aesthetics?
To design a custom wooden bathtub, start by planning its shape and size. Next, choose the right type of wood that can hold water and look nice. Then, carefully measure and cut the wood pieces to fit together. We also need to make sure the tub is sealed so it doesn’t leak. Finally, sand the surface to feel smooth and add a finish to make it shine!