Have you ever looked at a beautifully crafted piece of wood and wondered how to draw curves on wood? It seems like magic, doesn’t it? Learning to master craft techniques can turn plain wood into stunning art.
Imagine creating smooth, flowing designs that catch everyone’s eye. These skills can help you build unique furniture or beautiful decorations. With the right steps, anyone can create elegant curves on wood.
Did you know that wood has a special grain? This grain can enhance your curves and add character to your designs. It’s like nature’s own art!
In this article, we will explore easy ways to bend and shape wood. You’ll discover tips and tricks to make drawing those curves simple and fun. Get ready to unleash your creativity and turn your ideas into reality!
Table of Contents
How To Draw Curves On Wood: Master Craft Techniques Accurately Introduction Drawing Curves On Wood Can Be An Essential Skill For Various Woodworking Projects, From Creating Elegant Furniture Pieces To Intricate Carvings. Understanding How To Draw Curves Accurately Can Elevate Your Craftsmanship And Bring Your Creative Visions To Life. This Guide Will Delve Into Effective Techniques, Tools, And Tips For Mastering The Art Of Drawing Curves On Wood. Why Curves Matter In Woodworking Curves Add Character And Fluidity To Wooden Pieces, Distinguishing Them From Straight-Edged Designs. They Can Create A Sense Of Movement, Contributing To The Overall Aesthetics Of Your Craft. Whether It’S For Decorative Elements Or Structural Components, Mastering Curves Will Significantly Enhance The Quality Of Your Work. Tools Required For Drawing Curves On Wood To Draw Curves Effectively On Wood, You’Ll Need A Few Essential Tools: 1. **Pencil And Paper**: For Initial Sketches To Plan Your Curves. 2. **Flexible Curve Ruler**: This Tool Allows You To Draw Smooth And Precise Curves. 3. **Compass**: Useful For Drawing Arcs And Circular Curves. 4. **Woodworking Square**: Helps In Ensuring That Your Curves Connect Well With Straight Edges. 5. **Measuring Tape**: Essential For Measuring Distances Accurately. Techniques For Drawing Curves On Wood 1. **Using A Flexible Curve**: The Flexible Curve Ruler Is One Of The Best Tools For Creating Custom Curves. Simply Shape It Into Your Desired Curve On A Sheet Of Paper First, Then Trace It Onto The Wood. 2. **Compass Method**: Use A Compass For Circular Curves. Set The Distance Between The Points Of The Compass To The Desired Radius And Pivot Around Your Center Point On The Wood. 3. **Freehand Drawing**: If You Feel Confident, You Can Attempt To Draw Curves Freehand. Start Slowly And Adjust Your Hand’S Pressure To Achieve A Consistent Line. Practice On Scrap Wood Before Committing To Your Final Piece. 4. **Templates**: Create A Template Of Your Desired Curve From Cardboard Or Thin Plywood. Once The Template Is Made, You Can Trace It Onto Your Wood Repeatedly. Tips For Success – **Practice On Scrap Wood**: Before Drawing On Your Final Piece, Take The Time To Practice On Scrap Pieces Of Wood. This Will Give You A Feel For The Tools And Techniques You Are Using. – **Take Your Time**: Curves Require Precision. Don’T Rush The Process; Take Your Time To Ensure Accuracy In Your Drawing. – **Adjustments**: After You Draw Your Curves, Take A Step Back And Examine Them. You Can Always Adjust Them Before Making Cuts. Conclusion Mastering How To Draw Curves On Wood Is A Valuable Skill That Will Enhance Your Woodworking Projects. By Using The Right Tools, Employing Effective Techniques, And Practicing Consistently, You Can Create Beautiful Curves That Add Depth And Elegance To Your Designs. Embrace The Art Of Curves, And Watch Your Craftsmanship Flourish!

How to Draw Curves on Wood: Master Craft Techniques
Drawing curves on wood can transform your projects. Imagine creating beautiful, flowing designs with just a few simple tools! Start by selecting the right wood and gather materials like a pencil, paint, or a router. Use templates or freehand for your curves. Did you know that a little practice can make your lines smooth and professional? By mastering these techniques, you can add a personal touch to furniture or crafts. Dive into this fun skill and impress your friends!Choosing the Right Wood for Curved Designs
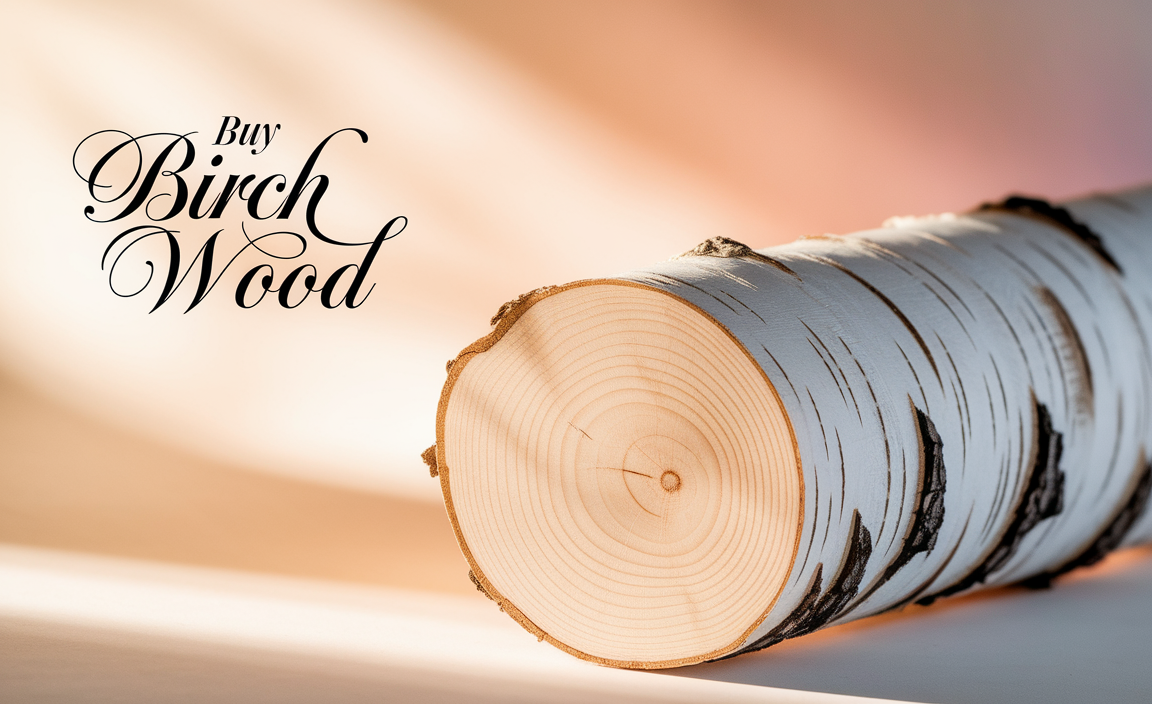
Factors to consider when selecting wood for curves.. Comparison of different types of wood suitable for bending and shaping..Choosing wood for curves is like picking the perfect snack for movie night. You need the right flavor! Flexibility is key, so woods like birch and beech are great choices because they bend without breaking. On the other hand, oak is a tough cookie that doesn’t like to bend much. Here’s a quick look at some wood types that’ll make your curves fantastic:
| Wood Type | Flexibility | Best For |
|---|---|---|
| Birch | High | Curved furniture |
| Beech | High | Cabinet making |
| Oak | Low | Sturdy pieces |
| Pine | Medium | DIY projects |
So grab your tools and get ready to bend that wood like a pro! Remember, the right choice will make your curves shine brighter than a disco ball at a dance party!
Tools and Techniques for Drawing Curves
Detailed description of hand tools versus power tools.. Stepbystep guide on using a compass and French curves for accuracy..Creating curves on wood can be a fun challenge! You can choose between hand tools or power tools. Hand tools like a compass and French curves need your steady hand but give you great control. Power tools, on the other hand, work faster and can be a bit noisier – so loud, they might scare your pet! Both methods have their perks.
To use a compass, start with the point on your desired curve. Then, simply swing the pencil around while keeping the compass point steady. For French curves, align the tool’s edge with your mark and trace along. Voilà! You’ve got curves that even a fashion designer would envy.
| Tools | Pros | Cons |
|---|---|---|
| Hand Tools | Control, precision | Time-consuming |
| Power Tools | Speed, efficiency | Loud, less control |
Employing the Steam Bending Technique
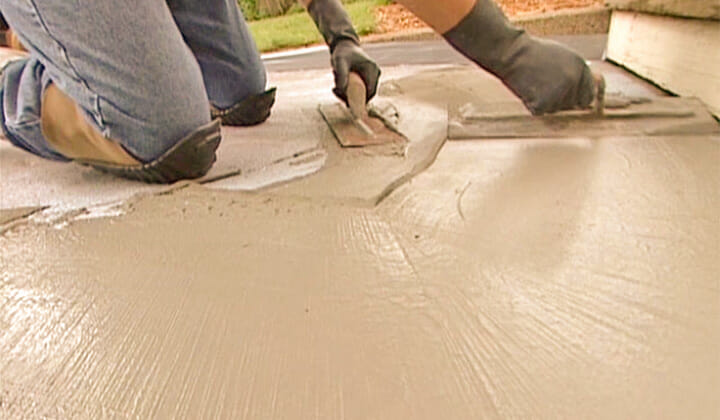
Explanation of steam bending and its advantages for curves.. Safety tips and procedures for effective steam bending..Steam bending is a special technique used to shape wood into curves. It involves heating wood with steam until it becomes flexible. The advantage? You get smooth, flowing shapes without cracks or breaks. It allows you to create beautiful designs with ease.
For safe and effective steam bending, follow these tips:
- Wear protective gloves.
- Ensure proper ventilation.
- Use a reliable steam generator.
- Always keep a fire extinguisher nearby.
With care and practice, steam bending can unlock amazing possibilities in your woodworking projects.
What is steam bending?
Steam bending is a woodworking process that uses steam to make wood pliable for shaping. It helps achieve intricate curves and designs.
Why use steam bending for wood curves?
Steam bending offers flexibility and strength in wooden pieces. It prevents breakage and allows for unique craftsmanship. Ideal for beginners and pros alike!
Creating Templates for Consistent Curves
Benefits of using templates in woodcraft.. How to create and use templates for various curved designs..Using templates can make creating curves much easier in woodcraft. They help ensure that your curves look the same every time. This saves you time and makes your projects look professional. To make a template, follow these simple steps:
- Choose the curve you want to draw.
- Use cardboard or thin wood to cut out the shape.
- Trace the template onto your wood.
- Carefully follow the outline while cutting.
Templates not only help in creating neat curves but also boost your confidence as a woodworker. The right tools and techniques can change how you create!
What are the benefits of using templates in woodcraft?
Templates help create consistent curves and save time. They also increase accuracy and make it easier to repeat designs.
Finishing Techniques for Curved Wood Surfaces
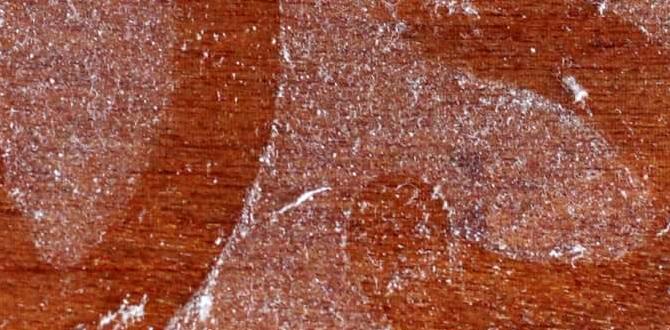
Recommended finishing methods to enhance curves.. Tips on sanding and polishing to achieve a smooth finish..To make curved wood look great, finishing techniques are key. Start by applying a thin coat of finish. This could be varnish or oil. Let it dry completely. Use fine-grit sandpaper to smooth the surface. Sand in the direction of the grain. After sanding, polish with a soft cloth for extra shine.
- Recommended finishes: Varnish, oil, or shellac.
- Tips for sanding: Use 220 grit sandpaper.
- Polishing: Use a clean, dry cloth.
What are the best finishes for curved wood?
The best finishes include varnish, oil, and shellac. These help enhance the curves and protect the wood.
Conclusion
In conclusion, drawing curves on wood is easy and fun with practice. Start by choosing the right tools, like pencils and templates. Remember to measure carefully for the best results. Try different techniques to find what works for you. Keep practicing, and you’ll master this craft in no time. For more tips, check out our other woodworking articles!FAQs
What Tools And Materials Are Essential For Drawing Curves On Wood Effectively?To draw curves on wood, you need a few key tools. First, grab a pencil to sketch your design. A flexible curve ruler helps you make smooth lines. You might also use a compass for perfect circles. Finally, some sandpaper can smooth any rough edges after you’ve drawn your curves.
What Techniques Can Be Used To Ensure Accurate And Smooth Curves When Drawing On Wood?To draw accurate and smooth curves on wood, you can use a few simple techniques. First, use a flexible ruler or a curved template to guide your lines. You can also draw lightly with a pencil first, so you can erase mistakes. Another tip is to move your hand smoothly, instead of trying to rush. Finally, practicing helps you get better at drawing curves!
How Can One Transfer A Design Or Template Onto Wood For Curve Drawing?To transfer a design onto wood, first, you need to print or draw your design on paper. Then, place the paper on the wood where you want the design. You can use a pencil to trace the lines gently. You can also use carbon paper, which helps transfer the design as you trace. Finally, remove the paper, and you’ll see your design on the wood!
What Are Some Common Mistakes To Avoid When Drawing Curves On Wood?When drawing curves on wood, avoid these common mistakes. First, don’t rush. Take your time to get the shape right. Next, make sure your pencil is sharp to create smooth lines. Also, always measure before you draw; this helps keep your curves even. Finally, practice on scrap wood first, so you can improve your skills.
How Can Different Wood Finishes And Textures Affect The Visibility And Precision Of Drawn Curves?Different wood finishes and textures can change how well you see drawn curves. A smooth finish makes curves clearer, so you can see them better. If the wood is rough, it can hide or blur the lines. Darker finishes might also make the curves harder to see. Choosing the right finish helps you draw better!