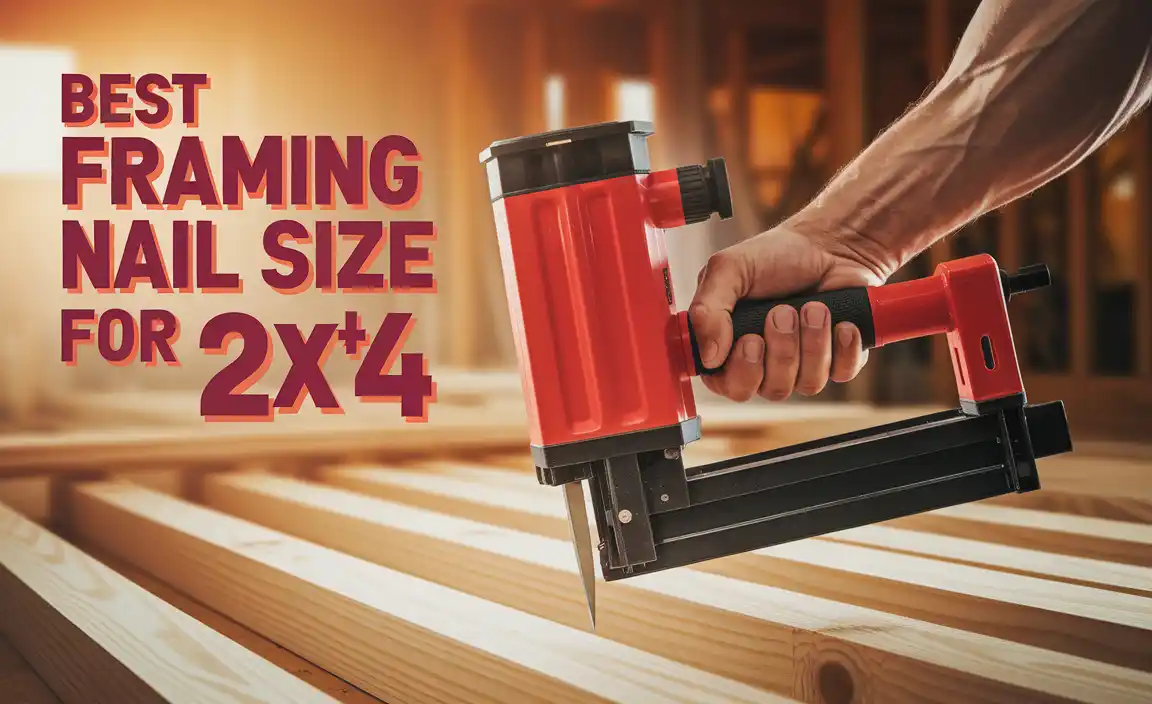
If you’ve ever tried to build something with wood, you know how important nails are. But have you ever struggled with how to align framing nails correctly? Imagine hammering away and noticing that your nails aren’t straight. Frustrating, right? It could mean the difference between a sturdy wall and a wobbly one!
Aligning framing nails properly can make your project a lot easier. Picture this: You’ve got your wood, and you’re ready to start. But wait! You need to know the best ways to make those nails go in perfectly. Did you know that a well-aligned nail can hold much better than a crooked one? Simple tips can help keep everything in line.
In this article, we’ll explore simple steps to help you learn how to align framing nails like a pro. So, roll up your sleeves, grab your hammer, and let’s get started!
Table of Contents
How To Align Framing Nails For Perfect Construction Process
Aligning framing nails correctly is essential for building strong structures. Start by using a level as your guide to ensure everything is straight. Have you ever seen a wall that leans? That’s often due to misplaced nails! A fun tip: tapping the nail’s head lightly can help it sit straight. Measure twice and nail once. This simple practice makes a huge difference, keeping your projects secure. Properly aligned nails lead to safer, sturdier builds.
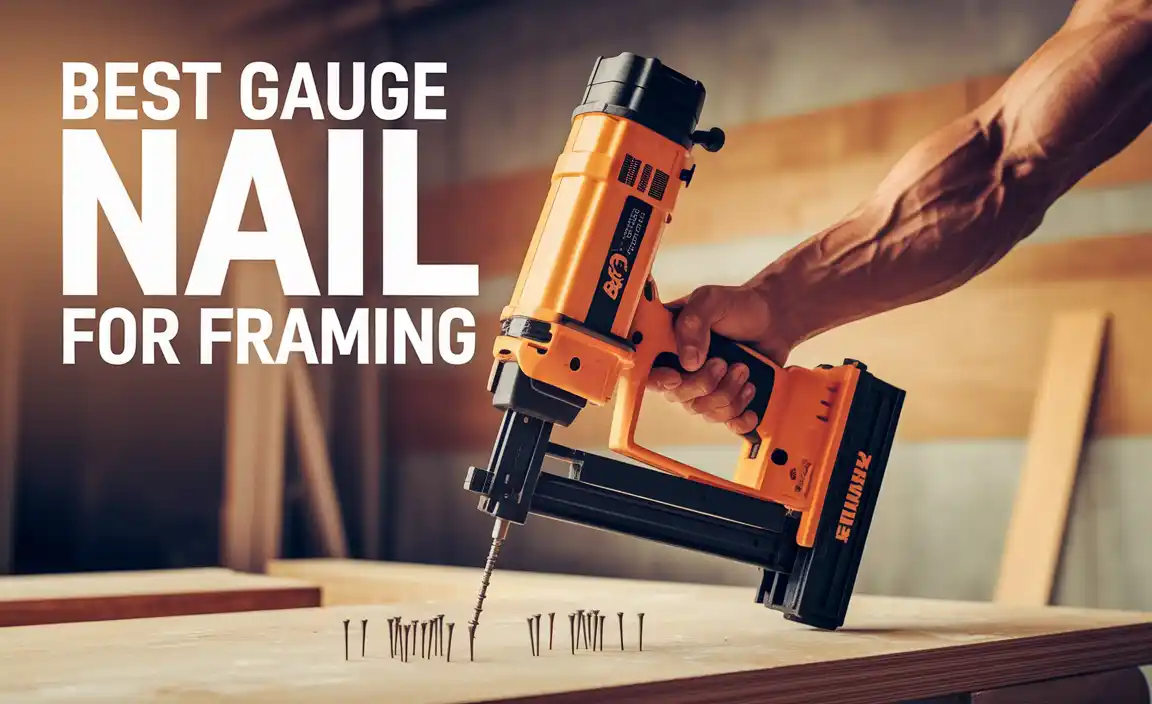
Understanding Framing Nails
Definition and types of framing nails. Importance of using the right nail for construction.
Framing nails are special fasteners used in construction. They help hold wooden parts together. With the right nails, buildings stay strong and safe. There are different types of framing nails, including:
- Round head nails
- Common nails
- Box nails
- Sinker nails
Choosing the right type is important because it affects how well your project holds up. For example, using the wrong nail might lead to weak structures. Always pick nails that suit your materials for the best results!
What are the different types of nails used for framing?
Framing nails come in types like round head, common, box, and sinker nails. Each type has its own purpose and strengths.
Why is it important to use the right framing nail?
Using the correct framing nail ensures durability and strength in constructions. It helps prevent failure in structures.
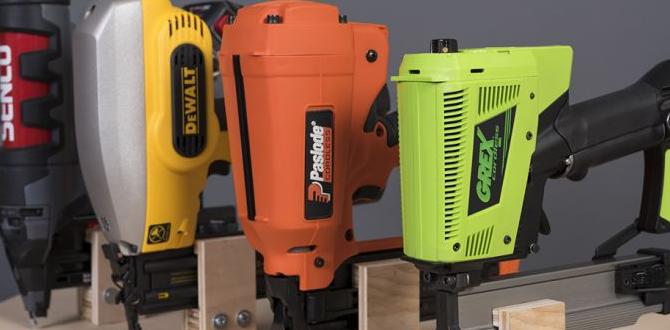
Tools and Materials Required
List of essential tools for aligning framing nails. Common materials used in framing projects.
To align framing nails correctly, you need some important tools and materials. Here’s a simple list of what you’ll need:
- Hammer – for driving nails into wood.
- Nail Gun – for quick and easy nailing.
- Measuring Tape – to measure distances accurately.
- Square – ensures angles are right.
- Pencil – for marking your cut and nail spots.
Common materials for framing include:
- Wood Studs – the main pieces used in walls.
- Plywood – for surfaces and structures.
- Nails – to hold everything together.
Having the right tools makes a big difference. You build strong, safe structures with ease!
What tools do I need for aligning framing nails?
You need a hammer, a nail gun, measuring tape, a square, and a pencil. These tools help make your framing projects easier and more accurate!
Preparation Steps Before Nailing
Importance of measuring and marking for alignment. Checking and preparing lumber for framing.
Before you start nailing, take a moment to plan. Measuring and marking ensure that your nails go in the right spots. Good alignment makes your project strong and neat. Check your lumber carefully. Look for any cracks or defects that could cause problems later. Using straight boards helps your framing stay sturdy.
- Measure twice, cut once.
- Mark where each nail should go.
- Inspect lumber for flaws.
Why is it important to measure and mark before nailing?
Measuring and marking are crucial for proper alignment. This step ensures that everything fits together nicely, making your project safe and tidy. Without it, you may end up with crooked frames.
Preparation Checklist:
- Gather your tools.
- Check measurements.
- Prepare work area.
Techniques for Aligning Framing Nails
Stepbystep guide on aligning nails in various types of wood. Tips for maintaining consistent spacing and depth.
Aligning framing nails can feel like trying to herd cats. But fear not! Start by picking your wood type; each one is a bit different. Next, use a speed square to mark nail spots evenly. Keep that spacing at 16 inches apart for strength, unless you want a floppy structure. Adjust your nail depth with the hammer for a snug fit. Remember, consistency is key, or your project may look more like modern art than a house!
| Wood Type | Nail Spacing (inches) | Nail Depth |
|---|---|---|
| Pine | 16 | 1.5 |
| Oak | 12 | 2 |
| Plywood | 24 | 2.5 |
Lastly, practice makes perfect. So, if you miss your target, don’t worry! Even the best builders had some “nailed it” moments.
Additional Tips for Best Practices
Recommended methods for ensuring accuracy. Potential benefits of using jigs and templates.
To achieve the best results when aligning framing nails, try these methods:
- Use a square. It helps keep edges straight and neat.
- Mark your spots clearly. A pencil line can guide you perfectly.
- Try using jigs and templates. They hold parts together and ensure accuracy.
Jigs and templates can be very helpful. They make the work faster and reduce mistakes. This way, you can build stronger and better structures. Finding the right tools can save time and effort.
What are jigs and templates?
Jigs and templates are tools that help you move parts into the right place. They keep everything aligned, making your work easier and more precise.
Maintenance and Safety Considerations
Safety gear to use while framing. Maintenance tips for tools used in nail alignment.
Staying safe while framing is key. Always wear safety gear like goggles, ear protection, and gloves. Just think of it as dressing up for a superhero job—safety first! Here are some maintenance tips for your tools:
| Tool | Tip |
|---|---|
| Nail Gun | Check for jams often. No one likes a stubborn tool! |
| Hammer | Keep it clean. A dirty hammer can miss the mark! |
| Measuring Tape | Store it properly to avoid kinks. Kinks are not cool! |
Taking care of your tools helps them last longer and keeps your project on track. So, let’s keep our tools happy and our work safe!
Resources for Further Learning
Recommended books and online resources for framing. Links to instructional videos and tutorials on framing techniques.
There are many great resources to help you learn how to align framing nails. Books like “The Complete Manual of Woodworking” provide excellent tips and tricks. For online help, websites like YouTube have many videos showing framing techniques in action. Here are some useful resources:
- “Framing Basics” by John H. McCaw
- “Builder’s Guide” available on Builder’s Web
- YouTube tutorials such as “How to Frame a Wall”
- Framing courses on Skillshare
What beginners need to know about framing?
Beginners should learn about proper nail alignment and tool usage. Knowing how to measure and mark correctly is crucial. Following these steps will lead to strong and safe frames.
Conclusion
In summary, aligning framing nails properly ensures a strong, stable structure. You should use a level or straight edge for accuracy. Check your angles and make adjustments as needed. Practice makes perfect, so don’t hesitate to try again. For more tips, explore resources or watch videos about framing techniques. You’re on your way to mastering framing nails!
FAQs
What Are The Best Practices For Aligning Framing Nails To Ensure Structural Integrity?
To make sure framing nails are strong, you should start by placing them evenly. Use a level to check your boards are straight. Hammer nails straight, not at an angle. It helps to space nails about 16 inches apart. Lastly, always double-check your work to keep everything sturdy.
How Far Apart Should Framing Nails Be Spaced When Aligning Them In A Stud?
When you’re using framing nails, space them about 16 inches apart. This means every nail should be 16 inches from the next one. This helps keep everything strong and sturdy. Make sure to hit the middle of the stud for the best hold!
Are There Specific Tools Or Jigs That Can Help In Aligning Framing Nails More Accurately?
Yes, there are tools that can help you place framing nails better. A nail gun is one useful tool because it drives nails in quickly and straight. You can also use a framing square. It helps you check that your pieces are at the right angles. Another tool is a jig, which holds things still while you nail them. These tools make your work easier and more precise!
What Common Mistakes Should Be Avoided When Aligning Framing Nails In Construction Projects?
When aligning framing nails, you should avoid a few common mistakes. First, make sure your nails are straight and not crooked. If they’re not straight, your project might not be strong. Also, don’t use too few nails; they need to hold everything together. Finally, check that you’re nailing in the right spots, so the pieces fit well.
How Does The Alignment Of Framing Nails Impact The Overall Durability Of A Framed Structure?
When we line up framing nails correctly, they hold the wood pieces together better. This helps the building stay strong over time. If the nails are crooked, they can loosen, and the structure might fall apart. So, good nail alignment means a safer and stronger building for everyone.