Quick Summary: A framing nailer safety checklist ensures you use powerful tools correctly, preventing injuries. Always wear safety glasses, inspect the tool and nails, keep hands and body clear of the firing path, and never disable safety features for a safe and effective build.
Table of Contents
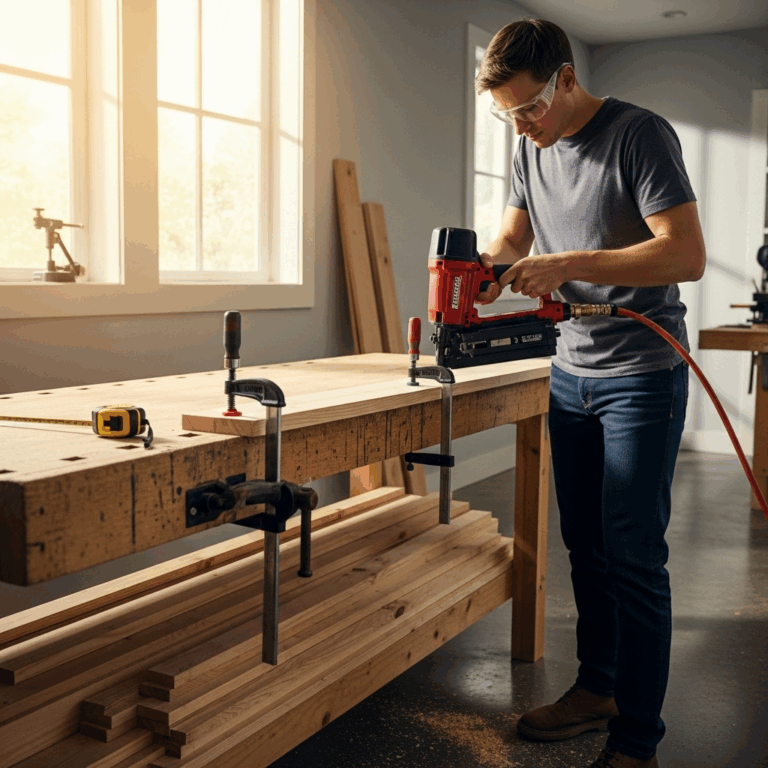
Framing Nailer Safety Checklist: Essential Tips for a Confident Build
Hey there, fellow DIYers and builders! Jack Shaffer here, your go-to guy for all things nailers. Have you ever stared at a framing nailer, all that power packed into one tool, and felt a little… intimidated? You’re not alone! These beasts tackle big jobs, like building decks or framing a house, but with great power comes a need for great responsibility. Getting safety wrong can lead to serious injury, which is the last thing we want on a project. That’s why I’ve put together this straightforward safety checklist. We’ll walk through exactly how to handle your framing nailer safely, step-by-step. Ready to build with confidence? Let’s dive in!
Why a Framing Nailer Safety Checklist is Non-Negotiable
Framing nailers are incredible tools. They drive large nails quickly, making framing much faster than using a hammer. We’re talking about structural projects where speed and power are key. However, the very force that makes them so effective also makes them potentially dangerous if not handled with respect. Think of it like a powerful engine – you wouldn’t drive a race car without understanding the brakes, right? The same logic applies here.
A moment of carelessness can lead to severe injuries, like misplaced nails, kickback, or accidental firing. These can damage your project and, more importantly, your body. This checklist is designed to be your go-to guide, ensuring you approach every job with the right mindset and practices. It’s about working smarter and safer, not harder.
Before You Even Pick Up the Nailer: Pre-Operation Checks
Safety starts before the first nail is even fired. Setting aside a few minutes for these checks can prevent a world of trouble down the line. It’s all about preparation and knowing your tool.
1. Read the Manual (Yes, Really!)
I know, I know. It’s tempting to just jump in. But your framing nailer’s owner’s manual is packed with crucial information specific to your model. It details operating procedures, maintenance, and, most importantly, safety warnings. Think of it as the tool’s autobiography – it knows itself best!
2. Inspect Your Framing Nailer
Give your nailer a good once-over. Look for any obvious signs of damage, such as:
- Cracked housing or body
- Loose or damaged trigger
- Damaged air hose (if pneumatic) or power cord (if electric)
- Obstructed magazine or feed mechanisms
- Any leaks (especially on pneumatic models)
If you find anything concerning, don’t use the tool. Consult the manual or contact the manufacturer for repairs.
3. Check Your Nails
Using the wrong nails is a common mistake. Always use the size and type of nails recommended by the nailer’s manufacturer. Mismatched nails can cause jams, damage the tool, or even misfire. Ensure the nails are straight and free from defects. A bent nail can be a dangerous projectile.
4. Ensure Proper Air Pressure (Pneumatic Nailers)
For pneumatic framing nailers, the air pressure is critical. Too little pressure and the nails won’t seat properly. Too much, and you risk damaging the tool or causing over-penetration, which can be hazardous. Consult your manual for the recommended PSI (pounds per square inch) range and set your compressor accordingly. Learn more about maintaining ideal air pressure from resources like OSHA’s guidelines on pneumatic power tools.
5. Inspect the Air Hose and Connections (Pneumatic Nailers)
A compromised air hose can burst, and loose connections can lead to leaks or sudden hose detachment. Check the hose for any cuts, abrasions, or kinks. Ensure all fittings are secure and tight. A good quality hose specifically designed for nail guns is a smart investment.
Essential Personal Protective Equipment (PPE) – Your First Line of Defense
This is probably the most critical part of any tool safety discussion. Your PPE is your personal shield against potential hazards. Don’t skip it, ever.
1. Eye Protection is Paramount
This is non-negotiable. Always wear ANSI Z87.1 compliant safety glasses or a full face shield. Flying debris, nail fragments, or even accidental nail ricochets can cause severe eye injuries. Make sure your eye protection fits snugly and covers your eyes adequately. You want to be able to focus on your project, not worry about your vision.
2. Hearing Protection
Framing nailers are loud! Prolonged exposure to the noise they produce can lead to permanent hearing damage. Invest in a good pair of earplugs or earmuffs. They might feel like a hassle, but your future self will thank you. It’s like protecting your ears from loud concert music – important for long-term health.
3. Gloves for Grip and Protection
Work gloves provide a better grip on the nailer, reducing the chance of it slipping. They also offer some protection against minor scrapes and abrasions. Look for gloves that offer good dexterity so you can still control the tool effectively.
4. Sturdy Footwear
If you’re working on a construction site or a rough job area, steel-toed boots are a smart choice. They protect your feet from dropped tools or materials, and provide good traction to prevent slips.
5. Optional Head Protection
In environments where there’s a risk of falling objects (like active construction sites), a hard hat is essential. Even on DIY projects, if you’re working overhead or in an area with overhead hazards, consider head protection.
Safe Operating Procedures: How to Use Your Framing Nailer Responsibly
Now that you’re prepped and protected, let’s talk about the actual operation of the nailer. These are the habits that will really keep you safe on the job.
1. Understand the Trigger Mechanism
Most framing nailers have two main trigger modes: sequential trip and contact trip (or bounce firing). Sequential is the safest for beginners and for precise nailing – you must depress the safety contact nose against the workpiece before pulling the trigger. Contact trip fires a nail every time the nose is depressed, even without pulling the trigger, which is faster but requires more caution. Always use sequential trip mode until you are very comfortable and have reviewed the proper techniques for contact trip. Never disable safety features!
Here’s a quick comparison:
| Trigger Mode | Operation | Best Use Cases | Safety Considerations |
|---|---|---|---|
| Sequential Trip | Press nose to surface, then pull trigger. | Precision nailing, framing, general use for beginners. | Slower but significantly safer; prevents accidental firing. |
| Contact Trip (Bounce Firing) | Pull trigger, then depress nose to surface | Fast nailing, repetitive tasks, experienced users. | Faster but higher risk of accidental firing if not managed carefully. |
2. Always Engage the Safety Contact Nose
Never, ever fire the nailer into the air or against your hand or leg. The safety contact nose (the part that touches the wood) must be firmly pressed against the surface before you pull the trigger. This is how the tool knows you intend to drive a nail into the material.
3. Maintain a Firm Grip and Stable Stance
A framing nailer can create significant recoil, especially when driving large nails. Maintain a firm, two-handed grip on the tool. Ensure you have a stable stance with your feet well-balanced. This helps you control the tool and absorb the recoil without losing your balance.
4. Keep Your Hands and Body Clear
This sounds obvious, but in the heat of the moment, it’s easy to get careless. Never place your hands or any part of your body in line with the nail exit point. Always work from a comfortable position where kickback won’t cause you to lose control or hit yourself.
5. Aim Carefully
Position the nailer so the nail will go precisely where you intend. Avoid nailing near the edge of wood, as this can cause the wood to split, leading to the nail bending or exiting the wood at an angle. This is called “blowout,” and it’s a common source of frustration and potential injury. If you’re unsure about nailing near edges, consider using smaller nails or pre-drilling if possible for critical joints.
6. Never Point the Nailer at Anyone
This is a fundamental rule for any firearm-like tool. Never point the nailer at a person, even if you believe it’s unloaded or disconnected. Accidental activation, even with a single nail, can cause serious harm.
7. Be Aware of Your Surroundings
Consider what’s behind your workpiece. Are there electrical wires, plumbing, or people on the other side? Driving a nail through materials can be unpredictable, and you don’t want to hit something you shouldn’t. Understand the structure you are working on. For instance, electrical safety information is crucial when working around walls or floors.
8. Loading Procedures
When loading nails, ensure the nailer is not under pressure (disconnect from air source for pneumatics) and the trigger is disengaged. Follow the manufacturer’s instructions for loading the magazine to avoid jamming or damaging the feed mechanism.
Between Nailing Sessions: Storage and Maintenance
Safety doesn’t stop when the work for the day ends. Proper storage and maintenance are key to long-term safe operation.
1. Disconnect When Not in Use
Always disconnect the power source (air hose, battery, or cord) when the nailer is not in use, when clearing jams, or when performing maintenance. This is the single most effective way to prevent accidental firing.
2. Proper Storage
Store your framing nailer in a clean, dry place, preferably in its original case or a dedicated tool bag. Keep it out of reach of children. For pneumatic tools, ensure the air is bled out of the system to prevent pressure buildup.
3. Regular Cleaning and Lubrication
Follow the manufacturer’s recommendations for cleaning and lubrication. A well-maintained tool functions more reliably and safely. For pneumatic nailers, a few drops of air tool oil in the air inlet before each use is often recommended. Check out Family Handyman’s tips on nail gun maintenance for more practical advice.
4. Professional Servicing
If your nailer shows signs of malfunction, difficulty driving nails, or excessive wear, have it serviced by a qualified technician. Don’t try to repair complex internal issues yourself if you’re not trained.
Common Scenarios and How to Handle Them Safely
Even with the best preparation, you might encounter tricky situations. Here’s how to navigate them safely.
Jamming
Jams are frustrating but common. The first and most important step is to disconnect the power source (air or battery). Consult your manual for specific jam-clearing instructions for your model. Never try to force a jam with tools or your hands if they are in danger.
Kickback
Kickback is the recoil you feel when the nail is driven. It can sometimes cause the tool to jump back. Ensure you have a firm grip and a stable stance to manage this. Avoid over-reaching or working in awkward positions where kickback could cause you to lose balance.
Nail Blowout or Splitting Wood
If you notice the wood splitting, stop. You might be too close to the edge, using too much pressure, or the wood might be too dry. Try repositioning the nail, using a different nail type, or if it’s critical, consider pre-drilling a pilot hole. Splitting can also cause the nail to exit unexpectedly.
Framing Nailer Safety Checklist Summary Table
Here’s a quick reference table to keep handy:
| Category | Key Safety Points |
|---|---|
| Pre-Operation | Read manual, inspect tool for damage, check nails, verify air pressure (pneumatic), inspect air hose & connections (pneumatic). |
| Personal Protective Equipment (PPE) | Safety glasses/face shield, hearing protection, gloves, sturdy footwear. |
| Safe Operation | Understand trigger mode, always engage safety nose, firm grip & stance, keep body clear, aim carefully, never point at anyone, be aware of surroundings, proper loading. |
| Maintenance & Storage | Disconnect power when not in use, store properly, regular cleaning/lubrication, professional servicing when needed. |
| Handling Issues | Disconnect power for jams, manage kickback with grip/stance, watch for wood splitting/blowout. |
Frequently Asked Questions About Framing Nailer Safety
Q1: How often should I lubricate my pneumatic framing nailer?
A: Most manufacturers recommend adding a few drops of dedicated air tool oil to the air inlet before each use. Refer to your tool’s specific manual for exact instructions, as some models may have different requirements.
Q2: Can I disable the safety contact trip on my nailer to make it faster?
A: No, absolutely not. Disabling safety features is extremely dangerous and can lead to severe accidental firing and injury. Always use the nailer with all safety mechanisms intact and functional, preferably in sequential trigger mode.
Q3: What kind of nails should I use with my framing nailer?
A: Always use the size and type of nails specified in your framing nailer’s owner’s manual. Using incorrect nails can cause jams, damage the tool, and lead to unsafe operation. Common framing nails are typically 2-inch to 3-1/2-inch nails, often with clipped or rounded heads, depending on the nailer.
Q4: Is it safe to use a framing nailer in wet conditions?
A: Using any power tool in wet conditions increases risk. For pneumatic nailers, moisture can affect the tool’s performance and potentially cause rust. For any nailer, the risk of slipping is higher. If you must work in wet conditions, take extra precautions, ensure proper grounding for electric models, and maintain an extremely secure stance.
Q5: What should I do if my framing nailer jams repeatedly?
A: Repeated jamming indicates a problem. First, always disconnect the power source. Then, carefully attempt to clear the jam according to your manual. If the problem persists, the nailer likely needs professional servicing. Do not force it or use it in a potentially unsafe, malfunctioning state.
Q6: How far can a framing nailer shoot a nail?
A: A framing nailer drives nails into wood, not through the air. The nail’s travel is entirely contained within the material unless it exits due to improper angle or material failure (like splitting). The concern is not how far it shoots, but that the nail is driven with significant force and can cause injury if it exits the wood unexpectedly or if the tool misfires.
Conclusion: Building a Safer Future, One Nail at a Time
There you have it – your comprehensive framing nailer safety checklist. Using a framing nailer is a rewarding skill that can significantly boost your DIY capabilities. By understanding and consistently applying these safety tips, you’re not just protecting yourself; you’re ensuring your projects are built on a foundation of sound practice. Remember, safety is never a one-time task; it’s an ongoing commitment.
Always prioritize wearing your PPE, inspecting your tool before each use, and being mindful of your surroundings and actions. Treat your framing nailer with the respect its power demands, and it will be a reliable partner in countless projects to come. Happy (and safe) building!