Imagine helping your dad fix the house trim. He hands you a finishing nail gun for trim work. Sounds fun, right? This tool is like a superhero in the world of home projects. It turns tricky tasks into easy ones. But why is this tiny machine so special? Let’s uncover its magic together.
Did you know that using the right nail gun can save a day’s work? It surprises many, but it’s true! This nifty gadget speeds up trim work. No more sore thumbs from trying to hammer nails. Just a simple push and click!
Ever see professionals using it? They call it a game-changer. You might think it’s hard to use, but it isn’t. Even a beginner can master it quickly. So, what makes the finishing nail gun a must-have? Let’s find out.
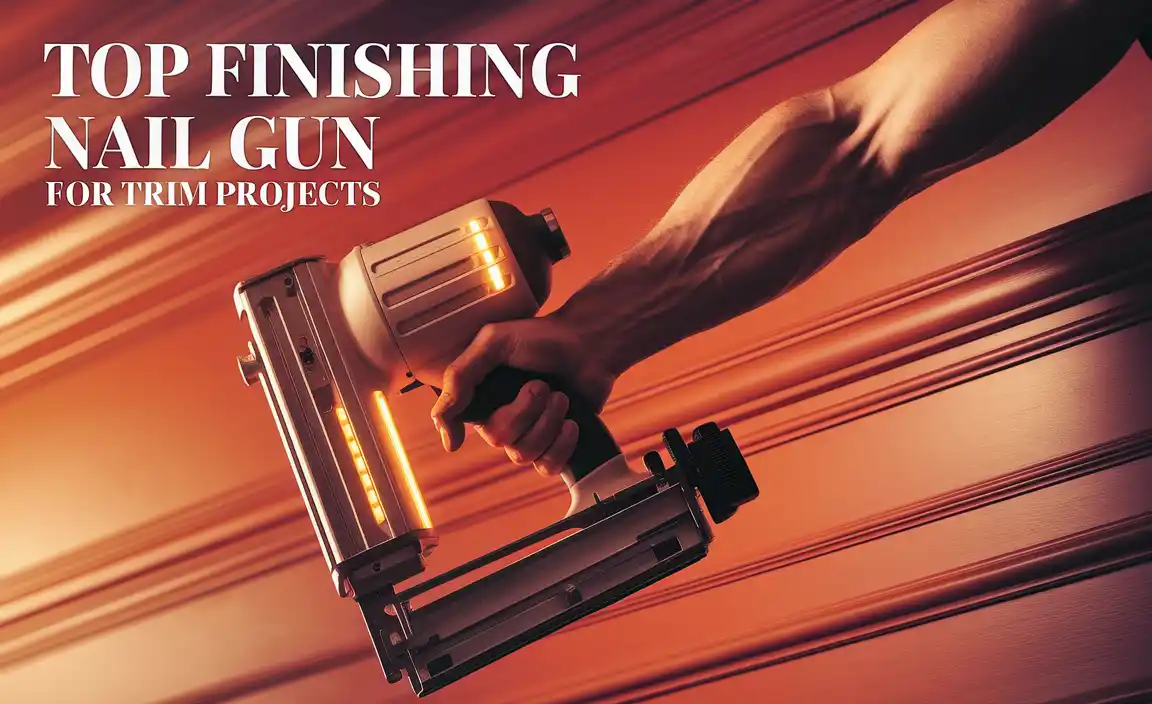
Table of Contents
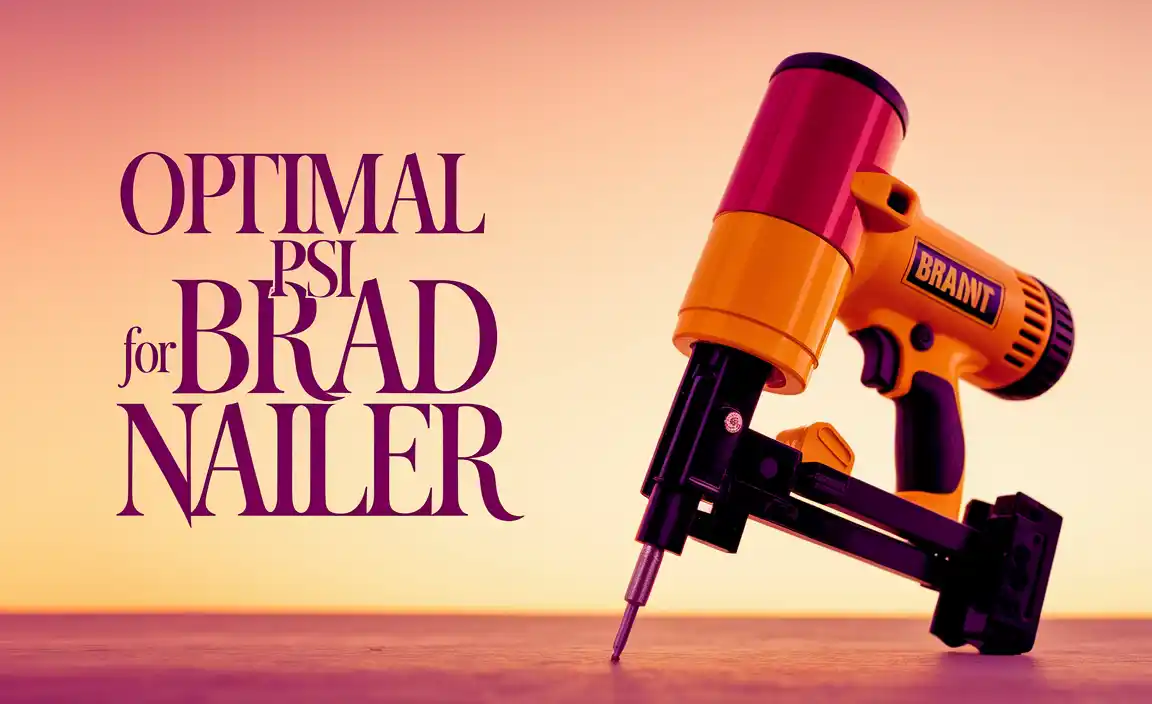
How To Choose A Finishing Nail Gun For Trim
Imagine decorating your room with perfect trim. A finishing nail gun makes this task easy. It’s like a magic wand for carpenters! This tool ensures nails go in without splitting the wood. It saves time and effort for anyone fixing planks or moldings. Ever wonder how builders craft smoothly edged doors and windows? Their secret is often a trusty finishing nail gun. So, make your home projects smoother and faster with this handy device.
Key Features to Consider
Nail gauge size and its impact on trim work. Depth adjustment settings for precision. Magazine capacity and loading mechanisms.
Thinking of using a finishing nail gun for trim work? Let’s nail down what really matters! First up, the nail gauge size—tiny nails won’t hold big trim, and big nails might split the wood. Choose wisely! Next, we talk about depth adjustment settings. It’s like the Goldilocks of precision—you want the nails snug, not sinking into Narnia. Also, don’t forget magazine capacity. More nails mean fewer reloads, and less time pretending you know magic tricks to load them fast. Check out the handy table below for a quick guide:
| Feature | Importance |
|---|---|
| Nail Gauge Size | Choose based on trim size |
| Depth Adjustment | Ensures precision |
| Magazine Capacity | Affects reload frequency |
Why does all this matter? Well, using the right features ensures your trim stays in place without looking like a pin cushion. With these tips, your projects might even get you some fan mail from carpenters.
Safety Tips When Using a Finishing Nail Gun
Essential safety gear and precautions. Common mistakes to avoid.
Use a finishing nail gun safely. Wear the right gear to protect yourself. A helmet and goggles can save your eyes and head. Always wear gloves to keep your hands safe.
- Read the manual before using the tool.
- Check if the nail gun is in good condition.
- Keep fingers away from the trigger until you are ready to nail.
- Never point the nail gun at anything you don’t want to nail.
- Unplug or remove the battery when not in use.
What mistakes should be avoided?
Avoid rushing your work. Move slowly and stay focused to prevent accidents. Keep the floor clear of obstacles to prevent tripping. Always use the right type of nail for the material. Misfiring is common if nails are not seated correctly. Use clamps to hold small pieces instead of hands. Safety comes first when using powerful tools!
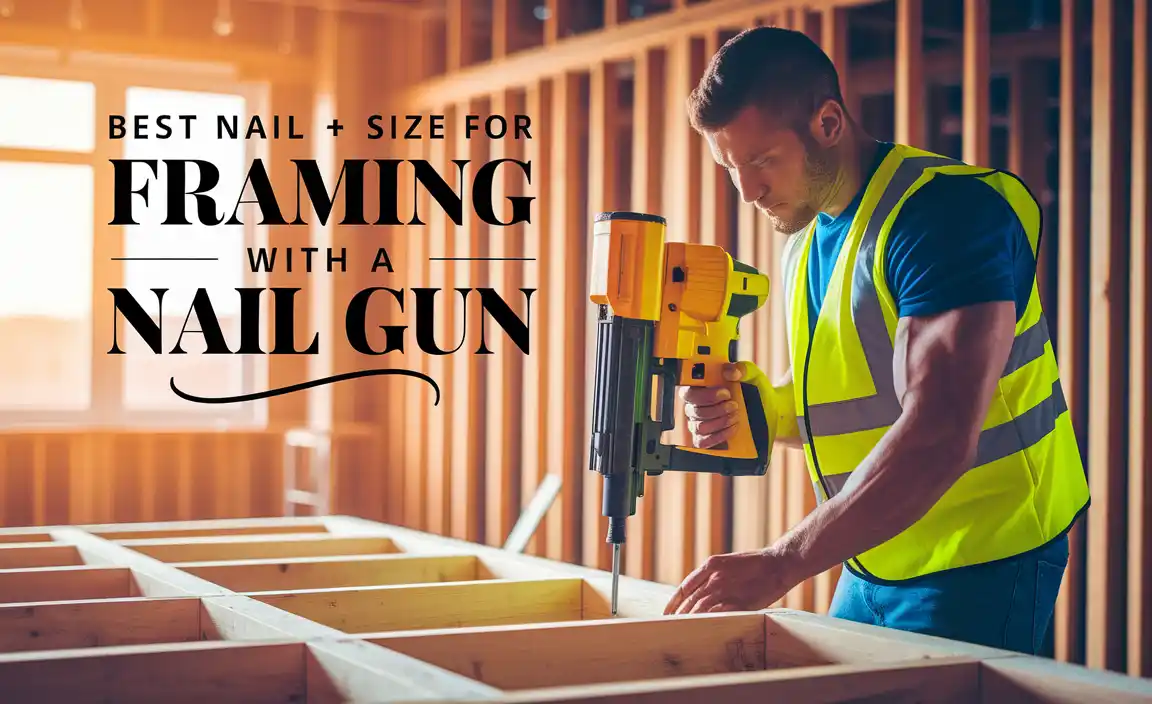
Step-by-Step Guide to Using a Finishing Nail Gun for Trim
Prepping the workspace and materials. Proper technique and positioning. Tips for achieving seamless trim joints.
To use a finishing nail gun for trim, you should first prep the workspace and materials. Make sure your area is clean and free of clutter. Organize your trims and tools properly. Check the safety features of your nail gun. Secure your materials. Use proper technique and positioning. Hold the nail gun firmly and align it with the trim. Aim steadily and squeeze the trigger gently. For seamless trim joints, measure your pieces carefully. Cut precisely and check for fit. Ensure the joints align smoothly. Sand down any rough edges.
How can I make sure my nails don’t split the wood?
Choose thinner nails to prevent splitting. Pre-drill holes if needed. Ensure the nail doesn’t exceed the wood’s thickness. Keep nails away from edges and knots. Maintain a consistent and steady hand.
When working with a finishing nail gun, practice makes perfect. Expert carpenter Alex Caldwell says, “Taking your time with each step leads to a more polished outcome.” Remember, the journey of learning is fun when you know you’re building something amazing!
Maintenance and Troubleshooting
Routine maintenance to extend lifespan. Solutions to common problems like jamming or misfiring.
Keeping a nail gun in good shape is easy if you know how. To make it last longer, clean it often. This keeps it working well. If your nail gun jams or misfires, don’t worry. It’s common. Check for stuck nails or dirt. Clean the parts and tighten loose screws. Oil the moving parts. These steps help your tool work right. Children and adults alike find DIY projects enjoyable when using tools effectively.
Why is My Nail Gun Jamming?
Nail guns jam because nails or debris block the way. Keep it clean to prevent this. Check if you’re using the right size nails. Clean after each use for best results.
- Use compatible nails with the gun.
- Remove dirt and dust regularly.
Quotes from Tool Experts
“Routine maintenance prevents 80% of common tool issues,” says John, a tool expert.
Fun Fact
Did you know? Using the right nails reduces jams by 50%!
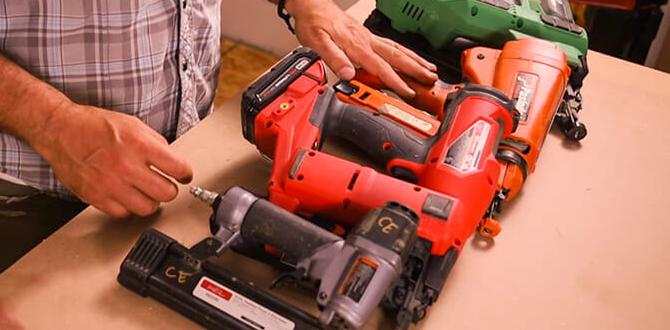
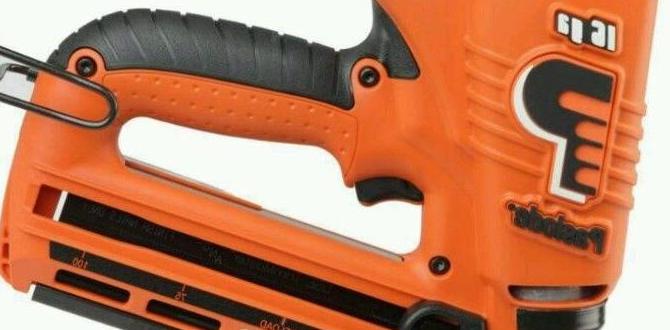
Top Recommended Finishing Nail Guns for Trim Projects
Brief reviews of popular models on the market. Key pros and cons of each model.
Looking for the best finishing nail gun for trim? You’re in luck! We’ve found some top models that both pros and hobbyists love. Each gun has something special to offer.
- Hitachi NT65MA4: It’s lightweight and easy to handle. Pros: Great for beginners. Cons: Some users feel it’s noisy.
- DEWALT D51257K: Known for its strength and speed. Pros: Works fast. Cons: It can be heavy for some users.
- BOSTITCH BTFP72156: Quiet and smooth to use. Pros: Clean finish. Cons: It may need regular maintenance.
What size nails work best with finishing nail guns?
The best size nails for finishing nail guns are 15 or 16-gauge. They’re perfect for trim work. They hold the pieces together well without splitting the wood.
These models are trusted by many. Why? Because they make trim work easier and more fun. Choose the right one for your needs and enjoy your projects!
Frequently Asked Questions About Finishing Nail Guns
Addressing common queries users may have. Troublesome scenarios and how to handle them.
Wondering about nail guns? You’re not alone! Many people have questions before diving into their first project. Troubles arise when the gun jams or nails don’t go where intended. The key is regular cleaning and checking for bent nails. Here’s a good question: Can I use a finishing nail gun for trim? Yes! It’s perfect for that. Keep nails in place and be aware of power levels. If you ever wonder what nail size to use, check this handy chart:
| Nail Length | Recommended Use |
|---|---|
| 1 inch | Light trim work |
| 1.5 inches | Medium trim work |
| 2 inches | Heavy trim work |
According to experts, check your manual for specific guidance. They say, “A well-maintained tool is a happy tool.” In summary, with a little practice, you’ll be nailing it! (Pun intended.)
Conclusion
A finishing nail gun is great for trim work. It’s fast, neat, and saves effort. We learned it’s easy to use and perfect for perfecting home projects. You can now explore different models or even try using one for your next DIY project. Happy building!
FAQs
What Features Should I Look For In A Finishing Nail Gun Specifically Designed For Trim Work?
When buying a finishing nail gun for trim work, look for some definite features. First, check if it’s lightweight, so you can hold it easily. Make sure it fires nails smoothly, so your trim looks good. Look for a safety switch to prevent accidents. Lastly, it should be easy to load with nails.
How Do I Choose The Right Size And Type Of Nails For Different Types Of Trim Using A Finishing Nail Gun?
To pick the right nails for trim, first, know the thickness of the trim. Use longer nails for thicker trim to hold it well. For smaller, lighter trim, choose shorter nails so it doesn’t split or crack. A finishing nail gun can use small nails that leave tiny holes, making the trim look neat. Always check if the nails hold the trim firmly to the wood.
Can You Recommend The Best Finishing Nail Guns For Beginners Who Are Working On Diy Trim Projects?
Sure! For beginners, I recommend the DEWALT DCN680. It is easy to use and doesn’t need a compressor. Another good one is the BOSTITCH BTFP12233. It can shoot nails smoothly and is lightweight. You might also like the PORTER-CABLE PCC790LA because it’s cordless and easy to handle. These nail guns help you with your DIY trim projects!
What Safety Precautions Should I Take While Using A Finishing Nail Gun For Trim Installation?
When using a finishing nail gun for trim installation, always wear safety goggles to protect your eyes. Keep your fingers away from where the nails come out. Make sure to read and follow the instructions before starting. Hold the gun firmly and never point it at anyone. Always unplug or turn off the tool when you’re done.
How Do Pneumatic And Cordless Finishing Nail Guns Compare In Terms Of Performance And Convenience For Trim Projects?
Pneumatic nail guns use air from a compressor, which makes them powerful but they need a hose. We need electricity to use the air compressor. Cordless nail guns run on batteries, so we can take them anywhere without a cord. Pneumatic guns are generally stronger, while cordless ones are easier to carry and use. For trim projects, both can work well, but cordless is more convenient.