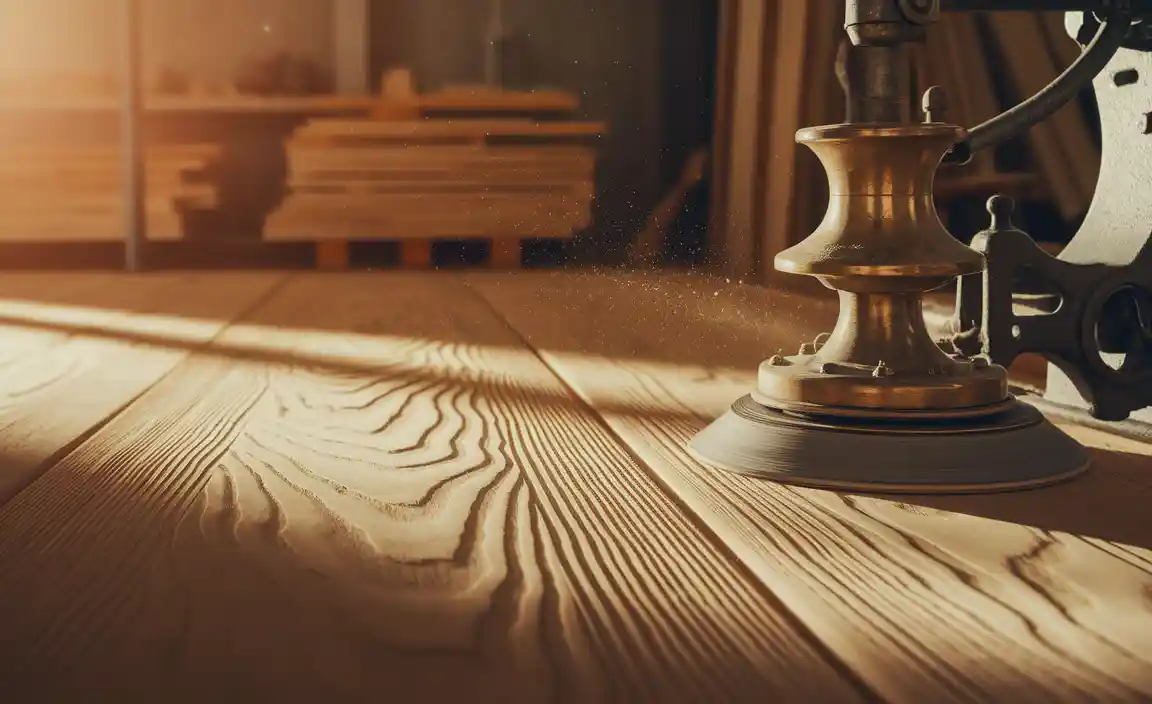
Yes, you can sand engineered wood flooring to achieve beautiful, effortless results! This guide breaks down the process, showing you how to refresh your floors safely and effectively, even if you’re new to DIY.
Thinking about giving your engineered wood floors a makeover? Maybe they’ve gotten a little scuffed up over the years, or perhaps you’re just ready for a fresh new look. The good news is, unlike solid hardwood, sanding engineered wood flooring is possible! It might sound a bit daunting, like a big DIY project you’re not sure you’re ready for.
But I’m here to tell you it’s totally doable. We’ll walk through it step-by-step, making it as easy and stress-free as possible. Prepare to be amazed by how much you can transform your space!

Table of Contents
What is Engineered Wood Flooring, Anyway?
Before we grab our sanders, let’s quickly chat about what engineered wood flooring actually is. It’s not just one solid piece of wood, like traditional hardwood. Instead, it’s built in layers. Think of it like a sophisticated sandwich:

- Top Layer (Veneer): This is the beautiful, real wood surface you see and walk on. The thickness of this layer is super important when it comes to sanding.
- Middle Layers (Core): These are usually made from plywood or high-density fiberboard (HDF). They provide stability and strength to the plank.
- Bottom Layer (Backer): This bottom layer also helps with stability and can sometimes be made of wood or HDF.
The magic of engineered wood is that these layers areCross-laminate, meaning the wood grains run in different directions. This makes the planks much more stable and less prone to expanding and contracting with changes in humidity and temperature compared to solid hardwood. This layered construction is key to why sanding engineered wood is a bit different, but still very much achievable!
Can You Really Sand Engineered Wood Flooring? The Truth
This is the million-dollar question, right? And the answer is: it depends on the thickness of the veneer layer. This top layer of real wood is what you’ll be sanding. If this veneer is thick enough, you absolutely can sand and refinish your engineered wood floors. If the veneer is very thin, sanding multiple times might not be an option, or it could even damage the floor.
How do you know if your veneer is thick enough? Most manufacturers recommend a veneer thickness of at least 2mm for successful sanding and refinishing. Some high-quality engineered floors can have veneers of 3mm or even more, allowing for multiple refinishing opportunities. If you’re unsure, it’s always best to check with the flooring manufacturer or installer.
Getting this right means you can address issues like:
- Deep scratches and dents
- Significant wear patterns
- Stains that have penetrated the finish
- Outdated finishes or colors
If your veneer is too thin, don’t despair! You can often still refresh the finish without a full sanding, which we’ll touch on later. But for now, let’s assume you’ve got a veneer thick enough for a good sanding. It’s a fantastic way to save money compared to replacing your entire floor, and it can make your floors look brand new!
When is Sanding the Right Choice?
Sanding your engineered wood floors isn’t just about giving them a polish; it’s a solution for more significant wear and tear. Here are some signs that indicate sanding is likely your best bet:
- Deep Scratches and Gouges: If scratches are so deep you can feel them with your fingernail, a light screen or buff may not be enough. Sanding can remove these imperfections entirely.
- Worn-Out Finish: Over time, the protective top coat can wear away, especially in high-traffic areas. This leaves the wood vulnerable and can make it look dull and lifeless. Sanding removes the old, damaged finish.
- Significant Color Fading or Stains: Sun bleaching or tough stains that have seeped into the wood can be addressed by sanding down to the fresh wood layer.
- Uneven Wear: If certain areas of your floor look noticeably more worn than others, sanding can create a uniform surface again.
- Desire for a New Look: Sanding removes the old stain and finish, giving you a clean slate to re-stain your floors in a new color or simply apply a new clear coat for a natural look.
It’s important to note that sanding is a more intensive process than simply applying a new coat of finish. If your floors only have minor surface scuffs or a dull top coat and no deep damage, a recoating process might be a simpler and more appropriate solution. We’ll cover that distinction a bit later on!
Gathering Your Tools and Supplies: The Essential Checklist
To get those effortless results, having the right tools is half the battle. Don’t worry, you don’t need a professional’s entire arsenal, just the essentials. For sanding engineered wood, you’ll typically need:
The Sander:
- Orbital Floor Sander: This is your main workhorse. An orbital sander moves the sanding pad in random patterns, which significantly reduces the risk of leaving swirl marks and sanding “trails” compared to a drum sander. This makes it much more beginner-friendly for engineered wood. You can rent these from most tool rental shops.
- Edge Sander (Optional but Recommended): For getting right up against baseboards and into corners where the big sander can’t reach.
- Handheld Orbital Sander or Sanding Block: For very tight spaces, stair risers (if applicable), or detailed work.
Sanding Discs/Pads:
You’ll need a range of grits, starting coarser and moving to finer grits. This is crucial for achieving a smooth finish.
- Coarse Grit (e.g., 36-60 grit): For removing the old finish and tackling deeper imperfections.
- Medium Grit (e.g., 80-100 grit): To smooth out any marks left by the coarser grit.
- Fine Grit (e.g., 120-150 grit): To prepare the surface for stain or finish, ensuring a silky-smooth feel.
- Very Fine Grit (e.g., 180-220 grit) for screening/buffing: After applying the first coat of finish, you might use an ultra-fine grit (often with a buffer/screen system, see below) to de-nib the surface for a super smooth result.
Dust Control:
Sanding creates a LOT of dust. Good dust management is key to a clean home and healthy air.
- Shop Vacuum: A powerful vacuum is essential. Make sure it has a good filter, ideally a HEPA filter, to capture fine dust particles.
- Dust Bags: Plenty of them for your vacuum.
- Dust Masks/Respirators: High-quality N95 masks are a minimum. A half-face respirator with P100 filters is even better.
- Heavy-Duty Drop Cloths/Plastic Sheeting: To seal off the room you’re working in from the rest of your house. Painter’s tape is your friend here!
Other Essentials:
- Stain and Finish: Choose high-quality products designed for wood floors. Polyurethane (oil-based or water-based) is common.
- Applicators: High-quality brushes, rollers, or lambswool applicators suitable for your chosen finish.
- Cleaning Supplies: Microfiber cloths, tack cloths, wood floor cleaner, a broom, and a dust mop.
- Safety Gear: Safety glasses or goggles and work gloves.
- Painter’s Tape: For masking off walls and trim.
- Extension Cords: Heavy-duty ones rated for your equipment.
- Optional: Buffing Machine with 3M™ Scotch-Brite™ Floor Pads (for screening): This is a step used after the first coat of finish. It’s a much lighter abrasion than full sanding and is excellent for smoothing imperceptible bumps and making the final finish incredibly smooth.
Having everything ready before you start will make the process flow much more smoothly. Preparation is key to effortless results!
Step-by-Step: Sanding Your Engineered Wood Floors
Alright, let’s get down to business! This is where we’ll guide you through the sanding process, step by step. Remember that patience and attention to detail will pay off with beautiful floors.
Step 1: Preparation is Paramount
This is arguably the most important step. Rushing through prep will cost you time and effort later.
- Clear the Room: Remove all furniture, rugs, and decor from the room. Every single item needs to go.
- Protect Your Home: Seal off the room from the rest of your house using plastic sheeting and painter’s tape. Pay close attention to doorways and vents. This will contain the dust! Turn off your HVAC system to prevent dust from circulating throughout your home.
- Prepare the Floor:
- Vacuum the floors thoroughly to remove any loose debris, grit, or pet hair that could get embedded in the sanding paper or finish.
- Carefully remove existing baseboards or quarter-round molding. You can use a pry bar and a putty knife to protect the wall surface from damage. If you plan to re-install them, set them aside.
- Inspect the floor for any protruding nails or staples. Hammer them down flush with the surface.
- Inspect for Damage: Note any deep gouges or damage that might require extra attention with the initial coarse grit.
A well-prepped room makes for a cleaner, safer, and more efficient sanding job.
Step 2: The First Cut – Coarse Grit Sanding
We’re starting with the coarsest grit you’ve chosen (e.g., 50 or 60 grit). The goal here is to remove the old finish and any minor imperfections. This is the most aggressive step.
- Attach Sandpaper: Follow the instructions for your rental sander to attach the correct grit sandpaper.
- Sanding Technique:
- Start the sander before it touches the floor and lift it off the floor before turning it off.
- Keep the sander moving at all times. Don’t let it sit in one spot, as this can create divots.
- Work in long, straight, overlapping passes. Overlap each pass by about 30-50%.
- Work your way across the room, moving generally in the direction of the wood grain. If you have a random orbital sander, it’s more forgiving, but still try to maintain a consistent direction.
- Edge Sanding: Use the edge sander (if you have one) to sand the perimeter of the room where the larger drum (or orbital) sander can’t reach. Again, overlap with your main sanding path.
- Hand Sanding: Use your handheld sander or block for very tight areas, like corners or around doorways.
- Vacuum Thoroughly: After completing the entire floor with the coarse grit, vacuum up ALL the dust. You can use a shop vac crevice tool to get into the edges.
This first pass will likely feel like the most work, but it’s essential for creating a clean, even surface.
Step 3: Smoothing and Refining – Medium Grit Sanding
Now we move to a medium grit (e.g., 80 or 100 grit). The purpose of this step is to remove the scratches left by the coarser grit and further smooth the floor.
- Attach New Sandpaper: Install the medium grit sandpaper onto your floor sander.
- Repeat the Process: Sand the entire floor again, using the same overlapping, moving technique as before. It’s often recommended to run the sander perpendicular (90 degrees) to the direction you sanded with the coarse grit. This helps to remove any noticeable scratches from the previous pass.
- Edge and Hand Sanding: Repeat the edge and hand sanding passes with the medium grit.
- Vacuum Again: Another thorough vacuuming is crucial.
You should notice the floor looking and feeling progressively smoother after this step.
Step 4: The Final Prep – Fine Grit Sanding
This is your final sanding stage before applying any finish. You’ll use a fine grit paper (e.g., 120 or 150 grit).
- Attach Fine Grit Paper: Install the fine grit sandpaper.
- Final Pass: Sand the entire floor one last time. You can sand with the grain this time, or in a diagonal pattern to ensure all previous scratches are gone. The goal is a perfectly smooth surface free of any visible sanding marks.
- Edge and Hand Sanding: Complete the edge and hand sanding with the fine grit.
- Ultimate Vacuuming: This is your final, thorough vacuuming before finishing. Get every bit of dust.
Once you’ve vacuumed, use a damp (not wet) cloth or a tack cloth to wipe down the entire floor surface. This picks up any remaining microscopic dust particles. Tack cloths are excellent for this. Ensure the floor is completely dry before moving to the next step.
Step 5: Applying the Finish
You’ve done the hard part! Now it’s time to protect your beautifully sanded floors.
- Read Product Instructions: Always follow the manufacturer’s instructions for your chosen stain and finish.
- Staining (Optional): If you’re restaining, apply the stain evenly with a high-quality applicator according to the product directions. Work in manageable sections to maintain a wet edge. Wipe off excess stain with clean cloths. Allow it to dry completely, which can take 24-48 hours depending on the product and humidity.
- Applying Finish (e.g., Polyurethane):
- Pour the finish into a paint tray or suitable container.
- Use a high-quality applicator (like a lambswool applicator or good-quality roller) to apply a thin, even coat. Work in the direction of the wood grain. Avoid overworking the finish or leaving puddles.
- Apply in long, overlapping strokes.
- Ensure good ventilation, but avoid direct drafts that can cause dust to settle on the wet finish.
- Drying Time: Allow the first coat to dry completely as per the product instructions – typically 12-24 hours.
Step 6: Screening and Re-coating (Optional but Recommended!)
This is where you can elevate your finish from “good” to “exceptional.”
- Screening: After the first coat of finish is completely dry, you’ll lightly abrade the surface. This isn’t full sanding; it’s a lighter treatment called “screening.” You can use a buffer machine with a fine screen (like 100-150 grit) or very fine grit sandpaper (150-220 grit) attached to a floor buffer. The goal is to lightly scuff the surface, removing any dust nibs or minor imperfections without removing the finish itself.
- Clean Thoroughly: Vacuum and tack cloth the floor again until it’s spotless.
- Apply Second Coat: Apply a second thin, even coat of finish.
- Repeat (Optional): For maximum durability and a smoother finish, you can screen again after the second coat dries and apply a third coat.
This screening step is a pro’s secret for an ultra-smooth, professional-looking finish. It fills in microscopic voids and creates a perfect surface for subsequent coats.
Step 7: Curing and Moving Back In
This is the final waiting game!
- Drying vs. Curing: The floor will be dry to the touch within hours, but it needs to fully “cure” to reach its maximum hardness and durability. This can take anywhere from 7 to 30 days, depending on the type of finish used (water-based finishes cure faster than oil-based).
- Light Foot Traffic: You can usually walk on the floor in socks within 24-48 hours.
- Place Furniture Carefully: When moving furniture back, use felt pads on all legs. Avoid dragging furniture, even days or weeks after finishing.
- Avoid Rugs and Mats: It’s generally recommended to wait until the finish is fully cured (30 days) before placing rugs or mats back down, as trapped moisture can damage the finish.
Congratulations! You’ve successfully sanded and refinished your engineered wood floors. Enjoy their renewed beauty!
Sanding vs. Refinishing vs. Recoating: What’s the Difference?
<p
