Build a beautiful DIY wooden planter box with a trellis to effortlessly elevate your garden space. This beginner-friendly project adds vertical interest and growing opportunities for climbing plants, enhancing curb appeal and your favorite outdoor oasis.
Tired of a dull garden or patio? Want to add a touch of green but don’t know where to start? A DIY wooden planter box with an integrated trellis is the perfect weekend project for any beginner woodworker. It’s a simple way to add charm, grow beautiful vines, and make your outdoor space truly shine. This guide breaks down everything you need, clearly and simply, so you can achieve fantastic results with confidence.
We’ll walk you through choosing the right materials, gathering your tools, and assembling your planter box and trellis with easy-to-follow steps. Get ready to transform your garden!
Table of Contents
Why Build a Wooden Planter Box with Trellis?
A wooden planter box with a trellis isn’t just a garden accessory; it’s a functional piece of art. Here’s why it’s such a brilliant addition:
- Vertical Beauty: It draws the eye upwards, making smaller spaces feel larger and adding a striking visual element to any garden, patio, or balcony.
- Healthy Plants: Climbing plants like beans, peas, bougainvillea, or clematis thrive with support, encouraging better air circulation and fruit/flower production.
- Customization: You can build it to the perfect size for your space and choose wood that matches your existing décor.
- Durability: A well-built wooden planter can last for years, offering a sturdy and attractive home for your plants.
- Satisfaction: There’s immense pride in building something beautiful and functional with your own hands!
This project is fantastic for beginners because it doesn’t require complex joinery or specialized tools. We’ll focus on simple cuts and assembly methods.
Choosing Your Wood: Durability Meets Aesthetics
The type of wood you choose will significantly impact the look and longevity of your planter box. For outdoor projects, always opt for rot-resistant woods. Here are some excellent choices:
- Cedar: This is a top pick for outdoor projects. It’s naturally resistant to decay and insects, smells wonderful, and has a beautiful reddish-brown hue that weathers gracefully to a silvery gray. It’s relatively lightweight and easy to work with.
- Redwood: Similar to cedar, redwood offers excellent natural resistance to rot and insects. It has a rich, warm color and is very durable, though it can be more expensive.
- Cypress: Another naturally resistant wood, cypress is a good choice, especially if you’re in a region where it’s readily available. It’s known for its durability and resistance to moisture.
- Pressure-Treated Lumber: This is a budget-friendly option and is highly durable due to chemical treatment. However, some DIYers avoid it due to concerns about the chemicals, especially for vegetable gardens. If using for edibles, consider lining the inside with a heavy-duty plastic liner. Always choose lumber treated for ground contact if possible.
- Pine/Fir (Exterior Grade): While less naturally resistant, you can use exterior-grade pine or fir if you plan to seal and paint it thoroughly with a good quality exterior sealant. This is the most budget-friendly option but will require more maintenance to prevent rot.
For this project, I recommend cedar or redwood for their natural beauty and longevity. If you’re on a tight budget, pine with a robust sealing treatment is a viable alternative.
Tools and Materials List: Getting Ready to Build
Having everything ready before you start makes the building process smooth and enjoyable. Here’s what you’ll need:
Materials:
- Lumber (amounts will vary based on your desired size, see plans below)
- Exterior wood screws (1 ¼-inch and 2-inch recommended)
- Wood glue (exterior grade)
- Sandpaper (medium and fine grit)
- Optional: Wood sealer or exterior paint/stain
- Optional: Landscape fabric or heavy plastic liner for the inside of the planter
Tools:
- Measuring tape
- Pencil
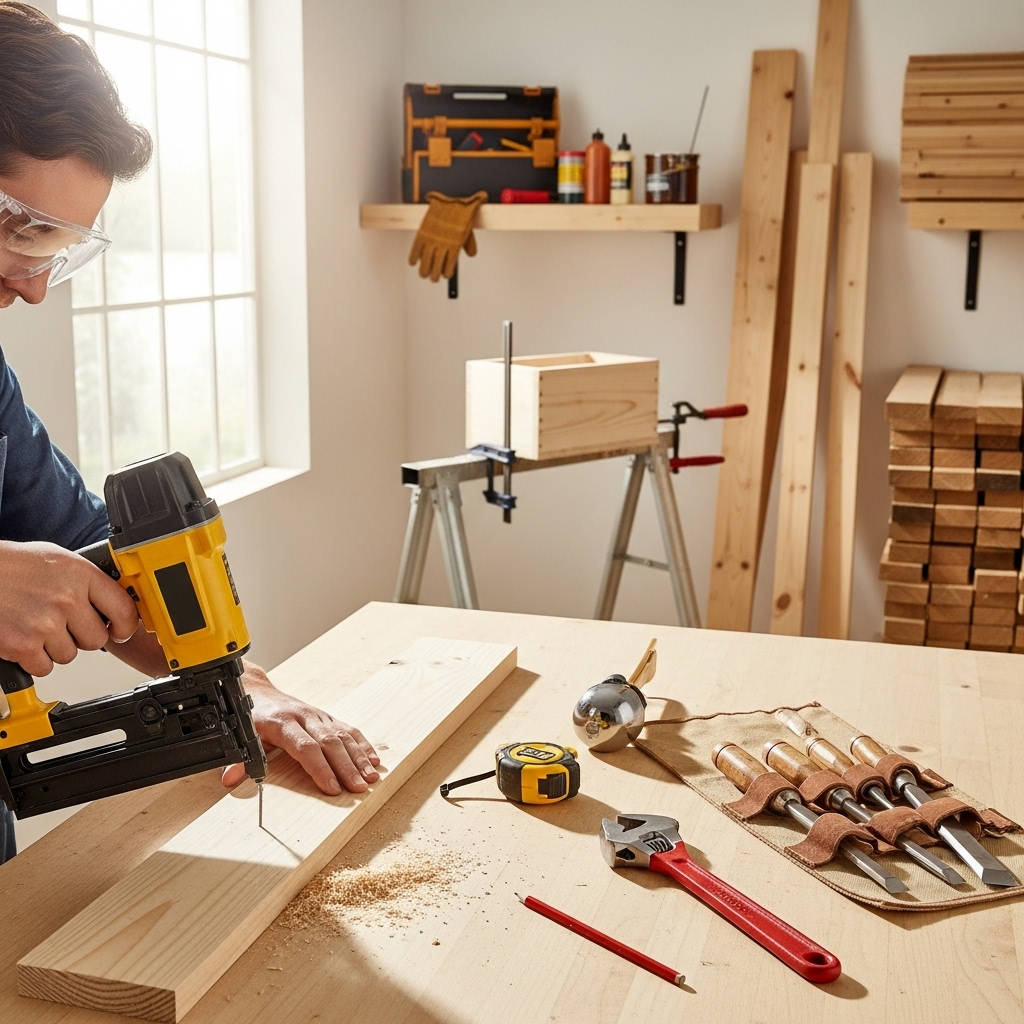
- Safety glasses (Always wear these when cutting or drilling!)
- Hearing protection (when using power tools)
- Miter saw or circular saw (for accurate cuts)
- Drill/driver with drill bits and screwdriver bits
- Clamps (helpful for holding pieces together while assembling)
- Optional: Square (for ensuring 90-degree angles)
- Optional: Spade bit or hole saw (for drainage holes)
Planter Box Dimensions & Lumber Cut List (Example)
Let’s design a generous planter box that’s about 3 feet long, 1.5 feet wide, and 1.5 feet deep, with a trellis extending 3 feet above the box. This size is great for growing herbs, flowers, or even some climbing vegetables. Always measure your space and adjust these dimensions as needed!
For this example, we’ll assume a 1×6 board (actual dimensions are ¾” x 5 ½”) and a 2×2 for the trellis posts. You can adjust the width by using 1×8 or 1×10 lumber if you prefer a deeper box.
| Part | Dimensions | Quantity | Wood Type Recommendation |
|---|---|---|---|
| Long Sides (Box) | 72” x 5 ½” (¾” thick) | 2 | 1×6 Cedar or Redwood |
| Short Sides (Box) | 16 ½” x 5 ½” (¾” thick) | 2 | 1×6 Cedar or Redwood |
| Bottom Slats (Box) | 34 ½” x 5 ½” (¾” thick) | 3 (adjust for desired spacing) | 1×6 Cedar or Redwood |
| Corner Support Posts (Inside Box) | 16 ½” x 1 ½” x 1 ½” (2×2) | 4 | 2×2 Cedar or Pressure-Treated |
| Trellis Uprights | 36” x 1 ½” x 1 ½” (2×2) | 2 | 2×2 Cedar or Pressure-Treated |
| Trellis Cross Pieces | 16 ½” x 1 ½” x 1 ½” (2×2) | 2 | 2×2 Cedar or Pressure-Treated |
Important Note on Wood Sizing: Lumber is often sold in nominal sizes (like 1×6 or 2×2). The actual dimensions are usually smaller. A 1×6 is typically ¾” thick and 5 ½” wide. A 2×2 is actually 1 ½” x 1 ½”. Always use the actual dimensions for accurate measurements and cuts.
To get those accurate cuts, a miter saw is your best friend for straight, repeatable cuts. If you don’t have one, a circular saw with a guide will also work. Always measure twice, cut once!
Step-by-Step Guide to Building Your Planter Box with Trellis
Let’s get building! We’ll start with the planter box itself, then add the trellis.
Part 1: Building the Planter Box Frame
This is where we create the main structure of your planter.
- Cut Your Lumber: Using your measurements and chosen wood, carefully cut all the pieces for the planter box sides and bottom slats. Ensure your cuts are square for the best fit.
For our example: Cut two 72” (long sides) and two 16 ½” (short sides) pieces from your 1×6 lumber. Cut three 34 ½” pieces for the bottom. You’ll also need four 16 ½” pieces from your 2×2 lumber for the internal corner supports.
- Sand the Edges: Once all your pieces are cut, give the cut edges a quick sand with medium-grit sandpaper. This removes any splinters and makes handling the wood safer.
- Assemble the Long Sides: Lay one of your 72” side pieces flat. Position a 16 ½” short side piece at each end, flush with the edges. These short pieces will overlap the ends of the long pieces. Pre-drill pilot holes through the short side piece into the end grain of the long side piece to prevent splitting. Secure with wood glue and two 2-inch exterior wood screws at each joint. Repeat for the other long side.
Tip: Using a square can help ensure you’re getting a true 90-degree angle at each corner. If you don’t have one, eyeball it carefully and use clamps to hold pieces in place before pre-drilling and screwing.
- Attach the Short Sides to the Top Edges: Now, take your remaining two 16 ½” short side pieces. These will sit between the two long side pieces you just assembled. Stand the long sides up, and position these short sides to form the complete rectangle. Pre-drill pilot holes through the long side pieces into the ends of the short side pieces. Apply wood glue and drive two 2-inch screws on each side. You should now have a sturdy rectangular frame.
- Add Corner Support Posts: These internal posts add significant strength to the planter box. Place one 16 ½” 2×2 post flush into each of the four inside corners of your assembled frame. Attach them by pre-drilling through the sides of the planter box frame into the 2×2 posts. Use two 2-inch screws per side.
These posts are crucial for attaching the trellis later!
- Install the Bottom Slats: Flip your planter box frame upside down. Position your three 34 ½” bottom slats across the bottom opening. You can space them evenly. The easiest way to attach them is to pre-drill and screw them into the bottom edge of the side and short frame pieces. Use 1 ¼-inch screws for this, driving them through the bottom slats into the frame. You might also add a screw or two into the corner support posts for extra rigidity.
Remember to leave small gaps (about ¼ inch) between the bottom slats to allow for drainage. This is super important to prevent waterlogging and root rot for your plants.
Part 2: Attaching the Trellis
Now let’s add the vertical climbing support!
- Prepare Trellis Pieces: Cut your two 36” 2x2s for the trellis uprights and two 16 ½” 2x2s for the cross pieces. Sand all cut edges smooth.
- Attach Trellis Uprights: Position your two 36” trellis uprights on the outside of the planter box, at the center of each of the short (16 ½”) sides. Ensure they are flush with the top edge of the planter box and extend upwards. Pre-drill pilot holes through the 2×2 uprights into the short side boards of the planter box. You’ll want to go into the solid wood, not just the ends. Use at least two screws per side, using 2-inch exterior wood screws. For extra strength, you can also drive screws through the corner support posts inside the box into the base of the trellis uprights if they align well.
Make sure these uprights are parallel to each other and stand straight up!
- Add Trellis Cross Pieces: Decide where you want your horizontal cross pieces to be. A common placement is one near the top and one towards the middle of the trellis. Position your two 16 ½” 2×2 cross pieces between the uprights. Pre-drill pilot holes through the uprights into the ends of the cross pieces. Apply exterior wood glue and secure with 1 ¼-inch exterior wood screws. This creates the diamond or ladder pattern for your climbing plants.
You can space these out creatively. If you want a fancier trellis, you could cut thinner boards or even metal rods to create a more decorative pattern. For this basic, strong design, 2x2s are perfect.
Part 3: Finishing Touches and Planting
Your basic planter box and trellis structure is complete! Now for the customization and planting.
- Add Drainage Holes: If you didn’t leave adequate gaps in your bottom slats, or if you want extra assurance, drill a few 1-inch holes in the bottom of the planter box. You can use a spade bit or a hole saw for this. These are vital for plant health.
- Sand and Seal (Optional but Recommended): Give the entire planter box and trellis a final sanding with fine-grit sandpaper. This smooths out any rough spots and prepares the wood for finishing. If you used cedar or redwood, you can let it weather naturally or apply a clear exterior wood sealer to protect it and maintain its color longer. If you used pine, or if you simply want to add color, this is the time to apply exterior paint or stain. Follow the manufacturer’s instructions for application and drying times. If you plan to grow edibles and used pressure-treated wood, consider lining the interior with a heavy-duty plastic sheeting, stapled in place, but ensure good drainage.
You can find excellent tips on wood sealing and finishing from resources like Woodsmith.
- Add a Liner (Optional): For extra protection, especially if you used non-rot-resistant wood or want to maximize the lifespan of your planter, you can add a liner. Heavy-duty landscape fabric or pond liner works well. Cut it to size and staple it into the inside of the planter box, making sure to poke holes or ensure the bottom has drainage. This creates a barrier between the soil and the wood.
- Fill and Plant! Once your finish is dry, position your planter box in its desired location. Add a layer of gravel or small stones at the bottom for enhanced drainage, then fill with a quality potting mix suitable for containers. Now, add your plants! Trailing flowers, vining vegetables, or fragrant herbs will all look stunning on your new trellis.
Choosing the Right Plants for Your Trellis Planter
The magic truly happens when you select plants that will take advantage of your new trellis. Here are some ideas:
- Vining Vegetables: Cucumbers, peas, pole beans, miniature tomatoes, and even small melons can thrive here.
- Flowering Vines: Bougainvillea, clematis, morning glories, petunias, jasmine, and climbing roses are beautiful options.
- Herbs: While not all herbs climb, some can be trained, and the planter box itself is perfect for growing a variety of herbs together.
- Trailing Plants: Even if they don’t climb the trellis itself, trailing plants like ivy or petunias can cascade over the sides of the planter, creating a lush, full look.
When planting, consider placing taller plants at the back of the box and shorter, draping plants at the front. For vining plants, gently encourage them to start climbing the trellis as they grow.
Maintenance Tips for Your Wooden Planter Box with Trellis
To keep your beautiful planter looking great for years to come, a little maintenance goes a long way:
- Watering: Container plants dry out faster than those in the ground. Check the soil moisture regularly and water as needed.
- Weeding: Keep weeds out so they don’t compete with your desired plants for water and nutrients.
- Annual Cleaning: At the end of the growing season, it’s a good idea to remove old plant material, clear out debris, and even give the planter a gentle scrub.
- Re-sealing/Painting: Every few years, you may need to reapply a coat of sealer or paint to protect the wood from the elements. Inspect the wood for any signs of rot or damage. For detailed advice on wood care, consult resources from the Forest Products Laboratory.
FAQs
Q1: What is “actual size” vs. “nominal size” for lumber?
A1: Nominal size is the rough, nameplate size of lumber (like 2×4 or 1×6). Actual size is what you get off the mill and is smaller due to planing and drying. A 1×6 is actually about ¾ inch thick by 5 ½ inches wide. A 2×2 is actually about 1 ½ inches by 1 ½ inches. Always measure your lumber before cutting.
Q2: Do I really need to pre-drill holes?
A2: Yes! Pre-drilling (making pilot holes) is essential when screwing into the ends of boards or hardwoods. It prevents the wood from splitting, especially near the edges. Use a drill bit that’s slightly smaller than the diameter of your screw threads.
Q3: How do I make sure my planter box is square?
A3: Use a carpenter’s square to check that the corners are 90 degrees as you assemble. Another trick is to measure the diagonals of your rectangular frame. If the diagonal measurements are equal, your box is square.
Q4: What kind of screws should I use?
A4: Always use exterior-grade screws. These are coated to resist rust and corrosion, which is crucial for outdoor projects. Stainless steel or coated deck screws are excellent choices. The length will depend on the thickness of the wood you’re joining.
Q5: Can I build this planter box without a power saw?
A5: It’s challenging and will require more effort and time. You’d need a very sharp handsaw and a miter box to make relatively straight cuts. For accuracy and ease, a power saw like a miter saw or circular saw is highly recommended for this project.
Q6: How deep should the planter box be?
A6: The depth depends on what you plan to grow. For most flowers and herbs, 8-12 inches is sufficient. For larger vegetables like tomatoes or root vegetables, 12-18 inches or more is ideal. Our example uses 1.5 board widths (about 8-9 inches when assembled) before considering the height of the corner posts. You can easily adapt the design by using wider boards (like 1×8 or 1×10) or by adding more layers.
Q7: Is it necessary to line the planter box?
A7: It’s not strictly necessary if you use rot-resistant wood like cedar or redwood and ensure good drainage. However, lining the box with heavy-duty plastic or landscape fabric can significantly extend the life of the wood, especially if you used less durable wood or pressure-treated lumber, and helps retain moisture.
Conclusion
And there you have it! You’ve successfully built a beautiful and functional DIY wooden planter box with a trellis. This project not only adds a stunning vertical element to your garden but also provides a sturdy support system for your favorite climbing plants. You should feel incredibly proud of what you’ve accomplished.
Remember, the key to a great DIY project is preparation, patience, and a willingness to learn. Don’t be afraid to adapt the plans to your specific needs and style. With a little effort, you’ve created a lasting garden feature that will bring beauty and bounty for seasons to come.