Quick Summary
Understanding the difference between finish and framing nails is key for DIY success. Framing nails are chunky and strong for structural work, like building walls. Finish nails are slimmer and less noticeable, ideal for attaching trim and decorative pieces where appearance matters. Choosing the right one ensures a strong, professional-looking result for your project.
Hey there, DIY adventurers! Jack Shaffer, your trusty Nailerguy, is here to clear up a common confusion that can trip up even experienced woodworkers: the difference between finish nails and framing nails. It’s a bit like picking the right tool for a specific job – you wouldn’t use a sledgehammer to hang a picture, right? Similarly, using the wrong type of nail can lead to weak joints, noticeable damage, and a lot of frustration. Many beginners wonder, “Which nail do I need for this project?” Don’t worry, we’ve all been there. This guide will break down exactly what makes these two types of nails different, when to use each one, and how to make sure your projects are both sturdy and beautiful. Get ready to nail it!
Table of Contents
Finish Nails vs. Framing Nails: A Simple Breakdown
Let’s dive right into the core of what separates these two workhorses of the nailing world. At first glance, they might seem like just different sizes of metal spikes, but their design and intended use are worlds apart. The main differences come down to their size, shank diameter, head design, and the type of job they’re meant to tackle. Think of framing nails as the muscle and finish nails as the finesse. One is built for brute strength, the other for subtlety and appearance.
What is a Framing Nail?
Framing nails are the heavy-duty champions of the construction world. Their primary job is to hold together the skeleton of your project – the structural components. When you’re building a house, a deck, or even a sturdy workbench, framing nails are what you’ll be reaching for. They’re designed to bear significant weight and withstand the stresses and strains of structural elements. Because they are used in places where they won’t be seen or where strength is paramount, their appearance is less of a concern.
Key Characteristics of Framing Nails:
- Thick Shank: They have a substantial diameter, making them very strong. This thick shank provides excellent holding power and prevents them from bending or breaking under load.
- Large Head: Typically, framing nails have larger, flatter heads. This larger surface area helps to distribute the force over a wider area, preventing the wood from tearing and ensuring a secure connection.
- Variety of Finishes: Some framing nails come with coatings (like vinyl or galvanized) to prevent rust, especially when used in outdoor applications or with certain types of lumber.
- Primarily for Structural Integrity: Their sole purpose is to create strong, reliable joints for framing lumber.
You’ll commonly find framing nails in construction sites, used for everything from wall studs and floor joists to roof trusses. Even for larger DIY projects like building outdoor sheds or reinforced furniture frames, framing nails are essential. They are crucial for ensuring the safety and longevity of any structure you build.
What is a Finish Nail?
Finish nails, on the other hand, are all about precision and appearance. These nails are used when the final look of your project is important and you want the fasteners to be as invisible as possible. Think of attaching baseboards, crown molding, window casings, or decorative trim. Finish nails are designed to minimize damage to the wood and leave a clean, neat appearance.
Key Characteristics of Finish Nails:
- Thin Shank: Their thinner diameter means they cause less splitting in delicate trim pieces and leave smaller, less conspicuous holes. This makes them ideal for hardwoods or situations where splitting is a high risk.
- Small Head: Finish nails usually have a small, slightly rounded head (often called a “brad head” or “pin head”). This small head is easier to sink below the surface of the wood and conceal with filler or paint. Some extremely thin nails, like brads, have very minimal heads or no heads at all, relying on glue and very fine penetration.
- Shorter Lengths: Generally, finish nails are shorter than framing nails, as they’re meant to fasten thinner pieces of wood rather than joining thick structural members.
- Designed for Aesthetics: Their entire design is geared towards making the fastening point as unobtrusive as possible.
The smaller hole and easily concealable head are what make finish nails the go-to for any project where the fastener will be visible. Whether you’re a seasoned pro or a weekend warrior, knowing when to use a finish nail is a hallmark of quality craftsmanship.
The Primary Differences: A Comparative Look
To really solidify your understanding, let’s put these differences side-by-side. We’ve touched on them, but seeing them contrasted formally can make a big difference in how you remember them.
| Feature | Framing Nails | Finish Nails |
|---|---|---|
| Purpose | Structural integrity, strength, load-bearing | Attaching trim, molding, decorative elements; aesthetics |
| Shank Diameter | Thick and robust | Thin and slender |
| Head Size & Type | Large, flat, designed for maximum holding power | Small (brad head/pin head), designed to be inconspicuous |
| Holding Power | Very High | Moderate to Low |
| Material Requirement | Thicker lumber, structural components | Thinner wood, trim boards, molding |
| Visibility of Fastener | Typically hidden or not a concern | Designed to be hidden or minimally visible |
| Common Uses | Wall framing, subflooring, decks, structural beams | Baseboards, crown molding, window & door casings, chair rails, beadboard |
| Nail Gun Equivalent | Framing Nailer | Finish Nailer, Brad Nailer, Pin Nailer |
As you can see, they are designed for entirely different worlds of woodworking and construction. Using a framing nail where a finish nail is needed is like using a baseball bat to swat a fly – it’s overkill and will likely cause more damage than good. Conversely, using a finish nail for framing would be like using a toothpick to hold up a bookshelf – it simply doesn’t have the strength required.
When to Use Framing Nails: Building the Bones
Think of building anything substantial, and you’re thinking framing nails. Their robust construction is essential for any application where shear strength and holding power are critical. This is where the structural integrity of your project is determined.
Common Applications for Framing Nails:
- House Framing: This is their namesake! Studs, joists, rafters – anything that forms the load-bearing structure of a home.
- Deck Construction: Building the framework for your outdoor living space. The joists, beams, and ledger boards all rely on the strength of framing nails. You can learn more about deck building best practices from resources like Tooling.com, a reputable source for construction information.
- Shed and Outbuilding Frames: Similar to house framing, but on a smaller scale.
- Subflooring: Attaching plywood or OSB subflooring to floor joists provides a stable base for your finished floor.
- Heavy-Duty Furniture and Workbenches: If you’re building something that needs to be exceptionally strong and stable, like a workbench that can withstand heavy machinery or a robust shelving unit, framing nails can be appropriate.
- Tractor Tire Repair (specialized): In some heavy-duty repair situations, specialized framing nails might be used for their strength.
When you’re using framing nails, you’re typically working with thicker pieces of lumber, often 2x4s, 2x6s, and larger. The sheer force required to drive these nails into dense wood, and the load they must bear afterwards, necessitates their robust design. For these jobs, a framing nailer is your best friend, making the process faster and less physically demanding than using a hammer.
When to Use Finish Nails: Adding the Polish
Now, let’s talk about making your projects look good. Finish nails are all about refinement. They’re used when the aesthetic appeal of your work is as important as its construction. Because their heads are small, they are easy to drive just below the surface of the wood (countersunk), and then the small divot can be filled with wood putty, caulk, or painted over, making the nail virtually disappear.
Common Applications for Finish Nails:
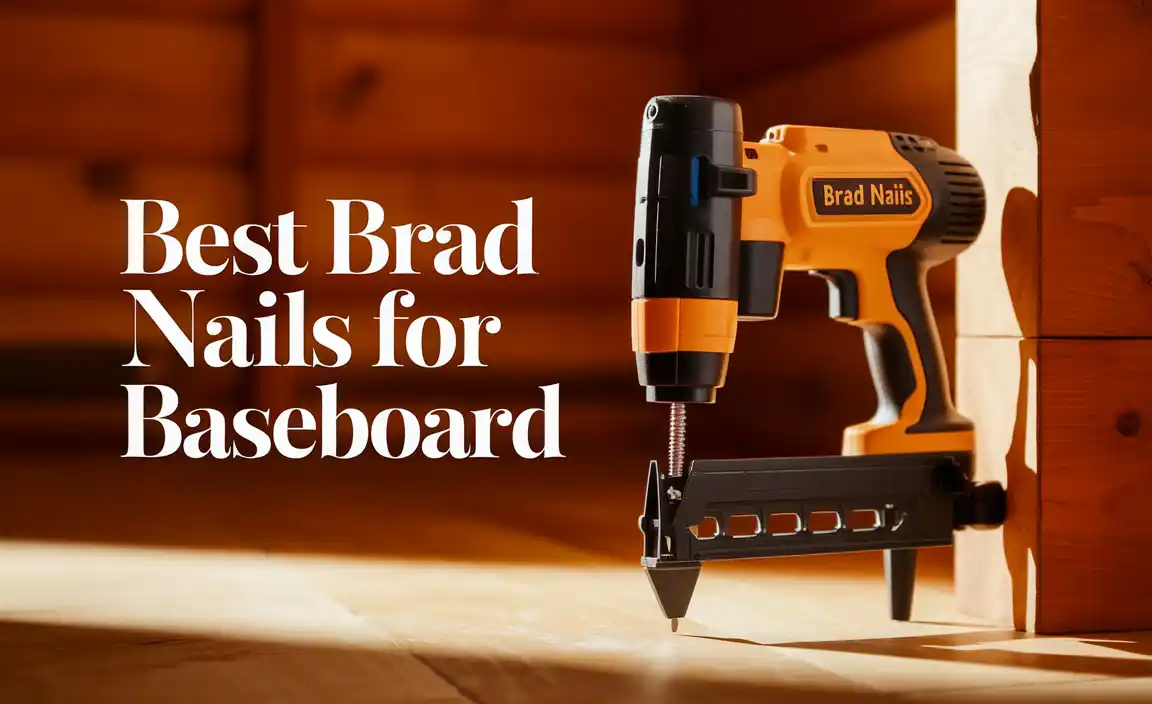
- Baseboard and Trim Installation: This is probably the most common use for finish nails. They securely attach molding around floors, walls, and ceilings without leaving unsightly holes.
- Window and Door Casing: Framing out the openings for windows and doors with decorative trim looks much cleaner with finish nails.
- Crown Molding: Attaching intricate crown molding requires a delicate touch, and finish nails are perfect for this.
- Chair Rails and Wainscoting: Adding decorative elements to walls is a prime job for finish nails.
- Cabinet Installation: While screws are often used for securing cabinets, finish nails can be great for attaching face frames or decorative trim to cabinets.
- Picture Frames and Other Fine Woodworking: For smaller, more detailed projects where leaving a visible nail would detract from the work, finish nails (or even brads and pins) are essential.
- Attaching Thin Paneling or Plywood: For decorative paneling or thinner plywood applications where screws might be too large or noticeable, finish nails can be a good choice.
Remember, finish nails come in different sizes and gauges (the thickness of the shank). For very delicate trim, you might opt for ring-shank finish nails for a little extra grip or even brad nails (which are even thinner and have extremely small heads). The key is to select a finish nail that is long enough to go through your trim and securely into the framing or substrate behind it, but not so long that it protrudes or causes issues. For more on woodworking techniques and tools, resources like the Wood Magazine website offer excellent advice for DIYers.
Types of Finish Nails: Brads and Pins
Within the “finish nail” category, there are even more specialized types, primarily differing in head size and shank thickness. Understanding these can help you achieve the most seamless look possible.
- Finish Nails (14-gauge and 16-gauge): These are the most common. A 16-gauge finish nail is thinner than a 14-gauge. They have a small head that’s easy to conceal. A 14-gauge finish nail offers a bit more holding power than a 16-gauge and is suitable for slightly larger trim.
- Brad Nails (18-gauge): These are significantly thinner than finish nails and have a very small head. They are less likely to split wood and leave a tiny hole. They are excellent for thin molding, delicate trim, and projects where minimal damage is paramount. However, they have much less holding power.
- Micro-Pins or Pin Nails (23-gauge): These are the tiniest of the bunch. They have virtually no head and are so thin they’re almost like needles. They are fantastic for the most delicate work, like trim on small boxes or internal cabinet components, where even a brad nail hole would be too noticeable. They offer almost no structural holding power and are almost always used in conjunction with glue.
When selecting a finish nailer, you’ll often see them referred to by the gauge they accept (e.g., a 16-gauge finish nailer, an 18-gauge brad nailer). Matching the nail to your project’s needs is part of the art of woodworking.
Choosing the Right Nailer
While this guide focuses on the nails themselves, it’s worth mentioning that the nail gun you use is designed specifically for the type of nail. You wouldn’t put finish nails in a framing nailer, and vice-versa. They are incompatible due to the nail collation (how they are held together and fed into the gun) and the size of the driver blade.
For framing nails, you’ll need a framing nailer. These are robust tools, often powered by air, designed to drive thicker, longer nails quickly. They can be either pneumatic (air-powered) or cordless. Pneumatic framing nailers are common on job sites for their power and reliability.
For finish nails, brads, and pins, you’ll use a finish nailer, brad nailer, or pin nailer, respectively. These are generally lighter and designed to handle the smaller, thinner fasteners. They are also available in pneumatic and cordless models. A 15-gauge or 16-gauge finish nailer is a great all-around tool for most trim work around the house.
The choice of nailer impacts efficiency and safety. A nailer designed for framing requires more care and protective gear due to the power needed. For finish work, you have more flexibility, but always ensure you’re wearing safety glasses!
Safety First! Always Use Protection
No matter whether you’re using framing or finish nails, safety should always be your top priority. A nail gun, while incredibly useful, is a powerful tool that can cause serious injury if not used correctly.
- Always Wear Safety Glasses: This is non-negotiable. Flying debris or accidental ricochets can cause permanent eye damage.
- Never Point a Nail Gun at Yourself or Others: Treat it like a firearm – it’s loaded and potentially dangerous.
- Disconnect Power When Not in Use: For pneumatic nailers, disconnect the air hose. For cordless, remove the battery. This prevents accidental firing.
- Keep Your Fingers Away from the Trigger and Safety Contact (Nose): Be mindful of where your hands are when operating the tool.
- Read the Manufacturer’s Manual: Every tool is different. Understand its specific safety features and operating instructions. The Occupational Safety and Health Administration (OSHA) provides extensive guidelines for tool safety, which you can explore on their official website.
- Be Aware of Your Surroundings: Ensure no one is behind the material you are nailing into, as nails can sometimes pass through.
A little extra caution goes a long way in preventing accidents, allowing you to enjoy your DIY projects with confidence and peace of mind.
Frequently Asked Questions (FAQ)
Let’s address some common questions beginners have about finish and framing nails.
Q1: Can I use finish nails for structural framing instead of framing nails?
A: Absolutely not. Finish nails are too thin and lack the holding power needed to safely support structural components. Using them for framing would lead to a weak, unstable, and potentially dangerous structure. Always use framing nails for structural framing.
Q2: Will finish nails split my trim?
A: Finish nails are much less likely to split wood than framing nails due to their thinner shanks. However, with very hard woods or very thin trim, there’s still a small risk. If you’re concerned, using an 18-gauge brad nailer or a 23-gauge pin nailer will further minimize the risk. Pre-drilling pilot holes can also help, especially in hardwoods. Check out guides on preventing wood splitting, like those found on sites dedicated to woodworking, for more tips.
Q3: How deep should I sink finish nails?
A: For most applications, you want to sink the head of a finish nail just slightly below the surface of the wood. This creates a small divot that can be easily filled with wood putty, caulk, or treated for paint. The goal is to have the nail head completely covered so it’s invisible.
Q4: What’s the difference between a finish nailer and a brad nailer?
A: The primary difference is the size of the nails they drive. A finish nailer typically drives 15-gauge or 16-gauge nails, which are thicker and have a bit more holding power. A brad nailer drives 18-gauge nails, which are thinner and leave a much smaller hole. Brad nailers are often preferred for very delicate trim or when you really want to minimize the fastener’s appearance.
Q5: How do I choose the right length for my finish nails?
A: The general rule is that your finish nail should pass through the material you’re attaching (like your trim board) and penetrate at least 1/2 to 3/4 inch into the piece behind it (like a stud or furring strip). Avoid nails that are too long, as they can pass through the substrate and create