Dark hardwood floors can bring elegance and warmth to your home without breaking the bank if you know smart ways to choose and care for them. This guide shows you how to get that rich look affordably and ensure it lasts.
Hey folks, Jack Shaffer here from Nailerguy! Ever walk into a room and just feel that instant sense of richness and sophistication? Chances are, dark hardwood floors played a big part in that feeling. They’re like the little black dress of home decor – timeless, versatile, and always stylish. But let’s be honest, the words “hardwood floors” and “affordable” don’t always seem to go together. It can feel like a dream reserved for movie stars, right?
Well, I’m here to tell you that dream is totally within reach for DIYers like us. You don’t need a Hollywood budget to get those gorgeous, deep, dark floors that make a statement. We’ll dive into the secrets of finding budget-friendly options, understand what makes them “essential” for adding value and style, and walk through how to keep them looking amazing. Ready to bring that luxurious, dark wood look into your home without emptying your wallet?
Table of Contents
Why Dark Hardwood Floors Are a Smart Choice
So, why are dark hardwood floors such a popular choice for homes? It’s more than just their good looks. They offer a blend of style, durability, and value that’s hard to beat when you make the right selections.
The Aesthetic Appeal
Dark hardwood floors, whether they’re stained walnut, espresso, or even dyed oak, add a sense of depth and drama to any room. They create a cozy, inviting atmosphere and can make a space feel more grounded and luxurious. Think of them as the perfect canvas for your furniture and decor. Lighter colors pop against a dark floor, while deeper tones create a rich, unified look.
This deep color can also help to:
- Mask minor imperfections: Small scratches and dirt can be less noticeable on darker surfaces compared to very light or very shiny floors.
- Create a sophisticated feel: Dark woods often evoke feelings of elegance, tradition, and luxury.
- Complement a variety of decor styles: From modern minimalist to rustic farmhouse, dark floors can adapt beautifully.
Durability and Maintenance (The “Essential” Factor)
When we talk about “essential,” we mean features that make a home more functional, valuable, and easier to live in. Dark hardwood floors, especially certain types and finishes, can tick these boxes.
- Longevity: Solid hardwood floors, when properly installed and maintained, can last for generations. They can be refinished multiple times to restore their beauty.
- Resale Value: Homes with hardwood floors, particularly desirable dark finishes, often command higher resale prices. It’s an investment that pays off.
- Easier Mess Hiding: As mentioned, the darker tone is a champion at camouflaging everyday dust, dirt, and pet hair. This means you might not have to sweep quite as often – a win for busy homeowners.
- Scratch Concealment: While no floor is scratch-proof, minor scuffs and scratches tend to blend in better on darker woods than on lighter, more uniform finishes. Of course, avoiding deep gouges is always key! For more on wood durability, the Woodworking Network has some great species information.
Making Dark Hardwood Floors Affordable: Your Blueprint
The biggest hurdle for many is the perceived cost. But with smart choices, you can achieve that coveted dark wood look without a premium price tag. It’s all about understanding your options.
Option 1: Staining Lighter Woods
This is often the most budget-friendly route. Instead of buying exotic dark woods, you can take a more common, affordable wood like oak or maple and stain it to a rich, dark hue.
How it Works:
- Choose Your Wood: Softwoods like pine can be stained, but they scratch much more easily. Hardwoods like red oak, white oak, or maple are more durable and hold stain well. Red oak is a very popular and often more affordable choice for staining dark.
- Preparation is Key: The subfloor needs to be clean, dry, and level. If you’re installing new flooring, follow manufacturer instructions. If you’re refinishing, sand the existing floor down to bare wood.
- Sanding: This is crucial for an even stain. Start with a coarser grit sandpaper (like 60 or 80) and progressively move to finer grits (100, 120, or even 150). The smoother the wood, the better the stain will look. I always recommend a good orbital sander for this – makes the job much easier!
- Pre-Stain Conditioner (Optional but Recommended): For woods like maple or birch that can be blotchy, a pre-stain wood conditioner helps ensure an even absorption of the stain.
- Apply the Stain: Work in small sections. Apply the stain evenly with a brush, rag, or foam applicator. Wipe off excess stain with a clean rag after a few minutes (the longer you leave it, the darker it gets, but test first!).
- Second Coat? If you want an even deeper, darker color, you can apply a second coat of stain after the first has dried to the touch.
- Add Protection: Once the stain is fully dry (usually 24-48 hours), apply several coats of a durable polyurethane varnish for protection. A satin or matte finish will help hide imperfections and give a more contemporary look than a high gloss.
Pros of Staining:
- Cost-Effective: Affordable wood species can achieve a high-end look.
- Customizable: You control the exact shade of dark.
- Refinishable: You can change the color again in the future.
Cons of Staining:
- Labor Intensive: Staining and finishing yourself is a DIY project that requires time, patience, and elbow grease.
- Potentially Blotchy: Some wood species can absorb stain unevenly.
- Learning Curve: Getting a perfectly uniform finish takes practice.
Option 2: Engineered Hardwood
Engineered hardwood is a fantastic alternative to solid hardwood, especially for budget-conscious projects. It’s made of multiple layers of wood or composite material, with a real hardwood veneer on top.
How it Works: The top layer is genuine hardwood, so when you choose an engineered plank pre-finished in a dark color, you get the authentic look you desire. The core layers provide stability, making it less prone to expansion and contraction with humidity changes compared to solid wood.
Pros of Engineered Dark Hardwood:
- More Stable: Better suited for areas with fluctuating humidity, like basements or rooms prone to moisture.
- Often Pre-Finished: Saves you the time and effort of staining and sealing.
- Can mimic solid wood: The top veneer layer looks identical to solid hardwood from the surface.
- Installation Flexibility: Can often be glued, stapled, or even floated over various subfloors.
Cons of Engineered Dark Hardwood:
- Limited Refinishing: You can only sand and refinish engineered wood a limited number of times (usually once or twice), depending on the thickness of the veneer.
- Veneer Thickness Matters: Cheaper engineered woods have a very thin veneer that can wear through quickly.
- Still Can Be Pricey: While often less expensive than premium solid dark woods, high-quality engineered wood can still represent a significant investment.
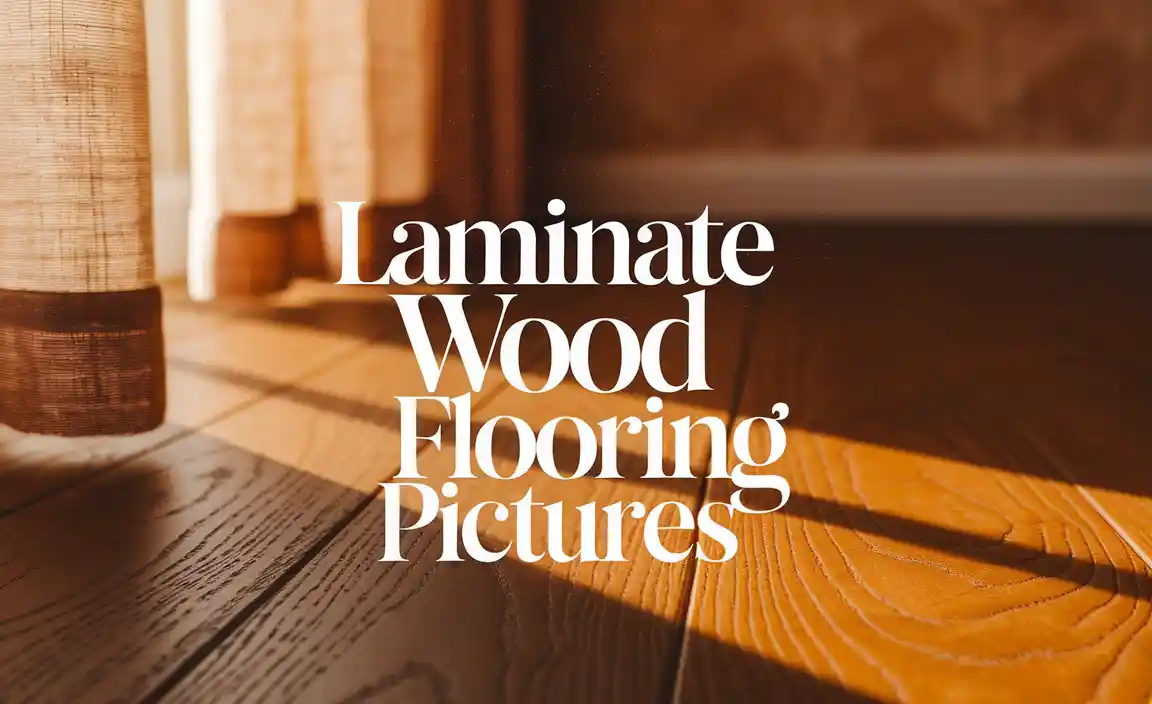
Option 3: Luxury Vinyl Plank (LVP) or Laminate Flooring
For the absolute tightest budgets, modern luxury vinyl plank (LVP) and laminate flooring offer incredibly realistic dark wood aesthetics. These are not your grandparents’ sheet vinyl!
How it Works: These floors use a high-resolution printed layer that perfectly mimics the look of dark wood, complete with natural grain patterns and textures. LVP has a vinyl core, making it waterproof, while laminate has a fiberboard core with a durable wear layer on top.
Pros of LVP/Laminate in Dark Wood Look:
- Most Affordable: Generally the least expensive option.
- Waterproof (LVP): LVP is ideal for kitchens, bathrooms, and basements where moisture is a concern.
- Durable Wear Layer: Resists scratches and stains very well.
- Easy Installation: Most come with click-lock systems, making DIY installation straightforward.
- Low Maintenance: Easy to clean with just sweeping and damp mopping.
Cons of LVP/Laminate:
- Not Real Wood: Lacks the natural warmth and unique character of genuine hardwood.
- Can Feel Less Luxurious: Some higher-end options exist, but budget versions can feel a bit plasticky underfoot.
- Difficult to Repair: Damaged planks can sometimes be tricky to replace seamlessly.
- Lower Resale Value: While improving, they generally don’t add as much resale value as real hardwood.
Choosing the Right Wood Species for Dark Stains
If you’re going the staining route, or even looking at pre-finished options, the species of wood makes a difference. Some woods take stain more beautifully and hold up better than others.
Popular Choices for Dark Stains:
| Wood Species | Why it works for dark stains | Durability (Janka) | Typical Cost Relative to Oak |
|---|---|---|---|
| Red Oak | Takes stain very evenly, readily available, good value. Known for its prominent grain. | 1290 | Base Price |
| White Oak | Similar to red oak but with a less pronounced grain and often a slightly more refined look. Holds dark stains well. | 1360 | Slightly higher than Red Oak |
| Maple | Very dense and smooth grain, but can be prone to blotching if not pre-conditioned. Achieves a very sleek, uniform dark look. | 1450 | Slightly higher than Red Oak |
| Walnut (Natural Dark) | Naturally a rich, dark color. Expensive, but offers a beautiful, deep tone without staining. Often requires careful handling. | 1010 | Significantly Higher |
| Hickory | Very hard and durable, with a varied grain that can create beautiful depth with dark stains. | 1820 | Slightly higher than Oak |
Note: Janka hardness rating is a measure of wood resilience. Higher numbers mean harder, more dent-resistant wood. Prices are general estimates and can vary greatly by region and supplier.
Understanding Wood Grades
Wood flooring also comes in different grades (Select, First, Second, etc.), which affect its appearance and price. Lower grades may have more knots and color variation, which can sometimes add character to dark stained floors, making them a more affordable option.
DIY Installation: Tips for Success
Installing hardwood floors can be a rewarding DIY project. If you’re up for it, here are some essential tips, especially if you’re working with pre-finished planks or staining on-site.
Tools You’ll Likely Need:
- Measuring Tape: Essential for planning and cuts.
- Chalk Line and Chalk: For snapping guide lines on the subfloor, especially for longer runs.
- Pry Bar: For nudging planks into place and for any adjustments.
- Hammer: For tapping planks together and for blind nailing.
- Nail Gun (Flooring Nailer/Stapler): If installing solid or engineered hardwood that requires nailing. Renting one is common for DIYers.
- Miter Saw or Circular Saw: For cutting planks to length.
- Jigsaw: For cutting around irregular shapes like door frames or vents.
- Tapping Block: Protects the edges of the planks while you tap them into place.
- Pull Bar: For pulling the last planks into place against the wall.
- Safety Glasses: Non-negotiable for eye protection.
- Work Gloves: To protect your hands.
- Knee Pads: Your knees will thank you!
- Dust Mask: Especially important if sanding or cutting.
- Moisture Meter: To ensure your subfloor and wood are at the right moisture level before installation.
Pre-Installation Steps:
- Acclimate the Flooring: Most manufacturers require wood flooring to acclimate to the room’s temperature and humidity for several days (usually 48-72 hours) before installation to prevent future issues.
- Check the Subfloor: Ensure it’s clean, dry, level, and structurally sound. Any humps or dips will telegraph through the new floor.
- Plan Your Layout: Decide which direction your planks will run (usually parallel to the longest wall or the main light source). Plan starter rows to ensure you don’t end up with very narrow planks at the end.
Installation Methods (Briefly):
- Nail-Down: Typically for solid hardwood where planks are stapled or nailed through the tongue into the subfloor. Requires a specialized flooring nailer.
- Glue-Down: Adhesive is spread onto the subfloor, and planks are set into it. Good for concrete subfloors or where a quieter floor is desired.
- Floating: Planks lock together and are not attached to the subfloor. Often used for engineered hardwood and laminate/LVP. A good underlayment is crucial.
For a more in-depth guide on installation techniques, checking out resources like The National Association of Home Builders (NAHB) can provide valuable insights into construction standards.
Caring for Your Dark Hardwood Floors
Once your beautiful dark hardwood floors are in, maintaining their look is key to enjoying them for years. Prevention is easier than repair!
Daily/Weekly Maintenance:
- Sweep or Vacuum Regularly: Use a soft-bristle broom or a vacuum cleaner with a hard floor attachment. Avoid vacuums with beater bars that can scratch.
- Spot Clean Spills Immediately: Use a slightly damp mop or cloth.
- Use Door Mats: Place mats at all entrances to trap dirt, sand, and moisture before they scratch your floors.
- Protective Pads Under Furniture: Felt pads on the legs of chairs, tables, and sofas prevent scratches when furniture is moved.
Deep Cleaning and Protection:
- Use Manufacturer-Recommended Cleaners: Always check what your specific flooring manufacturer recommends. Many suggest pH-neutral wood floor cleaners. Avoid harsh chemicals, ammonia, or abrasive cleaners.
- Avoid Excess Water: Never let water sit on your hardwood floors. A slightly damp mop is all you need for cleaning.
- Reapply Finish (As Needed): Over time, the protective finish may wear down in high-traffic areas. You may need to screen and recoat the floor with a new layer of polyurethane every few years, depending on wear. This is less intensive than a full refinish.
What to Avoid:
- Steam Mops: The heat and moisture can damage the wood and finish.
- Abrasive Cleaners: Scour-pads, steel wool, or powdered cleansers will scratch the finish.
- Wax-Based Polishes: These can build up and create a dull, hazy finish that’s hard to remove.
- Dragging Furniture: Always lift, don’t drag, heavy items.
- High Heels and Cleats: Spike heels can leave dents. Sports cleats can scratch.
Dark Hardwood Floors vs. Other Dark Flooring Options
When considering a dark aesthetic, it’s helpful to see how dark hardwood stacks up against other materials that offer a similar look.
| Flooring Type | Pros for Dark Look | Cons for Dark Look | Afford |
|---|