Quick Summary
Regularly cleaning your pneumatic nailer ensures it works reliably and lasts longer. A clean nailer fires nails accurately, prevents jams, and maintains optimal performance. This guide provides simple, step-by-step instructions for effective cleaning and maintenance, keeping your tool in top shape for all your projects. Keep reading for the easy way to clean your nailer!
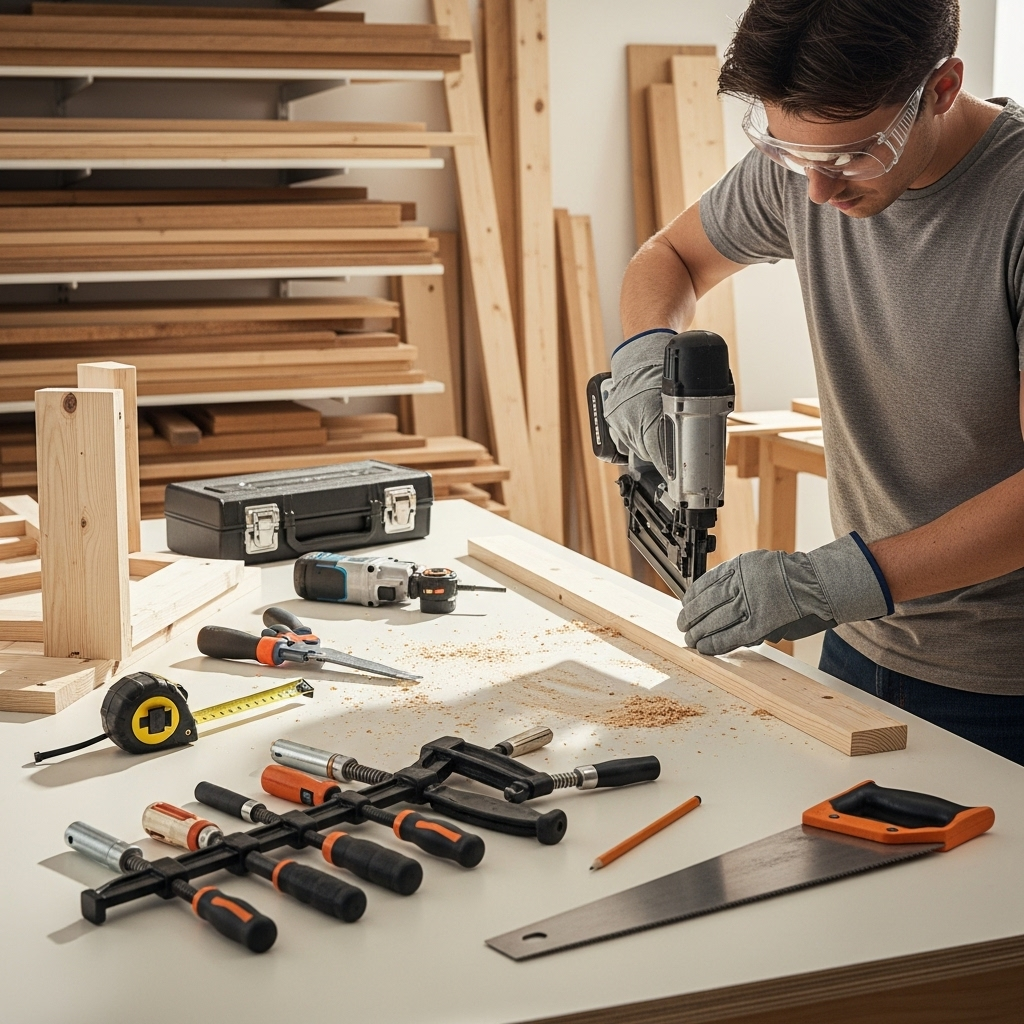
Hey there, fellow woodworkers and DIYers! Jack Shaffer here from Nailerguy, and I’ve got something super important for you today. We all love how pneumatic nailers make our projects fly by, right? But sometimes, they can get a little… finicky. Maybe it’s jamming, maybe it’s not firing with the same punch, or maybe it just feels a bit sluggish. Often, the culprit isn’t a broken part, but simply a nailer that needs a good, thorough cleaning! It’s a common issue that can be frustrating, especially when you’re in the middle of a build. But don’t worry! Today, we’re going to walk through exactly how to clean your pneumatic nailer, step-by-step. It’s easier than you think and will make a world of difference. Get ready to bring your nailer back to its best performance!
Table of Contents
Why Cleaning Your Pneumatic Nailer Matters
Your trusty pneumatic nailer is a powerhouse, but like any tool, it needs a little TLC to keep humming along. Dust, sawdust, oil residue, and even tiny metal shavings can build up inside its mechanisms over time. This gunk can cause all sorts of problems, from misfires and jams to reduced power and even premature wear on critical components.
Think of it like your car: if you never change the oil or clean out the engine, it’s not going to run as smoothly or last as long. Your nailer is no different! A clean nailer means:
- Consistent, powerful nail drives every time.
- Fewer frustrating jams that slow down your work.
- Extended lifespan for your tool, saving you money in the long run.
- Safer operation, as jams and misfires can be dangerous.
It’s a simple process, and with a little regular maintenance, you’ll keep your nailer performing like new. Let’s get started on making your nailer shine!
Essential Tools and Supplies for Cleaning
Before we dive into the cleaning process, let’s make sure you have everything you need. Gathering these items beforehand will make the whole job much smoother and more efficient. You don’t need anything too fancy!
Here’s a list of what you’ll want to have on hand:
- Safety Glasses: Absolutely crucial. You don’t want any stray debris or cleaning solution getting into your eyes.
- Gloves: To protect your hands from grime and cleaning solutions.
- Owner’s Manual: If you have it, it’s your best friend for specific model instructions.
- Compressed Air Source: An air compressor is ideal, but canned air might work for very light cleaning.
- Clean Lint-Free Cloths: Plenty of them! Microfiber cloths work great.
- Nailer Lubricant: Specifically designed for pneumatic tools.
- All-Purpose Cleaner or Degreaser: A mild, tool-safe cleaner. Avoid harsh chemicals.
- Cotton Swabs (Q-tips): For reaching small nooks and crannies.
- Small Brush: A soft-bristled brush (like an old toothbrush) or a dedicated cleaning brush.
- Needle-Nose Pliers: Might be useful for removing stubborn parts or debris.
- Small Screwdriver Set: To remove any necessary access panels (check your manual).
- Work Surface Protection: A drop cloth or old newspaper to keep your area clean.
Having these supplies ready will make the cleaning process straightforward. Safety first, always!
Step-by-Step Guide: How to Clean A Pneumatic Nailer
Alright, let’s get your nailer sparkling clean and ready for action! We’ll break this down into simple, manageable steps. Remember to consult your nailer’s specific manual if you have it, as some models might have unique components or recommended cleaning procedures. For general guidance, this comprehensive approach will work wonders.
Step 1: Safety First – Disconnect and Depressurize
This is the MOST important step. Never work on a nailer that is connected to an air source or still under pressure. It’s incredibly dangerous and could lead to accidental firing.
- Disconnect the Air Hose: Completely detach the air hose from the nailer’s air inlet nipple.
- Discharge Any Residual Air: Some nailers might retain a small amount of air pressure. Point the nailer away from yourself and anyone else, and gently squeeze the trigger a few times to release any remaining pressure.
- Remove the Battery (if applicable): If your nailer is cordless or has a battery-powered feature, remove the battery pack.
Once these steps are done, you can be sure your tool is safe to handle.
Step 2: Empty the Nail Magazine
Before you start cleaning, you need to remove all nails from the magazine. This prevents them from scattering and makes it easier to access the internal parts.
- Locate the Magazine Release: Most nailers have a latch or button to open the magazine.
- Open the Magazine: Move the release and slide or swing open the magazine.
- Remove All Nails: Carefully tip out any nails. A gentle shake might be needed, but be careful not to let them spill everywhere.
- Close the Magazine: Once empty, close and secure the magazine.
This ensures no nails get in the way during cleaning.
Step 3: Exterior Cleaning
Let’s start with the outside of your nailer. This will remove surface dust and grime, making it easier to handle and prepare you for deeper cleaning.
- Wipe Down the Casing: Use a clean, damp (not soaking wet!) lint-free cloth to wipe down the entire exterior of the nailer.
- Address Stubborn Grime: For tougher spots with grease or dried-on sawdust, use a mild degreaser or all-purpose cleaner sparingly on your cloth. Gently scrub away the dirt.
- Clean the Grip: Make sure the handle and grip areas are clean for a secure hold.
- Dry Thoroughly: After cleaning, use a dry cloth to ensure the exterior is completely dry.
A clean exterior feels good and prevents dirt from being pushed further into the tool.
Step 4: Cleaning the Nose and Safety Contact Arm
The nose piece and the safety contact arm (also called the “nose”, “tip”, or “firing mechanism base”) are where most of the action happens. They can get clogged with wood dust and sap.
- Inspect the Nose: Look into the tip of the nailer. See any sawdust, debris, or sealant buildup?
- Use Compressed Air: With a blast of compressed air, blow out any loose dust and debris from the nose area. Aim away from yourself.
- Scrape Gently if Needed: If there’s caked-on debris, you can very gently use a soft brush or a wooden/plastic scraper to loosen it. Avoid using metal tools here, as they can scratch or damage the metal.
- Clean the Safety Contact Arm: This arm needs to move freely. Use compressed air to blow out debris around its base. If it feels sticky or sluggish, you can carefully use a cotton swab lightly dampened with cleaner to wipe it down.
- Wipe Clean: Use a dry cloth to wipe the nose and safety contact arm clean.
Make sure the safety contact arm can depress and retract smoothly. If it’s sticky, it might not fire properly.
Step 5: Cleaning the Air Inlet and Exhaust Port
These are the entry and exit points for air, and they can also collect dust.
- Air Inlet Nipple: Check the threaded part where the air hose connects. Blow it out with compressed air to remove any dust that could contaminate your air system.
- Exhaust Port: Most pneumatic nailers have an exhaust port, often near the top or back, which releases air after firing. Blow compressed air through this port to clear out any accumulated dust or oil mist residue.
Keeping these clear ensures clean air flow into and out of the tool.
Step 6: Internal Components (If Your Manual Allows/Requires)
Some nailers are designed for easy access to internal parts, while others are more sealed. Crucially, check your owner’s manual before proceeding. Do NOT disassemble if you are unsure or if your manual advises against it. Over-disassembly without proper knowledge can cause more harm than good.
If your manual indicates it’s safe and recommended to access internal areas:
- Locate Access Panels: Your nailer might have screws or latches that allow separation of certain parts, like the main housing or the magazine assembly.
- Carefully Remove Components: Following your manual’s instructions precisely, remove any designated parts. Keep track of all screws and small pieces – a magnetic tray is very helpful here!
- Clean Internal Parts:
- Piston and Driver Blade: These are key components. Gently wipe them down with a lint-free cloth. If you find oil buildup, use a very small amount of cleaner on the cloth, then immediately wipe dry.
- Springs and Seals: Inspect these for damage or excessive wear. Wipe them clean with a dry cloth.
- Inside the Housing: Use compressed air and a soft brush to gently remove any dust or debris from inside the main housing or other accessible chambers.
- Reassemble Carefully: Follow reverse order of disassembly, ensuring all parts are correctly seated. Refer to your manual for diagrams.
Important Note on Lubrication: Most modern pneumatic nailers only require a few drops of specific tool oil in the air inlet periodically, not frequent internal greasing. Over-lubrication can attract more dirt and gum up the works. Your manual will specify this. Never use WD-40 as a lubricant; it’s a solvent and water displacer, not a long-term lubricant, and can damage rubber seals.
For a general understanding of tool maintenance from a professional perspective, resources like those from the Tool Help Organization can offer valuable insights into tool care best practices.
Step 7: Lubrication
Proper lubrication is essential for smooth operation and preventing wear. This is usually done at the air inlet.
- Locate Air Inlet: Find where you plug in your air hose.
- Add Lubricant: Add 1-2 drops of specialized pneumatic tool oil into the air inlet. Some manuals might recommend adding it to the air hose coupler instead. Again, check your manual!
- Cycle the Tool: Reconnect the air hose (ensure the nailer is not pointed at anyone or anything, and the safety tip is on a piece of scrap wood) and fire it off a few times to distribute the lubricant internally.
- Disconnect and Wipe: Disconnect the air hose again and wipe away any excess oil from the exterior.
Do not over-lubricate! Too much oil can cause excessive build-up and attract dirt, leading to the very problems you’re trying to avoid.
Step 8: Reassemble and Test
After cleaning and lubricating, it’s time to put it all back together and run a quick test.
- Ensure All Parts Are Dry: Double-check that no cleaning solution or excess oil remains anywhere, especially in areas that will be sealed.
- Reassemble If Disassembled: If you took any parts off, carefully reassemble them according to your manual.
- Load Nails: Put a few nails back into the magazine and close it securely.
- Connect Air Hose: Attach your air hose.
- Test Fire: Point the nailer at a scrap piece of wood. Squeeze the trigger (you will likely need to depress the safety contact arm against the wood as well). Listen for smooth operation and check that the nail drives correctly. Try firing a few more nails.
If everything sounds and feels right, your nailer is clean and ready to go! If you notice any issues, double-check your work or consult your manual again.
Maintenance Schedule: How Often Should You Clean?
Consistency is key when it comes to tool maintenance. How often you need to clean your pneumatic nailer depends on a few factors:
Here’s a general guideline:
- After Heavy Use (e.g., a big project): Always give it a good wipe-down and check the nose and safety arm.
- Monthly (for regular DIYers): A quick clean of the exterior, nose, and blowing out dust with compressed air is a good habit.
- Quarterly (for heavy or professional use): This is when you might consider a more thorough clean, possibly including some internal component checks (if your manual allows).
- When Performance Declines: If you notice jams, weak drives, or other issues, cleaning is usually the first step in troubleshooting.
- Before Storing for Long Periods: Clean it thoroughly and lightly lubricate, then store it in a dry place.
A good rule of thumb is to clean your nailer whenever you clean or check your air compressor filters. Maintaining a clean workspace also significantly reduces how often your nailer needs deep cleaning.
Troubleshooting Common Nailer Issues After Cleaning
Even after a good cleaning, you might encounter minor snags. Here are a few common issues and how to address them:
Nailer Still Jamming
- Check Nail Orientation: Ensure you’re using the correct size and type of nails, and that they are seated properly in the magazine.
- Inspect Drive Blade Path: If you opened the nailer, double-check that the driver blade is free and not obstructed.
- Too Much Lubricant: If you over-lubricated, the excess oil can attract dust and cause jams. Clean it out again, ensuring it’s almost dry internally and then add just 1-2 drops of oil.
Nailer Not Firing or Fouling
- Safety Contact Arm Stuck: Ensure the safety contact arm moves freely and isn’t sticking.
- Air Restriction: Check air line, fittings, and the nailer’s air inlet for blockages.
- Internal Debris: A tiny piece of debris might have been missed during cleaning. A gentle blast of air might dislodge it.
Weak Nail Drives
- Low Air Pressure: Ensure your compressor is set to the recommended PSI for your nailer. Check it is set correctly, usually between 70-120 PSI.
- Air Leaks: Listen for any hissing sounds, which could indicate air leaks at connections or seals.
- Dirty Internal Components: If cleaning was skipped or incomplete, internal friction can reduce power. A proper cleaning and lubrication might be necessary.
For detailed troubleshooting specific to your model, always refer to the manufacturer’s guide. Many tool manufacturers provide excellent online resources and diagrams.
When to Seek Professional Help
While most pneumatic nailer maintenance is straightforward, there are times when it’s best to let a professional handle it. If you’ve tried cleaning and basic troubleshooting and your nailer is still not performing correctly, it might be time to call in the experts.
Consider professional service if:
- You Cannot Safely Disassemble/Reassemble: If your manual shows internal parts you’re not comfortable with, don’t force it.
- Damage is Evident: If you notice cracked housing, bent metal parts, or severely worn seals during cleaning.
- Persistent Malfunctions: After multiple cleaning attempts, if the tool continues to jam, misfire, or lack power, there might be a deeper mechanical issue.
- Warranty Concerns: If your nailer is still under warranty, tampering with internal components might void it. In such cases, contact the manufacturer or an authorized service center.
A qualified tool repair shop can diagnose and fix more complex problems, ensuring your nailer is repaired correctly and safely.
Frequently Asked Questions (FAQ)
Q1: How often should I lubricate my pneumatic nailer?
A: Most pneumatic nailers only need a few drops of specialized tool oil in the air inlet every few