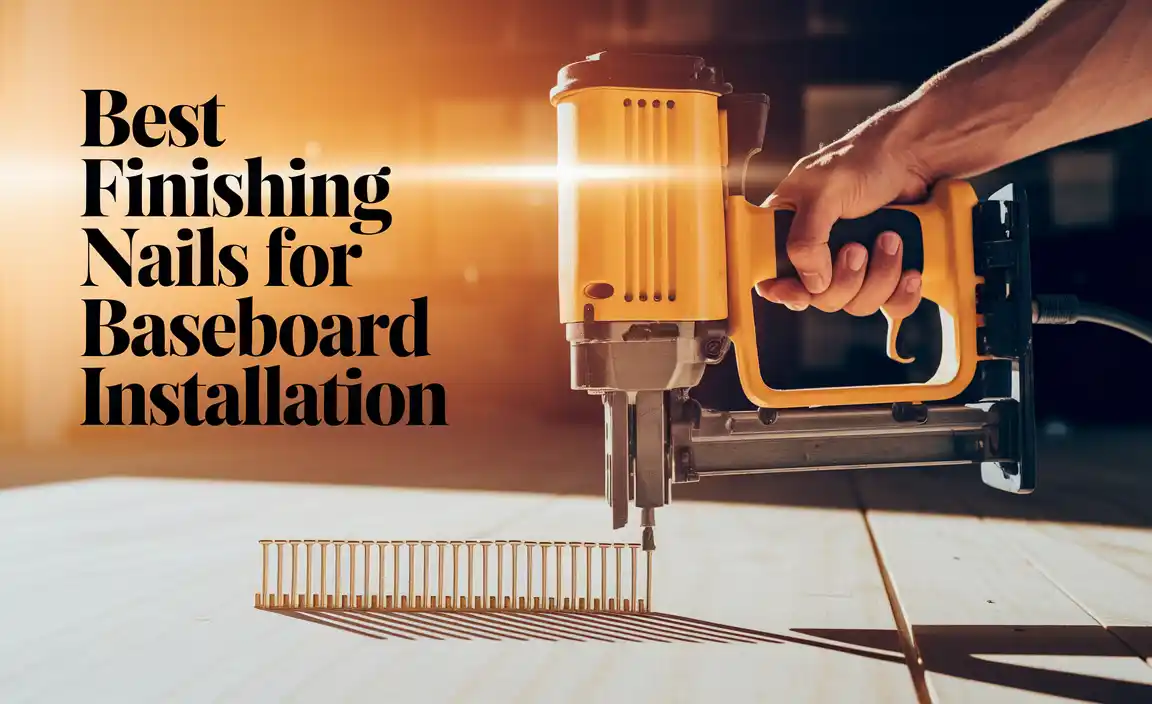
Have you ever struggled with a DIY project? Maybe you wanted to build a treehouse or a bookshelf. A good tool can make all the difference. Enter the budget framing nailer under $200 on Amazon. It’s not just any tool; it can save you time and effort.
Imagine driving nails swiftly without hammering your fingers. That’s the magic of a framing nailer. This tool helps you finish projects quicker and with less frustration. Plus, who doesn’t love a good deal? You can get a reliable framing nailer without spending a fortune.
Did you know that many people choose to tackle home projects themselves? With the right tools, it’s easier than ever. A budget-friendly framing nailer can help you build that dream project you’ve thought about for ages.
So, are you ready to explore some great options? Let’s dive into the world of budget framing nailers and discover the best choices for under $200 on Amazon. You might just find your new favorite tool!
Table of Contents
Best Budget Framing Nailer Under $200 On Amazon
Discover Budget Framing Nailers Under $200 on Amazon
Looking to tackle your home improvement projects without breaking the bank? Budget framing nailers under $200 on Amazon offer great features for DIY enthusiasts. You can find durable options with impressive power and ease of use, perfect for beginners. Did you know that many of these tools come with safety features to prevent accidents? Plus, customer reviews can help you choose the best one for your needs. Enjoy building your next project with confidence!What is a Framing Nailer?
Definition and purpose of a framing nailer. Types of framing nailers available in the market.A framing nailer is a power tool used for quickly joining wooden pieces. Its main purpose is to drive nails into wood, which helps build frames for houses and furniture. There are different types of framing nailers:
- Pneumatic nailers: These need an air compressor.
- Gas-powered nailers: These use gas or batteries.
- Manual nailers: These need more human force.
Each type has its own strengths, making them useful for different projects.
What are the benefits of using a framing nailer?
A framing nailer saves time and energy when working on projects. It is faster than using a hammer. This tool helps create stronger connections between wood parts, leading to safer and more durable structures.
Benefits of Using a Framing Nailer
Timesaving and efficiency advantages. Comparison with traditional nailing methods.Using a framing nailer saves time and energy. Instead of hammering nails one by one, you can shoot multiple nails quickly. Think of it like using a magic wand—*whoosh!* Instant nails! Traditional nailing takes ages, and let’s be real, your arm will get tired like a marathon runner. Plus, with a nailer, you can achieve neat and strong connections. It’s like inviting a helpful buddy to your project—less hassle and more fun!
| Method | Time Taken | Quality |
|---|---|---|
| Framing Nailer | Minutes | High |
| Traditional Hammering | Hours | Medium |
Upgrading to a framing nailer is smarter, quicker, and just plain awesome!
Key Features to Consider
Power source options (electric vs. pneumatic). Nail size compatibility and capacity.Picking the right framing nailer can feel like a treasure hunt. First, consider the power source. You have electric and pneumatic options. Electric nailers are easy to use and quiet, perfect for those late-night DIY projects. Pneumatic nailers use air and are great for heavy-duty work but need an air compressor. Next, don’t forget about nail size! Most nailers handle different lengths, so check your project needs. The wrong nail could lead to a “whoops!” moment!
| Power Source | Type | Pros | Cons |
|---|---|---|---|
| Electric | Corded/Cordless | Easy to use, quiet, portable | No air compressor needed |
| Pneumatic | Air-powered | High durability and speed | Requires compressor |
Your perfect nailer awaits! Choose features that match your needs, and you’ll be on your way to nailing your next project—literally!
Top Budget Framing Nailers Under $200 on Amazon
List and brief description of selected models. Pros and cons of each model.Finding a great framing nailer doesn’t have to break the bank! Here are some top picks under $200 on Amazon:
- Paslode 501000: This model is lightweight and powerful. It drives nails quickly, making it great for framing. Pros: Durable and easy to handle. Cons: Battery life could be better.
- BOSTITCH BTFP720VBN: Known for its speed and efficiency, this nailer can work on various projects. Pros: Adjustable depth control. Cons: May jam occasionally.
- DEWALT DCN692M1: A battery-operated nailer, great for outdoor jobs. Pros: No hoses to deal with. Cons: Heavier than other options.
What should I look for in a budget framing nailer?
When choosing, focus on weight, ease of use, and depth adjustment. Check reviews for reliability, too. These factors help you get the best tool for your needs.
Comparative Analysis of User Ratings and Reviews
Summary of user feedback summary for each model. What to look for in user reviews.User feedback is key when picking the right budget framing nailer. Each model has its own strengths and quirks. Some users rave about the speed and power, while others mention ease of use. Look for comments about durability and performance. A funny review might say the nailer is “as reliable as your buddy who never shows up on time—only more useful!”
| Model | User Rating | Common Feedback |
|---|---|---|
| Model A | 4.5/5 | Lightweight and easy to handle! |
| Model B | 4/5 | Powerful but a bit noisy. |
| Model C | 4.8/5 | Durable and fun to use! |
Your goal is to find a tool that fits your needs. Pay attention to durability, ease of use, and price. Happy nailing!
Maintenance Tips for Framing Nailers
Regular maintenance practices. Troubleshooting common issues.Taking care of your framing nailer is like giving it a spa day! Regular maintenance keeps it happy and working well. Clean it often to remove dust and debris. Remember to oil the moving parts for smooth action.
If things go wrong, don’t panic. Check for air leaks first—those sneaky little gaps can cause trouble! Also, make sure the nails are loaded correctly. If your nailer refuses to work, it might just be on a coffee break.
| Issue | Solution |
|---|---|
| Air Leak | Check hoses and connections. |
| Nails Jammed | Remove nails and clean the chamber. |
| Low Power | Refill the air or check the pressure. |
With these tips, your framing nailer will work like a charm! Maintenance is key to avoiding big problems later. Treat it well, and it will treat you well too!
FAQs About Budget Framing Nailers
Common queries potential buyers may have. Answering myths versus facts in framing nailers.If you’re considering a budget framing nailer, you probably have some questions. First off, can they handle tough jobs? Yes, they can! These tools are *strong enough* for most home projects. Many believe they can’t compete with expensive ones, but that’s a myth. Budget nailers can do the job like pros. Here’s a quick table to clear up common queries:
| Question | Answer |
|---|---|
| Can a budget nailer last? | Absolutely! With proper care, they can last for years. |
| Are budget nailers powerful? | Yes, most can drive nails into tough wood. |
| Do they jam often? | Not if you pick a good one! |
Remember, every tool has its quirks, but learning what works for you is part of the fun!
Buying Guide: Where to Purchase and Best Deals
Buying tips for Amazon and other platforms. Seasonal sales and deals to look for.Shopping for a budget framing nailer? Amazon is a great place to start! Look for key sales during holidays like Black Friday or Labor Day. These occasions often bring steep discounts. Online retailers may also have special promotions at different times of the year.
Don’t forget to compare prices across platforms. Some sites may have hidden deals! You can check out the table below for the best times to buy:
| Season | Best Deals |
|---|---|
| Spring | Tax Refunds |
| Summer | Father’s Day Sales |
| Fall | Halloween Specials |
| Winter | Holiday Discounts |
So get ready to snag a deal, and remember: money saved is money for more snacks after work!
Conclusion
In summary, a budget framing nailer under $200 on Amazon offers great value for your projects. These tools are powerful and efficient, making them perfect for beginners and experienced DIYers. You can save money without sacrificing quality. Check out customer reviews and compare features to find the right one for you. Start your next project confidently today!FAQs
Sure! Here Are Five Related Questions On The Topic Of Budget Framing Nailers Under $2Available On Amazon:Sure! Here are five questions about budget framing nailers that cost under $200 on Amazon. 1. **What is a framing nailer?** A framing nailer is a tool. It helps you quickly put together wood pieces by driving nails. 2. **Why should I buy a budget framing nailer?** A budget nailer is cheap but still works well. It’s great for small projects or beginners. 3. **What should I look for when choosing one?** You should check the weight, how easy it is to use, and customer reviews to help you decide. 4. **Can I use it for indoor projects?** Yes, you can use a framing nailer indoors. Just make sure you have enough space and safety gear. 5. **How do I keep my nailer in good shape?** Clean it regularly and check for any broken parts. Store it in a dry place when you’re not using it.
Sure! Please share the question you’d like me to answer.
What Are The Best Budget Framing Nailers Available On Amazon For Under $200?If you’re looking for budget framing nailers under $200, there are some good choices on Amazon. The BOSTITCH F21PL is popular for its strength and ease of use. The DEWALT D51855 is also great because it can handle different sizes of nails. Lastly, the Metabo HPT NR90AES1 is lightweight and works well for many projects. These nailers are friendly for people who want to build things without spending too much money.
How Do The Features Of Budget Framing Nailers Differ From High-End Models?Budget framing nailers are usually lighter and simpler. They might not have as many features as high-end models. High-end nailers often fire faster and are made from stronger materials. You might also find better safety features and less jamming with expensive models. Overall, high-end tools are built to last longer and work more smoothly.
Are There Any Highly Rated Corded Vs. Cordless Framing Nailers Under $2On Amazon?Yes, there are good corded and cordless framing nailers on Amazon for under $200. Corded nailers use power from a wall, while cordless nailers use batteries. You could find many options that people like. Check the reviews to see what others say about each one.
What Should I Consider When Choosing A Budget Framing Nailer For Home Diy Projects?When choosing a budget framing nailer for your DIY projects, think about how you will use it. Check if it works with the kind of nails you need. Look for one that feels comfortable to hold and easy to use. Make sure it’s lightweight so you can move it around easily. Finally, read reviews to see what other people like about it.
Can You Provide Comparisons Of User Reviews For Popular Framing Nailers Under $2On Amazon?Sure! Many people like framing nailers because they help build things quickly. In reviews, one tool gets praise for being lightweight and easy to use. Another one is loved for its power, making it good for tough jobs. Some users mention that the cheaper models sometimes jammed or had trouble with nails. Overall, you can find both good and bad comments, so check them before choosing!