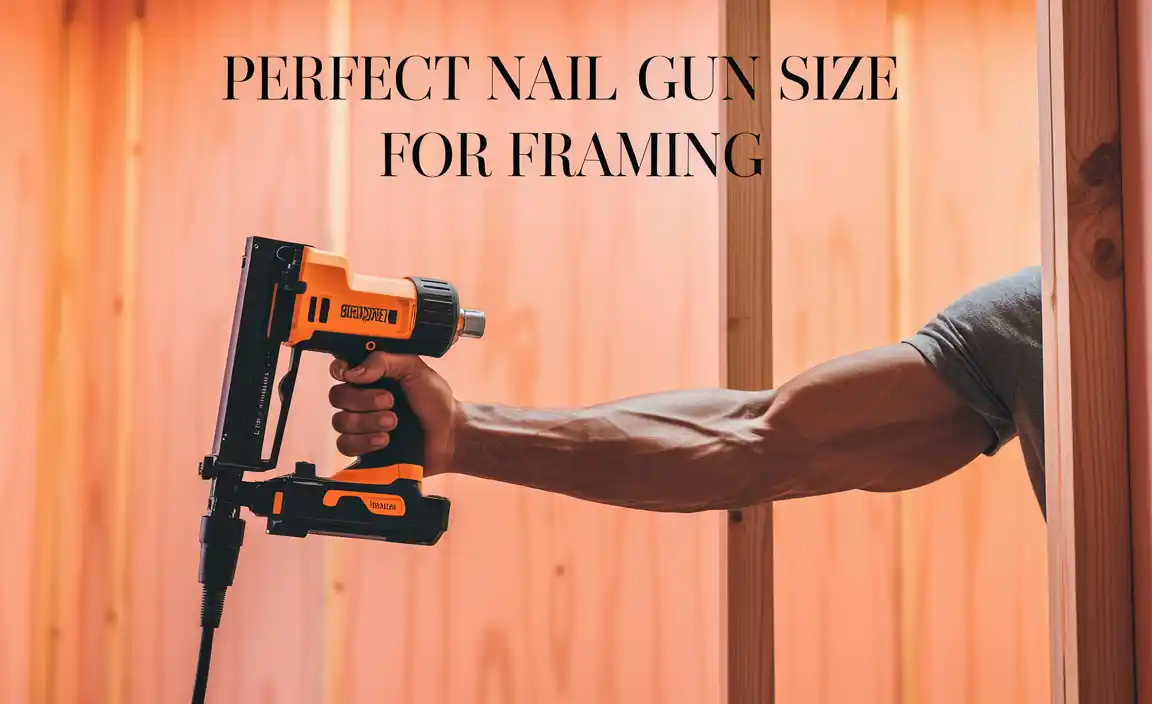
Have you ever thought about how important the right tools are when working on home projects? One tool that can make a big difference is a nailer. When it comes to casing trim, choosing the best nailer can save you time and effort. Imagine finishing your trim work quickly and neatly without struggling with manual methods.
Did you know that a good nailer can make your projects look more professional? It’s true! Many DIYers and professionals swear by their nailers. They get the job done better and faster. But with so many options out there, how do you find the best nailer for casing trim?
In this article, we’ll explore the top choices for nailers. We’ll help you understand what to look for and why it matters. Whether you are a beginner or a seasoned pro, knowing about the best nailers can change your experience. Ready to find out which one is right for you?
Table of Contents
The Best Nailer For Casing Trim: A Complete Guide
Finding the best nailer for casing trim can transform your DIY projects. A reliable nailer saves time and ensures a strong finish. Many professionals recommend using a finish nailer or brad nailer for precise work. These tools help secure trim without damaging the wood. Did you know using the wrong nail can split the material? Choosing the right nailer not only improves your skills but also adds value to your projects. Ready to elevate your craft?
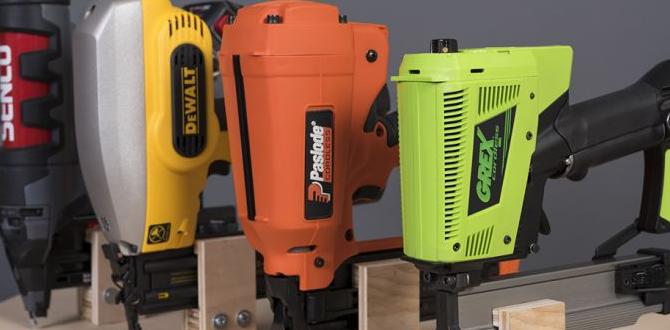
Types of Nailers for Casing Trim
Explanation of different types (brad, finish, pneumatic). Advantages and disadvantages of each type.
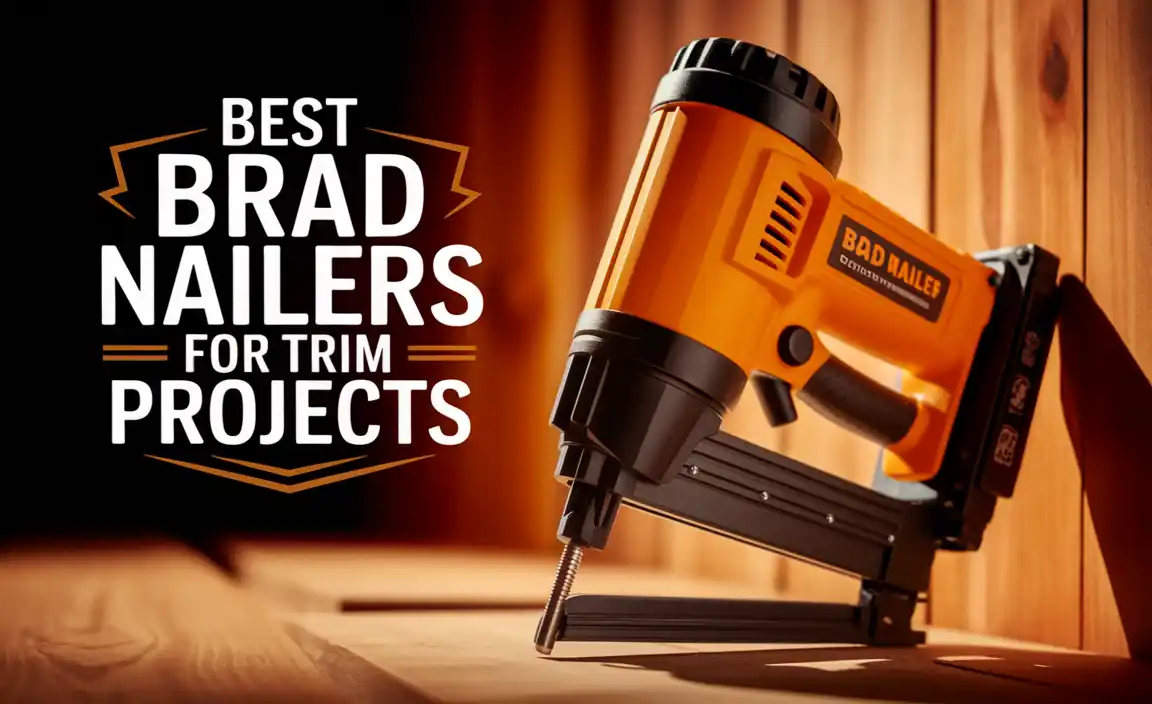
There are three main types of nailers for casing trim: brad, finish, and pneumatic. Each has its own benefits and drawbacks. Brad nailers use thin nails and are great for small projects. They leave tiny holes but may not hold heavy pieces well. Finish nailers use thicker nails, providing more strength. They work for heavier trim but may leave larger holes. Pneumatic nailers are powered by air, making them fast and efficient. However, they require a compressor, which can be a hassle.
- Brad Nailers: Light-duty, leave small holes.
- Finish Nailers: Stronger, but leave bigger holes.
- Pneumatic Nailers: Fast, but need a compressor.
What is the best type of nailer for casing trim?
The best type depends on your project size. For small tasks, a brad nailer is perfect. For larger jobs, consider a finish nailer.
Key Features to Consider
Power source (electric, battery, pneumatic). Nail size compatibility and types of nails used. Weight and ergonomics.
Choosing the right nailer matters. Think about the power source. You can pick from electric, battery, or pneumatic options. Each has its perks. Next, consider nail size compatibility. Different nail types work better for different jobs. Lastly, think about weight and comfort. A lighter nailer will be easier to use. A comfy grip is essential for longer tasks. Here are some quick tips:
- Power Source: Electric, Battery, or Pneumatic
- Nail Size: Make sure it fits your needs
- Weight: Lightweight models are easier to handle
- Ergonomics: Look for a comfortable grip
What type of nails can I use with a casing trim nailer?
You can use different types of nails for casing trim. The most common are brad nails and finish nails. Make sure to choose the right nail size for your nailer and project!
How to Choose the Right Nailer
Factors to assess based on project requirements. Budget considerations and value for money.
Choosing the right nailer can be tricky, kind of like picking the best ice cream flavor. You need to think about your project. Will it need a heavy-duty nailer for tough jobs or something light for smaller tasks? Next, your budget matters. Spending too much could make your wallet cry. Look for tools that offer great value for money. Don’t forget to check reviews! Sometimes, less popular brands surprise you with quality. Happy nailing!
| Factor | Consideration |
|---|---|
| Project Type | Heavy or light-duty? |
| Budget | How much can you spend? |
| Value | Is it worth the price? |
Maintenance Tips for Nailers
Regular maintenance practices to prolong tool life. Common issues and troubleshooting techniques.
Taking care of your nailer is important. Regular cleaning helps it work well for a long time. Try these tips:
- Clean the nose and magazine often.
- Check for jams and remove stuck nails.
- Lubricate moving parts regularly.
- Store in a dry place to avoid rust.
Common problems can arise. If your nailer jams, it may need cleaning. If it makes unusual noises, check the oil level. Always read the manual for safe tips.
What should I do if my nailer stops working?
If your nailer won’t work, check the power source and inspect for jams. Ensure it is loaded correctly and cleaned. Sometimes, a simple check can fix the issue!
User Reviews and Experiences
Summarization of user testimonials for various models. Comparison of professional versus DIY user preferences.
Users have colorful tales about their favorite nailers for casing trim. Many praised models for their power and ease of use. Professional carpenters love how quickly they can complete projects, while DIYers enjoy the satisfaction of a job well done—sometimes with a few less-than-perfect nail placements! Here’s a fun summary:
| User Type | Favorite Model | Key Feature |
|---|---|---|
| Professional | Model A | High-capacity magazine |
| DIY | Model B | User-friendly design |
| Both | Model C | Lightweight |
Feedback often shows how professionals need durability, while DIYers love simplicity. Both groups want tools that make them feel like superheroes in their own homes. Who doesn’t want to nail it on the first try, right?
Comparison of the Top Nailers for Casing Trim
Sidebyside comparison of popular models. Highlighting pros and cons based on user feedback.
Choosing the right nailer for casing trim can feel like picking the best ice cream flavor—there are just so many! Comparing popular models helps you see the perks and quirks of each.
| Model | Pros | Cons |
|---|---|---|
| Nailer A | Lightweight, easy to handle: | Can jam occasionally. |
| Nailer B | Powerful and quick: | A bit heavy for long use. |
| Nailer C | Comfortable grip, great for beginners: | Has a slower speed. |
User feedback shows that while Nailer A is like a trusty sidekick, it may need some help if you’re in a hurry. Nailer B, on the other hand, can keep up with even the speediest projects, but might tire out your arm. Nailer C is the friendliest option, perfect for first-timers, yet might not keep you moving as fast. Choose wisely, and happy trimming!
Common Mistakes to Avoid
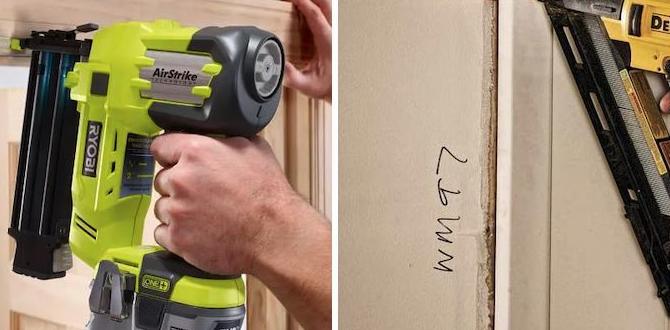
Misuse of nailers leading to poor installation results. Choosing the wrong type of nails for the project.
Using a nailer without reading the manual is like trying to cook without a recipe—it’s bound to end badly! Many folks misuse their nailers, leading to crooked trims or holes that look like Swiss cheese. Make sure to pick the right type of nails too. Using nails that are too short or thick can turn your beautiful work into a shaky disaster!
| Common Mistake | Result |
|---|---|
| Misusing the nailer | Poor installation results |
| Wrong type of nails | Weak or messy trims |
A little knowledge goes a long way. Choose wisely, and your trim will shine like a star!
Project Ideas Using Casing Trim Nailers
Creative ways to utilize nailers for home improvement. Stepbystep guide for a simple casing trim project.
There are many fun ways to use a casing trim nailer for home projects. Want a quick upgrade? Use the nailer to attach trim around doors and windows, making your space feel polished! Need a project idea? Consider building a cozy picture frame for your favorite moments. Just follow these steps:
| Step | Description |
|---|---|
| 1 | Measure your wall or object. |
| 2 | Cut the casing trim to size. |
| 3 | Attach the trim using your nailer. |
| 4 | Fill gaps and paint if desired. |
Using a casing trim nailer is like giving your room a fancy haircut—it makes everything look sharp! Each project will boost your skills and provide a sense of accomplishment. Note that you can even add some silliness, like framing your pet’s funniest photo!
Conclusion
When choosing the best nailer for casing trim, consider power, ease of use, and weight. A finish nailer often works best for nice trim jobs. Remember to check features like depth adjustment. We encourage you to read more and explore different models. The right tool makes your projects easier and helps you create beautiful finishes. Happy nailing!
FAQs
What Features Should I Look For When Choosing A Nailer For Casing Trim Installation?
When choosing a nailer for casing trim, look for a few important features. First, make sure it’s easy to handle. A lightweight nailer won’t tire you out. Next, check if it uses the right size nails for your project. Finally, see if it has a depth adjustment so you can control how deep the nails go. This will help you do a neat job!
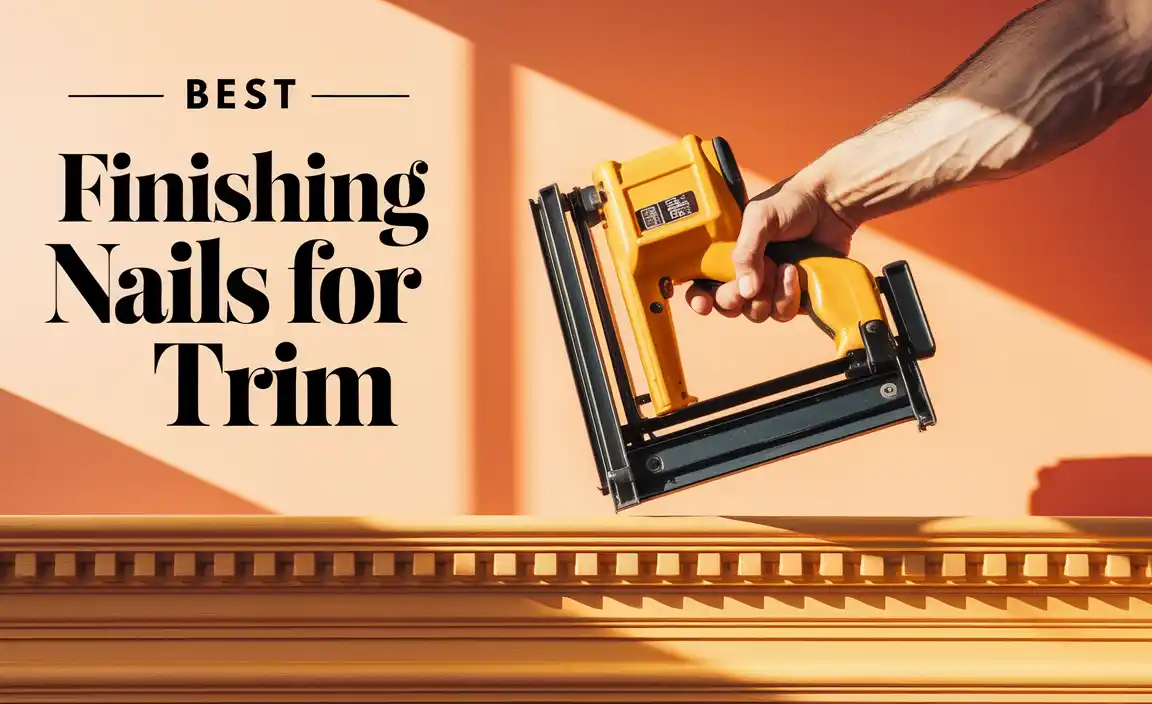
Is A Brad Nailer Or A Finishing Nailer Better For Attaching Casing Trim?
A finishing nailer is better for attaching casing trim than a brad nailer. It uses bigger nails that hold stronger. This helps the trim stay in place better. If you want it to look nice and last long, use a finishing nailer.
How Does The Power Source (Cordless Vs. Pneumatic) Affect The Performance Of A Nailer For Casing Trim?
Cordless nailers are powered by batteries, so you can use them anywhere without wires. They are easy to move around, but the battery can run out. Pneumatic nailers need air from a compressor, which can make them really powerful. However, you need to deal with air hoses, so they can be harder to move. Each type has its pros and cons, depending on what you need!
What Nail Gauge Is Most Suitable For Casing Trim Applications?
For casing trim, a 16-gauge nail is best. It’s strong enough to hold the trim in place. You can use a nail gun to make it easier. This size helps everything look neat and tidy. Always remember to be careful when using tools!
Are There Any Specific Brands Or Models That Are Highly Recommended For Casing Trim Work?
For casing trim work, some good brands are DeWalt, Bosch, and Makita. They make tools that help you cut and shape wood nicely. You can find these brands at most hardware stores. Ask for a miter saw or trim nailer to get started on your projects!