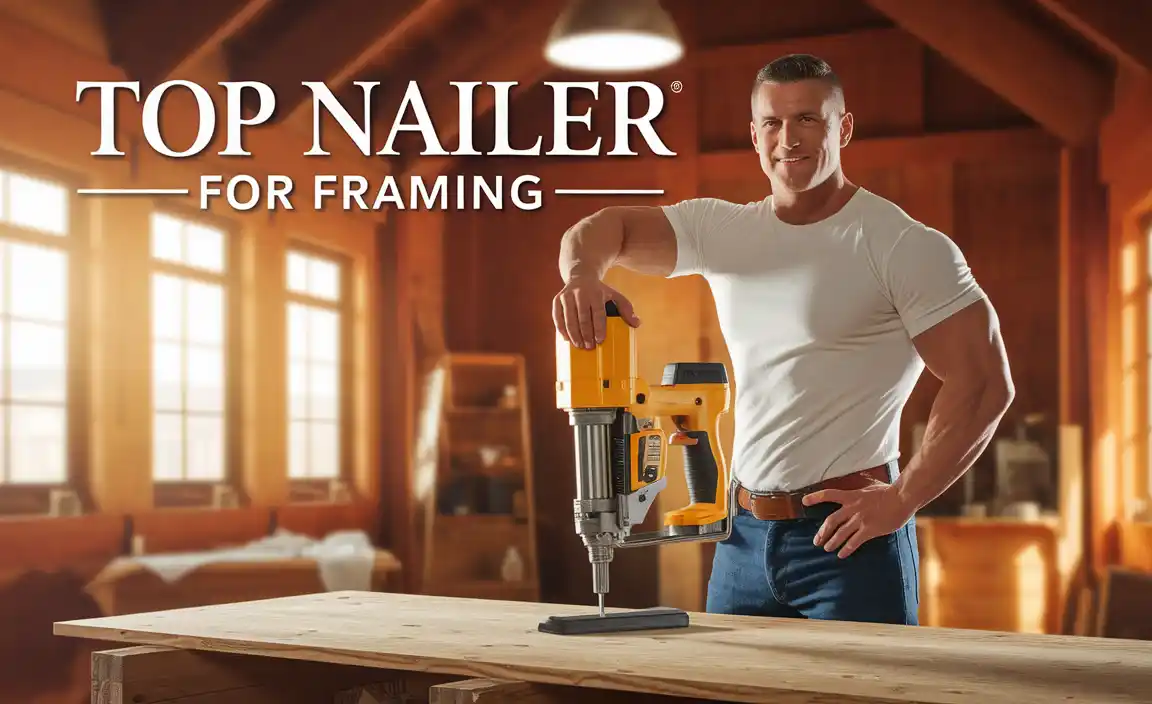
Have you ever tried to install crown molding but felt overwhelmed by what tools to use? Well, choosing the best finish nailer for crown molding can make the job much easier. Imagine transforming your room with beautiful molding that looks professional. You might think it’s a tough task, but with the right nailer, you can do it!
When it comes to crown molding, a finish nailer is key. It helps you attach the molding securely and neatly. But how do you know which one is the best? There are so many options out there! Each finish nailer has its own features and benefits. Some are light and easy to use, while others pack power for bigger jobs.
Let’s explore the top choices together. You’ll find tips and tricks to pick the perfect tool for your project. Whether you’re a beginner or a seasoned pro, there’s something for everyone. Get ready to make your home even more beautiful!
Table of Contents
The Best Finish Nailer For Crown Molding Projects
Choosing the right finish nailer for crown molding can make your project easier and more professional. A great nailer should be lightweight and easy to handle. Look for a model with adjustable depth settings to avoid damaging your trim. Did you know that a good nailer can save you hours of work? Whether you’re a DIY beginner or seasoned pro, picking the best finish nailer can truly elevate your home projects.
Understanding Crown Molding
Define what crown molding is and its importance in interior design.. Discuss the different types and styles of crown molding available..
Crown molding is a decorative trim that connects walls and ceilings. It adds character to any room. This detailed design element creates a stylish finish and can make ceilings look higher. Many types of crown molding are available, each with unique styles:
- Traditional – Features classic, elegant designs.
- Modern – Offers clean lines and simple shapes.
- Victorian – Contains intricate patterns and curves.
- Custom – Tailored to fit specific needs and tastes.
Choosing the right crown molding enhances your home’s look and feel. Isn’t it amazing how a small detail can make such a big difference?
Why is crown molding important?
Crown molding adds elegance to rooms and can increase home value.
Why You Need a Finish Nailer for Crown Molding
Explain the benefits of using a finish nailer over other tools for crown molding projects.. Highlight the efficiency, precision, and finish quality when using a finish nailer..
Using a finish nailer for crown molding makes projects easier and better. This tool drives nails quickly and accurately. Here are some important reasons:
- Efficiency: It saves time compared to a hammer.
- Precision: It places nails exactly where you need them.
- Quality Finish: It reduces damage to your molding.
A finish nailer helps you create neat, professional-looking edges. With this tool, your crown molding will look amazing!
Why choose a finish nailer over other tools?
Using a finish nailer means less effort and better results. It helps you finish faster and with great accuracy. You won’t have to worry about mistakes!
Key Features to Look for in a Finish Nailer
Discuss essential features such as nail depth adjustment and magazine capacity.. Explain the importance of weight, size, and ergonomics for ease of use..
When choosing a finish nailer, some features make a big difference. First, nail depth adjustment is important. It helps you control how deep the nail goes into the wood. Next, look at magazine capacity. A larger capacity means fewer refills. Also, consider the weight and size. A lightweight model is easier to handle. Finally, good ergonomics allows for comfortable use, especially during long projects.
What are the essential features of a finish nailer?
Essential features of a finish nailer include nail depth adjustment, magazine capacity, and ergonomic design. These features help ensure you have an easy and effective tool for your projects.
- Nail Depth Adjustment: Control how deep the nail goes.
- Magazine Capacity: More nails mean fewer interruptions.
- Weight: Lightweight tools are easier to handle.
- Ergonomics: Comfortable grip reduces fatigue.
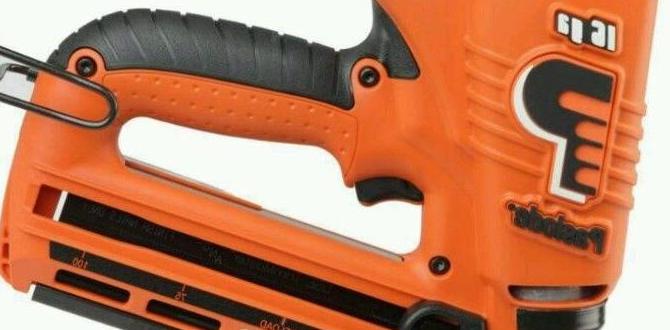
Top Recommended Finish Nailers for Crown Molding
List and review specific models with pros and cons.. Provide comparisons between the top choices in terms of performance and price..
Finding the right finish nailer makes your crown molding job much easier. Here are top choices:
- Bostitch BTFP71875
- Pros: Great power and lightweight.
- Cons: Sometimes jams after heavy use.
- DeWalt DCN681D1
- Pros: Cordless and easy to handle.
- Cons: Higher price than others.
- Makita XNB02Z
- Pros: Quiet and offers great precision.
- Cons: Battery not included.
When picking a nailer, think about both performance and price. The Bostitch gives good value, while the DeWalt shines in ease of use. You can finish projects faster and have fun while doing it!
What should I look for in a finish nailer?
Look for power, weight, and price! A good finish nailer should be easy to handle yet powerful enough to get the job done.
How to Choose the Right Finish Nailer for Your Needs
Guide on factors to consider based on project scale and frequency of use.. Discuss budget considerations and brand reputation..
Choosing a finish nailer involves a few important factors. First, think about the size of your projects. Are they big or small? This affects the type of nailer you need. Next, consider how often you will use it. Is it a one-time job or will you need it frequently? Budget matters too! A good nailer can cost between $100 and $300. Finally, pay attention to the brand reputation. Top brands often offer better quality.
- Project scale: Small or large jobs?
- Usage frequency: One-time or regular use?
- Budget: Can you spend $100 to $300?
- Brand reputation: Is it trusted by many?
What should I consider when choosing a finish nailer?
Consider project size, usage frequency, budget, and brand reputation.
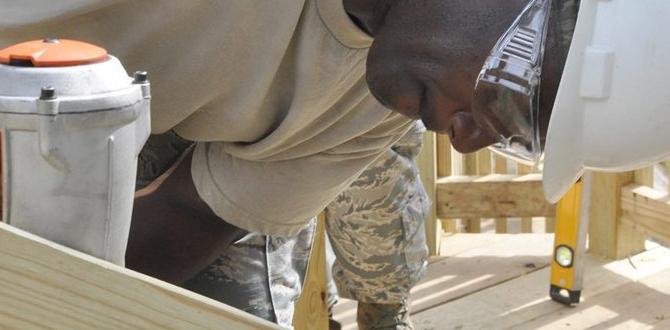
Tips for Using a Finish Nailer Effectively
Offer practical tips for achieving the best results when nailing crown molding.. Discuss common mistakes to avoid and how to correct them..
To nail crown molding like a pro, start by choosing the right finish nailer. Hold it steady for a clean shot. Remember to measure twice and cut once. That’s a classic saying for a reason! Avoid aiming at your fingers; they might not appreciate it if you miss. If you mess up, don’t fret—fill holes with wood filler and sand it smooth. Patience is key to a beautiful finish!
| Common Mistakes | How to Fix Them |
|---|---|
| Nailing too close to the edge | Use longer nails to secure ends properly. |
| Pushing too hard | Let the nailer do the work—gentle pressure is your friend! |
| Missing the stud | Use a stud finder for correct placement. |
With these tips, you’ll nail it (pun intended) every time!
Maintenance and Care for Your Finish Nailer
Outline routine maintenance practices to extend the life of the tool.. Discuss troubleshooting common issues that may arise during use..
To keep your finish nailer running smoothly, follow a few simple steps. Regular cleaning is a must. Remove dust and debris after each use. Check the air filters often and replace them if they look dirty. Lubricate moving parts as recommended in the manual. This helps prevent wear and tear.
If you run into common problems, here’s how to fix them:
- Nailer jams: Clear any stuck nails gently.
- Slow firing: Check the air pressure and adjust if needed.
- Inconsistent power: Inspect the battery or air compressor.
Following these tips can make your tool last much longer!
What are common issues with a finish nailer?
Common issues include jams, slow firing, or inconsistent power. Regular checks and simple fixes can solve these problems.
Conclusion
In conclusion, choosing the best finish nailer for crown molding helps you work efficiently. Look for features like a lightweight design and adjustable depth settings. Brands like DeWalt, Bostitch, and Makita are good options. Remember to practice safety and read reviews before buying. For more tips on tools, keep exploring! Your next home project will be easier with the right nailer.
FAQs
What Features Should I Look For In A Finish Nailer Specifically For Installing Crown Molding?
When choosing a finish nailer for crown molding, look for a few key features. First, pick one that is lightweight and easy to hold. This helps you work longer without getting tired. Next, choose a nailer that shoots small nails, usually 15-gauge or 16-gauge. This keeps your crown molding from splitting. Lastly, a nailer with adjustable depth lets you set how deep the nails go, so your work looks neat.
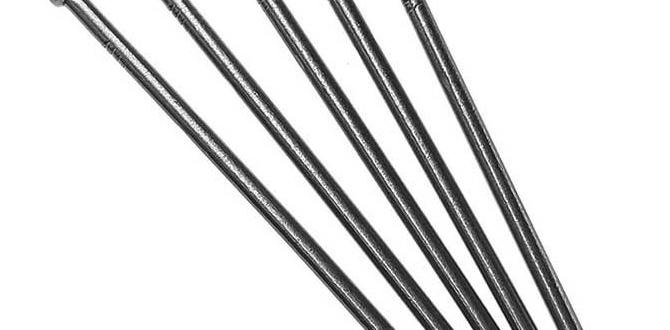
What Is The Recommended Nail Size For Crown Molding When Using A Finish Nailer?
For crown molding, you should use 1.5-inch or 2-inch finish nails. These nails are strong enough to hold the molding securely. Make sure to space the nails about 16 inches apart. This will help keep everything in place nicely.
Should I Choose A Pneumatic Finish Nailer Or A Cordless Finish Nailer For Crown Molding Projects?
For crown molding projects, a cordless finish nailer is a great choice. It’s easy to use and doesn’t need a hose. You can move around freely without tripping. This makes it perfect for tight spots. Plus, you won’t need an air compressor, which is a big machine that powers some nailers.
How Do I Determine The Proper Nail Spacing When Using A Finish Nailer For Crown Molding?
To find the right nail spacing, start by placing nails about 16 inches apart. This distance helps hold the crown molding tightly. You can also add nails near the ends and corners for extra support. Always make sure the nails go into the wall and not just the molding. Finally, check your work to ensure everything looks nice and is secure.
Are There Any Specific Brands Or Models Of Finish Nailers That Are Highly Recommended For Crown Molding Installation?
For crown molding, we often recommend brands like DeWalt, Ryobi, and Bostitch. These companies make finish nailers that are easy to use. You can choose models that are light and have good power. They help you put up crown molding neatly and quickly. Always check the user reviews to find the best one for you!