Quick Summary: Setting up an air compressor for nail gun beginners involves choosing the right compressor, understanding its parts, connecting hoses securely, adjusting pressure levels, and performing safety checks. This guide simplifies the process, ensuring you can power your nailer efficiently and safely for DIY projects.
Finally ready to ditch the manual labor and power up your projects with an air compressor and nail gun? It’s a fantastic step towards tackling woodworking tasks with more speed and less sweat. But if you’re new to air compressors, the setup process can seem a bit daunting. Where do you even start? What do all those dials mean? Fear not! I’m here to walk you through every step, making sure your air compressor setup is smooth sailing. We’ll cover everything from choosing the right gear to ensuring safe operation, so you can get to the fun part: building and creating!
Table of Contents
Why Your Air Compressor Setup Matters
Getting your air compressor set up correctly isn’t just about making it work; it’s about making it work well and safely. A well-configured compressor means your nail gun will perform at its best, driving nails consistently without jamming or under-driving. It also plays a huge role in the longevity of your tools. Over-pressurizing can damage your nailer, while under-pressurizing leads to frustrating performance. Plus, a proper setup helps prevent common issues like air leaks, ensuring you’re not wasting energy and money.
Understanding Your Air Compressor: The Key Components
Before we dive into setup, let’s get familiar with the main parts of a typical air compressor. Knowing these will make the setup process much clearer:
- Tank: This is where the compressed air is stored. Larger tanks mean longer run times before the compressor motor needs to kick on again.
- Motor/Compressor pump: This is the engine that draws in air and compresses it. You’ll usually find electric motors on smaller, DIY-friendly units.
- Pressure Gauge(s): These dials show you the air pressure inside the tank and sometimes the pressure being delivered to the tool.
- Regulator: This crucial component lets you adjust the output pressure to suit your tools.
- Drain Valve: Located at the bottom of the tank, this is essential for releasing moisture that accumulates during operation.
- On/Off Switch: Pretty self-explanatory – this turns the compressor on and off.
- Safety Relief Valve: A vital safety feature that automatically releases excess pressure if the tank pressure gets too high.
- Air Outlet Port(s): Where you connect your air hose to draw compressed air for your tools.
Choosing the Right Air Compressor for Your Needs
The first step in setup is having the right equipment. For most DIYers and beginner woodworkers using nail guns, a portable electric compressor is a great choice. Here’s what to look for:
- CFM (Cubic Feet per Minute): This is the most critical spec! It tells you how much air the compressor can deliver. Check the CFM requirement for your nail gun (usually found in the tool’s manual). It’s generally recommended to have a compressor that delivers at least 1.5 times the CFM of your most air-hungry tool. For example, if your framing nailer requires 4 CFM at 90 PSI, look for a compressor that can deliver 6 CFM at 90 PSI.
- PSI (Pounds per Square Inch): Most nail guns operate between 70-120 PSI. Make sure your compressor can reach and maintain the required PSI for your tools.
- Tank Size: For nail guns, smaller tanks (1-6 gallons) are common and portable. Larger tanks (10+ gallons) provide longer run times but are less portable.
- Power Source: Most DIY compressors are electric (120V), readily plugging into standard household outlets.
For a good starting point for general woodworking and nailing tasks, a compressor with a tank size of around 3-6 gallons that can deliver at least 4 CFM at 90 PSI is often sufficient. You can find great options from brands like Porter-Cable, DeWalt, and Makita.
Gathering Your Essential Accessories
You’ll need a few more things besides the compressor and your nail gun:
- Air Hose: Look for a hose that is rated for the maximum PSI your compressor can produce and is compatible with the fittings on your compressor and nail gun. 25-foot hoses are standard, but longer ones might be needed depending on your workspace.
- Air Fittings/Couplers: These connect your air hose to the compressor and the nail gun. Common types are industrial (often red) or universal (often blue/brass). Ensure they match your hose and tool.
- Tachometer/Regulator (often built-in): If your compressor doesn’t have a built-in regulator and gauge for controlling output pressure, you’ll need one that attaches between the compressor and the hose.
- Air Tool Oil (if required): Some nail guns require a few drops of specialized oil before each use. Check your nail gun’s manual.
- Safety Glasses: Non-negotiable! Always protect your eyes.
- Ear Protection: Compressors can be loud.
Step-by-Step Air Compressor Setup Guide for Nail Guns
Ready to put it all together? Follow these simple steps:
Step 1: Placement and Power
First, find a good spot for your compressor. It needs to be on a stable, level surface. Ensure there’s good ventilation around it; compressors can get warm. Avoid placing it in a dusty or damp area, as this can affect its performance and lifespan. Plug the compressor into a suitable electrical outlet. For larger compressors, you might need a dedicated circuit.
Step 2: Connect the Air Hose
This is where you chain your components together.
- Attach Hose to Compressor: Locate the air outlet port on your compressor. Screw the appropriate male coupler fitting onto the end of your air hose. Make sure it’s hand-tight, and then give it just a slight snug with a wrench if needed, but don’t overtighten. Listen for any immediate air leaks once the compressor is turned on later.
- Attach Hose to Nail Gun: Connect the other end of the air hose to your nail gun. Most nail guns have a quick-connect female fitting. Push the male coupler from the hose firmly into the nail gun’s fitting until it clicks securely into place.
Step 3: Adjusting the Regulator (Crucial Step!)
This is one of the most important stages for safe and effective operation. Never skip this!
- Turn Regulator Knob Clockwise: Locate the regulator knob on your compressor (or inline if you have a separate one). It usually has an arrow indicating clockwise to increase pressure and counter-clockwise to decrease.
- Turn On Compressor: Switch on your air compressor. Let the tank fill up.
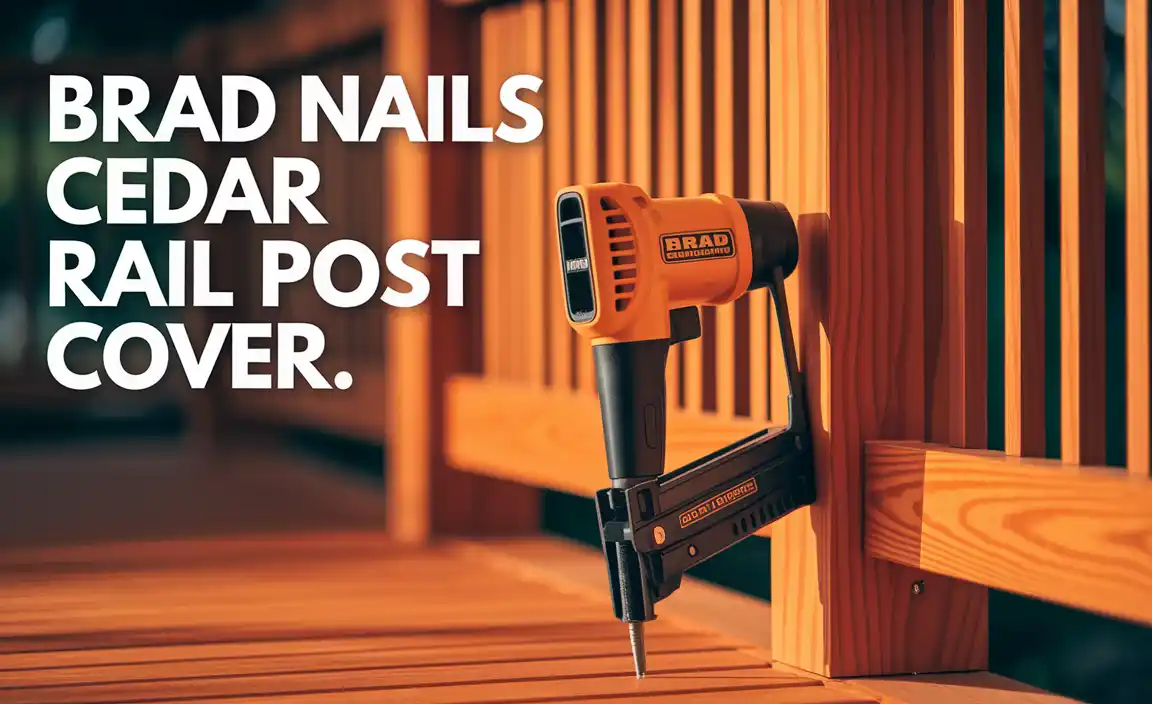
- Set Desired Pressure: Once the compressor reaches its maximum tank pressure and shuts off, or while it’s running, slowly turn the regulator knob clockwise until the output gauge shows the PSI recommended for your nail gun. Consult your nail gun’s manual for the exact PSI range. For instance, many framing nailers need 90-120 PSI, while brad nailers might use 60-100 PSI.
- Test the Output: Briefly squeeze the trigger on your nail gun (point it away from anyone and anything, and ensure there’s no air fitting connected to it for this initial test, or just pull the trigger while it’s connected and powered). You should hear a strong burst of air. If the nail gun feels weak or fails to drive nails properly, you might need to increase the pressure slightly (ensure you stay within the nail gun’s recommended range). If it seems too powerful or too loud, you might need to reduce it.
A common mistake is to connect a tool and just run it at tank pressure. Tools have specific operating pressure ranges to function correctly and safely. The regulator is your best friend here!
Step 4: Check for Leaks
Turn on the compressor and let it fill the tank. Listen carefully for any hissing sounds, which indicate air leaks. Check all your connections: where the hose meets the compressor, where the hose meets the nail gun, and any fittings. Tighten them gently if you find a leak. Sometimes, a bit of Teflon tape on threaded fittings can help seal minor leaks. If a leak persists, you may have a faulty fitting or hose.
Step 5: Drain the Tank (After Use)
This is critical for preventing rust and damage inside your tank. After you’re finished using the compressor and have disconnected all air hoses:
- Release Hose Pressure: Make sure there’s no pressure in the air hose.
- Open Drain Valve: Locate the drain valve at the bottom of the air tank. Slowly open it. You’ll hear air escaping, and water will drain out. This process removes condensation built up inside the tank. Keep it open until all the air and water are gone.
- Close Valve: Once empty, close the drain valve securely.
Doing this after every use significantly extends the life of your compressor.
Understanding Air Compressor Gauges and Pressure Ratings
Compressors come with different gauges, and understanding them is key:
| Gauge/Rating | What it Measures | Importance for Nail Guns | Typical DIY Compressor Units |
|---|---|---|---|
| Tank Pressure Gauge | Pressure inside the air tank. | Indicates how much air is stored. The compressor will shut off when this reaches its maximum limit. | Standard on all compressors. Usually marked in PSI. |
| Regulated Pressure Gauge (Output) | Pressure being delivered to the air hose and tool. | Crucial! This is what you set for your nail gun. Must be within the tool’s operating range. | Standard on compressors with built-in regulators. |
| CFM (Cubic Feet per Minute) | Volume of air flow the compressor can deliver at a specific pressure (e.g., 4 CFM @ 90 PSI). | Determines if the compressor can keep up with the air demand of your nail gun, especially during continuous use. Aim for a compressor that exceeds your tool’s requirement. | Listed on the compressor’s specification plate. Varies widely. Look for at least 4-5 CFM @ 90 PSI for general nailing. |
| Max Tank Pressure (PSI) | The highest safe pressure the tank can hold. | Ensures the compressor can build enough pressure to meet your tool’s needs. Most DIY compressors go up to 125-175 PSI in the tank. | Typically 125 PSI to 200 PSI. |
Always refer to your nail gun’s manual for its specific PSI requirements. Over-pressurizing can cause damage, and under-pressurizing leads to poor performance. Never set the regulator higher than your nail gun’s maximum recommended PSI.
Safety First: Essential Air Compressor Precautions
Safety is paramount when working with pressurized air. Compressed air can be dangerous if handled improperly. Here are some key safety tips:
- Wear Safety Glasses: Always, always, always wear safety glasses. Eyes are incredibly vulnerable to flying debris or sudden air bursts.
- Never Point the Air Hose at Anyone: Pressurized air can cause serious injury.
- Understand the Regulator: As mentioned, always adjust the regulator to the correct pressure for your tool.
- Regular Maintenance: Periodically check your compressor and hoses for wear and tear. Ensure the safety relief valve is functioning correctly. You can test this by gently pulling its ring; some air should escape.
- Keep Area Clear: Make sure your workspace is free of tripping hazards.
- Electrical Safety: Ensure your electrical connections are safe and the cords are not damaged.
- Proper Drainage: Don’t skip draining the tank! Moisture can lead to rust and tank failure over time. For more information on safe practices, the Occupational Safety and Health Administration (OSHA) provides excellent resources on compressed air safety.
Troubleshooting Common Air Compressor Issues
Even with a good setup, you might run into a hiccup. Here are some common problems and solutions:
- Nail Gun Not Firing:
- Check if the nail gun is properly connected to the air hose.
- Is there enough air pressure? Check the regulator gauge.
- Is the tank pressure low? The compressor might need to refill.
- Is there air in the hose? Make sure it’s not kinked.
- Check your nail gun’s manual for specific firing issues.
- Air Leaks:
- Listen for hissing sounds.
- Tighten connections at the compressor, hose, and tool.
- Check fittings for damage.
- Inspect the air hose for cracks or holes.
- A bit of soapy water sprayed on connections can reveal tiny leaks by creating bubbles.
- Compressor Not Building Pressure:
- Are there significant air leaks?
- Is the drain valve fully closed?
- Is the compressor motor running? If not, check power and thermal overload protection.
- The internal valve or check valve might be malfunctioning (this may require professional service).
- Water in the Air Line:
- This is normal to some extent, but excessive water means you need to drain the tank more frequently.
- Consider using an air dryer or moisture trap, especially if you’re painting or doing fine woodworking where moisture is detrimental.
Maintaining Your Air Compressor for Longevity
Proper setup is the first step; consistent maintenance is the key to a long-lasting compressor.
- Drain the Tank Daily: This is the most crucial maintenance task.
- Check Air Filters: Most compressors have an air intake filter that can get clogged with dust. Clean or replace it regularly according to the manufacturer’s instructions. A clogged filter restricts airflow and makes the compressor work harder.
- Lubricate Air Tools: Even if your compressor is oil-lubricated, your nail guns (if they require it) need oil in their air intake. This is often overlooked but is vital for tool longevity.
- Inspect Hoses and Cords: Regularly check for cracks, abrasions, or damage to your air hoses and electrical cords. Replace any damaged components immediately.
- Follow Manufacturer’s Schedule: Refer to your compressor’s manual for recommended service intervals for things like oil changes (for oil-lubed models) or checking belts.
Keeping your equipment in good shape means it’ll be ready when you are, saving you from unexpected downtime on your projects.
Frequently Asked Questions (FAQ) about Air Compressor Setup
Q1: Do I need a special outlet for my air compressor?
For most smaller, portable compressors (under 1.5 HP), a standard 120V household outlet is sufficient. However, always check the compressor’s power requirements. Larger compressors might require a 240V outlet or a dedicated circuit to prevent tripping breakers.
Q2: How do I know what PSI to set my air compressor to?
Always check the manual that came with your nail gun. It will specify the recommended operating pressure range in PSI. For example, a framing nailer might need 90-120 PSI, while a brad nailer might operate effectively at 70-100 PSI. Set your regulator within this range.
Q3: What’s the difference between CFM and PSI, and which is more important for nail guns?
PSI (Pounds per Square Inch) measures the force or pressure of the air. CFM (Cubic Feet per Minute) measures the volume or amount of air delivered over time. For nail guns, both are important, but CFM is often the determining factor for whether your compressor can keep up. Ensure your compressor’s CFM output (at the required PSI) meets or exceeds your nail gun’s demand.
Q4: How often should I drain the air compressor tank?
It’s best practice to drain your air compressor tank after every use. This removes accumulated moisture, preventing internal rust and corrosion, which can damage the tank and contaminate your air supply.
Q5: Can I use any air hose with any air compressor?
Not necessarily. You need to ensure the air hose is rated for the maximum PSI your