Imagine cutting through thick wood like butter. Sounds amazing, right? That’s the magic of a 2 wheel bandsaw. Setting up a bandsaw can feel a bit tricky at first. But don’t worry! It’s easier than you think.
Many people wonder where to start. Do you have the right tools? Have you chosen the best location for it? These questions pop up for beginners and experienced users alike. A simple guide can help make this process smoother.
There’s a fun fact: bandsaws have been around for over 200 years! They have changed a lot since then. Today, they offer powerful features that help you work faster and better.
In this article, we’ll dive into the best practices for a 2 wheel bandsaw setup. You will learn tips that make your task easier and safer. So, are you ready to unleash your creativity and start cutting? Let’s get started!
Table of Contents
Ultimate Guide To 2 Wheel Bandsaw Setup For Precision Cutting
Setting up a 2 wheel bandsaw can seem tricky at first. Did you know that proper alignment can make a huge difference? First, ensure the wheels are tight and balanced. This prevents any wobbling while cutting. Next, adjust the blade tension for smooth operation. A sharp blade is key for clean cuts too. Did you ever think about how vital blade guides are? They help keep the blade steady and straight. With these tips, you’ll be slicing through wood like a pro!
Understanding the 2 Wheel Bandsaw
Explanation of components and functionality. Benefits of using a 2 wheel bandsaw over other types.
A 2 wheel bandsaw has two main wheels that help in cutting various materials smoothly. The upper wheel drives the saw blade while the lower wheel acts as support. With this setup, you can make precise cuts easily. One of the biggest benefits? It’s faster and more accurate than other saw types! Plus, it’s lighter on your wallet when it comes to energy use. Think of it as giving your lumber a quick haircut instead of a full shave!
| Component | Function |
|---|---|
| Upper Wheel | Drives the blade for cutting |
| Lower Wheel | Supports the blade and provides tension |
| Blade | Does the actual cutting of materials |
| Table | Holds the material in place while cutting |
Selecting the Right Bandsaw for Your Needs
Key features to consider when choosing a bandsaw. Recommendations for various user skill levels.
Choosing a bandsaw can be exciting! It’s important to look for key features that suit your needs. Consider the size of the blade, the power of the motor, and the cutting capacity. A table with good stability helps too.
If you are just starting, look for a simple model with user-friendly controls. For skilled users, advanced options with more features may be better.
- Blade size: Affects cutting ability.
- Motor power: More power means better performance.
- Adjustability: Easy settings for better results.
Think about how you will use the bandsaw. Always choose the right one so you can work safely and easily!
What should beginners look for in a bandsaw?
Beginners should focus on ease of use and safety features.
What about advanced users?
Advanced users may prefer bandsaws with more power and adjustable settings.
Step-by-Step Setup Process
Detailed instructions for assembling the bandsaw. Tips for securing the saw in its designated workspace.
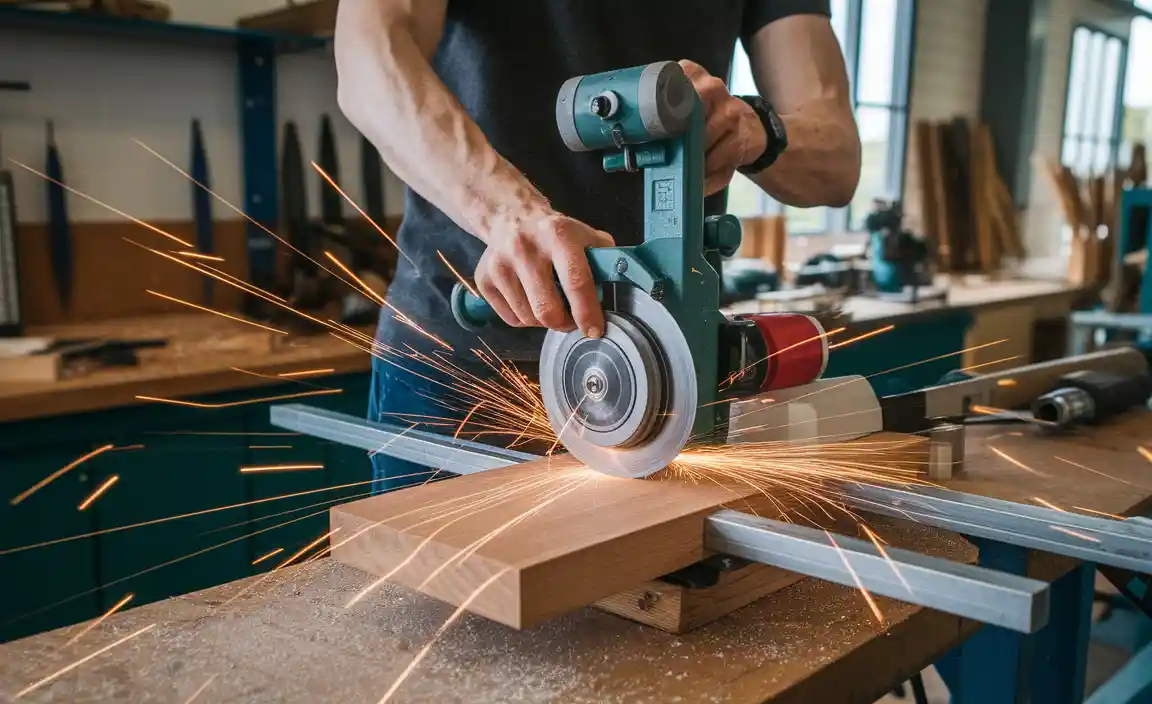
To set up your bandsaw, start with the base. Place it on a stable surface like a workbench. Make sure the area is clean and free of clutter. Next, attach the saw to the base using screws. Tighten them securely. After that, connect the power cord to the nearest outlet. Always check for safety features like blade guards. Finally, test the saw by turning it on and making a small cut. Every step matters for a perfect setup!
What is the best way to secure a bandsaw in its workspace?
To secure your bandsaw, make sure to use bolts and brackets to anchor it down. This prevents it from moving while you work. You can also put rubber mats under it. They help reduce vibrations.
Here are some tips:
- Keep a clear area around the bandsaw.
- Make sure the surface is level.
- Check for any loose parts before using.
Blade Selection and Installation
How to choose the correct blade for different tasks. Stepbystep guide to blade installation and tensioning.
Selecting the right blade is key for a 2 wheel bandsaw. Different tasks need different blades. For cutting wood, choose a blade with fewer teeth for quick cuts. For metals, select finer teeth for smoother edges. Installing the blade involves a few simple steps:
- Turn off the saw and unplug it.
- Remove the old blade and clean the wheels.
- Place the new blade carefully on both wheels.
- Tighten the tension until the blade feels firm.
- Spin the wheels to check for proper alignment.
Finally, plug in the saw and test it. This proper setup ensures clean cuts and helps your saw last longer.
What is the best blade for cutting wood?
The best blade for cutting wood is one with fewer teeth. This helps create faster cuts.
How do I know if the blade is installed correctly?
Check if the blade runs smoothly on the wheels. If it wobbles, it’s not installed right.
Alignment and Calibration Techniques
Importance of proper alignment for accurate cuts. Methods for calibrating guides, tracking, and tension.
Getting your bandsaw aligned is like putting on your shoes before running. If they’re misaligned, expect a bumpy ride! Proper alignment is key for smooth, accurate cuts. It prevents blades from wandering off track. Use simple methods to calibrate your guides and track the blade. Check tension too! Think of your saw as an orchestra; if one instrument is out of tune, the whole song sounds off!
| Technique | Description |
|---|---|
| Guide Calibration | Ensure guides are parallel to the blade for better support. |
| Tracking Adjustment | Adjust blade tracking to keep it centered on the wheels. |
| Tension Regulation | Adjust tension to avoid blade wobble. A tight blade sings! |
Safety Precautions during Bandsaw Setup
Essential safety gear and precautions to follow. Common hazards and how to avoid them during setup.
Before using a bandsaw, safety should be your best buddy. Start with the right safety gear to avoid mishaps. Wear goggles to protect your eyes and ear protection to keep those eardrums safe. Don’t forget durable gloves to prevent cuts! Common hazards include flying debris or sudden blade stops. Keep your workspace clean to avoid tripping. Avoid loose clothing that could get caught. Remember, a little planning today can save you from a big headache tomorrow!
| Safety Gear | Purpose |
|---|---|
| Goggles | Protect eyes from debris |
| Earmuffs | Protect hearing |
| Gloves | Prevent cuts and scrapes |
Maintenance Tips for Longevity
Routine maintenance practices to keep your bandsaw in top shape. Signs that indicate the need for replacement parts or repairs.
To keep your bandsaw running well, follow simple maintenance tips. Regularly check the blade for damage. Clean dust and debris from the machine. Oil moving parts to prevent rust. Always tighten loose bolts. These habits help your bandsaw last longer.
Watch for signs that need repairs. If the blade vibrates or cuts unevenly, it may need replacement. Strange noises can also indicate problems. Don’t ignore these signs!
How do I know when to replace parts?
Look for these signs:
- Blade chips or cracks
- High vibration during use
- Loud unusual noises
Common Issues and Troubleshooting
Listing frequent setup issues and their solutions. Recommended troubleshooting steps for users.
Setting up a 2 wheel bandsaw can be tricky. Here are some common issues and how to fix them:
- Blade misalignment: Check the blade tension and guides.
- Noisy operation: Lubricate moving parts and check for loose components.
- Inconsistent cuts: Ensure the blade is sharp and the table is level.
- Frequent blade breaks: Inspect guides for wear and adjust tension properly.
For troubleshooting, follow these steps:
- Turn off the saw before adjusting.
- Consult the instruction manual.
- Keep a clean work area to avoid distractions.
- Ask for help if unsure.
What should I do if my bandsaw blade keeps breaking?
Check the blade tension and make sure it is not too tight. Also, ensure that the guides are set correctly to avoid unnecessary stress on the blade.
Best Practices for Optimal Performance
Techniques for achieving clean and precise cuts. Advice on how to maximize efficiency during operation.
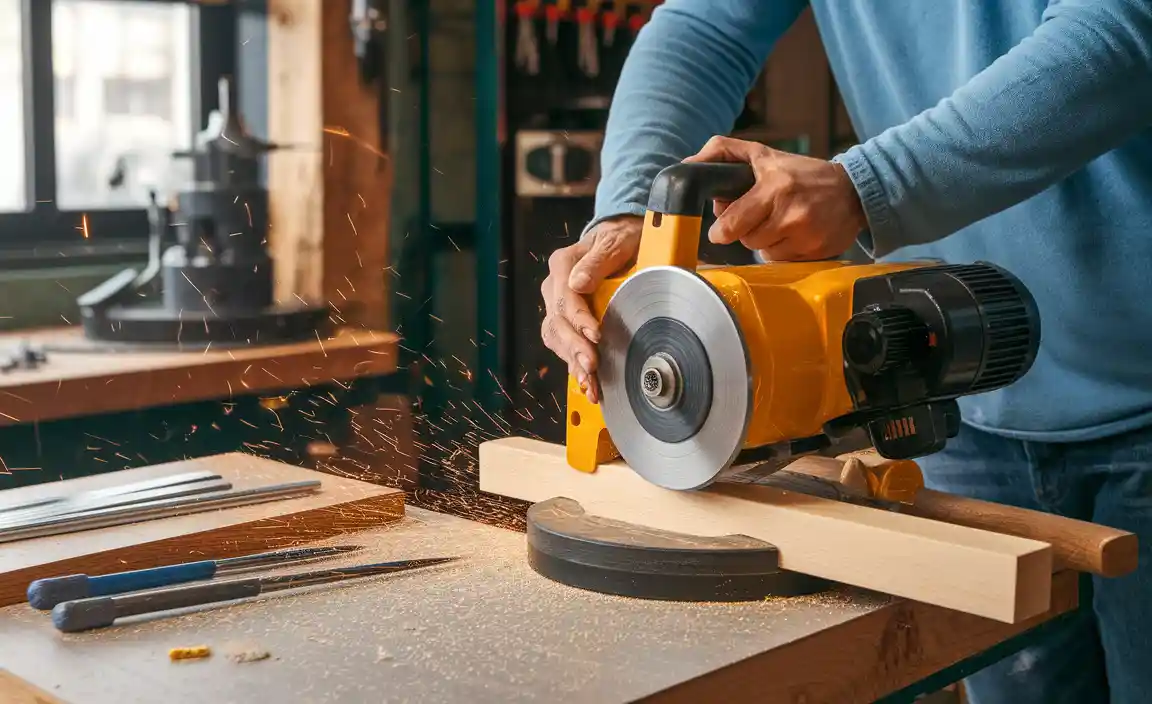
To make the most of your 2 wheel bandsaw, focus on these handy tips. First, always use a sharp blade; a dull one is like trying to cut steak with a butter knife—no fun! Keep your material steady and use guides for clean and precise cuts. Also, set the correct speed for the job—too fast, and you’ll be in trouble. And don’t forget to measure twice, cut once; it saves time and wood!
| Tip | Benefit |
|---|---|
| Use Sharp Blades | Ensures clean cuts |
| Steady Material | Prevents drifting |
| Correct Speed | Maximizes efficiency |
| Measure Twice | Saves materials |
Conclusion
In summary, a 2 wheel bandsaw setup is essential for smooth cutting. We learned that proper tension, blade selection, and alignment are key to success. Make sure you regularly check these settings for the best performance. Explore your bandsaw’s manual for more tips, and practice with different materials to improve your skills. Happy cutting!
FAQs
Sure! Here Are Five Related Questions On The Topic Of 2 Wheel Bandsaw Setup:
Sure! Here are five questions about setting up a 2 wheel bandsaw: 1. What is a bandsaw? A bandsaw is a machine that cuts wood or metal using a long, sharp blade. 2. How do I choose the right blade? Pick a blade that matches what you want to cut. Thicker wood needs a wider blade. 3. How do I change the blade? First, turn off the machine and unplug it. Then, loosen the tension and remove the old blade. 4. How do I adjust the tension? You can adjust the tension using a knob or lever. Make it tight enough to stay straight when you cut. 5. How do I know if my bandsaw is set up correctly? Make sure the blade tracks in the middle of the wheels. Test it by cutting a small piece to check.
Sure! Just let me know the question you’d like me to answer.
What Are The Key Components Of A 2 Wheel Bandsaw That Need To Be Checked Before Setup?
Before we set up a 2-wheel bandsaw, we should check a few important parts. First, look at the wheels to ensure they spin freely and are not damaged. Next, check the blade to confirm it is tight and not broken. We also need to make sure the guides, which help support the blade, are in the right position. Finally, inspect the power switch to ensure it works properly.
How Do You Properly Align The Blades On A 2 Wheel Bandsaw To Ensure Optimal Cutting Performance?
To align the blades on a 2-wheel bandsaw, first, make sure the saw is off. Next, check that the blades are tight and straight. You can do this by looking at the tension and making sure the blade runs in the center of the wheels. Adjust the guides on the sides of the blade so they fit snugly but don’t touch the blade. Finally, turn on the saw and make small cuts to see if it cuts smoothly.
What Safety Precautions Should Be Taken During The Setup And Operation Of A 2 Wheel Bandsaw?
When using a 2-wheel bandsaw, always wear safety goggles to protect your eyes. Keep your hands away from the blade while cutting. Make sure the saw is on a stable table to prevent it from tipping over. Never talk to someone else while using the saw, as it can distract you. Finally, always unplug the saw when changing the blade or making adjustments.
How Can You Adjust The Tension Of The Bandsaw Blade For Different Types Of Cutting Tasks?
You can adjust the tension of the bandsaw blade by turning a knob or using a lever. For thinner materials, you can keep the tension low. For thicker pieces, make the tension tighter. This helps the blade cut better. Always check the manual for your bandsaw to see how to do it safely.
What Common Issues Might Arise During The Setup Of A 2 Wheel Bandsaw, And How Can They Be Resolved?
When setting up a 2 wheel bandsaw, you might face some common problems. First, the blade can sometimes bend or misalign. You should check the blade tightness and realign it if needed. Second, the wheels may not be properly adjusted. We can fix this by turning the knobs until they feel right. Lastly, the tension might be too loose or too tight. You can adjust the tension by following the instructions in the manual.
Resource:
-
Basic Woodcutting Safety Tips: https://www.familyhandyman.com/project/table-saw-safety-tips/
-
How to Choose the Right Saw Blade: https://www.popularmechanics.com/home/tools/a34153867/saw-blade-types/
-
Proper Power Tool Maintenance: https://www.bobvila.com/articles/tool-maintenance/
-
Setting Up a Safe Woodworking Space: https://www.woodmagazine.com/workshop/workshop-plans/essential-layouts-for-a-small-shop