Woodworking projects with material cost breakdown help you plan, budget, and execute DIY builds successfully. This guide breaks down typical costs for popular beginner projects like shelves, birdhouses, and small tables, empowering you to start building with confidence and stay on budget.
Hey there, fellow makers! Jack Shaffer here, your go-to guy for all things woodworking at Nailerguy. Ever looked at a cool woodworking project online and thought, “That looks fun, but how much will it really cost me?” It’s a super common question, especially when you’re just starting out. Sticking to a budget is key to enjoying this rewarding hobby without breaking the bank. That’s why I’ve put together this guide, all about woodworking projects with material cost breakdown. We’ll dive into what you can expect to spend on materials for some fantastic beginner-friendly projects. Ready to make your next build a budget-friendly success? Let’s get to it!
Table of Contents
Why Material Cost Breakdown Matters for Beginners
Understanding the cost of materials before you start a woodworking project is like having a map before you go on a road trip. It helps you plan your route, pack the right supplies, and avoid unexpected detours (or expensive surprises!). For beginners, this can be the difference between a delightful first build and a frustrating one. Knowing the approximate cost helps you:
Budget Effectively: You can set aside the right amount of money, avoiding the dreaded “oops, I ran out of cash” moment.
Choose the Right Project: If your budget is tight, you’ll know which projects are achievable. If you have more room, you can aim a little higher.
Shop Smart: You can compare prices between different lumberyards or hardware stores and look for sales.
Manage Expectations: You’ll have a realistic idea of the investment involved.
Avoid Waste: Knowing precisely what you need can prevent buying more than you’ll use.
We’ll focus on accessible projects that don’t require a massive lumber yard haul, perfect for getting your feet wet in the world of DIY woodworking.
Popular Beginner Woodworking Projects & Their Material Costs
Let’s jump into some specific projects. Remember, lumber prices can vary quite a bit depending on your location, the type of wood you choose, and current market conditions. These are estimates to give you a general idea.
1. Simple Wooden Shelves
Floating shelves or basic wall-mounted utilitarian shelves are fantastic first projects. They’re practical, relatively quick to build, and use minimal materials.
Project Idea: A set of two 3-foot long, 8-inch deep, 1-inch thick wooden shelves.
Materials Needed:
Lumber for shelves
Wood screws
Wood glue (optional, but recommended for strength)
Sandpaper
Wood finish (stain, paint, or clear coat)
Mounting hardware (screws, anchors, or shelf brackets)
Material Cost Breakdown (Estimated):
| Material | Quantity | Estimated Cost per Unit | Estimated Total Cost | Notes |
| :—————- | :————————— | :———————- | :——————- | :———————————————- |
| Pine Board (1×8) | (2) 6-foot lengths | $15 – $25 | $30 – $50 | Common and budget-friendly softwood. |
| Wood Screws | 1.5-inch, ~50 count box | $5 – $10 | $5 – $10 | For attaching brackets or for shelf assembly. |
| Wood Glue | 4 oz bottle | $4 – $8 | $4 – $8 | A little goes a long way! |
| Sandpaper | Assorted grits (e.g., 120, 220) | $5 – $8 (pack) | $5 – $8 | You likely have some of this already. |
| Wood Finish | Quart (stain/paint/clear) | $10 – $20 | $10 – $20 | Prices vary widely based on type and brand. |
| Mounting Hardware | Screws/anchors or brackets | $5 – $15 | $5 – $15 | Depends on wall type and bracket style. |
| Total Estimated Cost | | | $59 – $111 | Cost can be lower if you already own finish/glue/screws. |
Key Takeaway: Pine is your friend for budget-friendly shelves. Look for boards with minimal knots. For a more upscale look, consider hardwoods like poplar or oak, but be prepared for a higher material cost.
2. Basic Wooden Birdhouse
A small birdhouse is a charming project that can be completed with very little wood scraps. It’s a great way to practice cutting, assembly, and finishing.
Project Idea: A simple, classic A-frame birdhouse.
Materials Needed:
Scrap wood or a single 1×6 board (about 4 feet long)
Small wood screws or finishing nails
Wood glue
Sandpaper
Weather-resistant finish (optional, for longevity)
Material Cost Breakdown (Estimated):
| Material | Quantity | Estimated Cost per Unit | Estimated Total Cost | Notes |
| :———————– | :—————————– | :———————- | :——————- | :——————————————————————– |
| Pine or Cedar Board (1×6) | 1 x 4-foot length | $6 – $12 | $6 – $12 | Cedar is naturally more weather-resistant. |
| Wood Screws/Finishing Nails | ~1-inch, ~25 count | $3 – $6 | $3 – $6 | You won’t need many for a small birdhouse. |
| Wood Glue | Small bottle or leftover | $2 – $5 | $2 – $5 | For added strength at the joints. |
| Sandpaper | Assorted grits (small pack) | $3 – $5 | $3 – $5 | For smoothing edges. |
| Weather-resistant Finish | Small can/sample size (optional) | $5 – $10 | $5 – $10 | For outdoor use, consider a non-toxic, water-based sealant. |
| Total Estimated Cost | | | $19 – $38 | Excellent budget project, especially if you have scrap wood handy. |
Tip: Using cedar is a great choice for outdoor projects like birdhouses because it’s naturally resistant to rot and insects. You can often find small offcuts or “sample” sizes of cedar at lumber yards for a reasonable price.
3. Simple Wooden Crate or Box
These are incredibly versatile! You can use them for storage, as planters, or even as decorative items. They require basic cuts and straightforward assembly.
Project Idea: A small storage crate, about 12 inches long x 8 inches wide x 6 inches deep.
Materials Needed:
Lumber for sides and ends (e.g., 1×6 boards)
Lumber for base (e.g., 1×4 boards or plywood scraps)
Wood screws or nails
Wood glue
Sandpaper
Wood finish (optional)
Material Cost Breakdown (Estimated):
| Material | Quantity | Estimated Cost per Unit | Estimated Total Cost | Notes |
| :————— | :————————- | :———————- | :——————- | :——————————————————————– |
| Pine Board (1×6) | (2) 6-foot lengths | $15 – $25 | $30 – $50 | For the sides of the crate. |
| Pine Board (1×4) | (1) 6-foot length | $8 – $15 | $8 – $15 | For the base and/or reinforcement. |
| Wood Screws | 1.25-inch, ~50 count box | $5 – $10 | $5 – $10 | Strong enough for box construction. |
| Wood Glue | 4 oz bottle | $4 – $8 | $4 – $8 | Helps make the box super sturdy. |
| Sandpaper | Assorted grits (pack) | $5 – $8 | $5 – $8 | For a smooth finish. |
| Wood Finish | Quart (optional) | $10 – $20 | $10 – $20 | To protect and beautify. |
| Total Estimated Cost | | | $62 – $111 | Can be reduced if you have scrap wood for the base. |
Pro-Tip: If you have some plywood scraps laying around from another project, those can often be cut to size for the bottom of crates or boxes, saving you a bit on lumber costs.
4. Simple Coffee Table or Side Table
This steps it up slightly but is still very achievable for beginners. Think simple designs with straight cuts.
Project Idea: A basic, sturdy side table (around 20 inches high with a 15-inch square top).
Materials Needed:
Lumber for table top (e.g., 1×6 boards or a piece of plywood)
Lumber for legs (e.g., 2x2s or 4×4 scraps)
Lumber for apron/support (e.g., 1×4 boards)
Wood screws
Wood glue
Sandpaper
Wood finish
Material Cost Breakdown (Estimated):
| Material | Quantity | Estimated Cost per Unit | Estimated Total Cost | Notes |
| :—————————– | :————————————– | :———————- | :——————- | :————————————————————————- |
| Pine Board (1×6) for Top | (3) 6-foot lengths | $15 – $25 | $45 – $75 | For a 15″ square top, you’ll need about 3 boards cut to 15″. |
| Pine Board (2×2) for Legs | (1) 8-foot length (cut into 4 x 20″) | $8 – $15 | $8 – $15 | Or use thicker 4×4 scraps for a more robust look. |
| Pine Board (1×4) for Apron | (1) 8-foot length | $8 – $15 | $8 – $15 | Provides stability and a place to attach legs. |
| Wood Screws | 2-inch, ~50 count box | $6 – $12 | $6 – $12 | For assembling the top, apron, and attaching legs. |
| Wood Glue | 8 oz bottle | $6 – $10 | $6 – $10 | Crucial for strong joints on furniture. |
| Sandpaper | Assorted grits (pack) | $5 – $8 | $5 – $8 | Essential for a smooth, professional finish. |
| Wood Finish | Quart or Pint | $15 – $30 | $15 – $30 | Can be stain, polyurethane, or paint. |
| Total Estimated Cost | | | $93 – $165 | Hardwood options like oak will significantly increase this cost. |
Cost-Saving Tip for Tables: Look for “project panels” or pre-glued panels at your local big box store. These can sometimes be a more cost-effective way to get a solid, wide surface for tabletops compared to joining many smaller boards.
Factors Influencing Material Costs
Several things can make your material costs go up or down. Knowing these will help you plan even better:
Type of Wood:
Softwoods: Pine, fir, spruce are generally the most affordable. They are easier to cut and work with, making them fantastic for beginners.
Hardwoods: Oak, maple, cherry, walnut are more expensive but also harder, more durable, and have beautiful grain patterns. For beginner projects, sticking to softwoods is often the most budget-friendly approach.
Grades of Lumber: Lumber comes in different grades (e.g., number 1, number 2). Higher grades are typically free of knots and defects, making them more expensive. For many beginner projects, a lower grade with a few small knots is perfectly fine and much cheaper.
Lumber Source: Big box home improvement stores, local lumber yards, and specialty hardwood dealers will all have different pricing. Local lumber yards sometimes offer better prices on raw lumber, and they often have a wider selection. It’s worth checking a few places.
Project Size & Complexity: Naturally, a larger project or one requiring more intricate cuts and joinery will demand more materials and potentially more waste.
Your Existing Tool & Supply Inventory: Do you already have wood glue, screws, sandpaper, or finishes from previous projects? Using what you have on hand can significantly reduce the cost of a new project. A good tool setup also means less material waste. For example, accurate cuts with a good miter saw mean less sanding and fewer errors.
Sales and Discounts: Keep an eye out for sales at lumber suppliers or hardware stores.
Essential Tools for Beginners (and Their Cost Impact)
While this guide focuses on material costs, it’s worth noting that the tools you use can indirectly affect your material spending. Having the right tools for the job can reduce errors, which means less wasted wood!
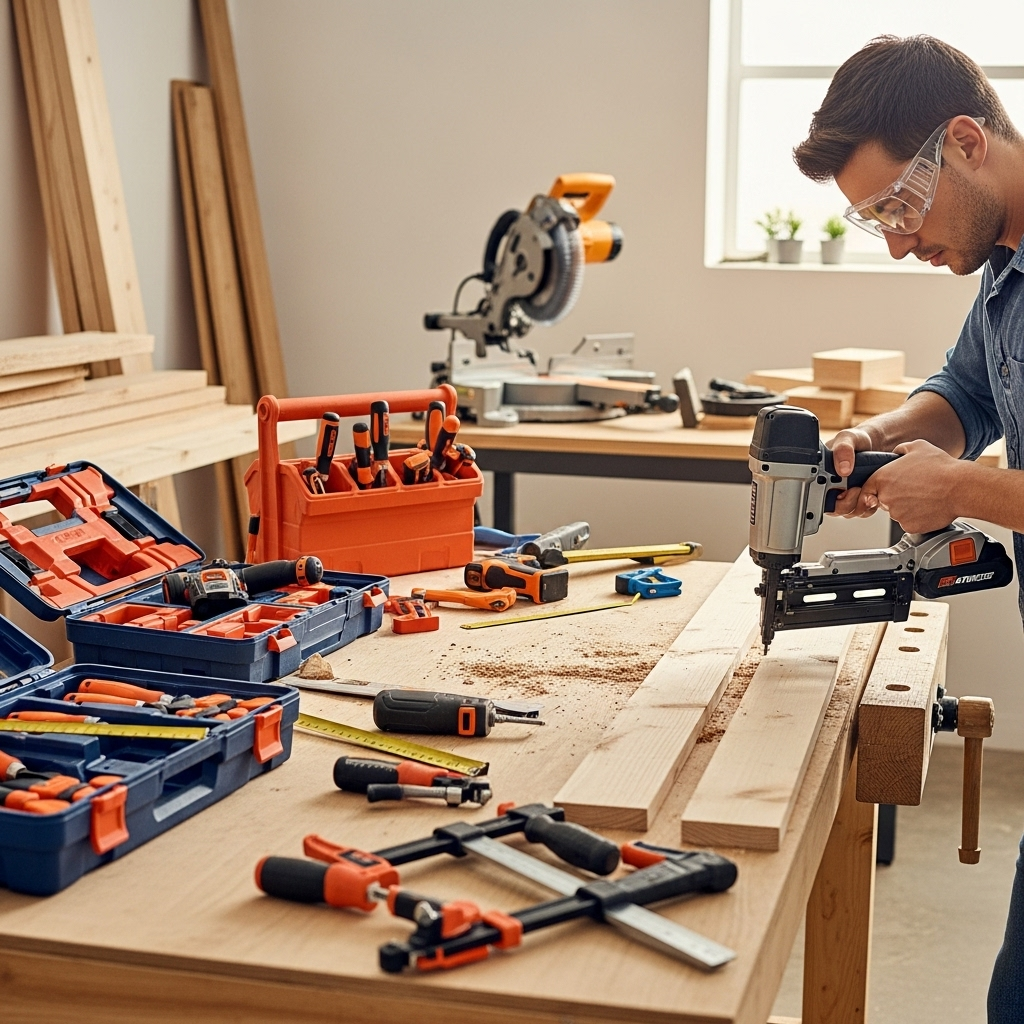
Here are a few staple tools that are good for beginners and help manage material costs by ensuring accuracy:
Measuring Tape: Essential for any project. (Cost: $5 – $20)
Pencil: For marking cuts. (Cost: $1 – $5 for a pack)
Safety Glasses: Non-negotiable for eye protection. (Cost: $5 – $15)
Hand Saw or Miter Saw: A miter saw (even a small, inexpensive one) can make precise crosscuts and angles for clean joints, reducing mistakes and material waste. A good hand saw and miter box are a budget alternative. (Cost: Hand Saw + Miter Box: $30 – $60; Basic Miter Saw: $100 – $200)
Drill/Driver: For pre-drilling holes and driving screws. Essential for preventing wood splitting. (Cost: $50 – $150 for a good cordless model)
Clamps: To hold pieces together while glue dries or while you fasten them. (Cost: $10 – $30 per clamp, depending on type and size)
Sandpaper & Sanding Block: For finishing. (Cost: $5 – $10 for a pack)
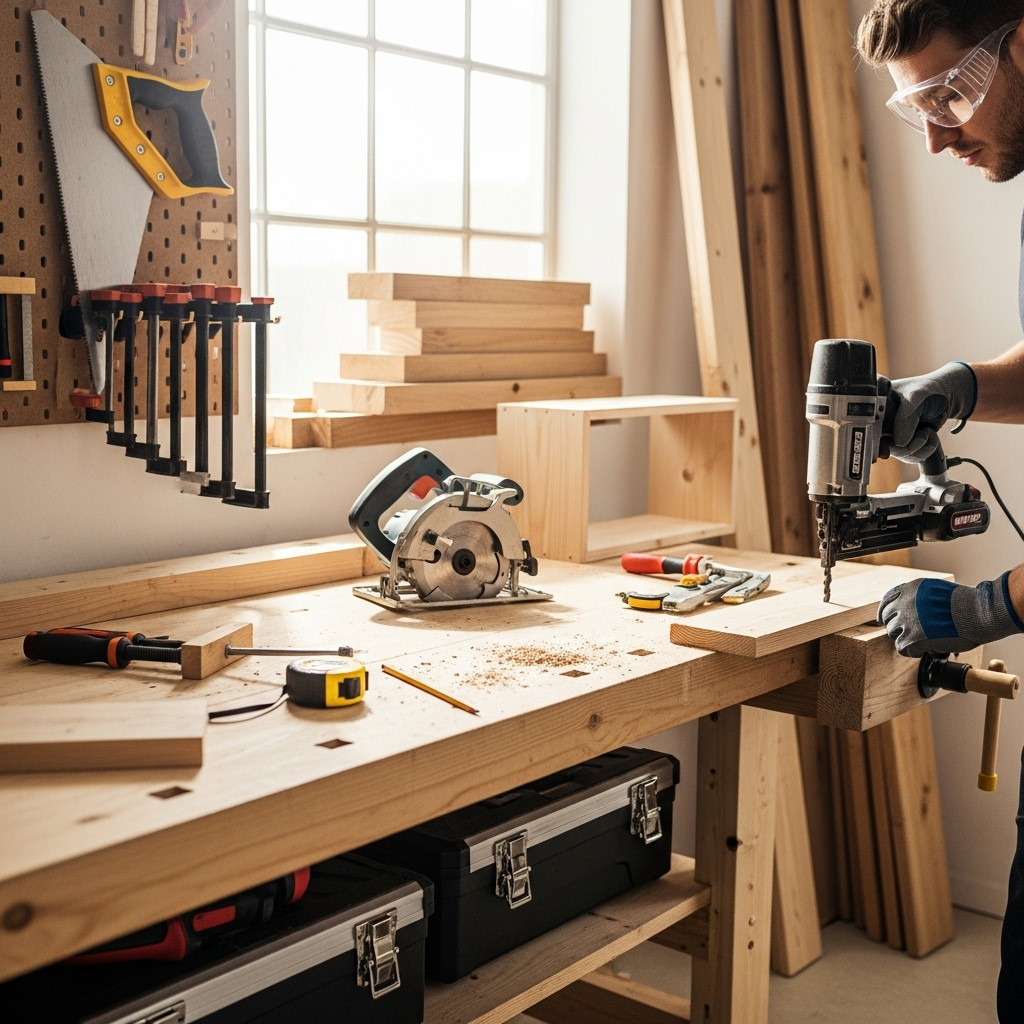
Consider: When you’re starting out, you don’t need the most expensive tools. Affordable options from reputable brands will get the job done and help you make clean, accurate cuts that save on material. For instance, a good brad nailer like many from DEWALT, Senco, or Bostitch can help assemble simple projects quickly and securely, often using less glue and creating less stress on the wood than screws might in delicate pieces. You can find entry-level brad nailers for around $70-$100.
Beyond Lumber: Other Material Costs to Consider
Don’t forget the “little” things that add up!
Fasteners: Screws, nails, and staples. Always buy a little more than you think you’ll need.
Adhesives: Wood glue is a must for strong joints in furniture.
Finishes: Paint, stain, polyurethane, wax, or oil. These protect your work and make it look fantastic.
Consumables: Sandpaper, drill bits, saw blades. These wear out and need replacing.
When budgeting, it’s a good idea to add a small buffer (say, 10-15%) to your estimated material cost to cover these extras and any small mistakes.
Where to Buy Wood for DIY Projects
Choosing where you buy your lumber can impact your budget significantly.
Big Box Home Improvement Stores (e.g., Home Depot, Lowe’s):
Pros: Convenient, readily available, offer services like cutting (sometimes for a fee). Good for standard dimensional lumber like pine and fir.
Cons: Selection can be limited, prices might be higher than dedicated lumber yards. Lumber quality can sometimes be inconsistent.
Local Lumber Yards:
Pros: Often better prices on raw lumber, wider variety of wood species and grades, more knowledgeable staff. You might find usable offcuts or “shop grade” lumber at a discount.
Cons: Can be intimidating for beginners, may not offer extensive cutting services.
Reclaimed Wood Sources:
Pros: Eco-friendly, unique character, can be very cost-effective if you find good sources (e.g., demolition sites with permission, pallets – be cautious with treated wood, though!).
Cons: Requires extra preparation (nail removal, cleaning, milling), unpredictable availability and quality.
Online Retailers:
Pros: Incredible selection, sometimes good prices, convenient delivery.
Cons: Shipping wood can be very expensive due to weight and length. Best for smaller quantities or specialty woods.
Recommendation for Beginners: Start with your local big box store for ease of access and familiarity. As you get more experienced, explore local lumber yards for better selection and value. Always inspect your lumber before buying – look for straight boards with minimal twists, cups, or bows.
Keeping Your Costs Down: Smart Woodworking Tips
Here are some practical ways to stretch your woodworking budget:
Design with Standard Lumber Sizes in Mind: If your project can be built using full 8-foot or 10-foot boards without awkward cuts or a lot of waste, your costs will naturally be lower.
Embrace Scrap Wood: Don’t throw away usable offcuts! Save them for smaller projects, jigs, practice pieces, or cleating. Many birdhouses, small boxes, or shop helpers can be made from leftovers.
Master Your Cuts: Accurate cuts mean less sanding and less frustration. Use a sharp blade on your saw, measure twice, and cut once. A dull blade can tear wood, leading to a poor finish and possibly a ruined piece that needs redoing. For a guide on saw safety and blade care, resources like those from OSHA (.gov) offer invaluable safety information.
Learn Basic Joinery: Simple, strong joints like butt joints reinforced with glue and screws or nails are perfect for beginners. As you advance, you might learn techniques like dados or half-laps, which can save on fasteners but require more precise joinery.
Buy in Bulk When Sensible: If you know you’ll be doing several projects requiring, say, 1.25-inch wood screws, buying a larger box or even a pound of screws will often be cheaper per screw than buying tiny blister packs.
Consider Plywood: For larger flat surfaces like tabletops, cabinet backs, or drawer bottoms, good quality plywood can be more stable and cost-effective than solid wood boards.
Future Projects & Budgeting
As you gain experience, you’ll tackle more ambitious projects. Always plan ahead:
1. Find Plans: Get detailed plans for your desired project.
2. List All Materials: Carefully list every piece of wood, screw, fastener, and finish needed.
3. Estimate Costs: Research prices at your preferred lumber suppliers.
4. Add a Buffer: Include an extra 10-15% for unexpected needs or mistakes.
5. Check Your Inventory: See what you already have.
This structured approach will help you confidently embark on larger builds like simple benches, step stools, or even basic bookcases.
Conclusion
Taking on woodworking projects is incredibly rewarding, and understanding the material cost breakdown is a vital skill for any beginner. By choosing smart projects, selecting the right wood, shopping wisely, and planning your material needs, you can successfully complete beautiful and functional pieces without overspending. Remember, woodworking is a journey, and each project is a learning opportunity. Start small, build your confidence and your toolkit, and most importantly, have fun creating! Happy building!
Frequently Asked Questions (FAQ)
Q1: What’s the cheapest type of wood for beginner woodworking projects?
Pine is generally the most affordable and readily available wood for beginners. It’s soft, easy to cut, and takes finishes well, making it perfect for practicing new skills without a high material investment.
Q2: How much should I add to my material cost estimate for mistakes?
It’s wise to add a buffer of about 10-15% to your total estimated material cost. This covers any minor errors, the need for extra fasteners, or unforeseen small material needs.
Q3: Is it cheaper to buy lumber from a big box store or a local lumber yard?
This can vary. Big box stores offer convenience, but local lumber yards often have better prices on raw lumber and a wider selection. It’s a good idea to compare prices for the specific wood you need at both types of stores in your area.
Q4: What’s the most important tool to have for accurate cuts to avoid material waste?
While a measuring tape and pencil are essential, a good miter saw (even an entry-level one) or a precise hand saw with a miter box will significantly improve the accuracy of your cuts, which directly reduces material waste and the need for rework.
Q5: Should I buy wood online for my projects?
Buying wood online can be an option for specialty woods or smaller quantities. However, for typical project lumber, the shipping costs due to weight and length can often make it more expensive than buying locally.
Q6: How can I make my woodworking projects look more professional without spending a lot on fancy finishes?
Focus on meticulous preparation: sand your pieces thoroughly with progressively finer grits of sandpaper until they are silky smooth. Wipe away all dust, and apply a clear coat (like polyurethane) or a simple stain. A good sanding job is often the biggest factor in a professional-looking finish.
Q7: What are some common materials that add up unexpectedly in a project’s cost?
Beyond the main lumber, watch out for the cost of fasteners (screws, nails), wood glue, sandpaper, saw blades, and finishes. Buying slightly larger quantities of frequently used items like screws or sandpaper can often be more cost-effective in the long run.