Quick Summary:
Looking for woodworking projects for a shoe rack? This guide offers simple, beginner-friendly designs you can build with basic tools. Discover proven plans to organize your entryway, from classic shelves to clever tiered solutions. Get ready to declutter your space with confidence!
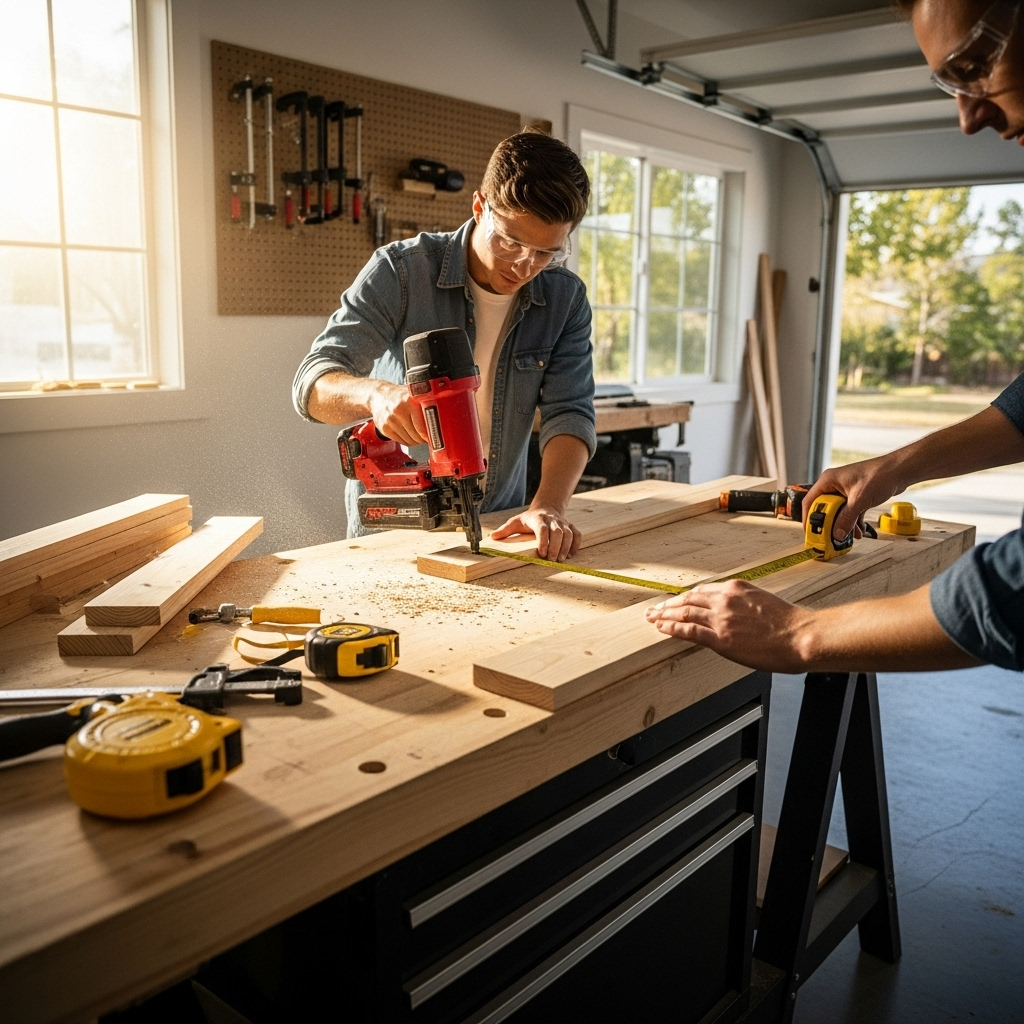
Hey everyone, Jack Shaffer here from Nailerguy! Ever walk into your home and get greeted by a mountain of shoes? It’s a common problem, right? Shoes scattered everywhere can make an entryway feel cluttered and chaotic. But what if I told you a well-designed shoe rack could solve this? Building your own isn’t as daunting as it sounds, especially with the right woodworking projects. We’ll walk through some proven designs that are perfect for beginners and use simple tools you likely already have. Let’s get those shoes tidied up and add a personal touch to your home!
Table of Contents
Why Build Your Own Wood Shoe Rack?
Building a shoe rack yourself is incredibly rewarding, and it’s easier than you might think! You get to choose the exact size and style to fit your space perfectly. Plus, you can customize it to match your home’s decor. Think about it – no more squeezing into tight entryways or tripping over boots. A DIY shoe rack brings neatness and a touch of handmade charm. It’s also a fantastic way to learn some basic woodworking skills and get comfortable using tools like saws and sanders. We’ll explore some designs that require minimal complexity but deliver maximum impact on organization and style.
Choosing Wood for Your Shoe Rack Project
When you’re picking out wood for your shoe rack project, think about durability, look, and budget. For beginners, common choices like pine or poplar are great. They’re easy to work with and don’t break the bank. Pine is lightweight and takes stain well, making it easy to finish. Poplar is a bit harder and less prone to dents, but can be painted if you prefer a solid color. For a sturdier feel or a more upscale look, you could consider oak or maple. These hardwoods are tougher but also cost more and can be a little trickier to cut and sand. Remember, the number of shoes your rack will hold and how much weight each shelf needs to support are important factors when choosing your wood species.
Pros and Cons of Common Wood Types
Here’s a quick look at some popular wood choices:
| Wood Type | Pros | Cons | Beginner Friendliness |
|---|---|---|---|
| Pine | Affordable, lightweight, easy to cut and nail, takes stain well. | Softer, easily dented or scratched. | High |
| Poplar | Durable for its price, smooth surface, takes paint well, good for staining too. | Can have greenish streaks (usually painted over), not as common in all areas. | High |
| Oak | Very strong and durable, attractive grain, holds up well to wear and tear. | More expensive, harder to work with (cutting, sanding), heavier. | Medium |
| Plywood (Birch or Pine veneer) | Stable, less likely to warp, available in large sheets, good for shelves. | Edges can be rough and may need covering (edge banding), can be heavy. | Medium |
Essential Tools for Your Woodworking Project
Don’t worry if you don’t have a whole workshop! Most of these beginner-friendly shoe rack projects can be tackled with a few essential tools. Having the right tools makes the job safer and much smoother.
Here’s a list of what you’ll likely need:
- Measuring Tape: For accurate cuts and assembly.
- Pencil: To mark your measurements.
- Safety Glasses: Always protect your eyes! Never skip this step.
- Hand Saw or Circular Saw: For cutting your wood to size. A circular saw will be faster and easier for straight cuts. (If you’re looking to upgrade, check out our guide on finding the best circular saw for DIY projects!)
- Drill/Driver: For pre-drilling holes and driving screws. Cordless ones are super convenient.
- Drill Bits: For making pilot holes and countersinking.
- Screws: Wood screws are perfect for assembling your shoe rack.
- Sandpaper (various grits, e.g., 120 and 220): To smooth out rough edges and surfaces.
- Clamps: To hold pieces together while you assemble them.
- Wood Glue: Adds extra strength to your joints.
- Optional: Jigsaw (for curved cuts), Miter Saw (for precise angle cuts), Nail Gun (like a brad nailer, which can speed up assembly).
Beginner-Friendly Shoe Rack Designs
Let’s dive into some project ideas that are perfect for kicking off your woodworking journey. These designs focus on simplicity, functionality, and can be adapted to your specific needs. We’ll cover everything from a basic tiered rack to a more compact wall-mounted option.
Design 1: The Simple Tiered Shoe Rack
This is a classic for a reason! It’s straightforward to build and holds a good number of shoes. You’ll essentially be making a small, open-sided bookshelf. This design is great because it allows air to circulate, which helps prevent shoe odors!
Materials Needed:
- Lumber (e.g., 1×10 or 1×12 boards for shelves)
- Lumber (e.g., 2x2s or 1x2s for the side supports)
- Wood screws (1.5″ to 2″ length)
- Wood glue
- Sandpaper
- Optional: Wood finish (stain, paint, or sealant)
Approximate Dimensions (Can be adjusted):
- Height: 24 inches
- Width: 30 inches
- Depth: 12 inches
- Number of Shelves: 2 (creating 3 levels for shoes)
Step-by-Step Guide:
- Measure and Cut: Cut your shelf boards to your desired width. For a 30-inch wide rack, you might cut two shelves at 30 inches. Cut your side support boards. You’ll need two for each side, so four pieces total. For a 24-inch tall rack with shelves spaced nicely, you could cut two supports to 24 inches and two to slightly less, to account for the shelf thickness, or simply make all four the same height and position your shelves accordingly. For example, cut two 1×10 shelves to 30″ long. Cut four 2×2 supports to 24″ long.
- Mark Shelf Placement: On the inside of your two 24-inch side supports, mark where each shelf will sit. Measure up from the bottom. For a two-shelf unit, you might mark at 2 inches from the bottom (for the first shelf) and then at 10 inches from the bottom (for the second shelf). Ensure your marks are level.
- Attach Shelves: Apply wood glue to the ends of one shelf. Align it with your marks on one set of side supports. Pre-drill pilot holes through the side supports into the shelf ends. Drive screws to secure the shelf. Repeat for the other end of the shelf with the second side support.
- Add the Second Shelf: Flip the assembly over. Apply glue to the ends of your second shelf and repeat the process, aligning it with your second set of marks. Make sure everything is square.
- Add Top and Bottom Supports (Optional but Recommended): You can add small pieces of 1×2 or 2×2 across the top and bottom front/back for extra stability and a finished look. Cut these to the width of your rack (30 inches in our example). Attach with glue and screws.
- Sand: Once the glue is dry, sand all surfaces and edges until smooth. Start with a lower grit (like 120) to remove any rough spots, then finish with a higher grit (like 220) for a silky smooth feel. Pay extra attention to edges where shoes might snag.
- Finish: Apply your chosen wood stain, paint, or sealant according to the product instructions. This protects the wood and gives your rack a polished look.
Tips for Success:
- Use a speed square to ensure your shelves are perfectly perpendicular to the sides.
- Countersink your screws so they sit slightly below the surface of the wood. You can then fill these holes with wood filler for a seamless look.
- Don’t overtighten screws, as this can split the wood, especially in softer woods like pine.
Design 2: The Space-Saving Wall-Mounted Shoe Rack
If floor space is tight, a wall-mounted shoe rack is a brilliant solution. This design keeps shoes neatly off the floor and out of the way. It’s perfect for smaller entryways or closets.
Materials Needed:
- Lumber (e.g., 1×6 or 1×8 boards for shelves)
- Lumber (e.g., 1×3 or 1×4 boards for brackets/supports)
- Wood screws (appropriate lengths for attaching shelves to brackets and brackets to wall)
- Wood glue
- Sandpaper
- Mounting hardware (heavy-duty screws or anchors suitable for your wall type)
- Optional: Wood finish
Approximate Dimensions (Can be adjusted):
- Shelf Length: 30 inches
- Shelf Depth: 6-8 inches
- Number of Shelves: 2-3
- Bracket Height: 5-7 inches
Step-by-Step Guide:
- Cut Shelves: Cut your 1×6 or 1×8 boards to your desired shelf length (e.g., 30 inches).
- Cut Brackets: Cut your 1×3 or 1×4 boards. You’ll need pairs of pieces to form triangular brackets. For each bracket, cut one piece for the horizontal shelf support (e.g., 6 inches) and one piece for the vertical wall support (e.g., 7 inches). The diagonal piece connects them. For a simple bracket, cut a 6” piece and a 7” piece. Then, cut a third piece that will span the distance between the ends of those two, forming a triangle. Alternatively, you can make simple L-shaped brackets by cutting two pieces and attaching them at a 90-degree angle.
- Assemble Brackets: If making triangular brackets, attach the two primary pieces at a 90-degree angle using wood glue and screws. Then, cut a third piece to fit diagonally between the ends of the first two, creating a strong triangular support. If making L-brackets, simply attach a horizontal piece to a vertical piece at a right angle with glue and screws. You’ll need at least two brackets per shelf, positioned towards the ends.
- Attach Shelves to Brackets: Place a shelf board on top of the horizontal part of a bracket. Align the bracket so it’s set back slightly from the front edge of the shelf. Apply wood glue, pre-drill, and screw the shelf securely to the bracket. Repeat for all brackets and shelves.
- Find Wall Studs: This is crucial for support! Use a stud finder to locate the studs in the wall where you plan to hang your shoe rack. Mark their locations.
- Mount the Rack: Hold the assembled shoe rack against the wall, ensuring it’s level. Mark the positions of the vertical parts of your brackets onto the wall, aligning them with the stud marks. Pre-drill pilot holes into the studs. Using the appropriate heavy-duty screws for your wall type (into studs is best), securely fasten the rack to the wall. If you can’t hit studs for every bracket, use heavy-duty wall anchors designed for the weight.
- Sand and Finish: Once securely mounted, sand any rough edges and apply your desired finish.
Tips for Success:
- Ensure your brackets are sturdy. They will bear most of the weight.
- Consider the height of your shoes. If you have boots, you’ll need more vertical space between shelves or a deeper shelf.
- When mounting, it’s often easier to drill holes in the vertical bracket pieces first, then the wall studs, before attaching.
- For a cleaner look, route out a small recess in the vertical bracket piece for the screw head to sit in, or use decorative screws.
Design 3: The Vertical Shoe Tower
This design makes the most of vertical space. It’s like a narrow bookshelf that stands tall, perfect for squeezing into tight corners. It’s great for maximizing storage in a small footprint.
Materials Needed:
- Lumber (e.g., 1×10 or 1×12 boards for shelves)
- Lumber (e.g., 1×4 or 1×6 boards for the outer frame/sides)
- Wood screws (1.5″ to 2″)
- Wood glue
- Sandpaper
- Optional: Back panel (thin plywood or hardboard), Wood finish
Approximate Dimensions (Can be adjusted):
- Height: 60 inches
- Width: 12 inches
- Depth: 12 inches
- Number of Shelves: 5-6
Step-by-Step Guide:
- Cut Main Boards: Cut two 1×4 (or 1×6) boards to your desired height (e.g., 60 inches). These will be your main vertical sides.
- Cut Shelves: Cut your 1×10 (or 1×12) boards to your desired shelf width (e.g., 12 inches). You’ll need 5-6 of these.
- Mark Shelf Positions: On the inner faces of the two long vertical side boards, mark the positions for your shelves. You’ll need to space them evenly. For a 60-inch height and 6 shelves, you’d have about 8-10 inches of vertical space between shelves. Ensure your marks are level and across both side pieces.
- Attach Shelves: Apply wood glue to the ends of one shelf. Align it with your marks on the side pieces. Pre-drill pilot holes through the side pieces into the shelf ends. Drive screws to secure. Repeat for all shelves, making sure each shelf is parallel and level.
- Add Stabilizing Pieces (Optional but Recommended): To add rigidity, you can cut smaller pieces of 1×4 to fit across the back, connecting the two vertical side boards at the top and bottom, and perhaps in the middle. Attach these with glue and screws. A thin plywood back panel also greatly increases stability and prevents shoes from dropping through.
- Sand: Thoroughly sand all surfaces, paying attention to edges and corners.
- Finish: Apply your chosen stain, paint, or sealant.
Tips for Success:
- A helper can make holding the tall side pieces steady much easier.
- If you add a back panel, attaching it with small finishing nails or brad nails can be quick and effective.
- Consider slightly angling the shelves downwards towards the back (just a degree or two) so shoes might naturally sit a bit further back on the shelf.
Adding a Personal Touch to Your Shoe Rack
Once you’ve built the basic structure of your shoe rack, you can really make it your own! Personalization makes your project unique and adds character to your entryway.
- Paint or Stain: Choose colors that complement your home decor. A distressed finish or a two-tone look can be very stylish.
- Hardware: Add decorative knobs or pulls to the sides, especially if you’ve added any small drawers or compartments.
- Custom Shelving: Instead of just flat shelves, you could add small rails on the front of each shelf to prevent shoes from sliding off.
- Built-in Storage: For a more advanced project, incorporate a small cabinet or drawer at the bottom for storing shoe care items like brushes and polish.
- Engraving or Stencils: Add a name, a house number, or a simple decorative pattern using stencils or wood burning tools.
Maintaining Your Wood Shoe Rack
Keeping your DIY shoe rack looking great and functioning well is simple. Regular care will ensure it lasts for years.
Cleaning:
- For dust, a soft dry cloth or a feather duster is usually sufficient.
- For dirt or scuffs, use a slightly damp cloth. Avoid soaking the wood.
- For tougher spots, a mild soap and water solution on a damp cloth can be used, but always wipe dry afterward.
Protection:
- If you applied a finish like polyurethane or varnish, it offers good protection.
- If you only used stain or paint, consider touching up any areas that get scratched or worn.
- Periodically check that all screws are still tight.
For advice on wood finishing and protection, the Woodworking Network has some excellent resources that go into great detail.
Frequently Asked Questions (FAQ)
Here are some common questions beginner woodworkers have about making shoe racks:
Q1: What’s the easiest wood to work with for a shoe rack?
A1: Pine is generally considered the easiest for beginners. It’s soft enough to cut and drill easily, lightweight, and forgiving of minor mistakes. Poplar is also a great choice, offering a bit more durability.
Q2: How many shoes can a typical DIY shoe rack hold?
A2: This depends heavily on the size and number of shelves. A simple 30-inch wide, two-tier rack can comfortably hold 6-10 pairs of adult shoes, depending on their size and how they’re placed.
Q3: Do I really need to pre-drill holes?
A3: Yes, pre-drilling pilot holes is highly recommended, especially with screws. It prevents the wood from splitting and makes it much easier to drive the screws in straight. The pilot hole should be slightly smaller than the screw’s diameter.
Q4: How sturdy should my shoe rack be?
A4: It needs to be sturdy enough to hold the weight of multiple pairs of shoes without wobbling or collapsing. Using wood glue in addition to screws significantly increases joint strength. For wall-mounted units, anchoring into wall studs is essential for safety and stability. The National Association of Home Builders provides great insights on proper wall framing and stud location.
Q5: What if my cuts aren’t perfectly straight?
A5: Don’t sweat it! For beginner projects, slight imperfections are normal. Sanding will smooth out minor unevenness. If a cut is significantly off, you might be able to trim a little more off other pieces to make them match. A little wood filler can hide small gaps.
Q6: Can I make a shoe rack with just basic hand tools?
A6: Absolutely. While power tools make things faster, a good hand saw, measuring tape, pencil, drill (hand-crank or electric), screwdriver, sandpaper, and clamps are all you need for many designs. Patience is key!
Q7: How do I make sure my shoe rack is level?
A7: A spirit level is your best friend here! Use it when marking shelf positions on the side supports and especially when attaching the rack to the wall.
Conclusion
See? Building a woodworking project for a shoe rack is totally achievable, even for beginners! You now have a solid understanding of different designs, the materials and tools you might need, and how to put it all together step-by-step. From the simple tiered rack to the space-saving wall unit, these proven designs are ready for you to tackle. Remember to always prioritize safety, measure twice, and embrace the process. A well-organized entryway is just a few cuts and screws away. So grab your tools, pick a design, and get ready to build something functional and fantastic for your home!