Ready to transform rough wood into stunning furniture? This guide walks you through woodworking projects with live edge slabs, from selecting the perfect piece to finishing your unique creation. Learn essential tips and gain the confidence to bring beautiful, natural-edge furniture into your home.
Hey there, fellow makers! Jack Shaffer here. Ever seen those gorgeous tables or shelves with the natural, wavy edge of the tree still intact? That’s the magic of live edge slabs, and they’re a fantastic way to add a touch of rustic, organic beauty to your home. But let’s be honest, they can look a bit intimidating when you’re just starting out. Where do you even begin with a slab that looks like it just came out of the forest?
Don’t worry, I’ve got your back! We’re going to break down everything you need to know about working with live edge slabs, making it simple and achievable, even if you’re new to this. We’ll cover how to pick a great slab, the tools you’ll need, how to prepare it, and some amazing project ideas that will have your friends asking, “Did you make that?!”
Let’s get ready to turn a piece of nature’s art into a functional masterpiece. Stick around as we dive into the exciting world of woodworking projects with live edge slabs!
Table of Contents
Your First Live Edge Slab Project: Essential Tips for Beginners
Working with live edge slabs is an incredible way to bring the beauty of the outdoors into your living space. Unlike perfectly milled lumber, live edge slabs retain the natural shape of the tree’s outer edge, often featuring irregular contours, knots, and bark. This unique character makes each piece a one-of-a-kind work of art. For beginners, the key is to start simple, understand the material, and choose a project that highlights the slab’s natural beauty without requiring overly complex joinery or finishing techniques.
The allure of live edge is its raw, untamed aesthetic. It’s about embracing imperfection and letting the wood tell its story. This can be anything from a simple, elegant coffee table to a striking wall shelf, a unique bench, or even a decorative wall hanging. The goal is to complement the wood’s natural form, not fight it.
Before you even think about picking up a tool, let’s talk about choosing the right slab. This is arguably the most crucial step, as the quality and suitability of your slab will dictate the success of your project.
Choosing Your Live Edge Slab
Finding the perfect live edge slab is like finding a hidden gem. The beauty of these slabs lies in their natural character, so look for pieces that speak to you. Consider the species of wood, its grain pattern, color, and any unique features like knots, burls, or insect trail evidence.
Where to Find Live Edge Slabs
- Local Sawmills and Lumberyards: This is often the best place to start. Many sawmills cut their own logs into slabs and have a wide selection. You can often see the slabs in person, check for defects, and get expert advice.
- Woodworking Supply Stores: Some larger woodworking stores carry live edge slabs, especially those catering to hobbyists and furniture makers.
- Online Retailers: Websites specializing in hardwood lumber often have a good selection. Be sure to examine photos carefully and understand their shipping policies, as these slabs can be heavy and awkward.
- Arborists and Tree Removal Services: If you’re lucky, you might find local arborists willing to sell you wood from trees they’ve removed, especially if they have their own milling equipment.
- Flea Markets and Architectural Salvage Yards: Sometimes, you can uncover forgotten treasures at these locations, though they may require more work to clean and prepare.
What to Look For (and Avoid)
When inspecting a slab, keep these points in mind:
- Wood Species: Different woods have different characteristics. Walnut, maple, oak, and cherry are popular choices for their beauty and workability. Consider the color, grain, and hardness.
- Moisture Content: This is CRITICAL. Wood needs to be properly dried to prevent warping, cracking, and movement later. Kiln-dried is generally best. Air-dried slabs can take months or even years to dry sufficiently. A moisture meter is your best friend here. Aim for 8-12% moisture content for indoor furniture. You can find more detailed information on wood moisture content at US Forest Products Laboratory.
- Warping and Twisting: Lay a straight edge across the slab. Significant bowing or twisting will make it difficult to work with and may require extensive flattening. Minor cupping is often manageable.
- Cracks and Splits: Small, hairline cracks can often be stabilized or filled. Large, gaping cracks might compromise the structural integrity of your project. Decide if you can live with them or if they’ll need reinforcement.
- Insect Damage: Look for signs of active wood-boring insects (wormholes, frass). While some historical insect activity can add character, active infestations are a no-go.
- Bark: Decide if you want to keep the bark. Some people love the rustic look, while others prefer to remove it for a cleaner aesthetic. If keeping the bark, ensure it’s firmly attached or be prepared to re-glue it.
- Size and Proportions: Does the slab fit your intended project space? Consider its thickness, length, and width. A thicker slab might be more stable and visually impactful.
Don’t be afraid to ask questions at the mill or seller! They can tell you about the wood’s origin and how it was dried.
Essential Tools for Live Edge Slab Projects
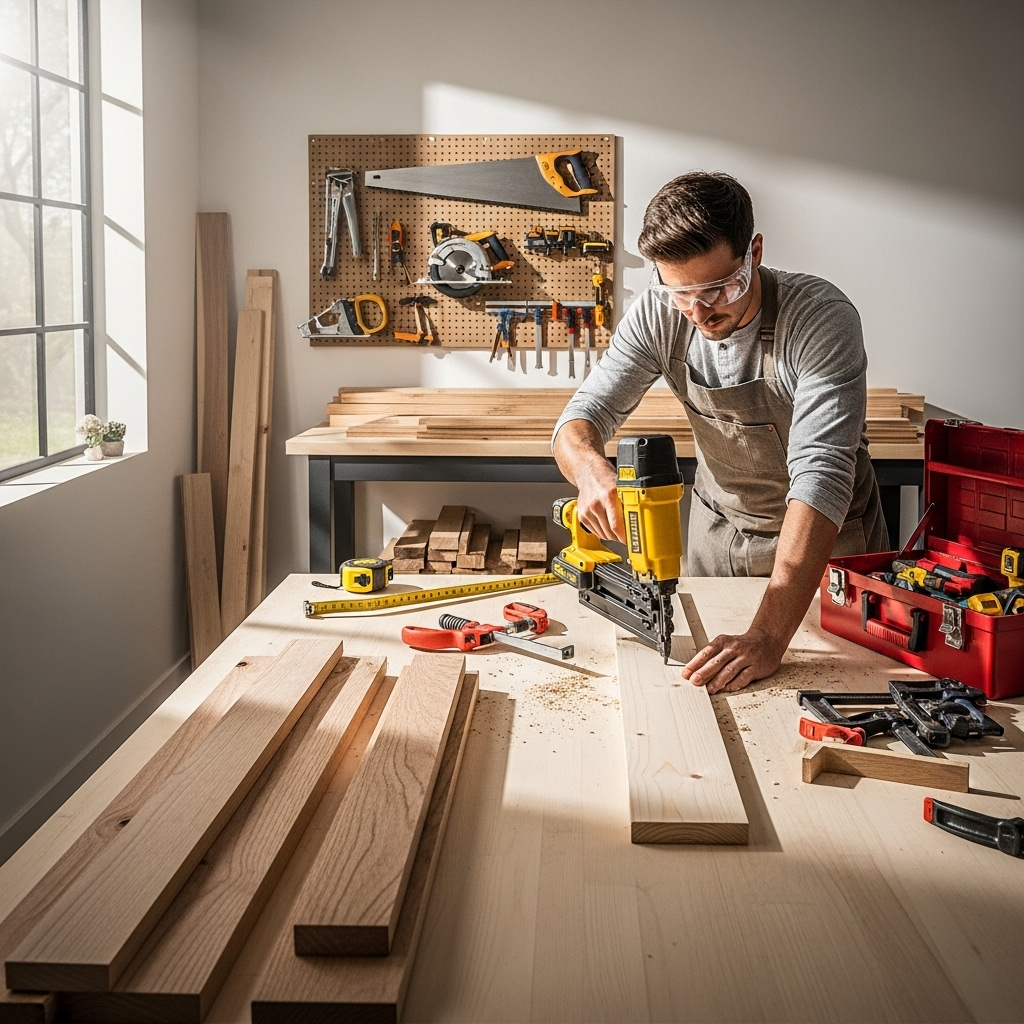
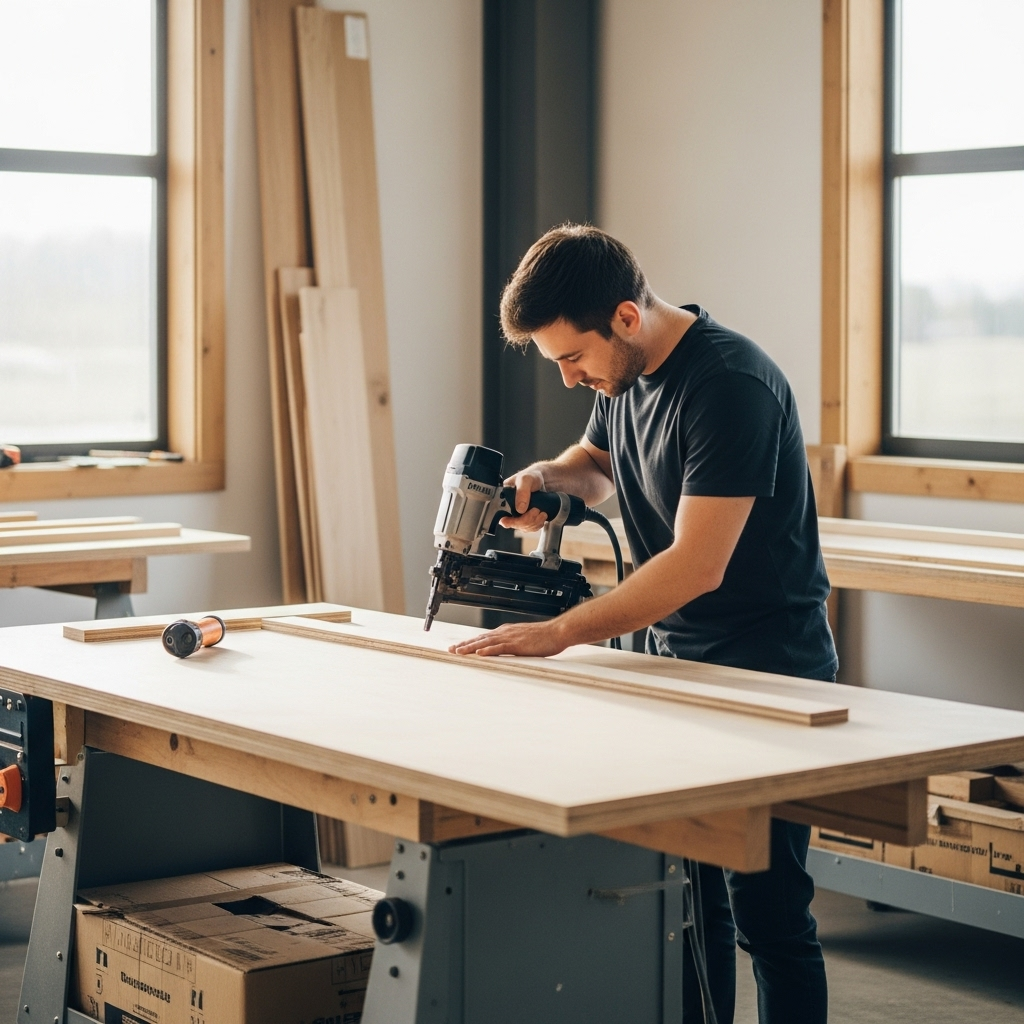
You don’t need a professional workshop to tackle live edge projects, but a few key tools will make the process much smoother and safer. As an expert with nailers, I know having the right tool for the job saves time and frustration.
Must-Have Tools
- Safety Gear: This is non-negotiable. Safety glasses, hearing protection, a dust mask or respirator, and sturdy work gloves are a must.
- Measuring Tape: For accurate measurements.
- Sander: An orbital sander is essential for flattening and smoothing. For larger slabs, a belt sander can be invaluable for initial flattening, though it’s a more aggressive tool and requires a careful hand.
- Clamps: You’ll need a good assortment of clamps – pipe clamps, bar clamps, and smaller F-clamps – for holding pieces together during assembly or for flattening.
- Hand Planer or Power Planer (Optional but Recommended): For flattening larger surfaces if your sander isn’t enough. A hand plane offers great control, while a power planer is faster but can be aggressive.
- Router with Flattening Jig: This is a game-changer for flattening the top and bottom surfaces of a slab. You can build a simple jig yourself or purchase one. This is one of the most effective ways to get a perfectly flat surface.
- Chisels: For cleaning up edges, removing bark remnants, or shaping small areas.
- Screwdrivers/Drill: For assembly.
- Wood Finish: Your choice of oil, polyurethane, or wax to protect and beautify the wood.
- Brushes or Rags: For applying finishes.
Helpful Tools
- Moisture Meter: As mentioned, crucial for checking wood dryness.
- Bench Dog Holes and Clamps: If you have a workbench, these help secure your slab for working.
- Circular Saw or Table Saw: For trimming ends or making straight cuts on the slab if needed.
- Jigsaw: For cutting curves, though often the natural edge makes this unnecessary.
- Random Orbital Sander with Dust Collection: A huge convenience.
Step-by-Step Guide: Preparing Your Live Edge Slab
Once you’ve got your slab and your tools, it’s time to get to work. This process is all about revealing the wood’s inner beauty and making it ready for its new life as a piece of furniture.
Step 1: Planning Your Project
Before you do anything, sketch out your idea. How will the slab be supported? Where will the legs go? What shape do you want the final piece to be, aside from the live edge? Visualizing the end result will guide your preparation. For a simple table, you might just need to flatten the top and bottom and attach legs.
Step 2: Initial Cleaning and Bark Removal (if desired)
Start by brushing off any loose dirt, debris, or spiderwebs. If you’ve decided to remove the bark, gently pry it off using a chisel or a scraper. Be careful not to gouge the wood underneath. If you plan to keep it, ensure it’s well-attached. You might need to use a specialized bark removal tool or a stiff brush.
Step 3: Flattening the Slab
This is often the most challenging but rewarding part. You need to get at least one surface (preferably both) flat and smooth.
- Router Flattening Jig: This is the most common and effective method for DIYers. Build or buy a jig that allows a router to move smoothly across the slab, removing thin, consistent layers of wood. Work in shallow passes.
- Belt Sander: For smaller slabs or for initial rough flattening, a belt sander can be used. Be mindful of creating an even surface; it’s easy to gouge with a belt sander.
- Hand Planer/Power Planer: These can also be used, but achieving a perfectly flat surface on a large, irregular slab can be difficult.
Work from the highest points down, checking for flatness frequently with a straight edge. Remember to flip the slab and flatten the opposite side.
Step 4: Sanding
Once the surfaces are reasonably flat, it’s time to sand. Start with a coarser grit sandpaper (e.g., 80 or 100 grit) to remove any tool marks from flattening and to smooth out imperfections. Gradually move to finer grits (150, 180, 220, and even higher, like 320 or 400 grit, depending on your desired finish).
- Use an orbital sander for larger surfaces.
- Hand sand edges and intricate areas.
- Always sand in the direction of the wood grain.
- Wipe away dust between grits with a tack cloth or damp rag.
Step 5: Stabilizing and Filling Cracks (Optional)
If your slab has cracks that you want to stabilize or fill, this is the time.
- Epoxy Resin: Clear or colored epoxy is fantastic for filling cracks and voids. It adds a modern touch and can create a stunning effect, especially in contrasting colors. Ensure you follow the epoxy manufacturer’s instructions for mixing and application.
- Wood Filler/Wood Glue: For smaller cracks, you can use a wood glue and sawdust mixture, or a dedicated wood filler. Clamp cracks shut while glue dries if possible.
- Butterfly/Bowtie Inlays: For larger, structural cracks, consider creating decorative “butterfly” or “bowtie” inlays from a contrasting wood. This not only stabilizes the crack but adds a beautiful design element.
For a comprehensive guide on epoxy, check out resources like Epoxy Resin School for tips on application and safety.
Step 6: Applying the Finish
The finish protects the wood and enhances its natural beauty.
- Oil Finishes (e.g., Tung Oil, Linseed Oil): These penetrate the wood, giving it a natural, matte look and feel. They are easy to apply and repair but may require reapplication over time.
- Polyurethane (Water-based or Oil-based): Offers a more durable protective layer. Water-based dries clear and is low odor; oil-based provides a warmer tone and is very durable.
- Wax Finishes: Often used over an oil finish for added protection and a subtle sheen.
Apply your chosen finish in thin, even coats, following the manufacturer’s recommendations. Always test your finish on a scrap piece first to see how it looks on your specific wood.
Popular Woodworking Projects With Live Edge Slabs
Live edge slabs are incredibly versatile. Here are some classic and beginner-friendly project ideas:
1. Live Edge Coffee Table
This is a quintessential live edge project. You’ll need a slab that’s the right height and length for your living room.
- Preparation: Flatten the top and bottom, sand smooth.
- Legs: You can buy pre-made metal hairpin legs (super easy for beginners!), industrial-style metal legs, or even craft your own wooden legs.
- Assembly: Attach the legs to the underside of the slab using screws. For a secure connection, consider adding mounting blocks or lag screws.
2. Live Edge Dining Table
A larger undertaking, but the result is spectacular. You can use a single wide slab or join two narrower slabs together.
- Preparation: Similar to the coffee table, but ensure both top and bottom surfaces are perfectly flat and well-sanded.
- Legs: Similar options as coffee tables, but beefier legs are often needed for stability.
- Joining Slabs: If joining two, use a router with a straight bit and a guide for a perfect edge-to-edge fit, then use biscuits or dowels for alignment and strength before gluing.
3. Live Edge Shelves
These are fantastic for adding unique style to any room, from the kitchen to the bathroom or living room.
- Preparation: You can use thinner slabs for shelves. Flatten one main surface and the back edge. The natural edge remains the front. Sand thoroughly.
- Mounting: There are many options:
- Floating Shelf Hardware: Concealed brackets that slide into drilled holes in the back of the shelf.
- Decorative Brackets: Industrially styled metal brackets are a popular choice.
- L-Brackets: Simple and effective, but less refined visually.
- Finishing: Apply a durable finish, especially if used in a kitchen or bathroom.
4. Live Edge Desk
Create a stunning and inspiring workspace.
- Preparation: Focus on a perfectly flat and smooth top surface. The underside can be left relatively natural if legs will cover it.
- Legs: Hairpin legs, simple metal frames, or wooden trestle legs work well.
- Ergonomics: Ensure the height is comfortable for working.
5. Live Edge Bench or Console Table
Perfect for entryways or as accent seating.
- Preparation: Flatten the top. The edge will be the star.
- Legs: Keep it simple with hairpin legs, or go for a more rustic look with rough-hewn wooden legs.
- Considerations: Ensure the slab is thick enough to support weight if used for seating.
Live Edge Slab Project Table: Pros and Cons

Before you dive in, a quick look at the advantages and disadvantages of working with live edge can be helpful.
| Pros | Cons |
|---|---|
| Unique, natural beauty and character. | Can be challenging to flatten evenly. |
| Each piece is one-of-a-kind. | Requires proper drying to prevent future issues. |
| Relatively simple joinery or assembly for many projects. | Can be heavy and difficult to move. |
| Excellent for statement furniture pieces. | Slabs with significant cracks or warp can be difficult to work with. |
| Can be very rewarding to transform raw wood. | Finding the right high-quality slab can take time and may be more expensive than dimensional lumber. |
| Can be more forgiving with surface imperfections than highly refined furniture. | Bark removal and management can be tricky. |
Maintaining Your Live Edge Masterpiece
Once your project is complete, proper care will ensure it lasts for years.
- Dusting: Regularly dust with a soft, dry cloth.
- Cleaning: For spills, wipe them up immediately. Use a slightly damp cloth if needed, but avoid excessive moisture. For finished surfaces (like polyurethane), a mild soap and water solution is usually fine. Follow the recommendations for your specific finish.
- Reapplication of Finish: Oil finishes may need periodic reapplication (e.g., once a year) to maintain their luster and protection.
- Avoid Extreme Conditions: Keep furniture away from direct sunlight, heating and cooling vents, and humidifiers or dehumidifiers, as extreme temperature and humidity fluctuations can cause wood to move, crack, or warp.
Frequently Asked Questions About Live Edge Slabs

Let’s tackle some common questions beginners have about working with live edge slabs.
Q1: Is live edge wood difficult to work with for beginners?
It can be a bit more involved than basic lumber, especially flattening. However, by choosing simpler projects and focusing on preparation, beginners can absolutely succeed at live edge woodworking. Patience and the right tools make a big difference.
Q2: How do I know if a live edge slab is dry enough?
The best way is to use a moisture meter. Aim for 8-12% for indoor furniture. If you don’t have a meter, ask the seller about its drying process (kiln-dried is ideal). If it feels heavy and cool to the touch, it might still be too wet.
Q3: Should I keep the bark on my live edge slab?
This is entirely a design choice! Many people love the rustic appeal of bark. If you keep it, ensure it’s tight and stable, as loose bark can fall off and attract pests. If you remove it, be careful not to damage the wood underneath.
Q4: How do I get a perfectly flat surface on my live edge slab?
The most effective DIY method is a router flattening jig. For smaller pieces, you might get away with aggressive sanding or a belt sander worked carefully. A larger investment would be a portable thickness planer, but these are expensive.
Q5: What’s the best finish for a live edge table?
For a natural look, penetrating oils like Tung oil or Danish oil are excellent and easy to reapply. For durability, especially on tables, a good quality polyurethane (water or oil-based) offers great protection. Epoxy resin is also popular for filling voids and creating a super-smooth, durable surface.
Q6: Can I join two live edge slabs together?
Yes, you absolutely can! You’ll need to create perfectly straight edges where they will meet using a router and a straight edge guide. Then, you can glue them together, often using biscuits or dowels for added strength and alignment.
Conclusion
Embarking on woodworking projects with live edge slabs is an exciting journey that rewards you with truly unique and beautiful pieces for your home. From the initial selection of a slab that calls to you, through the careful preparation and finishing, each step helps you connect with the natural beauty of wood.
Remember, the imperfections and natural contours of live edge are its greatest assets. Don’t shy away from them; embrace them as part of the wood’s story. With the right tools, a dose of patience, and these guidelines, you’re well-equipped to create stunning furniture that will be admired for generations. Whether it’s your first coffee table or a statement dining table, the process is incredibly satisfying. So, go ahead, find that perfect slab, and start creating! Happy building!