Don’t let the cold stop your projects! This winter nailer buying guide helps beginners choose the best nailer for cold-weather DIY. Learn about power sources, nail types, and essential features to ensure your trusty tool performs reliably, no matter the temperature. Get it right the first time!
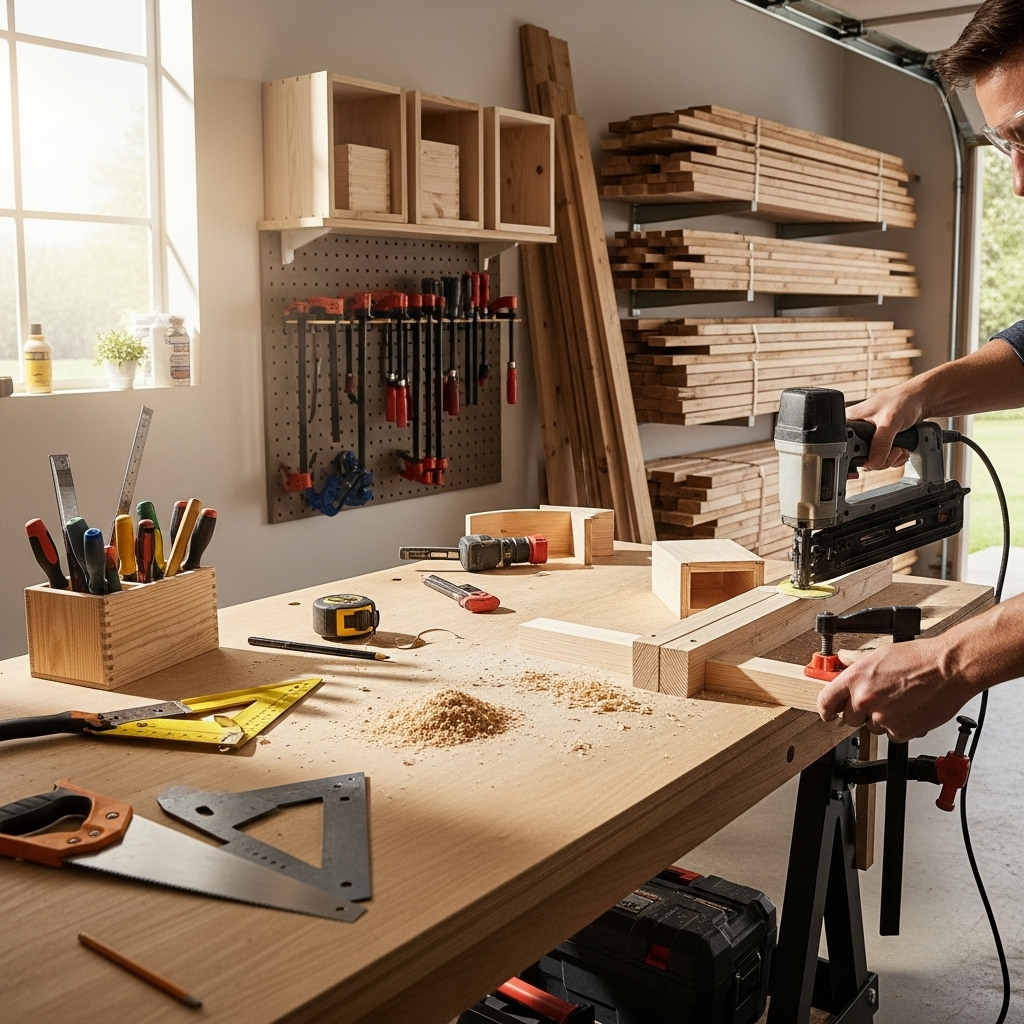
Hey there, fellow DIYers! Jack Shaffer here, your go-to guy for all things woodworking and tools. Ever found yourself staring at a winter project, ready to get started, only to realize your trusty nailer might not be up for the chill? It’s a common frustration for many of us. Cold weather can be tough on tools, and picking the wrong nailer can turn a fun weekend project into a really annoying one. But don’t you worry! I’m here to walk you through everything you need to know. We’ll break down the best nailer options for colder months, what features to look for, and how to make sure your investment keeps on driving nails, year-round. Let’s get your projects moving, no matter the season!
Table of Contents
Why Winter Projects Demand the Right Nailer
Working on projects during the colder months is a fantastic way to keep busy and make progress on that to-do list. However, the drop in temperature can bring some unique challenges for your tools, especially nail guns. Extreme cold can affect the performance of air compressors, reduce battery life, and even make certain lubricants stiff and sluggish. This means your nailer might not have the power it needs, leading to jams, inconsistent drives, and sometimes, a complete standstill.
Choosing a nailer specifically suited to colder conditions can make all the difference. It’s not about having a magical “winter nailer,” but rather understanding how different types of nailers and their power sources cope with the cold. We want a tool that’s reliable, powerful, and won’t let you down when it’s brisk outside.
Understanding Nailer Power Sources and Winter Performance
Your nailer’s power source is the heart of its operation. When looking at nailers for winter use, the type of power it uses significantly impacts its cold-weather performance. Let’s break down the options:
1. Pneumatic (Air) Nailers
These are the classic workhorses of the nail gun world, powered by compressed air from an air compressor. They’re known for their power and speed.
- Pros in Winter: Generally more robust in cold temps than battery-powered tools, provided the compressor is handled correctly. Can deliver consistent power if air pressure is maintained.
- Cons in Winter: The biggest challenge is the air compressor itself. Cold air is denser, which can affect its performance, and moisture in the air can freeze inside the lines or the tool, causing jams and damage. Lubricant in the compressor and tool can also thicken.
- Winter Tips:
- Store your compressor in a warmer, dry place when not in use.
- Use a desiccant dryer or inline filter to remove moisture from the air supply.
- Use a synthetic, cold-weather-rated lubricant in your compressor if available.
- Consider electric compressors, which are less affected by temperature than gas models.
- Run the tool for a few minutes to warm it up before critical work.
For more on air compressor basics, check out this helpful guide from This Old House.
2. Corded Electric Nailers
These nailers plug directly into a wall outlet. They offer consistent power without the need for a compressor.
- Pros in Winter: No worries about air compressors or batteries. Consistent power as long as you have electricity. Often lighter and more maneuverable than pneumatic setups.
- Cons in Winter: The extension cord can be a hassle, especially in snow or icy conditions. The motors can still be affected by extreme cold, though generally less so than batteries.
- Winter Tips:
- Use heavy-duty, outdoor-rated extension cords.
- Keep connections dry and protected.
- Store the nailer indoors when not in use.
3. Battery-Powered (Cordless) Nailers
These are becoming increasingly popular due to their convenience. They use rechargeable battery packs to power the nail driving mechanism. There are a few types: battery-powered framing nailers (gas cartridges are sometimes used in conjunction for power), finish nailers, and brad nailers.
- Pros in Winter: Ultimate portability, no hoses or cords. Many modern cordless nailers are designed with better cold-weather performance in mind.
- Cons in Winter: Batteries are the main concern. Extreme cold dramatically reduces battery capacity and lifespan. You might get significantly fewer nails per charge. The internal mechanisms can also be affected by very low temperatures.
- Winter Tips:
- Keep spare batteries indoors in a warm place. Swap them out frequently.
- Charge batteries indoors.
- Don’t store the nailer or batteries in a freezing garage overnight.
- Look for models that explicitly mention improved cold-weather battery performance.
Understanding battery technology is key. For a deeper dive into battery types, you can explore resources on battery science, which often relates to tool performance.
4. Gas-Powered Nailers
These use a small fuel cell (like a propane canister) and a battery for ignition. They are typically used for framing and some heavier-duty tasks. They combine features of pneumatic and cordless tools.
- Pros in Winter: No air compressor needed. Potentially good power output.
- Cons in Winter: The fuel cells can be affected by extreme cold, potentially reducing performance. The battery for ignition is also subject to cold, albeit usually a smaller one.
- Winter Tips:
- Store fuel cells in a warmer environment.
- Keep the ignition battery warm.
Choosing the Right Nail Type for Your Project
Beyond the power source, the type of nailer and the nails it uses are crucial. Different nailers are designed for different tasks:
Brad Nailers
These use very thin, small-headed nails (brads). They’re perfect for delicate trim work, installing molding, and attaching quarter-round where minimal damage to the wood is desired. You won’t see the nail head if you do it right.
- Ideal for: Interior trim, crown molding, attaching delicate decorative elements.
- Winter Considerations: Generally less affected by cold than heavier-duty nailers as they don’t require as much raw power.
Finish Nailers
Finish nailers use slightly larger nails than brad nailers, still with small heads, but they offer more holding power. They are great for attaching baseboards, window and door casings, and other trim where a bit more strength is needed but you still want the nail heads to be discreet.
- Ideal for: Baseboards, window/door trim, furniture assembly, paneling.
- Winter Considerations: Similar to brad nailers, they are generally reliable in the cold, especially cordless and electric versions.
Framing Nailers
These are the powerhouses, designed for structural work like building decks, framing walls, and attaching sheathing. They use larger, heavier nails.
- Ideal for: Decks, fences, framing walls, subflooring, general construction.
- Winter Considerations: This is where cold weather can have the biggest impact. Pneumatic framing nailers need sufficient air volume and pressure, which can be challenging with a cold compressor and lines. Gas-powered and heavy-duty cordless framing nailers are often better choices for those who need consistent power in low temps, but even their batteries or fuel cells can be affected.
Pin Nailers (Micro Nailers)
These drive tiny headless pins. They are for the most delicate tasks where you need to tack pieces in place without any visible puncture. Think tiny molding or attaching small decorative pieces to furniture.
- Ideal for: Very small trim, picture frames, delicate model building.
- Winter Considerations: Least affected by cold due to their small size and low power requirements. You’ll mostly worry about keeping the tool itself from getting too cold.
Key Features to Look for in a Winter Nailer
When shopping for any new nailer, especially with winter in mind, certain features can make a big difference in performance and your overall experience.
1. Adjustable Depth of Drive
This lets you control how deep the nail is driven into the material. In colder, sometimes drier wood, nails might sink in differently. Being able to adjust this ensures you get a flush or slightly countersunk nail without driving it too deep and damaging the surface or not driving it deep enough.
2. Dry-Fire Lockout
This is a fantastic feature that prevents the nailer from firing when there are no nails left in the magazine. Why is this good for winter? It helps prevent you from accidentally driving cold air (in pneumatic tools) or just wasting a firing cycle, reducing wear on the tool and ensuring more consistent power delivery when you do have nails loaded.
3. Tool-Free Jam Release
Jams happen. In cold weather, they can happen more often. A tool-free jam release means you can quickly clear a jammed nail without needing extra tools, minimizing downtime and frustration when you’re trying to get the job done and stay warm.
4. Grip and Ergonomics
When wearing gloves in winter, tool grip becomes even more important. Look for nailers with comfortable, non-slip grips that allow you to maintain control, even with bulky handwear on. Good balance also helps reduce fatigue.
5. Indicator Lights
Some cordless and electric nailers have lights that indicate battery status, overheating, or jams. These are incredibly useful in low-light winter conditions or when you’re bundled up and can’t easily check the tool’s status.
Comparing Nailer Types for Cold Weather: A Quick Look
Let’s put some of the considerations side-by-side to help you visualize.
| Nailer Type | Best for Winter Use (Generally) | Key Cold Weather Consideration | Typical Project Type |
|---|---|---|---|
| Pneumatic | Moderate – With precautions | Air compressor performance, moisture in lines | Framing, Roofing, Finishing |
| Corded Electric | Good | Cord management in cold/snow | Finishing, Trim, Light Framing |
| Battery (Cordless) | Good to Very Good (modern models) | Battery performance/capacity | Finishing, Brad Nail, Light Framing |
| Gas-Powered | Good | Fuel cell performance, battery charge | Framing, Roofing |
Safety First, Always!

No matter the season, safety with nail guns is paramount. Cold weather can sometimes make us a bit more careless as we rush to get out of the cold, but the risks remain the same, and can even be amplified.
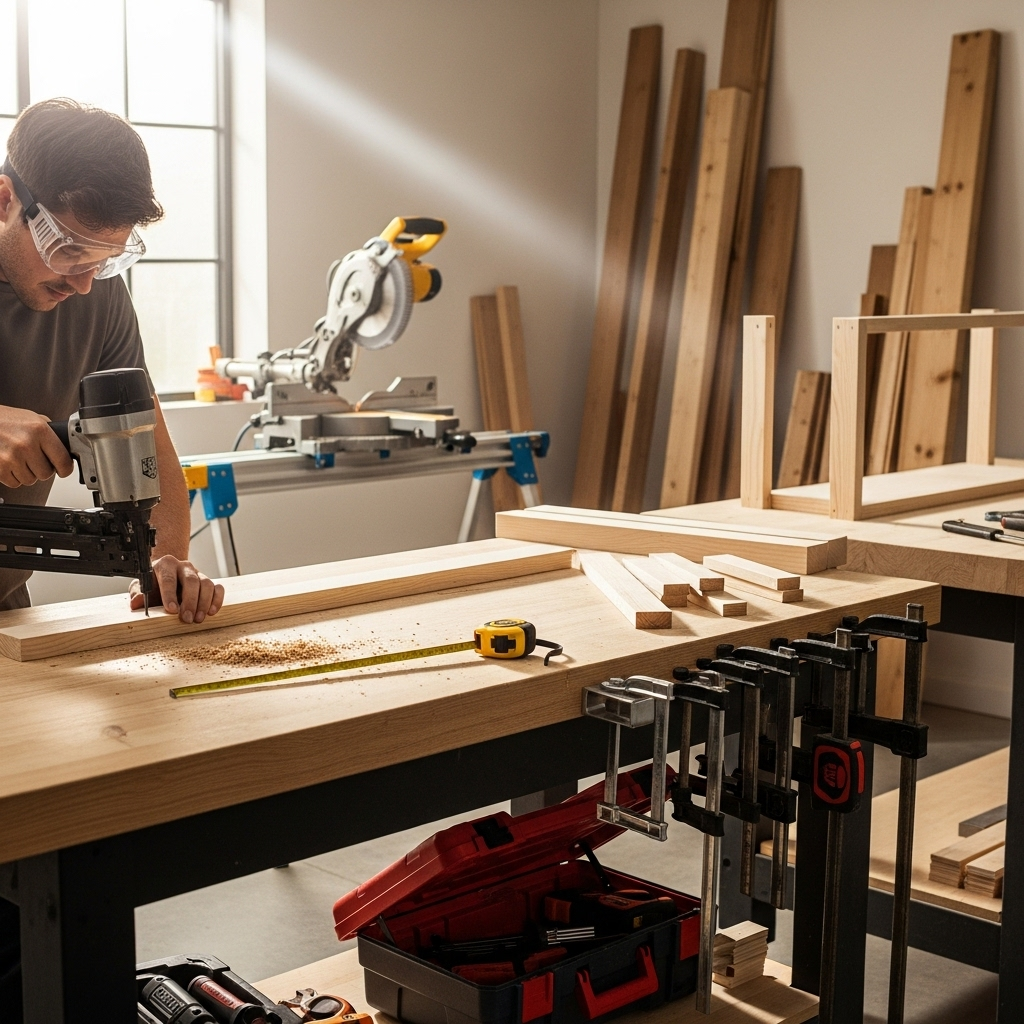
- Always wear safety glasses. This is non-negotiable. Cold weather can mean flying debris, and your eyes are precious.
- Keep fingers away from the trigger and muzzle. Treat the tool like a loaded weapon at all times.
- Never point the nailer at anyone. Even when it’s not armed.
- Ensure you have a stable work surface. Icy or uneven ground can make you lose your footing.
- Be aware of your surroundings. Working outdoors in winter means dealing with potentially slippery surfaces, freezing temperatures, and limited daylight.
- Read your tool’s manual. Familiarize yourself with its specific safety features and operating procedures. For general nail gun safety guidelines, the Occupational Safety and Health Administration (OSHA) provides excellent resources.
Don’t let the cold tempt you into skipping safety steps. A few extra moments ensuring you’re safe can prevent a serious injury.
Maintaining Your Nailer in Cold Weather
Proper maintenance is key to ensuring your nailer performs well, especially when the temperature drops. Here are some tips:
- Cleanability: After a project in cold, damp conditions, clean your nailer thoroughly. Remove sawdust, debris, and any moisture that might have gotten inside.
- Lubrication: For pneumatic nailers, ensure the air tool oil you use is suitable for colder temperatures. Some oils can thicken and reduce performance. Refer to your manual for recommended lubricants. For cordless tools, keep the battery contacts clean.
- Storage: Store your nailer, especially battery-powered and gas models, in a dry, temperature-controlled environment when not in use. Avoid leaving them in an unheated garage or shed overnight.
- Battery Care: For cordless tools, keep spare batteries indoors in a warm place. Lithium-ion batteries perform best at moderate temperatures.
- Air Compressor Care (Pneumatic): Drain any moisture from your air compressor tank after each use. Consider using an inline air dryer or filter to remove moisture before it reaches your tool.
Troubleshooting Common Winter Nailer Issues
Even with the best preparation, you might encounter a few hiccups. Here’s how to tackle them:
-
Nailer not firing:
- Pneumatic: Check air pressure. Is the compressor working? Is the air line kinked? Is there ice in the line or tool?
- Cordless: Is the battery charged and properly seated? Is the magazine loaded correctly? Try a different battery.
- Gas: Is the fuel cell properly installed? Is the battery charged?
-
Nails not driving fully:
- Pneumatic: Increase air pressure slightly (within tool limits). Check for leaks in hoses or fittings.
- Cordless/Gas: Battery or fuel may be low, or the tool might be struggling with sub-optimal temperatures affecting the motor or fuel.
-
Nail jams:
- Ensure you are using the correct size and type of nails for your tool.
- Clear jams immediately using the tool-free release mechanism. Never force it.
- Moisture in pneumatic tools can exacerbate jams by causing nail heads to stick. Dry the tool if this is suspected.
-
Slowdowns or reduced power:
- This is a classic cold-weather symptom. Bring the tool and its power source (battery, compressor) into a warmer environment for a while to let them acclimate.
Frequently Asked Questions (FAQ)
Q1: Can I use my regular nail gun in the cold?
A1: You often can, but performance may be reduced. Battery-powered tools are most affected by cold, losing significant power and run time. Pneumatic tools can suffer from moisture freezing in the lines and stiff lubricants. Taking precautions can improve performance.
Q2: What’s the biggest problem with using pneumatic nailers in winter?
A2: Moisture. Water in the air can freeze inside the air compressor, hoses, or the nail gun itself, leading to blockages, jams, and potential damage. Cold also makes lubricants less viscous, potentially affecting tool operation.
Q3: How can I protect my cordless nailer’s battery in the cold?
A3: Keep spare batteries indoors in a warm place and swap them out as needed. Charge batteries indoors. Avoid storing the tool or batteries in freezing temperatures. Extreme cold drastically reduces battery capacity and can shorten its lifespan.
Q4: Are gas-powered nailers good for cold weather?
A4: They can be, as they don’t rely on compressed air. However, the fuel cells and the small ignition battery can still be affected by extreme cold, potentially reducing performance. Their overall reliability in very low temperatures is often better than battery-only tools but can be less consistent than a well-maintained pneumatic setup.
Q5: What kind of maintenance should I do on my nailer before using it in winter?
A5: Clean the tool thoroughly, check lubrication (especially for pneumatic), ensure battery health and charge, and if using pneumatic, make sure your air compressor is in good working order and consider moisture-reducing accessories.
Q6: Is it better to use a corded electric nailer in the winter?
A6: Corded electric nailers can be a good option because they aren’t affected by battery degradation or air compressor issues. Their main drawback is the cord itself, which can be more cumbersome in snow or icy conditions.
Conclusion
Tackling projects during the colder months is entirely achievable and rewarding. By understanding how winter conditions can affect different nailer types and power sources, you can make an informed choice. Whether you opt for a robust pneumatic system with moisture control, a convenient cordless tool with extra batteries, or a dependable corded electric nailer, the key is to choose a tool that fits your project needs and then take steps to ensure it performs optimally in the cold.
Remember to prioritize safety above all else, and don’t neglect regular maintenance. A little care for your tools will go a long way in making your winter DIY endeavors smooth, efficient, and successful. So gear up, stay warm, and happy building!