Buying unfinished hardwood online is a smart, budget-friendly choice for beautiful floors. Our guide helps you navigate options, understand costs, and confidently select the perfect unfinished hardwood for your DIY project, ensuring a stunning, durable result.
Hey there, DIYers! Jack Shaffer here from Nailerguy. Ever dreamed of gorgeous hardwood floors but found the pre-finished price tag a bit daunting? You’re not alone! Many folks shy away from that dream, thinking it’s out of reach. But here’s a pro tip from my workshop: unfinished hardwood is a fantastic way to get that high-end look without breaking the bank.
It might seem a littl. well, unfinished, but that’s where the magic happens. We’ll explore how to buy it smart online, from picking the right wood to getting it ready for that stunning final finish. Ready to unlock that beautiful floor? Let’s dive in!
Table of Contents
Why Buying Unfinished Hardwood Online Makes Sense
Think about it: when you buy unfinished hardwood, you’re cutting out a major manufacturing step. That’s usually a cost saving you can pass on. Plus, it gives you way more control over the final look. Want a super dark stain? Or maybe you’re after that light, airy Scandinavian vibe? With unfinished wood, you can achieve exactly the color and finish you’ve been picturing. It’s a canvas waiting for your personal touch!
Buying online might sound tricky, but honestly, it’s become incredibly convenient. Reputable dealers have streamlined the process. You can often find a wider selection online than you might in a local store. This means more species, more grades, and better prices. We’ll walk through how to make sure you’re getting quality wood shipped right to your door, so you can stop worrying and start planning your beautiful new floors.
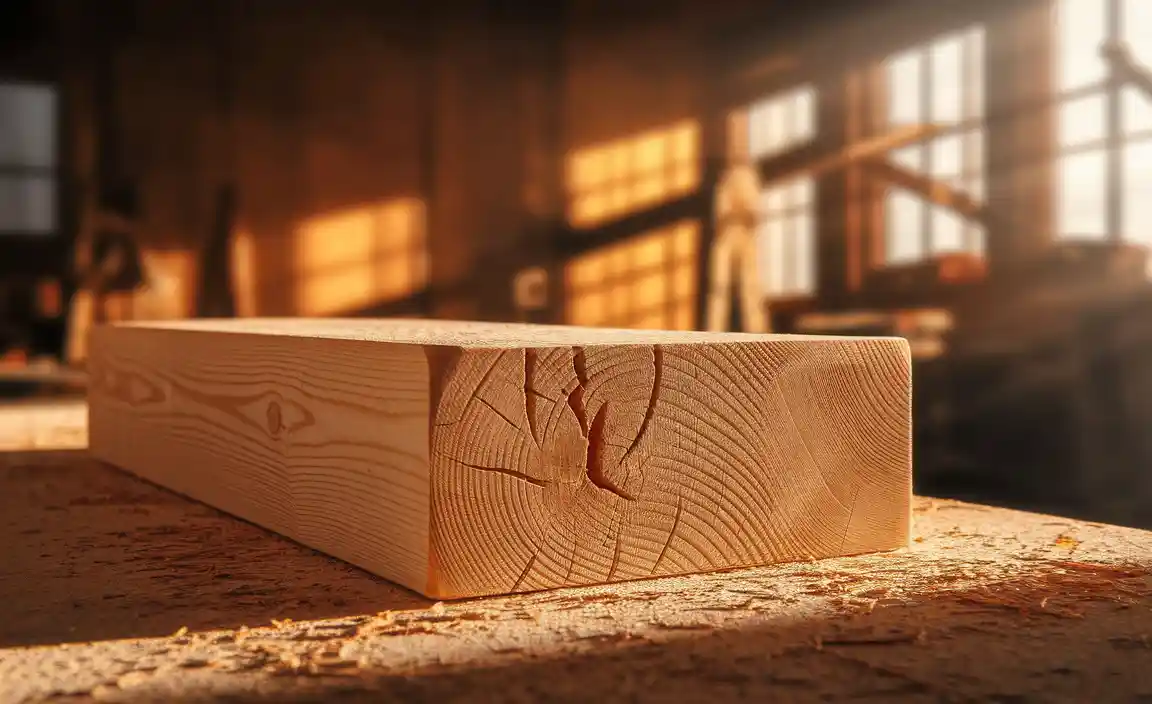
Choosing Your Unfinished Hardwood: Species, Grade, and Style
This is the fun part! Picking the wood species is like choosing the personality for your floor. Each type brings its own character, durability, and color. Then there’s the grade, which affects the look and price. Let’s break it down:
Popular Hardwood Species for Flooring
When you’re browsing online, you’ll see a lot of different wood names. Here are some of the most common and why they’re great choices:
- Oak (Red & White): The classic choice for a reason! Oak is durable, widely available, and takes stain beautifully. Red oak has a warm, pinkish hue, while white oak is a bit cooler and grayer. Both are fantastic for most homes.
- Maple: Known for its smooth, clean look and incredible hardness. Maple is great if you love a lighter, more contemporary feel. It can sometimes be a bit trickier to stain evenly, so light to medium stains or clear coats work wonderfully.
- Hickory: This is one of the hardest domestic woods available. If you have a busy household with pets and kids, hickory is a super tough option. It often has a lot of natural color variation, which adds to its rustic charm.
- Walnut: For a touch of luxury and drama, walnut is hard to beat. It has rich, deep chocolatey tones and a beautiful grain. Walnut is softer than oak or hickory, so it might show dents and scratches more easily in high-traffic areas, but its beauty is undeniable.
- Cherry: Cherry wood starts as a soft pinkish-brown and deepens to a rich, reddish-brown over time with exposure to light. It’s moderately hard and offers a warm, inviting feel.
Understanding Wood Grades
Wood grading isn’t about good or bad quality; it’s about consistency and appearance. Online sellers will usually list the grade. The most common grades you’ll encounter are:
- Select & Better (or FAS – Firsts and Seconds): This is the highest grade. It means the wood will have very few natural imperfections like knots or mineral streaks. It gives a clean, uniform look.
- No. 1 Common: This grade allows for more natural character, like small knots and some color variation. It’s a very popular choice for a more traditional or slightly rustic feel and often costs less than Select & Better.
- No. 2 Common: This grade will have more knots and color variation. It’s often chosen for a very rustic, farmhouse, or country look. It’s typically the most budget-friendly option.
Don’t be afraid of the “common” grades! They can offer incredible character and save you some money. Just make sure the grading is clearly explained by the seller.
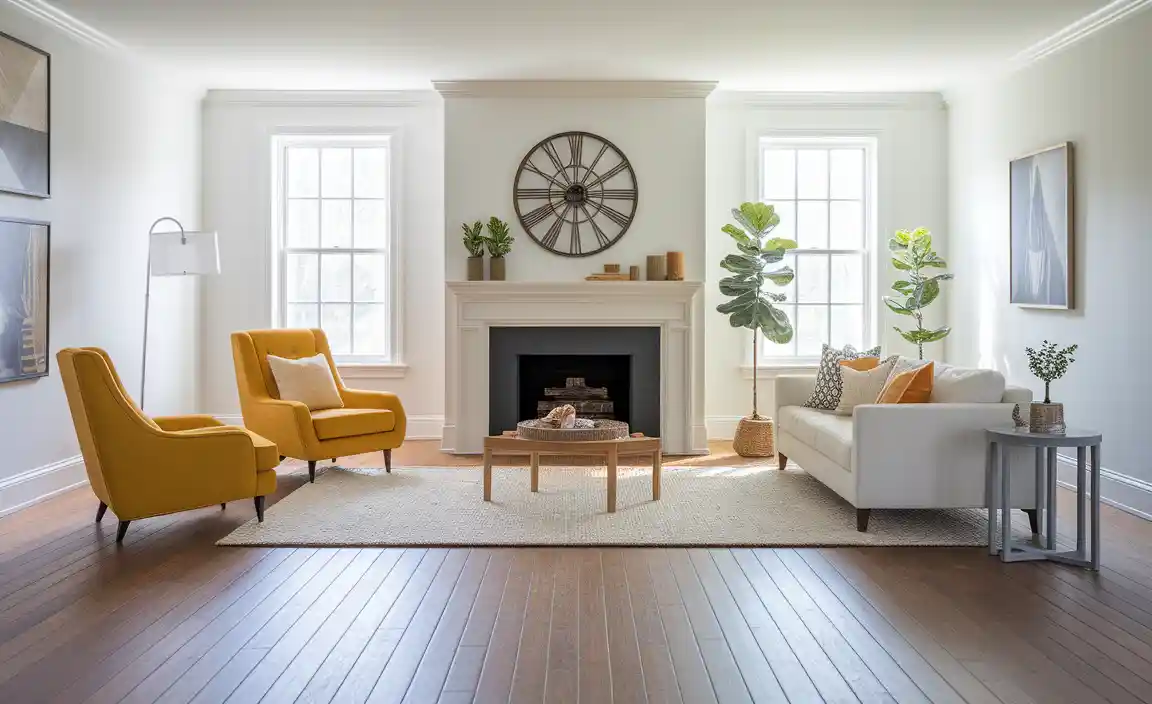
Widths and Lengths: Visual Impact
The width of your hardwood planks makes a big difference in how your floor looks and feels. Wider planks (5 inches and up) tend to give a more modern, spacious feel, while narrower planks (2 to 3.5 inches) can create a more traditional or charming look.
- Narrow Widths (2-3.5 inches): Traditional, classic look. Can make a smaller room feel cozy.
- Medium Widths (4-5 inches): A great all-around choice, offers a good balance of modern and classic.
- Wide Planks (5+ inches): Modern, grand, and can make a room feel larger.
Plank lengths also vary. Longer planks tend to create a more seamless, flowing look, while shorter planks can add a more “busy” or varied pattern. Most online sellers offer a range of lengths within a single order, which is great for a naturalRandomly mixed look.
Where to Buy Unfinished Hardwood Online: Finding Reputable Vendors
Shopping online gives you access to more options, but it’s crucial to buy from a reputable source. You want to ensure you’re getting good quality wood shipped safely.
Start by looking for online flooring specialists. These companies often have a wide selection of unfinished hardwood and are knowledgeable about their products. Check for:
- Clear Product Descriptions: Does the website clearly state the species, grade, width, length, and moisture content of the wood?
- Customer Reviews: What are other buyers saying? Look for consistent feedback on wood quality, shipping, and customer service.
- Return Policies: What happens if the wood arrives damaged or isn’t what you expected? A good vendor will have a clear and fair return policy.
- Shipping Information: How is the wood shipped? Is it carefully packaged to prevent damage? What are the shipping costs and delivery times?
- Contact Information: Can you easily get in touch with them if you have questions?
Some excellent online retailers specialize in flooring. A quick search will reveal many options. For example, sites like LL Flooring (formerly Lumber Liquidators) or The Home Depot often have dedicated sections for unfinished hardwood, with detailed specs and reviews.
Don’t hesitate to call or email the company with questions. A good vendor will be happy to help you understand the differences between species or grades and guide you toward the best choice for your project.
Understanding Costs: What to Expect
The price of unfinished hardwood can vary significantly. It depends on the species, grade, width, and the seller. But generally, unfinished hardwood will be less expensive per square foot than its pre-finished counterpart.
Here’s a breakdown of factors influencing cost:
| Factor | Impact on Price | Why |
|---|---|---|
| Wood Species | Higher (e.g., Walnut, Cherry) to Lower (e.g., Red Oak, Maple) | Rarity, hardness, demand, and processing difficulty affect value. Exotic hardwoods are usually the most expensive. |
| Grade | Higher Grade (Select & Better) = Higher Price | Fewer natural imperfections mean more careful milling and selection, increasing cost. |
| Width | Wider Planks = Higher Price | Wider boards require larger, more mature trees and more material is lost during milling, making them more expensive. |
| Origin | Domestic = Often Lower, Exotic = Often Higher | Sourcing, shipping, and rarity play a big role. |
| Quantity | Bulk Purchases = Potential Discounts | Buying larger orders can sometimes lead to better per-square-foot pricing. |
When budgeting, remember to factor in more than just the wood itself. You’ll also need to consider:
- Shipping Costs: This can add up, especially for heavy materials. Get quotes!
- Underlayment/Moisture Barrier: Essential for a good installation.
- Fasteners: Nails or staples for installation.
- Finishing Supplies: Stain, sealer, polyurethane, sandpaper, brushes, rollers.
- Tools: You might need to rent or buy specific tools like nailers or sanders.
- Allowance for Waste: Always order 5-10% extra material to account for cuts, mistakes, or boards that don’t meet your standards of quality (even in common grades).
Comparing prices from a few different reputable online vendors is a great way to ensure you’re getting a good deal. Look for special offers or bulk discounts if you’re covering a large area.
Preparing to Receive Your Unfinished Hardwood
So, you’ve found the perfect wood and placed your order! Now, how do you get ready for its arrival?
Storage is Key: Unfinished hardwood needs to acclimatize to your home’s environment before installation. This is super important to prevent warping or gapping later. Here’s how to prepare:
- Designate a Storage Area: Find a dry, climate-controlled space in your home. The basement might be too damp, and an uninsulated garage can get too hot or cold. Your main living area is usually best.
- Acclimatization Time: Most manufacturers recommend letting the wood sit for at least 48-72 hours, but sometimes up to two weeks, depending on the wood and your climate. Check the manufacturer’s instructions!
- Proper Stacking: Don’t just leave the boxes on the floor. Stack them flat, off the ground, ideally on 2x4s or similar supports. This allows air to circulate around the wood.
- Maintain Environment: Try to keep the temperature and humidity in your storage area as stable as possible, similar to how your home will be once the flooring is installed.
Inspect Upon Delivery: When your order arrives, take a moment to inspect the packaging. Note any significant damage on the delivery receipt before the driver leaves. Once you open the boxes, check the wood for:
- Damage: Look for cracked or broken boards.
- Moisture Issues: Warped or cupped boards.
- Consistency: Does the wood generally match the grade and description you ordered?
It’s normal to find a few boards with minor imperfections, especially in common grades. If you find an excessive amount of damaged or unusable boards, contact the vendor immediately. Most vendors allow for a small percentage of spoilage (often around 5%), so make sure to factor that into your order.
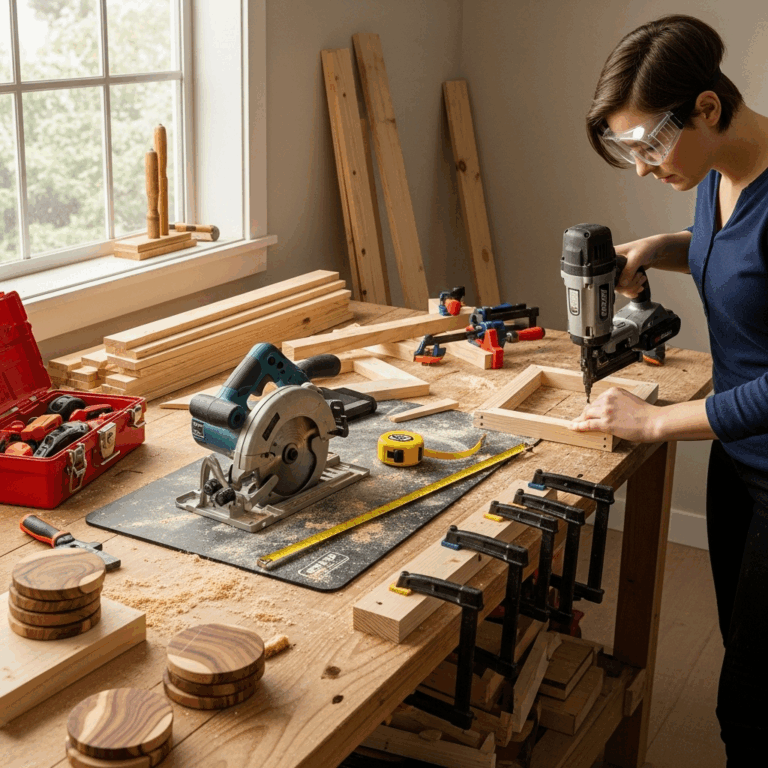
The DIY Finishing Process: Essential Steps
This is where your unfinished hardwood truly becomes your floor. Sanding and finishing are crucial steps that add beauty and protection.
First, Sanding: Creating a Smooth Canvas
Sanding removes any milling marks, smooths out minor imperfections, and prepares the wood for stain and finish. You’ll typically need a floor sander, which can be rented from a
local tool rental store. You’ll also need sandpaper in progressively finer grits.
- Initial Coarse Sanding: Start with a coarser grit sandpaper (like 36 or 50 grit). Go with the direction of the wood grain. This removes any unevenness and mill marks. Don’t forget to sand the edges and corners with an edge sander or by hand if needed.
- Medium Sanding: Move to a medium grit (like 80 or 100 grit). Again, sand with the grain. This refines the surface and removes deeper scratches from the coarse grit.
- Fine Sanding: Finish with a fine grit (like 120 or 150 grit). This creates that beautifully smooth surface ready for finishing.
- Vacuum Thoroughly: After each sanding stage, vacuum up all the dust. A shop vac is your best friend here. Lingering dust will ruin your finish!
Staining: Adding Color and Personality
Staining is optional, but it’s where you really make the floor your own. Always do a test stain on a scrap piece of the same wood to see how the color will turn out.
- Apply Stain: Using a high-quality applicator pad or brush, apply the wood stain evenly. Work in sections that you can manage comfortably.
- Wipe Off Excess: Follow the stain manufacturer’s instructions for how long to let it penetrate, then wipe off any excess stain that hasn’t soaked in with a clean, lint-free rag.
- Allow to Dry: Let the stain dry completely. This can take 24-48 hours, so be patient!
Finishing: Protecting Your Beautiful Floor
The finish is the protective layer that shields your hardwood from wear, spills, and UV damage. Polyurethane (oil-based or water-based) is the most common choice for durability.
- Apply First Coat: Stir (don’t shake!) your polyurethane. Using a high-quality applicator, apply a thin, even coat. Work methodically and avoid applying it too thickly, which can lead to streaks or bubbles.
- Light Sanding Between Coats: Once the first coat is dry (check manufacturer’s recommendations – usually 4-12 hours), lightly sand the entire floor with your finest grit sandpaper (180-220 grit) or a screen. This creates a better surface for the next coat to adhere to and smooths out any imperfections. Vacuum thoroughly after sanding.
- Apply Subsequent Coats: Apply two to three more coats of polyurethane, repeating the light sanding and vacuuming process between each coat. Typically, three coats is standard for residential use, but four can offer extra protection in high-traffic areas.
- Curing Time: Allow the finish to cure fully before placing furniture or allowing heavy foot traffic. This can take days to weeks. Follow the product’s instructions carefully.
Safety First! Always work in a well-ventilated area when sanding and finishing. Wear a dust mask, safety glasses, and gloves. Read and follow all manufacturer instructions and safety warnings for your tools and finishing products.
Choosing the Right Finishing Products
The products you choose for staining and finishing can impact the final look and durability. Here’s a quick guide:
Stains
- Oil-Based Stains: Deeper penetration, richer colors, but longer drying times and stronger fumes.
- Water-Based Stains: Faster drying, easier cleanup, less odor, but may raise the grain more.
- Gel Stains: Thicker consistency, sit more on top of the wood, good for even color on tricky woods or for achieving darker colors.
Finishes (Polyurethane)
- Oil-Based Polyurethane: Very durable, amber tint that deepens with age, slower drying, stronger odor.
- Water-Based Polyurethane: Dries clear, very durable, faster drying, low odor, easy cleanup. Excellent for a natural, light look as it doesn’t yellow over time.
- Moisture-Cured Polyurethane: Extremely durable and fast-drying, but often requires special applicators and is trickier to use. Best left to professionals unless you’re experienced.
For DIYers, water-based polyurethane is often a great choice due to its ease of use, quick drying times, and low odor. If you want a warmer, deeper look that might yellow slightly over time, oil-based is a classic option. Always test your chosen stain and finish combination on scrap pieces first!
Common Beginner Mistakes to Avoid
Even the most excited DIYer can stumble. Here are a few common pitfalls when buying and finishing unfinished hardwood:
- Not Ordering Enough Material: It’s much better to have a little extra wood than to run out mid-project when your specific wood is no longer available. Factor in 5-10% for cuts