Tongue and groove wood is easy to choose by matching the wood type, groove depth, and intended use to your project’s needs and your skill level. This guide will walk you through the simple steps to pick the perfect tongue and groove for your DIY success.
Hey there, DIY adventurers! Jack Shaffer here from Nailerguy. Ever looked at various wood planks and felt a little lost, especially when it comes to that interlocking design called “tongue and groove”? You’re not alone! It’s a fantastic system for a smooth, secure fit, perfect for flooring, paneling, and more. But staring at different wood types and profiles can make even the most confident DIYer scratch their head. This guide is designed to clear up all that confusion. We’ll break down exactly what you need to know, step-by-step, so you can confidently pick the right tongue and groove wood for your next project and achieve those beautiful, professional results you’re aiming for.
Table of Contents
Why Choose Tongue and Groove Wood?
Tongue and groove wood is a popular building material for a reason. It’s a joining method where one edge of a board has a protruding “tongue” that slides into a corresponding “groove” on the edge of another board. This creates a strong, interlocking joint that’s often invisible once installed.
This type of joinery offers several key benefits:
- Seamless Appearance: The interlocking design hides the seams, giving a clean, professional look, especially for flooring and wall paneling.
- Structural Integrity: The joint provides a stable connection between boards, adding strength and durability to your finished project.
- Ease of Installation: While it requires careful fitting, the tongue and groove system makes alignment much simpler compared to other methods.
- Movement Accommodation: Wood naturally expands and contracts with changes in humidity. The tongue and groove design allows for some of this movement without causing major issues like warping or cracks.
Understanding the Basics: Types of Tongue and Groove Wood
When you’re in the lumberyard or browsing online, you’ll notice tongue and groove wood comes in various forms. The biggest difference you’ll encounter is the material itself and the specific profile of the tongue and groove. Let’s break these down:
Wood Species: The Foundation of Your Project
The type of wood you choose will impact the look, durability, and cost of your project. For beginners, it’s wise to start with woods that are easy to work with and readily available. Here are some common options:
- Pine: A fantastic choice for beginners. Pine is soft, lightweight, and easy to cut, sand, and finish. It’s also one of the most affordable options. However, it can dent and scratch more easily than hardwoods, so it’s best suited for areas with less foot traffic or for decorative paneling.
- Oak: A classic hardwood that’s incredibly strong and durable. Oak has a beautiful, prominent grain pattern and holds up well to wear and tear, making it ideal for flooring and high-traffic areas. It’s harder to work with than pine and generally more expensive.
- Maple: Another excellent hardwood, known for its strength, durability, and smooth, consistent appearance. Maple has a fine grain and a lighter color, offering a clean, modern look. Like oak, it’s harder to cut and drill than pine.
- Mahogany: Prized for its rich color and beautiful grain, mahogany offers a luxurious look. It’s a stable and durable wood, good for trim or decorative pieces where its aesthetic qualities can shine. It can be more expensive and sometimes requires specific finishing techniques.
- Cedar: Often chosen for its natural resistance to moisture and insects, cedar is a great choice for outdoor projects or areas prone to humidity, like bathrooms or basements. It has a distinct, pleasant aroma and a beautiful reddish-brown color.
Understanding the Profile: The Anatomy of the Joint
The “tongue” and “groove” themselves can vary slightly in size and depth. While most tongue and groove products have a standard profile, understanding these subtle differences can help you make the best choice.
The tongue is the ridge that sticks out from the edge of the board. The groove is the channel cut into the opposite edge. When you fit them together, the tongue slides snugly into the groove, creating a tight, flush joint.
The depth of the groove is particularly important. A deeper groove generally provides a more secure interlock. For flooring, you’ll often see deeper grooves to withstand the stresses of walking. For simpler paneling or decorative applications, the groove might be shallower.
How to Choose Tongue and Groove Wood: A Step-by-Step Approach
Now that you’re familiar with the basics, let’s get into the practical steps of choosing the right tongue and groove wood for your specific project. Keep your project’s needs and your comfort level in mind.
Step 1: Define Your Project and Its Location
Before you even look at wood, think about what you’re building and where it will be. This is the most crucial step!
- Flooring: Needs to be durable and able to withstand heavy foot traffic. Hardwoods like oak or maple are usually best.
- Wall Paneling (Interior): Durability is less critical than appearance. Pine or even some softer character woods can work great.
- Ceiling Cladding: Lighter woods like pine are often used here. Weight can be a factor for ceiling installations.
- Outdoor Siding/Decking: Needs to be weather-resistant. Cedar and treated pine are good choices.
- Furniture/Cabinetry: Depends on the desired look and required strength.
Consider the environment:
- High Humidity Areas (Bathrooms, Basements): Look for woods naturally resistant to moisture, like cedar, or consider professionally treated lumber.
- Areas with Temperature Fluctuations: Wood expands and contracts. Ensure the chosen wood is stable, or be prepared for proper installation techniques that account for movement.
Step 2: Consider Durability and Wear
Think about how much wear and tear the wood will face. This ties directly into your wood species choice.
- High Traffic Areas (Flooring, Entryways): Opt for hardwoods. They are dense and resistant to dents and scratches.
- Low Traffic Areas (Accent Walls, Ceilings): Softer woods like pine can be perfectly suitable and are easier on your wallet and your tools.
Here’s a quick guide to hardness, often measured by the Janka hardness test (a higher number means a harder wood):
| Wood Species | Average Janka Hardness (lbs) | Best For |
|---|---|---|
| Pine (White) | 380 | Decorative paneling, ceilings |
| Pine (Yellow) | 690 – 870 | Paneling, lighter-duty flooring |
| Oak (Red) | 1,290 | Flooring, durable furniture |
| Maple (Hard) | 1,450 | High-traffic flooring, work surfaces |
| Cedar (Western Red) | 370 – 900 (varies by species) | Outdoor projects, bathrooms, aromatic applications |
Remember, very hard woods can be more challenging to cut and fasten, especially for beginners.
Step 3: Evaluate Your Skill Level and Tools
Be honest with yourself about your woodworking experience and the tools you have available. This will influence which wood species and potentially which tongue and groove profile is best for you.
- Beginner-Friendly Wood: Pine is highly forgiving. It’s easy to cut with a basic circular saw or even a handsaw, and nails or screws go in without much fuss.
- Intermediate/Advanced Wood: Hardwoods like oak and maple require sharper saw blades and potentially pre-drilling to prevent splitting, especially near the ends. You might find a miter saw or table saw indispensable for accurate cuts.
If you’re new to woodworking, starting with a simpler wood like pine for a smaller project, like a planked accent wall, is a great way to build confidence. You can use standard finish nails or even brad nails with a brad nailer for a clean finish, securing it through the tongue or from the face into the joists/studs.
Step 4: Consider the Aesthetic and Finish
The look of your finished project is important! Tongue and groove boards come in many colors and grain patterns.
- Color: Lights woods (pine, maple) can make a space feel brighter and larger. Darker woods (mahogany, some oaks) create a cozier, more traditional feel.
- Grain Pattern: Oak has a prominent, often knotty grain. Maple is smoother and more subtle. Pine can vary from tight to more open grain depending on the type.
- Finish: Are you planning to stain, paint, or leave the wood natural? Some woods take stain more evenly than others. Pine is excellent for painting, while hardwoods like oak and maple often look stunning with a clear coat or a light stain that highlights their natural beauty.
Remember to buy a little extra wood (5-10%) to account for mistakes, cuts, and waste. This is a good practice for any project. For larger projects, consider buying from the same manufacturer or batch to ensure consistent color and grain.
Step 5: Inspect the Boards Carefully
Once you’ve selected the wood type, it’s time to inspect the boards themselves. Good quality tongue and groove should be:
- Straight: Lay a board flat on a level surface. It shouldn’t cup, twist, or bow significantly. You can check for straightness by sighting down the edge.
- Free of Major Defects: Look for large cracks, significant knot holes from which knots might fall out (loose knots), or widespread rot. Small, tight knots are often considered character.
- Uniform in Dimensions: The tongue and groove should be well-cut and fit together smoothly. Check a few boards to ensure the profiles match up.
- Properly Dried: Wood that is too wet can warp as it dries, and wood that is too dry might be brittle. Reputable lumber yards store wood properly.
If buying in person, don’t be afraid to sort through the stacks to find the best boards. If ordering online, check the return policy in case you receive damaged or unsuitable material.
Types of Tongue and Groove Profiles
While the core concept of tongue and groove is consistent, there are variations in how the joint is designed. Most DIYers will encounter one of these common profiles:
Standard Tongue and Groove
This is the most common type. It features a protruding tongue on one edge and a corresponding groove on the other. The edges of the boards are typically square off the main face, creating a flush joint when assembled.
Pros: Simple, widely available, good for most applications.
Cons: Can sometimes show small gaps over time if wood movement is extreme.
Shiplap
While technically not pure tongue and groove, shiplap is a very similar joinery method often confused with it. Shiplap boards have a rabbet (an L-shaped groove) cut along each edge. When installed, one board overlaps the other, creating a weather-resistant seal and a distinctive visible line between boards.
Pros: Creates a distinct design element, excellent for exterior applications, simpler to cut than full tongue and groove.
Cons: The joint is visible, not always considered as “seamless” as true tongue and groove.
V-Groove
This is a variation of the standard tongue and groove where the edges are beveled. When installed, the slight gap between the boards forms a “V” shape. This adds a decorative element and can help hide minor imperfections or expansion/contraction.
Pros: Adds visual interest, can be more forgiving with installation.
Cons: The V-groove is a visible design feature, which might not suit all aesthetics.
Plank Flooring
Many pre-finished wood flooring products use a tongue and groove system optimized for easy installation. The tongue and groove is often designed to be very robust and may include micro-bevels to help manage slight height differences between boards.
Pros: Engineered for flooring durability and installation ease.
Cons: Often more expensive than raw lumber, pre-finished might limit staining options.
For most DIY projects like paneling or basic flooring, the “Standard Tongue and Groove” will be what you’re looking for. If you see “V-Groove” or “Ship Lap,” you’re looking at decorative variations.
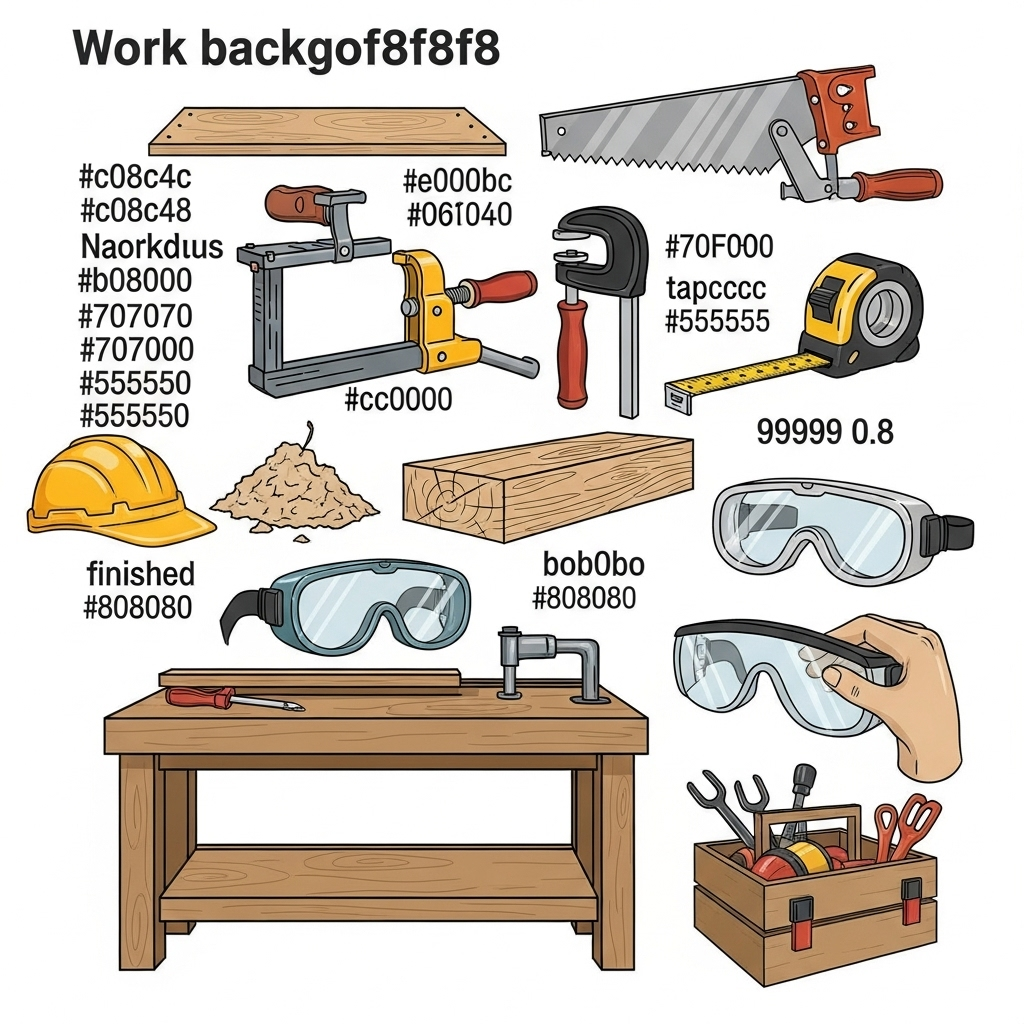
Tools You Might Need for Tongue and Groove Projects
Having the right tools makes working with tongue and groove wood a breeze. Here are some essentials for a beginner:
- Measuring Tape: For accurate measurements.
- Pencil: For marking cuts and layout.
- Saw: A circular saw is versatile for straight cuts. A miter saw is excellent for precise crosscuts and angled cuts (like if you’re doing trim). A table saw can be used for ripping boards to width if needed, but be very careful. For cutting the tongue and groove profile itself, you’ll typically buy boards that already have it.
- Nail Gun (Optional but Recommended): A finish nailer (16-gauge) or brad nailer (18-gauge) is perfect for securing tongue and groove boards without splitting them. You can often nail through the tongue at a 45-degree angle into the underlying joist or stud. For flooring, a flooring nailer is specialized and highly recommended.
- Hammer: If not using a nail gun, a hammer and finish nails can work, but be precise to avoid damage.
- Pry Bar/Chisel: Sometimes needed to gently tap boards into place or adjust them.
- Safety Gear: Safety glasses are a MUST! Hearing protection and gloves are also good ideas.
You can learn more about common woodworking tools and their uses on resources like Popular Mechanics’ guide to essential woodworking tools.
Tips for a Successful Tongue and Groove Installation
Choosing the wood is half the battle; installing it correctly is the other! Here are a few pointers:
- Stagger Your Joints: For flooring or long runs of paneling, don’t have the end joints of adjacent boards line up. Stagger them for a stronger, more visually appealing result.
- Acclimate the Wood: Let the wood sit in the room where it will be installed for at least 48-72 hours. This allows it to adjust to the ambient temperature and humidity, reducing the risk of excessive expansion or contraction after installation.
- Use a Pull Bar for Flooring: When installing flooring, a pull bar is essential to help you draw the last board in each row up tight against the previous one.
- Beware of Subfloor Issues: If you’re installing over an uneven subfloor, you might need to level it first to ensure a flat, stable surface for your tongue and groove.
- Start Square: Ensure your first board is perfectly straight and square to your starting wall or reference point. Everything else will follow from that.
Frequently Asked Questions
Q1: What’s the best type of wood for tongue and groove flooring?
A1: For high-traffic areas, hardwoods like oak, maple, or hickory are excellent choices due to their durability. For areas with less foot traffic or a rustic look, knotty pine can also work well.
Q2: Can I use pine for bathroom walls?
A2: You can, but pine is susceptible to moisture damage. It’s best to use it in powder rooms or ensure excellent ventilation. For full bathrooms, consider cedar for its natural moisture resistance or a more stable hardwood if you plan to seal it thoroughly.
Q3: How do I prevent splitting when nailing tongue and groove?
A3: Use a narrower gauge nail (like from an 18-gauge brad nailer or 16-gauge finish nailer). Nailing at a 45-degree angle through the tongue into the supporting stud or joist is a common and effective technique that also hides the nail head.