Solid hardwood floors in bathrooms are a stunning, surprisingly practical choice when installed and maintained correctly, adding natural beauty and value to your home.
Thinking about that warm, natural look of solid hardwood for your bathroom? You might be picturing water splashes and steamy showers and wondering, “Is this a DIY disaster waiting to happen?” It’s a common worry, and honestly, for a long time, it was a valid one. Bathrooms have always been considered off-limits for real wood flooring due to moisture concerns.
But times have changed, and so has the technology and techniques for installing wood. With the right approach, you can absolutely bring the timeless elegance of solid hardwood into your bathroom space. We’re going to break down exactly how to make it work, so you can get that gorgeous, spa-like feel without the worry.
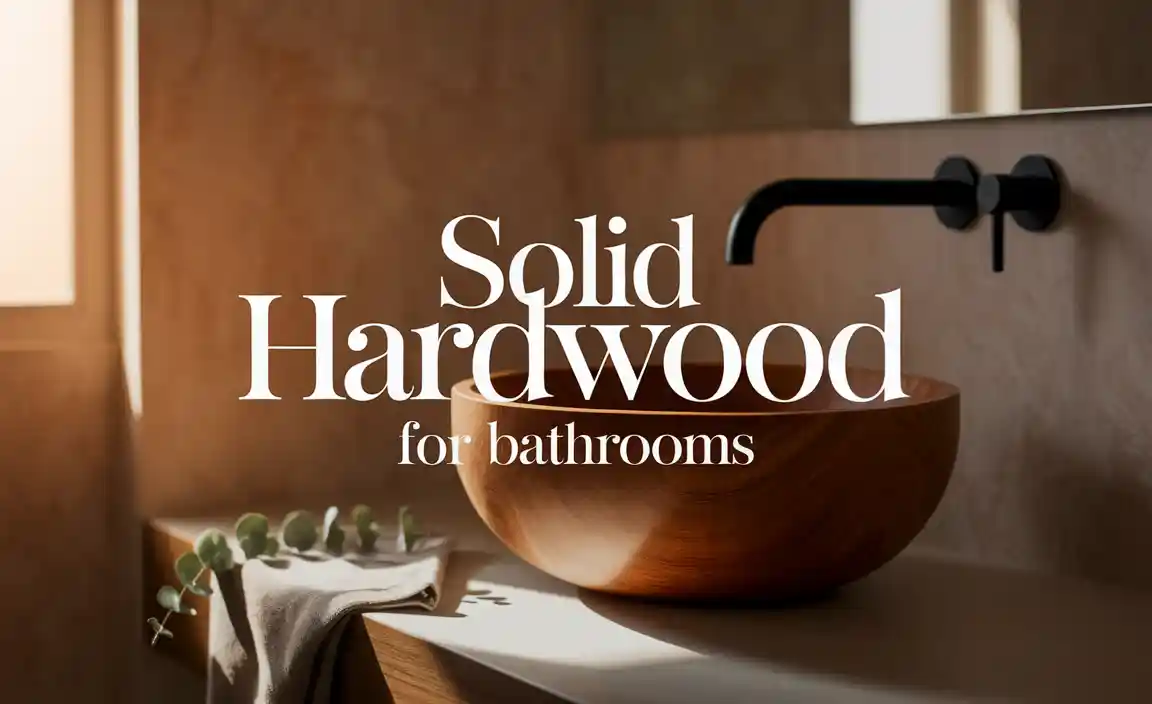
Table of Contents
Why the Hesitation? Understanding the Moisture Challenge
Before we dive into the stunning possibilities, let’s talk about why bathrooms and wood floors have traditionally clashed. It all comes down to moisture. Bathrooms are inherently damp environments. From steamy showers and baths to accidental spills from sinks or toilets, water is a constant presence.
Wood, being an organic material, reacts to moisture. When wood gets wet, it swells. When it dries out, it shrinks. This constant cycle of expansion and contraction can lead to:
- Cupping and Crowning: The edges of the boards might curl upwards (cupping) or the center might rise higher than the edges (crowning).
- Warping: The boards can twist and bend out of shape.
- Gapping: As wood shrinks, gaps can appear between the planks.
- Mold and Mildew: Excessive moisture can create an environment where mold and mildew thrive, which is not ideal for health or aesthetics.
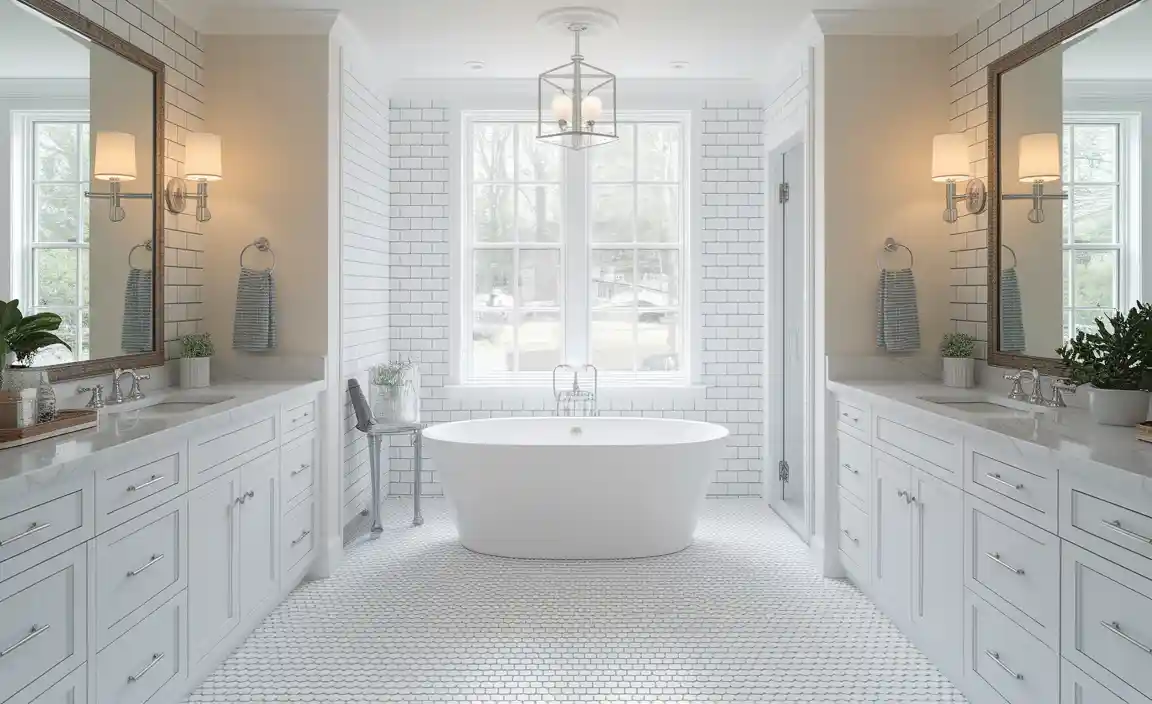
So, for years, flooring like tile, vinyl, or linoleum, which are water-resistant or waterproof, were the go-to choices for bathrooms. But what if you love the natural warmth and unique character that only solid hardwood can bring? Fortunately, with careful planning, proper installation, and diligent maintenance, solid hardwood can be a beautiful and viable option for your bathroom.
The Nailer’s Perspective: Choosing the Right Hardwood for Your Bathroom
When you’re thinking about bringing wood into a moisture-prone area, the type of wood you choose is absolutely critical. Not all hardwoods are created equal when it comes to standing up to humidity and occasional dampness. As someone who works with wood and tools daily, I can tell you that selecting the right species is like picking the right nailer for the job – it makes all the difference!
Best Hardwood Species for Bathrooms
Some woods are naturally more stable and dense, making them more resistant to moisture-related issues. While no solid hardwood is completely waterproof, these options offer better performance:
- White Oak: This is often my top recommendation. White oak has closed grain and contains natural oils that make it more resistant to moisture than many other hardwoods. It’s also incredibly durable and beautiful, with a lovely warm tone.
- Maple: Hard maple is a dense, closed-grain wood that offers good stability. It’s a bit harder than oak, making it very resistant to dents and scratches. Its lighter color can also brighten up a bathroom.
- Hickory: Known for its extreme hardness and strength, hickory is very resistant to wear and tear. While it can be a bit more prone to expansion and contraction than oak, its density helps it hold up well when properly sealed.
- Walnut: While a bit softer than oak or maple, black walnut is a beautiful choice with rich color. Its natural oils can offer some moisture resistance, but it’s crucial to ensure it’s well-sealed.
Woods to Approach with Caution (or Avoid)
Some softer woods or woods with more open grains might not be the best fit for a bathroom environment due to their susceptibility to moisture. Woods like pine, fir, or even some of the softer exotics might be too sensitive to the humidity fluctuations.
Understanding Wood Grading
Beyond the species, you’ll also encounter different wood grades. For a bathroom, consider opting for a select or #1 common grade. These grades generally have fewer knots and imperfections, which can sometimes be areas where moisture can penetrate more easily. A clearer, more consistent board can offer a better seal.
Installation is Key: Laying Your Solid Hardwood Dream Floor
This is where the real magic (and hard work) happens. Proper installation is paramount for ensuring your solid hardwood floors can handle the bathroom environment. It’s not just about nailing them down; it’s about creating a moisture-resistant barrier and a stable subfloor.
Subfloor Preparation: The Foundation of Success
A solid, flat, and dry subfloor is non-negotiable. This usually means a sturdy plywood or OSB subfloor.
- Check for Moisture: Ensure the subfloor is completely dry before you begin. You can use a moisture meter for this. If there’s any lingering moisture from plumbing leaks or previous issues, address those first!
- Levelness: The subfloor needs to be perfectly level. Any dips or high spots can lead to squeaks and unevenness in your finished floor. Use a leveling compound if necessary.
- Cleanliness: Sweep and vacuum thoroughly to remove any dust or debris that could interfere with adhesion or create a weak point.
The All-Important Moisture Barrier
This is your primary defense against moisture seeping from below. A high-quality moisture barrier (sometimes called underlayment or vapor barrier) is essential.
- Types of Barriers: Common options include polyethylene sheeting (6-mil is standard) or specialized underlayments designed for hardwood installation. Some underlayments also offer sound-dampening benefits.
- Installation: Lay the barrier material over the subfloor, overlapping seams by at least six inches and taping them securely with construction tape. Ensure it extends up the walls slightly.
Engineered vs. Solid Hardwood: A Quick Note for Context
While this article focuses on solid hardwood, it’s worth mentioning engineered hardwood as a very popular and often easier-to-install alternative for bathrooms. Engineered wood has a core of plywood or HDF with a real wood veneer on top. Its layered construction generally makes it more stable in the face of moisture changes than solid wood. However, if you’re set on the authentic experience of solid hardwood, the following steps are for you!
The Installation Process: Step-by-Step
Here’s a breakdown of how you’d typically install solid hardwood. Remember, if you’re new to flooring, consider consulting resources from reputable organizations, like the National Wood Flooring Association (NWFA), or even hiring a professional for this crucial step.
Step 1: Acclimation
This is non-negotiable for any wood flooring job, especially in a bathroom. The wood needs to adjust to the temperature and humidity levels of your home before it’s installed. Follow the manufacturer’s recommendations, which typically involve leaving the unopened planks in the room where they’ll be installed for at least 72 hours. This helps minimize expansion and contraction issues later.
Step 2: Layout Planning
Determine the direction you want your planks to run. Generally, installing them parallel to the longest wall or in the direction of incoming light can make the room feel larger. You’ll also want to plan for expansion gaps around the perimeter of the room.
Step 3: Nailing/Stapling Down the Boards
This is where you’ll use your flooring nailer or stapler. I love a good floor nailer – it makes this process efficient and creates secure fastenings. You’ll want to nail or staple through the tongue of the plank into the subfloor.
- Fist Row: The first row of boards is often face-nailed (nails driven through the face of the board) because the flooring nailer can’t get close enough to the tongue. Pre-drill pilot holes to prevent splitting.
- Subsequent Rows: Use your flooring nailer, driving fasteners at an angle through the tongue. Ensure consistent spacing between fasteners.
- Expansion Gaps: Leave a ¼-inch to ½-inch gap around the entire perimeter of the room – this includes walls, cabinets, and any other fixed objects. This gap allows the wood to expand and contract naturally without buckling. You’ll cover these gaps later with baseboards or trim.
Step 4: Cutting and Fitting
You’ll need to make cuts to fit boards around doorways, walls, and any obstacles. A miter saw is great for straight cuts, while a jigsaw or oscillating multi-tool can be useful for more intricate cuts.
Step 5: The Final Touches
Once all boards are laid, you’ll install quarter-round molding or baseboards to cover the expansion gaps. Ensure these are secured to the walls, not the floor, so they don’t restrict the wood’s movement.
Finishing for Protection: Your Invisible Shield
The finish you apply to your solid hardwood floors is your second line of defense against moisture and wear. This is where you create a durable, protective layer.
Types of Finishes
There are two main categories to consider for your bathroom hardwood:
- Polyurethane (Solvent-Based and Water-Based): These are the most common and provide excellent protection.
- Solvent-Based: Typically more durable and provide a warmer amber tone. They require good ventilation due to strong fumes and longer drying times. Often, 3 coats are recommended for maximum protection, with light sanding between coats.
- Water-Based: Lower in VOCs (volatile organic compounds) and dry much faster. They offer excellent clarity and can be more resistant to yellowing over time. Usually, 3-4 coats are applied.
- Hardwax Oils: These finishes penetrate the wood and cure within the fibers, creating a more natural look and feel. They are often easier to repair in localized spots. However, they may require more frequent reapplication than polyurethane for high-traffic or damp areas.
Applying the Finish
If your hardwood planks are unfinished, you’ll need to apply your chosen finish after installation. This involves:
- Sanding: Thoroughly sanding the floor to a smooth finish, starting with a coarser grit and moving to finer grits.
- Cleaning: Vacuuming and tack-cloth wiping to remove all dust.
- Application: Applying thin, even coats of the finish using a high-quality applicator, following the manufacturer’s instructions.
- Drying and Curing: Allowing adequate drying time between coats and a full curing period (which can take several weeks) before allowing heavy traffic or placing furniture.
Pre-finished hardwood flooring has already undergone this process in a controlled factory environment, often resulting in a more durable and consistent finish. If you opt for pre-finished, ensure the manufacturer states it’s suitable for high-moisture areas and has a robust protective coating.
Maintaining Your Gorgeous Wood Bathroom Floor
Even with the best installation and finish, wooden floors in a bathroom require a bit more attention than those in drier rooms. Think of it as smart, proactive care!
Daily & Weekly Care
- Wipe Up Spills Immediately: This is the golden rule. Don’t let water or soap residue sit on the wood. Keep a microfiber cloth handy for quick clean-ups.
- Use a Humidifier/Dehumidifier: Maintaining consistent indoor humidity levels (ideally between 35-55%) is crucial for wood stability. Your HVAC system can help, or a dedicated humidifier/dehumidifier can be beneficial in extreme climates or particularly steamy bathrooms.
- Regular Sweeping/Vacuuming: Use a soft-bristle broom or a vacuum cleaner with a hard floor attachment to remove dust and grit, which can scratch the finish over time.
- Damp Mopping: When it’s time for a more thorough clean, use a well-wrung-out mop. The mop should feel almost dry to the touch. Use a wood-specific floor cleaner recommended by your finish manufacturer. Never use excessive water or steam mops!
Periodic Maintenance
- Deep Cleaning: If you notice a buildup of soap scum or grime that regular cleaning can’t tackle, use a specialized wood floor cleaner designed for your finish.
- Recoating: Over time, the protective finish might wear down in high-traffic areas. You may need to reapply a maintenance coat of finish every few years, depending on wear and the type of finish used.
Protecting Your Wood
- Bath Mats: Place absorbent bath mats outside the shower/tub and near sinks to catch drips and spills. Ensure these mats have a non-slip backing that won’t trap moisture against the wood.
- Ventilation: Always use your bathroom exhaust fan during and after showers/baths to help remove excess humidity. Keep the door open after use if possible to allow air circulation.
- Area Rugs: Consider using small area rugs in front of the vanity or in other high-traffic zones for added protection and comfort.
Pros and Cons of Solid Hardwood in Bathrooms
Let’s lay it all out, pros and cons style. It’s always good to have the full picture before making a big decision for your home project!
Pros
- Unmatched Beauty and Warmth: Solid hardwood brings a natural, unique elegance that simply can’t be replicated by synthetic materials. Each plank has its own character.
- Increases Home Value: A well-installed hardwood floor is a significant selling point and can increase your home’s resale value.
- Timeless Appeal: Hardwood has been a flooring staple for centuries and never goes out of style.
- Comfort Underfoot: Compared to tile, hardwood can feel warmer and softer under bare feet.
- Potential for Refinishing: Solid hardwood can be sanded down and refinished multiple times throughout its lifespan, allowing you to change the look or restore its luster.
Cons
- Moisture Concerns: This is the biggest hurdle. Despite best practices, prolonged exposure to standing water can still cause damage.
- Higher Installation Cost: Compared to some other options, solid hardwood can be more expensive to purchase and install, especially with the added precautions needed for bathrooms.
- Requires Diligent Maintenance: You need to be committed to wiping up spills immediately and maintaining a consistent humidity level.
- Potential for Scratches and Dents: While dense hardwoods are durable, they can still be scratched or dented by heavy or sharp objects.
- Not Waterproof: It’s crucial to remember that even with SEALANT and careful installation, real wood is not inherently waterproof like tile or luxury vinyl.
DIY vs. Professional Installation: What’s Right for You?
Tackling a flooring project yourself can be incredibly rewarding! For a bathroom, however, the stakes are a bit higher due to the moisture factor.
DIY Considerations
Skill Level: Have you installed hardwood floors before? This isn’t typically a beginner’s first project. It requires precision, patience, and the right tools (like a flooring nailer, miter saw, table saw, and possibly a jigsaw).
Tools: As mentioned, you’ll need specialized tools. Renting can be an option, but factor in the cost and learning curve.
Time Commitment: Properly preparing the subfloor, acclimating the wood, and meticulously laying each plank takes time.
Risk: The biggest risk is improper installation leading to moisture damage down the line, which can be costly to repair.
Professional Installation Benefits
Expertise: Professional flooring installers have the experience to handle the nuances of wood flooring, especially in challenging environments like bathrooms.
Proper Tools & Techniques: They have the specialized equipment and fully understand the critical steps like subfloor prep, moisture barrier installation, and expansion gaps.
Warranty: Many professional installers offer a warranty on their workmanship, giving you peace of mind.
Efficiency: They can often complete the job faster and more efficiently than a DIYer.
My Advice: If you’re a seasoned DIYer comfortable with intricate projects and have a good grasp of woodworking and flooring, go for it! However, if you’re new to flooring or feeling unsure about the moisture-proofing aspects, hiring a reputable professional is a wise investment to ensure your beautiful hardwood bathroom floor lasts for years to come.
Frequently Asked Questions About Solid Hardwood in Bathrooms
Q1: Is solid hardwood ever a good idea for a bathroom?
Yes, it can be! With careful species selection (like white oak or maple), meticulous installation including a moisture barrier, proper finishing, and diligent maintenance, solid hardwood can be a beautiful and successful flooring choice for bathrooms. It’s not a risk-free option, but it is achievable.
Q2: What are the biggest risks of installing solid hardwood in a bathroom?
The primary risks are moisture-related: cupping, crowning, warping, gapping between planks, and potential for mold or mildew growth if water penetrates the wood or gets trapped. Accidental leaks from toilets or sinks are also a concern.
Q3: What is the best type of finish for solid hardwood in a bathroom?
A high-quality