A siding coil nailer is a specialized power tool designed to efficiently and quickly drive nails into siding materials. It’s an essential tool for anyone tackling new siding installation or repairs, making the job faster, easier, and more consistent than hand-nailing.
Hey there, DIY heroes! Jack Shaffer here from Nailerguy. Ever looked at a house being sided and wondered how they get those planks on so fast? It often comes down to a special tool called a siding coil nailer. If you’re thinking about updating your home’s exterior or just curious about power tools, you’ve come to the right place. We’re going to demystify what a siding coil nailer is, why it’s a game-changer for siding projects, and how it can make your DIY dreams a reality. Stick around, and we’ll get you up to speed in no time!
Table of Contents
Unpacking the Siding Coil Nailer: Your New Best Friend for Exterior Projects
So, what exactly is this siding coil nailer and why is it called that? Unlike framing nailers that use straight nails, a siding coil nailer uses nails that are joined together in a coil, much like a spring. These coils are loaded into a magazine on the nailer. When you pull the trigger, the tool punches a nail precisely where you want it. This design means you can fire off multiple nails quickly without constantly having to reload straight nails. It’s built specifically for the job of attaching siding to your home’s exterior structure.
Imagine this: you’re working on a large wall, and for every piece of siding, you need to drive several nails. Doing this by hand with a hammer would take ages and your arm would be aching by the end of the day! A siding coil nailer lets you set the nail depth and simply pull the trigger, driving nails with consistent pressure and speed. This not only saves you a ton of time but also ensures a professional, secure finish that will stand up to the elements for years to come.
Why Siding Coil Nailers Are a Proven Essential
For anyone serious about home improvement or professional construction, a siding coil nailer isn’t just a nice-to-have; it’s a must-have. Here’s why:
- Speed: This is the big one. Coil nailers are incredibly fast, allowing you to install siding much quicker than with manual methods. This dramatically reduces project time, which is often a major factor in DIY budgets and scheduling.
- Efficiency: The continuous feed of nails from the coil means less interruption to your workflow. You spend more time nailing and less time fumbling with individual nails.
- Consistency: Power tools deliver consistent power. A siding coil nailer drives each nail to a set depth, preventing over-driven or under-driven nails, which can compromise the integrity and appearance of your siding.
- Reduced Fatigue: Repeated hammering can be exhausting. A siding coil nailer significantly reduces physical strain, allowing you to work for longer periods with less fatigue and a lower risk of injury.
- Versatility: While optimized for siding, many coil nailers can handle other exterior projects, like fencing or attaching trim.
The sheer productivity boost a siding coil nailer provides is why it has become a staple on job sites and for ambitious DIYers. It takes a potentially grueling task and makes it manageable and efficient.
Types of Siding Coil Nailers: Finding Your Perfect Match
When you start looking into siding coil nailers, you’ll quickly see there isn’t just one kind. They generally fall into a few categories based on their power source. Each has its pros and cons, and the best choice for you will depend on your project needs and preferences.
1. Pneumatic (Air-Powered) Siding Coil Nailers
These are the workhorses you’ll see most often on professional job sites. They run off compressed air from an air compressor.
- How they work: A hose connects the nailer to an air compressor. When you pull the trigger, compressed air drives the nail.
- Pros:
- Powerful and reliable.
- Generally lighter than electric or gas models.
- Lower upfront cost for the tool itself (but you need a compressor and hose).
- Less vibration than some other types.
- Cons:
- Requires an air compressor, which adds another piece of equipment to manage, maintain, and transport.
- The air hose can be cumbersome, limiting mobility and potentially snagging on things.
- Need to ensure your compressor can keep up with the nailer’s demand.
If you already own an air compressor or plan on doing a lot of larger projects, a pneumatic siding nailer is often a fantastic, cost-effective choice. For an average homeowner’s siding project, a 10-15 gallon compressor should suffice, but check the nailer’s CFM (Cubic Feet per Minute) requirements. You can find more information on air compressor specifications and matching them with tools on sites like Energy.gov’s resources on industrial efficiency.
2. Cordless Electric Siding Coil Nailers (Battery-Powered)
These are becoming increasingly popular for DIYers due to their convenience and portability. They run on rechargeable battery packs.
- How they work: A motor drives a mechanism (often a small, high-pressure air cylinder or a flywheel) that fires the nail.
- Pros:
- Extremely portable – no cords or hoses!
- Easy to set up and use anywhere.
- Great for working in remote areas or where power is an issue.
- Many now offer performance comparable to pneumatic nailers.
- Cons:
- Can be more expensive upfront than pneumatic models.
- Battery life can be a limitation for very long jobs; you might need extra batteries.
- Can be heavier due to the battery and motor.
- Performance can sometimes be affected by battery charge level.
Battery-powered nailers offer unparalleled convenience. If you value freedom of movement and don’t want to deal with air compressors, this is likely your best bet. Just make sure to factor in the cost of extra batteries and a good charger if you anticipate extensive use.
3. Corded Electric Siding Coil Nailers
While less common for siding specifically (framing nailers are more common in corded electric), some models exist. They plug directly into a wall outlet.
- How they work: Similar to cordless electric, a motor drives the firing mechanism, but it’s powered directly by electricity.
- Pros:
- No batteries to charge or replace.
- Consistent power as long as you have electricity.
- Often less expensive than cordless counterparts.
- Cons:
- You’re tethered by a power cord, limiting mobility and posing a tripping hazard.
- May not be as powerful as pneumatic or high-end cordless models.
- Less common specifically for siding applications compared to pneumatic or battery.
These are a good option if you have a defined project area very close to a power source and want to avoid battery costs, but mobility is crucial for siding jobs, making them less ideal for this specific application.
4. Gas-Powered Siding Coil Nailers
These use a combination of a small internal combustion engine (fuel cell) and a battery to fire nails. They are very powerful and completely cordless.
- How they work: A small fuel cell is inserted, and a battery ignites the fuel, creating a powerful burst of energy to drive the nail.
- Pros:
- Completely cordless and very portable.
- Very powerful, capable of driving nails into dense materials.
- Good for high-volume nailing.
- Cons:
- Can be the most expensive option.
- Require fuel cells and batteries, which are ongoing costs.
- Can produce exhaust fumes and be noisy.
- Maintenance can be more involved.
While powerful, the ongoing fuel costs and the exhaust often make these less appealing for DIYers compared to battery-powered or pneumatic options. They are more commonly found in commercial settings where extreme portability and power are paramount and exhaust is managed.
Key Features to Consider When Buying a Siding Coil Nailer
When you’re ready to pick out a siding coil nailer, keep these important features in mind. They’ll help you make sure you get a tool that fits your needs and budget.
Nail Compatibility
Siding coil nailers take nails in coils. You need to know what types of nails the tool accepts. This includes:
- Nail Diameter: Most siding nailers use a standard diameter, but it’s good to double-check.
- Nail Length: Siding nails typically range from 1-1/4 inch to 2-1/2 inches. Make sure the nailer can accommodate the lengths required for your specific siding material and building codes.
- Nail Head Type: Siding nails typically have a full round head. Avoid clipped head nails, as they don’t provide enough holding power for siding.
- Nail Material: For exterior use, you’ll want nails made of galvanized steel (electro-galvanized or hot-dipped galvanized) or stainless steel to prevent rust and corrosion.
Always refer to the manufacturer’s specifications for the nail dimensions their tool is designed to accept. Using the wrong nails can damage the tool and compromise the siding’s integrity. According to the International Code Council (ICC), proper fastening is crucial for structural integrity and building performance.
Nail Capacity (Coil Size)
How many nails does the magazine hold? A higher capacity means fewer reloads during a long day of nailing. Most siding coil nailers hold between 200 and 400 nails.
Adjustable Depth of Drive
This is a critical feature! It lets you control how deep the nail penetrates the siding and sheathing. You want nails to be flush with the surface or slightly countersunk for proper holding power. Too deep, and you can damage the siding; too shallow, and the nail won’t hold securely. Look for an easy-to-adjust depth setting.
Rafter Hook / Belt Hook
A small but incredibly useful feature! A hook allows you to hang the nailer on a rafter or your belt when you need to reposition yourself or grab another piece of siding. It keeps the tool off the ground and readily accessible.
Trigger Lock / Safety Mechanism
All good nailers have safety features. A trigger lock prevents accidental firing. Many siding nailers also have a “contact actuation” mode, where you press the nose of the nailer against the work surface and then pull the trigger. This is safer and faster for repetitive nailing. Always ensure your tool has a reliable safety mechanism.
Weight and Ergonomics
You’ll be holding this tool for extended periods. Consider its weight, balance, and how comfortable the grip is. A tool that feels good in your hand will make the job much more pleasant.
Jam Clearing Mechanism
Nails can occasionally jam. A tool with an easy, tool-free jam clearing mechanism will save you a lot of frustration and lost time.
Siding Coil Nailer vs. Other Nailers: Why It’s Specific
You might be thinking, “Can’t I just use a regular framing nailer or finishing nailer for siding?” While you could in a pinch, it’s not ideal, and here’s why:
| Nailer Type | Primary Use | Siding Suitability | Why |
|---|---|---|---|
| Siding Coil Nailer | Installing exterior siding (vinyl, fiber cement, wood) | Excellent | Uses collated siding nails, fires rapidly, adjustable depth, designed for durable exterior materials. |
| Framing Nailer | Building wall frames, roof rafters, floor joists | Poor | Uses larger, straight nails designed for structural wood. Can split or damage siding. Trigger mechanisms might be too aggressive. Nails are too large and visible. |
| Finishing Nailer | Attaching trim, molding, and delicate interior woodwork | Poor | Uses small, thin nails with small heads. Lacks the power and nail size needed to secure siding effectively or withstand exterior forces. |
| Roofing Nailer | Attaching shingles and underlayment | Poor | Uses wide, flat-headed roofing nails designed for specific roofing materials. Not suitable for holding siding planks. |
The specialized design of a siding coil nailer is what makes it so effective. It’s built to fire the right kind of nail, quickly and consistently, into materials that need to withstand weather, wind, and time. Using the wrong tool can lead to a host of problems, from unsightly nail heads to siding that pulls away prematurely.
How to Use a Siding Coil Nailer Safely and Effectively
Using any power tool comes with responsibility. Here’s how to get the best results from your siding coil nailer while staying safe.
Before You Start: Inspection and Preparation
- Read the Manual: Seriously! Every nailer is a little different. Understand its specific features, operation, and maintenance.
- Inspect Your Nailer: Check for any damage, loose parts, or blockages. Ensure the safety contact tip is clean and functioning.
- Check Your Air Supply (Pneumatic): Make sure your compressor is at the correct PSI (pounds per square inch) as recommended by the nailer manufacturer. Use an air regulator to set the pressure precisely. For battery tools, ensure the battery is fully charged.
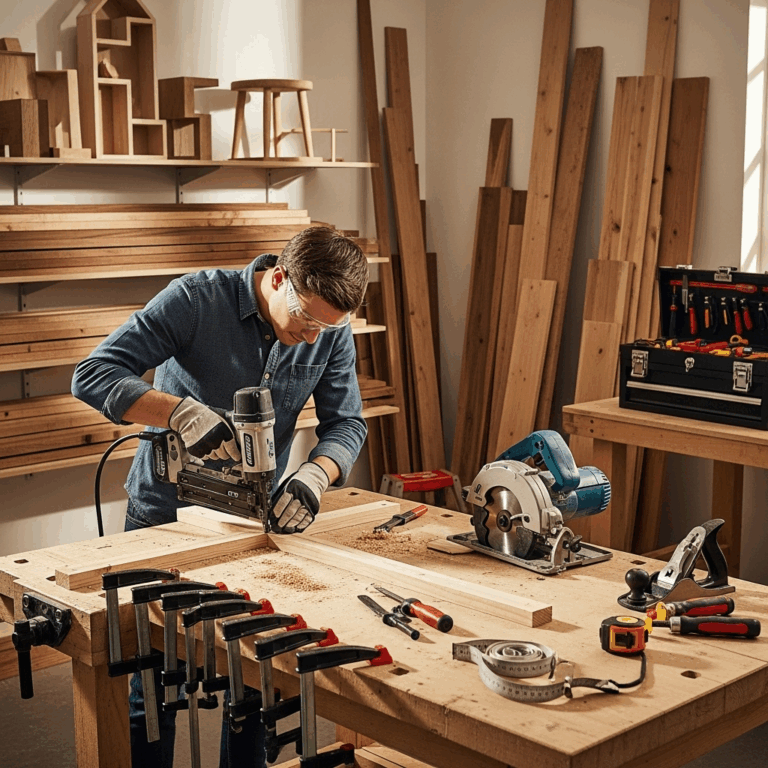
- Wear Safety Gear: This is non-negotiable!
- Safety Glasses: Always, always, always wear safety glasses or goggles. Debris can fly unexpectedly.
- Hearing Protection: Nailers can be loud; earplugs or muffs are a good idea.
- Work Gloves: Protect your hands.
- Sturdy Footwear: Especially important when working at heights.
- Clear Your Workspace: Remove any tripping hazards or obstacles.
Loading the Siding Coil Nailer
The process varies slightly by model, but generally:
- Ensure the nailer is disconnected from the air supply or battery is removed.
- Open the magazine. This usually involves sliding a latch or lever.
- Insert the coil of nails. The nails should feed from the bottom of the coil into the nailer’s drive track. Make sure the wire connecting the nails is facing the correct direction (usually indicated in the manual).
- Gently close the magazine, ensuring it latches securely.
- Reconnect the air supply or reinsert the battery.
- Fire a test nail into a scrap piece of wood to ensure it’s loading and firing correctly.
Nailing Siding: Step-by-Step
This assumes you have a siding plank ready to be attached.
- Position the Siding: Place the siding plank in its final position, ensuring it’s level and properly aligned with any existing courses.
- Prepare the Nailer: Adjust the depth of drive if necessary. For most siding, you want the nail head slightly below the surface of the siding material.
- Engage the Safety Contact Tip: Press the nose of the nailer firmly against the siding where you intend to drive the nail. This engages the safety mechanism.
- Fire the Nail: Once the contact tip is engaged, pull the trigger smoothly. The nail should be driven with a single burst of power.
- Reposition and Repeat: Lift the nailer, move to the next nailing spot, and repeat the process. Consult your siding manufacturer’s guidelines for recommended nailing patterns and spacing. Generally, you’ll nail into the studs or chases provided in the siding material.
- Troubleshooting Jams: If a nail jams, disconnect the air supply or remove the battery immediately. Follow the manufacturer’s instructions for clearing the jam, usually involving opening the magazine or a nose piece.
For best practices on