Create a charming rustic wooden bench for your entryway to solve clutter and add warmth. This guide offers a genius beginner-friendly design you can build with confidence, even with basic tools.
Welcome, DIY friends! Ever walk into your home and feel a little overwhelmed by entryway clutter? Shoes lurking, mail piled up, and nowhere to sit down for a moment? It’s a common frustration in many homes. But what if I told you there’s a beautiful, functional, and surprisingly simple solution you can build yourself? We’re talking about a rustic wooden bench for your entryway. It’s more than just a place to perch; it’s a design that brings natural beauty and smart storage right where you need it most. This guide will walk you through a genius design that’s perfect for beginners. Get ready to transform your entryway with your own hands!
Table of Contents
Why a Rustic Wooden Bench is a Genius Entryway Solution
A rustic wooden bench for your entryway isn’t just a piece of furniture; it’s a hardworking addition that solves several common entryway problems with simple, natural beauty. Think about it: the entryway is the first impression of your home. A well-designed bench says “welcome” while keeping chaos at bay. Its charm comes from the natural materials and handcrafted feel that invite warmth and personality into your space. Plus, its structure can be designed to offer practical solutions for everyday needs.
The “genius” of this design lies in its simplicity and adaptability. It focuses on clean lines, sturdy construction, and the inherent beauty of wood. This approach makes it achievable for beginners while delivering a high-end look and feel. We’ll focus on a design that balances aesthetics with incredible utility, giving you a place to sit, a spot for décor, and often, hidden or integrated storage.
What Makes This Rustic Bench Design “Genius”?
This isn’t just any bench; it’s a carefully considered design for real-life entryways. Here’s what sets it apart:
- Simplicity of Construction: We’re focusing on straight cuts and straightforward joinery. This means fewer opportunities for mistakes and a faster build process, which is fantastic for beginners.
- Built-in Storage Potential: The design can easily incorporate shelves or even a lift-top for hidden storage, perfect for stowing away shoes, bags, or mail.
- Timeless Aesthetic: Rustic wood brings an undeniable warmth and charm. It complements various decor styles, from modern farmhouse to traditional.
- Durability: Using solid wood and robust joinery means this bench will stand up to daily use for years to come.
- Customization: The dimensions and finishes can be easily tweaked to perfectly fit your specific entryway space and personal style.
Choosing Your Wood: The Foundation of Your Rustic Charm
The wood you choose will make a big difference in the final look and feel of your bench. For that authentic rustic vibe, you’ll want woods that have character. Here are some excellent options, along with their pros and cons:
| Wood Type | Pros | Cons | Rustic Appeal |
|---|---|---|---|
| Pine | Affordable, lightweight, easy to work with, takes stain well. | Softer, can dent or scratch easily. | Excellent; knots add character. |
| Fir (Douglas Fir) | Stronger than pine, good appearance, readily available. | Slightly more expensive than pine. | Very good; can have a nice grain. |
| Oak | Very strong, durable, beautiful grain patterns. | More expensive, heavier, harder to work with for beginners. | Excellent; classic, robust look. |
| Reclaimed Wood | Unique character, eco-friendly, sustainable. | Can be inconsistent, may require extra prep (cleaning, checking for nails), variable cost. | Unmatched; inherent history and patina. |
For a beginner-friendly project that still looks fantastic, I highly recommend pine or fir. They are forgiving to work with, budget-friendly, and readily available at most lumber yards or home improvement stores. If you can find some character-grade lumber with knots and imperfections, even better – it adds to the rustic charm!
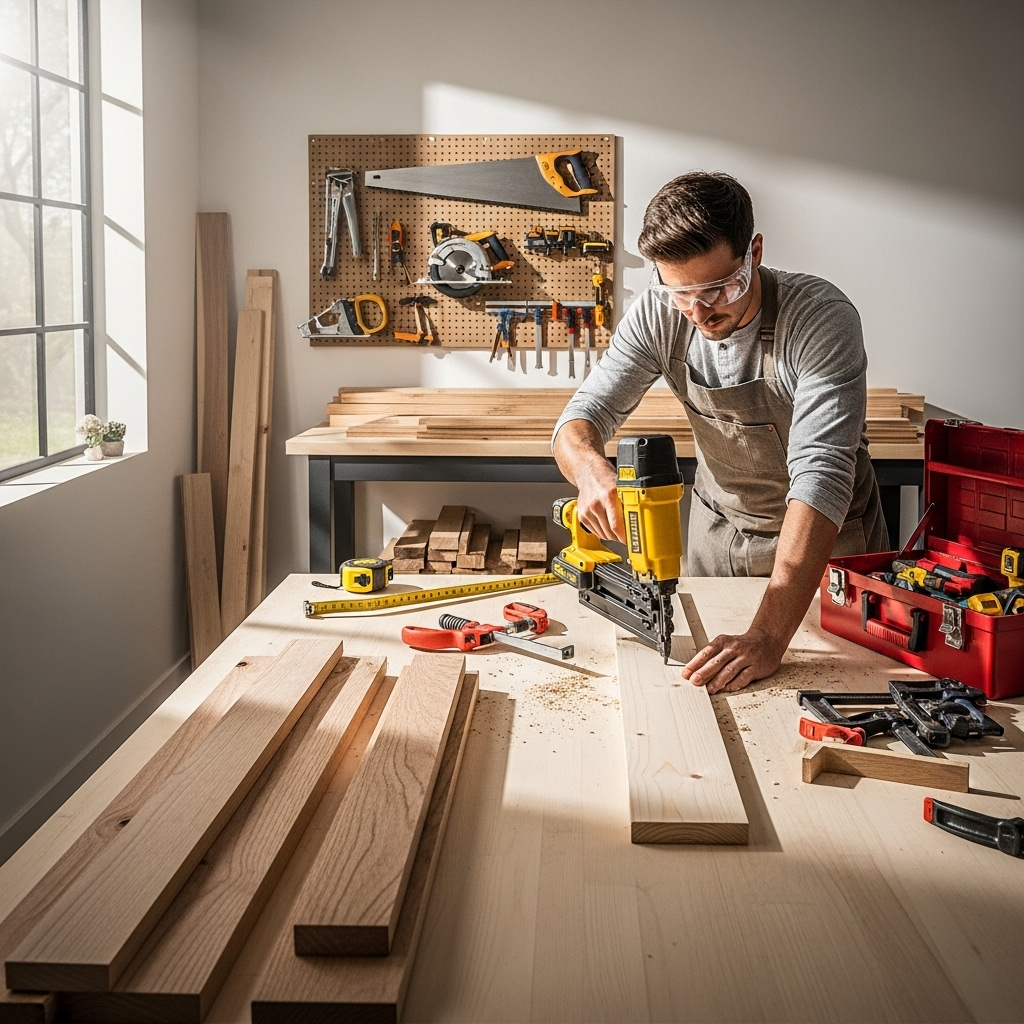
Tools You’ll Need: Your Entryway Bench Build Kit
Before we dive into cutting and assembling, let’s gather our tools. Don’t worry if you don’t have a professional workshop; you can build this bench with a few essential power tools and some hand tools. Safety first, always!
Essential Power Tools:
- Circular Saw or Miter Saw: For making straight cuts. A miter saw is great for accuracy, but a circular saw works well for beginners. Learn more about choosing the right saw here: This Old House – Best Circular Saws
- Drill/Driver: For pre-drilling holes and driving screws. A cordless model is super convenient.
- Orbital Sander: To smooth out rough edges and prepare the wood for finishing.
Hand Tools & Supplies:
- Measuring Tape: Precision matters!
- Pencil: For marking your cuts.
- Speed Square: To ensure your lines are perfectly square.
- Clamps: Essential for holding pieces together while you assemble.
- Safety Glasses: Non-negotiable for protecting your eyes.
- Hearing Protection: Especially important when using power saws.
- Dust Mask: For sanding and cutting.
- Wood Glue: Adds extra strength to your joints.
- Screws: Exterior-grade wood screws (e.g., #8 x 1 1/2″ and #8 x 2 1/2″).
- Sandpaper: Various grits (e.g., 80, 120, 220).
- Wood Finish: Stain, paint, or clear polyurethane to protect and beautify.
- Brushes or Rags: For applying your finish.
Having the right tools makes the job much easier and safer. If you’re unsure about any tool, take some time to read reviews or watch demonstration videos.
The “Genius Design”: A Simple, Sturdy, and Stylish Entryway Bench
Our design focuses on a bench with a solid top, sturdy legs, and an integrated lower shelf. This offers a comfortable place to sit and extra storage for shoes or baskets. The “genius” comes from how simply these components come together.
Let’s imagine a bench that’s approximately 36 inches long, 18 inches high, and 12 inches deep. These dimensions are common for entryways, but you can absolutely adjust them to fit your space!
Cut List: Your Blueprint for Success
Here is a list of the pieces you’ll need to cut. We’ll be using standard 1×12 boards (which are actually about 3/4″ thick and 11 1/4″ wide) and 2×2 boards for the internal supports and legs.
| Component | Wood Type | Quantity | Dimensions |
|---|---|---|---|
| Bench Top | 1×12 | 1 | 36″ long |
| Bench Front/Back Apron | 1×4 (or ripped 1×6) | 2 | 33″ long |
| Bench Side Aprons | 1×4 (or ripped 1×6) | 2 | 9 3/4″ long |
| Lower Shelf | 1×12 | 1 | 33″ long |
| Legs (Outer) | 2×2 | 2 | 17 1/4″ long |
| Legs (Inner/Shelf Supports) | 2×2 | 2 | 14 1/4″ long |
| Shelf Cleats (Optional, for more secure shelf) | 1×2 | 4 | 10″ long |
Important Note: Wood dimensions can be confusing! A “1×12″ board is about 3/4″ thick and 11 1/4” wide. A “2×2″ is actually about 1 1/2″ by 1 1/2”. The apron lengths account for the thickness of the legs they will attach to.
Step-by-Step Assembly: Bringing Your Vision to Life
Let’s break down the assembly process into manageable steps. Remember to pre-drill pilot holes for all screws to prevent the wood from splitting – this is a pro tip that beginners will appreciate!
-
Prepare Your Parts:
Measure twice, cut once! Carefully cut all your pieces according to the cut list. Label each piece with a pencil so you know what’s what. Lightly sand all the cut edges to remove any splinters.
-
Assemble the Base Frame:
Take your two Outer Legs (2x2s, 17 1/4″ long) and two Side Aprons (1x4s, 9 3/4″ long). The side aprons will attach to the sides of the outer legs, forming the ends of the bench frame. Place an apron against the inside face of a leg, so the top of the apron is about 3/4″ down from the top of the leg. This inset will allow the bench top to overhang nicely. Use wood glue and two screws per joint. Repeat for the other side.
Next, attach the Bench Front and Back Aprons (1x4s, 33″ long) between the two leg assemblies you just created. These will sit flush with the outer faces of the legs. Again, use wood glue and screws. You should now have a rectangular frame made of four aprons with two legs attached to the sides at each end.
Pro Tip: Use clamps to hold the pieces together securely while you drive the screws. It makes a world of difference!
-
Attach the Lower Shelf Supports:
Now, take your two Inner Legs (2x2s, 14 1/4″ long). These will be positioned inside the bench frame, about 3/4″ in from the front and back aprons. They should be flush with the bottom of the bench frame. Attach them to the inside of the front and back aprons using wood glue and screws. These inner legs are what your lower shelf will rest on.
-
Install the Lower Shelf:
Place the Lower Shelf (1×12, 33″ long) onto the inner legs. It should sit snugly between the front and back aprons and rest on the inner legs. From the outside of the front and back aprons, drive screws up into the bottom of the shelf. Make sure your screws aren’t too long that they poke through the top of the shelf into the seating area! You can also add the optional 1×2 cleats to the inside of the aprons and then screw the shelf into those for extra support.
Beginner’s Adjustment: If you find screwing into the shelf from the aprons tricky, you can drive screws down from the top of the shelf into the inner legs, then cover these screw holes with wood filler or decorative plugs later.
-
Attach the Bench Top:
Flip the entire assembly upside down. Position the Bench Top (1×12, 36″ long) so it overhangs evenly on the front, back, and sides. Apply wood glue to the top edges of the legs and aprons. Then, carefully flip the bench right-side up. From underneath, drive screws up through the aprons and into the bench top. Use at least two screws per apron and one or two into each leg, depending on where they line up.
-
Sanding and Finishing:
This is where your bench really starts to shine! Use your orbital sander to smooth all surfaces. Start with a coarser grit (like 80