Are you new to the world of roofing? Have you heard about a roofing nailer with coil feed? If not, you’re in for a treat! This tool can make your roofing project much easier.
Imagine standing on a roof, the sun shining, and you need to secure shingles. What do you do? A roofing nailer with coil feed is here to help! It holds many nails at once. This means you can work faster and finish your job in no time.
Did you know that using a roofing nailer can save your hands from tiring out? Instead of hammering each nail, you can just pull the trigger. It’s like magic!
Let’s dive deeper into why this tool is perfect for beginners. You’ll learn how to use it, what to consider, and some helpful tips. By the end, you’ll feel ready to tackle your roofing tasks!
Table of Contents
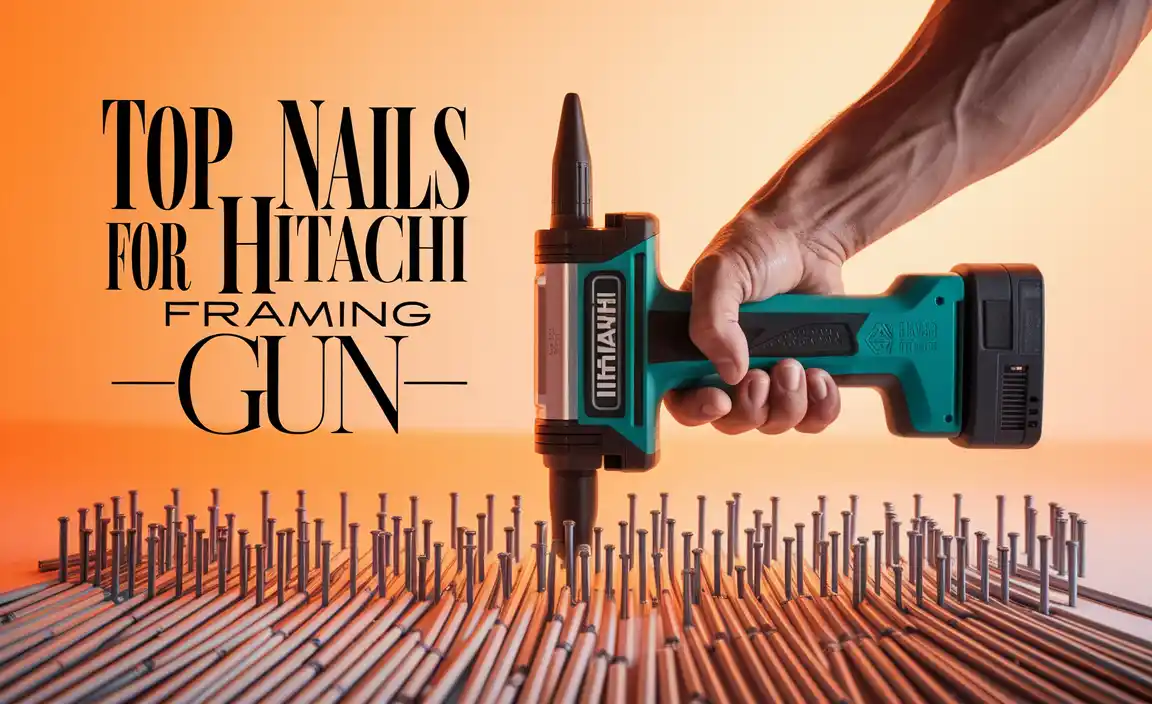
Roofing Nailer With Coil Feed For Beginners: A Comprehensive Guide

Understanding Roofing Nailers with Coil Feed for Beginners
A roofing nailer with coil feed helps beginners tackle roofing tasks more easily. This tool works by holding many nails in a coil, making it quick to reload. Imagine finishing a roof project in half the time! Users learn about safety features, such as a trigger lock, to prevent accidental firing. With practice, they can achieve clean, professional results. It’s a handy tool that boosts confidence and efficiency for anyone looking to do their roofing work.What is a Roofing Nailer with Coil Feed?
Definition and purpose of a roofing nailer with coil feed. Key components and their functions.A roofing nailer with coil feed is a special tool. It helps workers attach shingles to roofs easily. This tool uses coils of nails instead of just one. That means it can work faster and save time on the job. Key parts include:
- Coil Magazine: Holds the nails in a coil, allowing for quick reloads.
- Trigger: Makes the nailer shoot nails when pressed.
- Depth Adjustment: Lets users control how deep the nails go.
- Handle: Provides a comfortable grip for better control.
With this tool, beginners can quickly learn how to install roofing materials like pros!
Why use a roofing nailer with coil feed?
A roofing nailer with coil feed saves time and effort. The coil design means fewer reloads. This keeps projects running smoothly and efficiently.
Benefits of Using Coil Feed Roofing Nailers
Efficiency in fastening roofing materials. Reduced downtime with higher nail capacity.Using a coil feed roofing nailer makes fastening roofing materials quick and easy. It holds many nails, which means you spend less time reloading. In fact, most coil feed nailers can hold up to 300 nails at once! This helps you finish jobs faster with less downtime. Imagine not having to stop every few minutes to refill your naily buddy! Plus, with quicker fastening, your neighbors might even have time to notice your amazing skills!
| Nailer Type | Nail Capacity | Efficiency Level |
|---|---|---|
| Coil Feed | Up to 300 nails | High |
| Stick Feed | About 60-100 nails | Moderate |
Types of Roofing Nailers
Differences between coil feed and other nailer types. Advantages of coil feed nailers for beginners.There are different types of roofing nailers, but coil feed nailers really stand out. They hold many nails in a coil, making them great for big jobs. In comparison, other nailers may only hold a few nails at a time. This means less reloading and more working!
For beginners, coil feed nailers offer some cool benefits:
- Efficiency: You can finish projects faster.
- Easy Handling: They are lighter and simpler to use.
- Fewer Jams: They often jam less than other types.
Choosing a coil feed nailer can make roofing easier and more fun!
What is the best roofing nailer for beginners?
The best roofing nailer for beginners is usually a coil feed type. It is easy to operate and helps you work quickly.
Key Features to Look for in a Roofing Nailer
Nail size and capacity considerations. Weight, ergonomics, and ease of use.Choosing the right roofing nailer is important. Consider these key features:
- Nail size and capacity: Make sure it can hold different nail sizes. A good range is 1 to 2 ¾ inches.
- Weight: Lighter models are easier to handle. Pick a nailer you can use without getting tired.
- Ergonomics: Look for rubber grips. This helps keep your hands comfortable while working.
- Ease of use: Simple controls make nailing faster and easier.
These features help you make a smart choice!
What nail size should I use for a roofing nailer?
The ideal nail size is between 1 inch and 2 ¾ inches. This range works best for most roofing tasks, ensuring a secure fit.
Why does weight matter in a roofing nailer?
Lighter nailers are easier to hold and use for long periods. This means less fatigue and better performance on the job.
How can I tell if a roofing nailer is comfortable to use?
Check for rubber grips and a balanced design. These features make it easier to control while working.
How to Choose the Right Roofing Nailer
Factors to consider based on projects and materials. Brand recommendations for beginners.Choosing a roofing nailer can feel like trying to find Waldo in a crowd. First, think about your project. What materials will you use? Heavy shingles need a tough nailer, while lighter options work for smaller jobs. Next, consider the brand. Some reliable names for beginners include Bostitch and Hitachi. They’re user-friendly and won’t give you a headache! Here’s a simple table to help:
| Brand | Best For |
|---|---|
| Bostitch | Versatile projects |
| Hitachi | Lightweight jobs |
| Dewalt | Durability |
Pick wisely, and you’ll nail it—pun intended!
Maintenance Tips for Coil Feed Roofing Nailers
Regular cleaning and care practices. Troubleshooting common issues.Taking care of your coil feed roofing nailer can keep it firing fast and strong. Start with regular cleaning to avoid any build-up of dirt and dust—think of it as giving your nailer a nice spa day! Next, check for common problems. If nails jam, don’t panic; it happens even to the best of us. Here’s a handy table to help tackle these issues:
| Issue | Solution |
|---|---|
| Nails jam | Clear the jam and inspect for any obstructions. |
| Inconsistent firing | Check air pressure and oil the moving parts. |
| Leaking air | Inspect hoses and connections for damage. |
Remember, with a little TLC, your nailer will be ready for any project. So, treat it well and it will nail every job with ease!
Safety Precautions When Using a Roofing Nailer
Essential safety gear and precautions. Best practices for safe operation.Using a roofing nailer safely is very important. It can help you avoid serious injuries. First, always wear safety goggles and ear protection. Heavy-duty gloves are also a smart choice. Here are some best practices:
- Keep your hands away from the firing area.
- Never point the tool at anyone.
- Make sure the nailer is not jammed before using.
- Always check your surroundings for others.
Following these tips will help keep you safe while you work. Remember, safety first!
What safety gear do I need for a roofing nailer?
You need to wear safety goggles, ear protection, and gloves for protection. These items keep you safe from nails and noise.
Common Mistakes to Avoid as a Beginner
Misusing the tool or improper handling. Neglecting preparation and setup steps.Beginners can easily make mistakes with a roofing nailer. Improper tool use is common. Always hold the tool firmly and aim carefully. Neglecting cooling or cleaning can hurt performance too. Also, don’t skip important setup steps. Preparation is key for a safe and smooth job. Here are tips:
- Review the user manual.
- Check for safety gear.
- Inspect the work area.
- Practice before starting.
What should beginners know about using a roofing nailer?
Beginners must keep safety in mind and follow all setup steps. This helps avoid accidents and ensures a good finish. Recognizing the tool’s features is also important to use it correctly.
Getting Started: First Steps for Beginners
Preparing your work area and materials. Stepbystep guide to using a roofing nailer.Before using your roofing nailer, prepare your work area. Clear the space of any obstacles. Gather all your materials like shingles and safety gear. This makes the job easier. Here’s a quick guide to using a roofing nailer:
- Check the nailer for any damage.
- Fill it with coils of nails.
- Adjust the depth setting.
- Secure a safety mask and goggles.
- Practice on scrap wood first.
- Start nailing on a small section.
Take your time and follow the steps carefully. This way, you’ll feel confident while working!
What should I prepare before using a roofing nailer?
Clear space, gather materials, and wear safety gear. These steps help keep you safe and organized while working.
Resources for Further Learning
Recommended tutorials and guides. Online forums and communities for support.Many resources can help you learn more about using a roofing nailer with coil feed for beginners. Here are some useful ones:
- **YouTube Tutorials**: Watch step-by-step videos on using roofing nailers.
- **Guides and eBooks**: Read simple guides that explain different tools and safety tips.
- **Online Forums**: Join communities like Reddit to ask questions and share experiences.
- **Local Workshops**: Check for classes at hardware stores or community centers.
What are some good resources to learn about roofing nailers?
YouTube tutorials, online forums, and local workshops are great resources.
Conclusion
In conclusion, a roofing nailer with coil feed is great for beginners. It saves time and makes nailing easier. You’ll find that it holds many nails, reducing trips for refills. Remember to practice safety first and wear protection. For more tips and techniques, consider exploring tutorials online. Start your roofing project confidently and enjoy the process!FAQs
What Are The Key Features To Look For In A Coil Feed Roofing Nailer For Beginners?When looking for a coil feed roofing nailer, you should check for a few important features. First, see if it is light and easy to carry. This helps you work longer without getting tired. Next, look for a saw that has an adjustable depth. This lets you control how deep the nails go. Finally, choose one with a good safety feature to keep you safe while using it.
How Do You Properly Load And Unload Nails In A Coil Feed Roofing Nailer?To load nails in a coil feed roofing nailer, first open the magazine. Then, place the coil of nails inside. Make sure the nails are facing the right way. Close the magazine tightly. To unload nails, first turn off the nailer. Open the magazine again and take out the coil. Make sure no nails are stuck before closing the magazine. Always be careful when handling the tool!
What Safety Precautions Should Be Taken When Using A Roofing Nailer?When using a roofing nailer, you should always wear safety goggles to protect your eyes. Keep your hands and fingers away from the nail slot so you don’t get hurt. Always check the area for people and pets before you shoot nails. Finally, use the nailer only when you’re sure it’s safe to fire.
What Types Of Roofing Projects Are Best Suited For A Coil Feed Roofing Nailer?A coil feed roofing nailer is great for big roofing jobs. You can use it for installing shingles quickly. It is perfect for covering large areas of a roof. Also, it helps when you need to put down felt paper fast. This tool makes your work easier and saves time!
How Does A Coil Feed Roofing Nailer Compare To Other Types Of Roofing Nailers, Such As Stick Nailers, For Beginners?A coil feed roofing nailer holds a lot of nails in a round container. This means you can work longer without stopping to reload. In contrast, stick nailers have nails in a straight line and need more loading breaks. For beginners, a coil nailer can be easier because it lets you keep nailing quickly. You can finish your roofing project faster!
{“@context”:”https://schema.org”,”@type”: “FAQPage”,”mainEntity”:[{“@type”: “Question”,”name”: “What Are The Key Features To Look For In A Coil Feed Roofing Nailer For Beginners? “,”acceptedAnswer”: {“@type”: “Answer”,”text”: “When looking for a coil feed roofing nailer, you should check for a few important features. First, see if it is light and easy to carry. This helps you work longer without getting tired. Next, look for a saw that has an adjustable depth. This lets you control how deep the nails go. Finally, choose one with a good safety feature to keep you safe while using it.”}},{“@type”: “Question”,”name”: “How Do You Properly Load And Unload Nails In A Coil Feed Roofing Nailer? “,”acceptedAnswer”: {“@type”: “Answer”,”text”: “To load nails in a coil feed roofing nailer, first open the magazine. Then, place the coil of nails inside. Make sure the nails are facing the right way. Close the magazine tightly. To unload nails, first turn off the nailer. Open the magazine again and take out the coil. Make sure no nails are stuck before closing the magazine. Always be careful when handling the tool!”}},{“@type”: “Question”,”name”: “What Safety Precautions Should Be Taken When Using A Roofing Nailer? “,”acceptedAnswer”: {“@type”: “Answer”,”text”: “When using a roofing nailer, you should always wear safety goggles to protect your eyes. Keep your hands and fingers away from the nail slot so you don’t get hurt. Always check the area for people and pets before you shoot nails. Finally, use the nailer only when you’re sure it’s safe to fire.”}},{“@type”: “Question”,”name”: “What Types Of Roofing Projects Are Best Suited For A Coil Feed Roofing Nailer? “,”acceptedAnswer”: {“@type”: “Answer”,”text”: “A coil feed roofing nailer is great for big roofing jobs. You can use it for installing shingles quickly. It is perfect for covering large areas of a roof. Also, it helps when you need to put down felt paper fast. This tool makes your work easier and saves time!”}},{“@type”: “Question”,”name”: “How Does A Coil Feed Roofing Nailer Compare To Other Types Of Roofing Nailers, Such As Stick Nailers, For Beginners?”,”acceptedAnswer”: {“@type”: “Answer”,”text”: “A coil feed roofing nailer holds a lot of nails in a round container. This means you can work longer without stopping to reload. In contrast, stick nailers have nails in a straight line and need more loading breaks. For beginners, a coil nailer can be easier because it lets you keep nailing quickly. You can finish your roofing project faster!”}}]}