Quick Summary:
Choosing the right roofing nailer is key for construction workers. This guide breaks down what to look for, how to pick the best model, and essential safety tips to ensure a smooth and secure roofing job from start to finish.
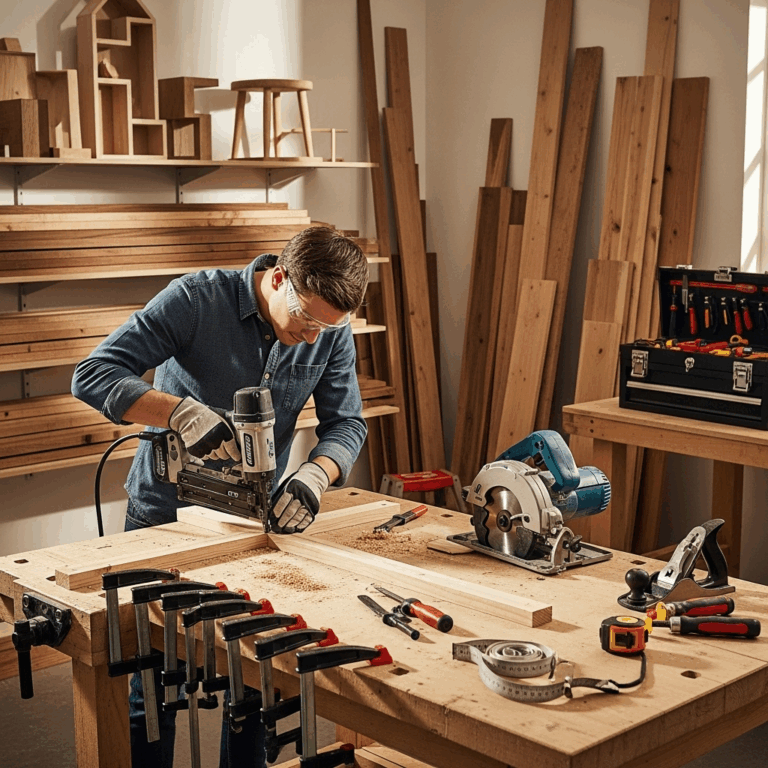
Hey everyone, Jack Shaffer here from Nailerguy! If you’re new to roofing or looking to upgrade your kit, you’ve probably noticed there are a lot of different nail guns out there. It can feel a little overwhelming trying to figure out which one is right for the job, especially when your roof depends on it. A roofing nailer isn’t just any tool; it’s a specialized piece of equipment designed to make your work safer, faster, and more efficient. Don’t worry, though! I’m here to walk you through everything you need to know. We’ll cover the essentials, from understanding how these tools work to picking the perfect one for your needs.
Table of Contents
Why a Roofing Nailer is a Game-Changer for Construction Workers
Working on a roof involves repetitive tasks that can be tough on your body. Traditionally, hammering shingles by hand means thousands of nails driven, often in awkward positions. This can lead to fatigue, strain, and even injuries. That’s where the humble, yet mighty, roofing nailer comes in.
A good roofing nailer can significantly speed up the shingling process. It consistently drives nails to the correct depth, ensuring that your shingles are secured properly and won’t blow off in the wind. This means fewer callbacks for you and a more durable roof for your client. Plus, it takes a lot of the physical stress out of the job, letting you focus on accuracy and safety.
Think about it: instead of bending down, picking up a nail, positioning it, and hammering, you’re simply aiming the tool and pulling the trigger. This simple action can save hours on a single project and make a huge difference in your workday.
Understanding the Anatomy of a Roofing Nailer
Before we dive into choosing one, let’s quickly go over the main parts of a roofing nailer so we’re all on the same page. Most roofing nailers share these key components:
- Nail Magazine: This is where you load the coil of roofing nails. It’s designed to hold a specific type and length of nail.
- Nail Drive Mechanism: This is the part that actually fires the nail. It’s powered by either compressed air or a battery.
- Nosepiece/Contact Trip: This is the tip of the nailer that you press against the shingle. When it’s pushed down, it allows the nail gun to fire. This safety feature prevents accidental firing.
- Depth Adjustment Dial: Most nailers have a way to adjust how deep the nail is driven. This is crucial for hitting the right spot without damaging the shingle or under-driving the nail.
- Handle and Trigger: Standard parts for operating the tool. Look for ergonomic designs for comfort during long days.
- Air Hose Connection (for pneumatic models): Where you connect the air hose from your compressor.
- Battery Pack (for cordless models): The power source for battery-operated nailers.
Types of Roofing Nailers: Pneumatic vs. Cordless
When you’re looking for a roofing nailer, you’ll primarily encounter two types: pneumatic and cordless. Each has its own set of advantages and disadvantages that might make one a better fit for your work style and job site.
Pneumatic Roofing Nailers
These are the workhorses that many professionals have relied on for years. They run on compressed air supplied by an external air compressor. You’ll need to carry a compressor to the job site, along with an air hose.
Pros of Pneumatic Roofing Nailers:
- Power and Speed: Pneumatic nailers are generally very powerful and can drive nails quickly and consistently, even in tough materials.
- Lighter Weight (Tool itself): The tool itself is often lighter than cordless models because the motor and power source are separate (the compressor).
- Durability: They are often built for heavy-duty, daily use and can be very long-lasting.
- Cost: While you need a compressor, the nailer unit itself can sometimes be more affordable than high-end cordless models.
Cons of Pneumatic Roofing Nailers:
- Hose Management: You need to manage an air hose, which can sometimes get tangled or be a tripping hazard.
- Compressor Requirement: You need to transport and maintain a compressor and generator (if you don’t have site power), adding bulk and complexity.
- Noise: Compressors can be quite loud on the job site.
Cordless Roofing Nailers
These are the newer generation of roofing nailers, powered by rechargeable battery packs, sometimes using a small fuel cell and battery combination. They offer the ultimate in portability and freedom of movement.
Pros of Cordless Roofing Nailers:
- Portability: No hoses or compressors needed! This makes moving around the roof much easier and faster.
- Convenience: Simply charge the battery and go. Perfect for quick jobs or sites where power is limited.
- Ease of Use: Often very straightforward to operate.
Cons of Cordless Roofing Nailers:
- Battery Life: You need to manage battery life and ensure you have enough charged batteries for the day’s work.
- Weight: The tool itself can be heavier due to the integrated battery and motor.
- Power (in some models): While improving rapidly, some entry-level cordless models might struggle with very hard materials or extreme cold compared to top-tier pneumatics.
- Cost: Cordless models, especially those with advanced battery technology, can have a higher upfront cost.
Key Features to Look for in a Roofing Nailer
Beyond the power source, several other features can make a big difference in your daily work. Here are the essentials to consider:
Nail Capacity and Size
Roofing nailers typically use 1-1/4 inch shank nails with a 7/16-inch or 1/2-inch head. Most roofing nailers are designed to fire these specific nails, which are essential for securing roofing materials like shingles and underlayment correctly. Always check the nail size specifications of the nailer to ensure it matches the nails you’ll be using. Many roofing nailers come with a magazine that holds a coil of about 100-120 nails, meaning you won’t have to reload too often during a typical shingling pass.
Weight and Ergonomics
You’ll be holding and operating this tool for hours on end, often in uncomfortable positions. A tool that’s too heavy or has a poor grip can lead to fatigue and discomfort. Look for nailers with:
- Comfortable Grip: Rubberized handles can absorb vibrations and provide a better hold.
- Balanced Weight: Even if it’s a bit heavier, a well-balanced tool feels easier to manage for longer periods.
- Reduced Vibration: Some models are designed to minimize the vibration transmitted to your hand and arm.
Safety Features
Safety is paramount when working at height. Roofing nailers have built-in safety mechanisms, but it’s good to be aware of them:
- Contact Trip or Sequential Trip: Most roofing nailers use a “contact trip” mechanism, meaning you have to press the nosepiece against the surface before pulling the trigger to fire. This prevents accidental firing. Some might offer a sequential trip option for more controlled nailing, but contact trip is standard and preferred for speed on roofing.
- Safety Glasses: Always wear appropriate safety glasses – this is non-negotiable.
- Lock-off Trigger: A feature that prevents the tool from firing when it’s not intended.
Durability and Build Quality
A roofing nailer is an investment. You want a tool that can withstand the tough conditions of a construction site. Look for brands known for their reliability and robust construction. Many professional-grade nailers have magnesium or aluminum housings, which are strong yet lightweight.
Depth Adjustment
As mentioned, this is crucial. You need to be able to sink the nail just perfectly – not too deep to tear the shingle, and not too shallow to leave it exposed. Many roofing nailers have an easy-to-use dial for quick depth adjustments on the fly.
Magazine Capacity and Reloading Ease
A higher capacity means less downtime for reloading. Also, consider how easy it is to load a new coil of nails. Some nailers have a quick-loading mechanism, while others might require a bit more effort.
Top Roofing Nailer Brands and Models (A Quick Look)
While specific models change, some brands consistently deliver quality roofing nailers. Here’s a quick overview of reputable manufacturers. It’s always a good idea to read recent reviews and compare current models.
| Brand | Commonly Praised Features | Notes |
|---|---|---|
| Metabo HPT (formerly Hitachi) | Known for powerful pneumatic roofing nailers with excellent durability. Often feature reliable depth control and robust build quality. | A long-standing favorite in the professional roofing community. |
| Paslode | Offers both excellent pneumatic and innovative cordless (fuel cell + battery) roofing nailers. Their cordless systems are often praised for balance and ease of use. | Pioneers in cordless nailer technology, offering power and portability. |
| Bostitch | A well-regarded brand for pneumatic tools. Their roofing nailers are typically powerful, durable, and offer good value. | Reliable performance for demanding job sites. |
| Senco | Offers a range of professional-grade pneumatic and some cordless options. Known for consistent performance and durability. | A solid choice for professionals seeking dependable tools. |
| DEWALT | Increasingly popular for their cordless offerings. DEWALT batteries and tools are widely available, and their roofing nailers combine power with convenience. | Strong contender in the cordless market, leveraging their extensive battery platform. |
When you’re researching, look for specific models within these brands that fit your budget and feature preferences. Websites like Toolbarn, Home Depot, Lowe’s, and specialized industrial tool suppliers are great places to compare specs and read user feedback.
How to Load and Operate Your Roofing Nailer Safely
Knowing how to operate your roofing nailer safely is just as important as choosing the right one. Let’s walk through the basic steps. Always refer to your specific tool’s manual for detailed instructions.
Step-by-Step: Loading a Coil of Nails
- Prepare your workspace and yourself: Ensure you are wearing all necessary safety gear, especially safety glasses. Clear the area around you of any obstructions.
- Locate the Magazine Latch: Most roofing nailers have a latch or lever that opens the nail magazine. It’s usually located near the end of the magazine.
- Open the Magazine: Release the latch and open the magazine. It might slide open or pivot.
- Insert the Nail Coil: Place the coil of nails into the magazine. Ensure the nails are oriented correctly so they will feed smoothly into the drive path. Often, the nails should feed from the bottom of the coil upwards.
- Check Nail Orientation: Some nailers have guides or specific slots for the nails. Make sure the nail heads and points are lined up to feed properly into the firing mechanism.
- Tension the Spring: Many magazines have a spring-loaded feed mechanism that pushes the nails forward. You might need to pull a lever or push a button to tension this spring, ensuring positive contact with the nails.
- Close the Magazine: Carefully close the magazine until the latch clicks securely into place.
- Test Fire (Safely): With the nailer pointed away from yourself and others, and ideally against a scrap piece of wood (not the roof yet), squeeze the trigger. This ensures the nails are feeding and the tool is firing correctly.
Step-by-Step: Operating the Nailer on the Roof
- Start with Safety Gear: Always wear your safety glasses. If working at height, ensure you have proper fall protection in place according to OSHA guidelines or your company’s safety protocols. You can find more information on safe working at heights from organizations like OSHA.
- Connect Power: For pneumatic nailers, ensure your air compressor is set to the recommended pressure (check your nailer’s manual – usually between 70-120 PSI). Connect the air hose securely. For cordless, ensure your battery is charged and inserted.
- Position the Nailer: Hold the nailer firmly. Place the nosepiece flat against the shingle, just above the shingle’s nail line, where it will penetrate the correct fastening zone. Typically, this is about 1/2 inch to 1 inch from the top edge of the overlapping shingle.
- Drive the Nail: Squeeze the trigger. The nailer will fire, driving a nail into the shingle and the roof deck below.
- Adjust Depth (if needed): If the nail is too deep or too shallow, adjust the depth setting dial on the nailer. Test fire on a scrap piece or a less critical area until you achieve the desired depth.
- Maintain Consistent Spacing: Follow the manufacturer’s recommendations for shingle fastening patterns and nail spacing. Typically, this involves driving nails in rows, spaced about 5-6 inches apart, depending on the shingle type and local building codes.
- Reload Promptly: When the magazine is nearly empty, reload to avoid interruptions or a missed nail mid-job.
- Power Down/Disconnect: At the end of a section or when moving to another roof area, disconnect the air hose or remove the battery for safety.
Maintenance for Your Roofing Nailer
A little bit of regular maintenance can go a long way in keeping your roofing nailer working reliably for years. Treat it well, and it will treat you well on the job.
Daily Maintenance:
- Wipe Down: After each use, wipe down the exterior of the nailer with a clean, dry cloth to remove dust and debris.
- Check for Damage: Inspect the tool for any visible damage to the housing, nosepiece, or trigger.
- Lubrication (Pneumatic): For pneumatic nailers, add 1-2 drops of specialized pneumatic tool oil to the air inlet before each use. This is crucial for internal lubrication.
Weekly/Monthly Maintenance:
- Clean the Nosepiece: Occasionally, you might get asphalt or debris stuck around the nosepiece. Carefully clean this area to ensure proper contact and safe firing.
- Inspect O-rings and Seals: Check for any worn or damaged O-rings or seals, especially on pneumatic tools. Damaged seals can cause air leaks.
- Store Properly: Store your nailer in a dry place, away from extreme temperatures. Some batteries should not be stored fully charged or fully depleted for long periods.
- Clean the Magazine: Ensure easy nail feeding by occasionally cleaning out any dust or shavings from the magazine.
Always disconnect the power source (air hose or battery) before performing any maintenance or cleaning. Refer to your specific tool’s manual for detailed maintenance recommendations, as procedures can vary slightly between brands and models.
Choosing the Right Roofing Nailer for You
As we wrap up, let’s consider how to put all this information together when making your decision. It really comes down to your specific needs and preferences.
Ask Yourself These Questions:
- What’s your budget? Cordless can be a higher initial investment, but pneumatic requires a compressor and potentially a generator.
- What type of jobs do you usually do? For large commercial jobs or daily heavy use, a robust pneumatic might be preferred. For smaller residential jobs, frequent on-and-off work, or situations with limited power, cordless shines.
- How important is portability and freedom of movement? If you value speed of setup and ease of maneuvering on the roof, cordless is hard to beat.
- What’s your experience level? Both types are generally user-friendly, but the simplicity of cordless might appeal more to some beginners.
- Do you already own a compatible air compressor or battery platform? If you have a good compressor already, a pneumatic nailer can be a very cost-effective choice. If you’re heavily invested in a particular brand’s cordless tools, expanding that system makes sense.
Don’t be afraid to try out a few models if possible, or at least handle them in a store. Feel the weight,