Summary: Installing reclaimed wood flooring with a glue-down method is a fantastic way to add timeless character and value to your home. This guide provides a straightforward, beginner-friendly process to ensure a beautiful, lasting floor.
You’re looking to install reclaimed wood flooring, and that’s a brilliant choice! It brings such unique history and charm to any space. Maybe you’ve got your eye on those rustic, character-filled planks and are wondering about the best way to get them down. You might have heard about nailing or even floating, but let’s talk about the “glue down” method.
It’s a genius install, especially for reclaimed wood, because it gives you a solid, secure feel and helps those beautiful, often thinner, reclaimed planks lay flat and even. Don’t worry if you’re new to flooring projects; we’re going to walk through this step-by-step. You’ll feel confident and ready to rock your new floors!
Table of Contents
Why Choose Glue Down for Reclaimed Wood Flooring?
Reclaimed wood flooring is special. It’s wood that’s been salvaged from old barns, factories, or other structures, giving it a history and a look you just can’t replicate with new lumber. Because of this, reclaimed wood can sometimes be a bit more varied in thickness or width than modern engineered flooring. This is where the glue-down method really shines.
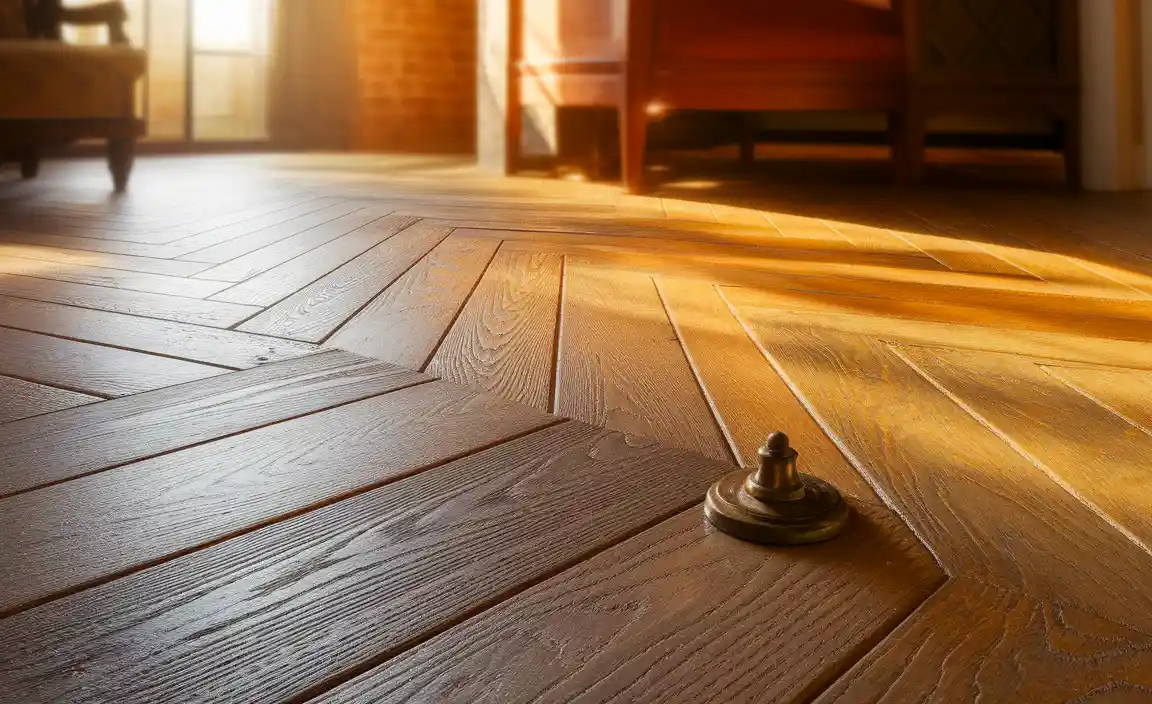
When you glue your reclaimed wood planks directly to the subfloor, you’re creating a monolithic bond. This means the entire floor essentially becomes one solid piece. This is super beneficial for reclaimed wood because:
Stability: It greatly reduces the chance of planks cupping, warping, or gapping, which can happen with other installation methods if the wood isn’t perfectly uniform.
Sound: A glued-down floor feels more solid underfoot and sounds less hollow than a floating floor. You get that satisfying thump instead of a click-clack.
Durability: This method creates a very strong connection between the wood and the subfloor, which translates to a more durable, long-lasting floor.
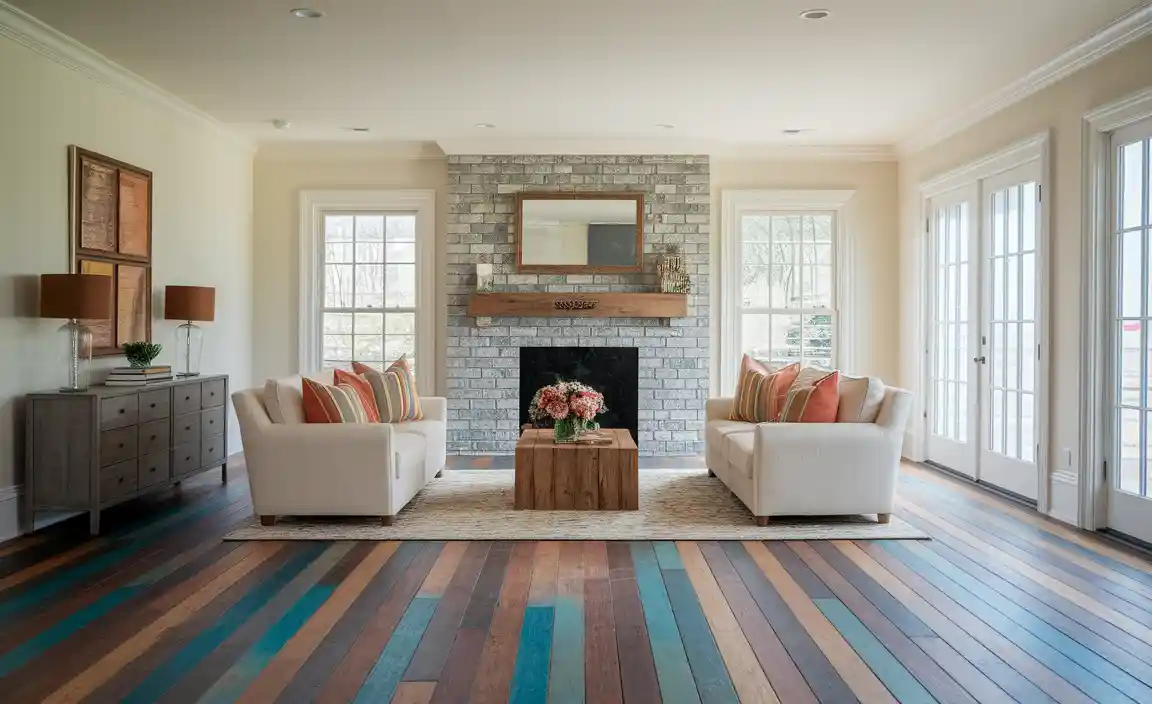
Aesthetics: It helps maintain the beautiful, consistent surface of your unique reclaimed wood.
While it might seem a bit more involved than floating a floor, a glue-down installation is totally achievable for a DIYer with the right preparation and tools.
Tools and Materials You’ll Need
Before we start laying wood, let’s gather our gear. Having everything ready makes the process smooth and prevents frustrating trips to the store mid-project. Think of this as your checklist to success!
Essential Tools:
Measuring Tape: For accurate measurements of your room and your planks.
Pencil: To mark cuts and layout lines.
Chalk Line or Long Straight Edge: To snap straight guide lines on your subfloor.
Utility Knife: For trimming, scoring, and general adjustments.
Broom and Dustpan / Vacuum Cleaner: For keeping your work area clean.
Wet Vacuum (Optional but Recommended): For cleaning up excess adhesive.
Safety Glasses: Always protect your eyes!
Work Gloves: To protect your hands from adhesive and splinters.
Knee Pads: You’ll be spending a lot of time on your knees. Trust me, these are a lifesaver.
Flooring Scraper or Putty Knife: For removing old adhesive or leveling small imperfections.
Circular Saw or Miter Saw: For cutting planks to size. A miter saw is great for precise crosscuts.
Jigsaw (Optional): Useful for cutting around irregular obstacles like doorways.
Mallet (Rubber or Dead Blow): To gently tap planks into place without damaging them.
Tapping Block: A specialized block that protects the edges of your planks when tapping them together.
Pull Bar: To gently pull the last row of planks Tighter against the wall.
Adhesive Trowel: This is crucial! The type of trowel (square notch, V-notch, etc.) depends on the adhesive you choose. It has notched edges to spread the adhesive in an even, ridged layer. Your adhesive packaging will usually specify what to use.
Flooring Adhesive: Choose an adhesive specifically designed for wood flooring and the type of subfloor you have. Look for high-quality, polyurethane-based adhesives for reclaimed wood.
Materials:
Reclaimed Wood Flooring: Enough to cover your room, plus about 10-15% for cuts and mistakes.
Flooring Adhesive: As recommended by your flooring manufacturer and for your specific subfloor.
Subfloor Preparation Materials: Depending on your subfloor, you might need self-leveling compound, primer, or underlayment.
Painter’s Tape: For temporary holds or marking.
Step-by-Step: The Genius Glue-Down Reclaimed Wood Floor Install
Alright, let’s get down to business! This process is all about precision and patience. Take your time with each step, and you’ll be rewarded with a beautiful floor.
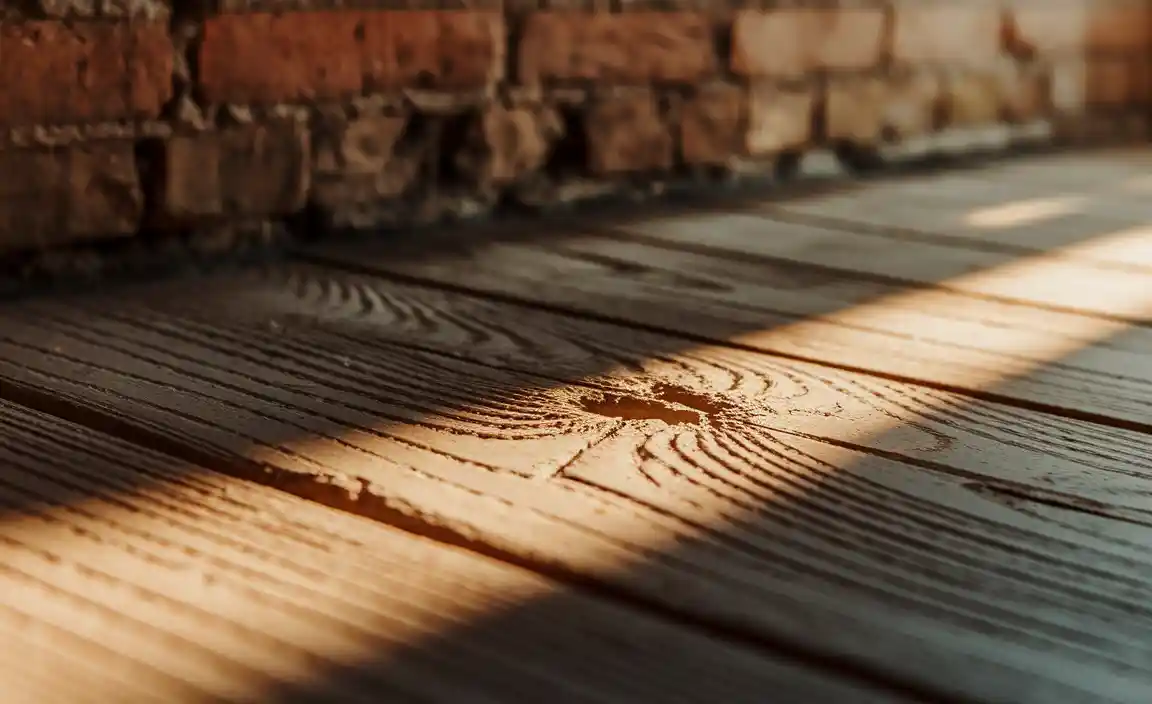
Step 1: Acclimate Your Reclaimed Wood
This is super important for any wood flooring, and especially for reclaimed wood. Wood expands and contracts with changes in humidity and temperature. If you bring your new planks into a room and install them immediately, they might change size later, leading to gaps or buckling.
Bring the flooring into the room where it will be installed.
Unbox the planks and stack them loosely. Avoid leaving them in their original sealed packaging.
Allow at least 72 hours (3 days) for acclimation. Some manufacturers recommend longer, so always check their specific guidelines.
Ensure the room’s temperature and humidity are stable and within the recommended range. You can use a hygrometer to measure humidity. It’s best to have HVAC running to simulate normal living conditions.
Step 2: Prepare Your Subfloor
A solid, clean, and level subfloor is the foundation of a great floor. This step is non-negotiable for a glue-down installation. You’ll generally be gluing onto a concrete slab or a plywood subfloor.
Cleanliness is Key: Sweep and vacuum the subfloor thoroughly. Remove all dust, debris, paint, oil, old adhesive, or anything else that could prevent the new adhesive from bonding.
Check for Levelness: Use a long, straight edge or a leveling trowel. Most manufacturers require the subfloor to be within 1/8 inch of level over a 6-foot span. Low spots can be filled with a self-leveling compound. High spots might need to be ground down (on concrete) or sanded (on plywood). You can find excellent guides on self-leveling compounds from resources like Concrete Construction Magazine, detailing proper application and curing times.
Check for Moisture: This is critical, especially for concrete slabs. Excessive moisture can cause adhesive failure and wood damage. Use a reliable moisture meter. For concrete, you might need a vapor barrier or a moisture-mitigating primer if readings are too high. Consult with your flooring manufacturer or adhesive supplier for specific moisture testing requirements and acceptable levels.
Structural Integrity (for Plywood): Ensure your plywood subfloor is securely fastened. Check for any loose or squeaky boards and screw them down.
Step 3: Plan Your Layout
A good layout makes the installation look professional and ensures you avoid awkward cuts at the end.
Find Your Starting Wall: Typically, you’ll start along the longest, straightest wall in your room.
Determine Plank Direction: Most people run planks parallel to the longest wall. However, you can also run them perpendicular to the main light source (like a window) to make the room feel wider. Visualizing this is important for reclaimed wood, as the varied nature of the planks can look very different depending on direction.
Dry-Fit a Few Rows: Lay out a few rows of planks without adhesive to visualize the pattern and ensure your starting and ending rows will look balanced.
Mark Your Starting Line: Using your chalk line, snap a straight line parallel to your starting wall. This line will guide your first row of planks. Measure out from the wall by the width of your first plank (minus a small expansion gap if needed, though for glue-down, this is less critical unless dealing with very wide planks).
Step 4: Mix and Apply the Adhesive
This is where the magic happens! Always follow the adhesive manufacturer’s instructions carefully.
Read the Instructions: Different adhesives have different application methods and “open times” (how long the adhesive stays tacky before you need to lay the wood).
Use the Correct Trowel: Select a trowel with the notch size recommended by the adhesive and flooring manufacturer. The notches are designed to spread the glue in an even, consistent layer, ensuring proper coverage and preventing too much glue from squeezing up.
Apply in Small Sections: Don’t spread adhesive over your entire floor at once. Work in sections of about 3-5 square feet. This ensures the adhesive stays wet and tacky when you lay the planks.
Apply Evenly: Hold the trowel at a consistent angle (usually 45 degrees) and spread the adhesive in a uniform pattern of ridges. Avoid puddles or thin spots.
Step 5: Laying the First Row
This is your anchor row, so make it perfect.
Start at Your Marked Line: Place the edge of your first plank directly on your chalk line, with the tongue side facing away from the wall. Alternatively, some installers prefer to start with the groove side against the wall. If you are starting with the tongue towards open space, ensure you are also maintaining a small expansion gap along the wall (about 1/2 inch, which will be covered by baseboards).
Press Firmly: Gently press the plank into the wet adhesive with your body weight.
Lay Subsequent Planks: Add the next plank, fitting its tongue into the groove of the previous one. Tap them together gently with your mallet and tapping block to ensure a tight fit and good adhesion.
Maintain Straightness: Keep an eye on your chalk line as you go. A crooked first row will throw off the entire floor.
Step 6: Laying Subsequent Rows
Now you’ll start building your floor.
Stagger Your Joints: This is crucial for strength and appearance. For reclaimed wood, aim for a staggered pattern where the end joints of one row don’t line up with the end joints of the adjacent rows. A common recommendation is to stagger joints by at least 6 inches, but check your flooring manufacturer’s specs. This means you’ll often be using offcuts from one row to start the next.
Use Your Tapping Block and Mallet: When joining planks end-to-end, use the tapping block against the tongue or groove of the plank you’re installing, and gently tap with the mallet to create a tight, seamless connection.
Work in Sections: Continue applying adhesive in small sections and laying planks. Don’t rush!
Clean Up Excess Adhesive: As you go, wipe away any adhesive that squeezes up between the planks with a clean cloth or a wet vacuum. Dried adhesive is very difficult to remove and can create an uneven surface.
Step 7: Making Cuts
You’ll inevitably reach walls, doorways, or other obstacles that require cuts.
Measure Carefully: Measure the length needed for a plank and mark your circular or miter saw. For irregular shapes (like around door jams or pipes), you’ll want to create a template using cardboard or heavy paper, transfer that shape to the plank, and then cut with a jigsaw.
Cut Conservatively: It’s always better to cut a little less and try again than to cut too much.
Use a Jigsaw for Curves: For odd angles or curves, a jigsaw is your best friend.
Dust Control: Sawing wood and adhesive can create dust. Consider using a dust collection attachment on your saw or working in a well-ventilated area.
Step 8: The Last Row
The last row is often the trickiest because it’s usually a tight fit.
Measure Carefully: Measure the width needed for the last row, remembering to account for your expansion gap along the wall.
Cut Planks Lengthwise: You’ll likely be ripping (cutting lengthwise) your planks to fit the remaining space.
Use a Pull Bar: Once you have the planks cut, use a pull bar (sometimes called a pry bar for flooring) to gently pull the last plank tightly against the previous one before securing it to the subfloor with adhesive. These bars are designed to hook onto the edge of the plank and pull it towards the wall without damaging the tongue or groove.
Adhere Securely: Ensure these final planks are well-adhered to the subfloor.
Step 9: Final Curing and Clean-Up
You’re almost there!
Allow Adhesive to Cure: Let the adhesive cure for the time recommended by the manufacturer, usually 24-48 hours, before walking on the floor or placing heavy furniture. Your HGTV has great general cleaning tips here.
Clean Up: Do a final sweep and vacuum. If any adhesive residue remains, carefully remove it according to the adhesive manufacturer’s recommendations.
Install Baseboards and Trim: Once cured, install your baseboards and any other trim. These will cover the expansion gap you left along the walls and give your floor a finished look.
Understanding Your Subfloor Options
The type of subfloor you have will influence your preparation and adhesive choices.
Subfloor Type | Preparation Needs | Adhesive Considerations
Concrete: Must be clean, dry, level, free of cracks. Moisture testing is critical. May require a primer or moisture barrier. | Use adhesives suitable for concrete. Polyurethane adhesives are often recommended as they are moisture tolerant and have excellent adhesion. Check for low-VOC options for healthy indoor air quality. For new concrete, ensure it has reached its designed dryness standard, typically a Standard Test Method for Measurement of Sulfate Content of Hydraulic-Cement Concrete by Chemical-Means (ASTM C1580) or a moisture vapor emission rate (MVER) test per ASTM F1869. |
| Plywood | Must be structurally sound, well-fastened, clean, dry, and level. Check for delamination or warping. | Most wood flooring adhesives work well on plywood. Ensure the plywood is rated for flooring installation (e.g., underlayment grade). Typically, a thicker plywood (e.g., 3/4 inch) offers a more stable base. |
| OSB | Similar to plywood: structurally sound, well-fastened, clean, dry, and level. Avoid oriented strand board that is not rated for flooring. | Similar to plywood. Moisture exposure can cause OSB to swell. Ensure it’s dry and protected. |
Pros and Cons of Glue-Down Reclaimed Wood Flooring
Like any installation method, glue-down has its upsides and downsides. Knowing these helps you make the best decision for your project.
Pros:
Maximum Stability: Provides the most stable installation, minimizing movement and distortion of the wood.
Sound Dampening: Creates a quieter floor with a solid feel underfoot.
Durability: Bonds the wood directly to the subfloor for enhanced long-term wear resistance.
Ideal for Thinner Wood: Works exceptionally well with reclaimed wood, which can sometimes be thinner than standard flooring.
No Gaps (when installed correctly): Proper installation minimizes gaps and squeaks.
Cons:
Subfloor Preparation is Critical: Requires a perfectly prepped, clean, smooth, and dry subfloor.
Messier Installation: Adhesive can be messy and requires careful cleanup.
Difficult to Remove: If you ever want to change your floor again, removing a glued-down floor is much harder than a floating floor.
Can Be More Labor Intensive: Requires more time and attention to detail, especially with adhesive application.
Adhesive Contamination: Incorrect adhesive application can lead to issues like gapping or adhesion failure.
Frequently Asked Questions (FAQ)
Q1: Can I glue down reclaimed wood flooring myself?
A1: Absolutely! With careful preparation, the right tools, and by following each step diligently, a DIYer can successfully glue down reclaimed wood flooring. Take your time, and don’t rush the process.
Q2: What kind of adhesive should I use for reclaimed wood?
A2: For reclaimed wood flooring, it’s best to use a high-quality, flexible wood flooring adhesive. Polyurethane-based adhesives are often recommended because they offer excellent strength, flexibility to accommodate slight wood movements, and good moisture resistance. Always check the adhesive and flooring manufacturer’s recommendations.
Q3: How long does reclaimed wood flooring need to acclimate?
A3: Most reclaimed wood flooring needs to acclimate for at least 72 hours (3 days) in the room where it will be installed. Extended acclimation periods (up to a week) are sometimes recommended, especially in environments with fluctuating humidity. Always refer to your specific flooring product’s guidelines.
Q4: What’s the difference between a square-notch and a V-notch trowel?
A4: The notch shape and size determine how much adhesive is spread. A square-notch trowel typically spreads more adhesive, creating a stronger bond, and is often used for denser woods or thicker adhesives. A V-notch trowel spreads less adhesive, allowing for more precise application and is sometimes used for