Pre-Finished Hardwood Hickory is a fantastic flooring choice for DIYers. It’s durable, beautiful, and easier to install than unfinished wood, saving you time and effort for a stunning home upgrade.
Tackling a flooring project can feel like a big undertaking, right? You want that rich, warm look of hardwood, but the thought of sanding and finishing on-site might make your head spin. That’s where pre-finished hardwood hickory steps in as your new best friend! It’s like getting a head start on a beautiful new floor, making the whole process much more manageable for anyone, especially if you’re giving DIY a go. We’ll walk through why this wood is such a smart choice and how you can get it looking amazing in your home.
Table of Contents
Why Pre-Finished Hardwood Hickory is a Smart DIY Choice
When considering new floors, especially for a DIY project, you want materials that are both beautiful and practical. Pre-finished hardwood hickory checks all the boxes and then some. It offers a fantastic blend of natural beauty, impressive durability, and, importantly for DIYers, a streamlined installation process. Let’s dive into what makes this flooring solution so brilliant.
What Exactly is Pre-Finished Hardwood Hickory?
Before we get into the how-to, let’s clarify what “pre-finished” means. Unlike traditional hardwood that’s installed and then sanded and finished in your home, pre-finished hardwood comes ready to go. The planks have already been stained, sealed, and coated with protective layers at the factory. This thorough finishing process typically involves multiple layers of tough urethane or aluminum oxide, applied under controlled conditions. These factory finishes are often more durable and consistent than what can be achieved on-site, especially for beginners.
Hickory itself is a North American hardwood known for its strength and distinctive grain patterns. It’s one of the hardest woods commonly used for flooring, making it incredibly resilient to dents and scratches – a huge plus for busy homes with pets or kids. The natural variations in hickory’s color, ranging from creamy whites and golden yellows to rich browns, create a truly unique and captivating floor.
The Genius Advantages of Pre-Finished Hickory
The “genius” part of pre-finished hardwood hickory for DIYers lies in several key benefits:
Reduced Installation Time & Mess: This is the big one! No site-sanding means no dust clouds filling your home. You install the planks, and they’re immediately ready for foot traffic, saving days – even weeks – of labor and mess.
Superior Finish Durability: Factory finishing applies multiple coats of extremely hard-wearing sealants. These finishes are engineered for maximum protection and longevity, often outperforming on-site finishes, meaning your floor will look great for longer.
Consistent Color and Sheen: Get exactly the look you want from the start. The factory applies a uniform color and sheen across all planks for a cohesive and professional appearance.
Hardwood Toughness by Nature: Hickory is naturally one of the hardest woods available, ranking high on the Janka hardness scale. This makes it exceptionally resistant to wear and tear, perfect for high-traffic areas.
Aesthetic Variety: Pre-finished hickory comes in a wide array of colors, plank widths, and finishes, allowing you to match your home’s style perfectly, from rustic charm to modern elegance.
Lower VOCs: Since the finishing is done off-site in a controlled environment, there are fewer volatile organic compounds (VOCs) released into your home during installation compared to on-site finishing.
Understanding Hickory’s Unique Appeal
Hickory isn’t just tough; it’s also a visual star. Its natural beauty adds warmth and character to any room.
The Janka Hardness Scale: Why It Matters
The Janka hardness test measures the resistance of wood species to denting and wear. It works by measuring the force required to embed an American steel ball with a diameter of 0.444 inches into the wood.
| Wood Species | Janka Hardness (Pounds-force) |
| :—————- | :—————————- |
| Hickory | 1820 |
| White Oak | 1360 |
| Maple | 1450 |
| Red Oak | 1290 |
| Cherry | 950 |
| Walnut | 1010 |
As you can see from the table above, hickory is significantly harder than other popular hardwoods like red oak or cherry. This means your hickory floor is much less likely to show dents from dropped items or wear patterns from everyday foot traffic over time.
Visual Characteristics of Hickory
Hickory’s beauty is in its variation. You’ll find a beautiful spectrum of colors, often within the same tree and even the same plank:
Color Range: From pale, creamy whites and light tans to mid-range browns and deep, reddish-brown hues.
Grain Patterns: Hickory typically has a straight grain, but it can also feature curls and wavy patterns that add visual interest.
Knots and Mineral Streaks: These natural imperfections are often embraced in hickory flooring, adding to its rustic charm and character. Many pre-finished options will showcase these features prominently.
Getting Started: Planning Your Pre-Finished Hickory Project
Before you even think about laying a single plank, a little planning goes a long way to ensure your project is smooth sailing. Think of this as your blueprint for success!
Essential Tools and Materials for Installation
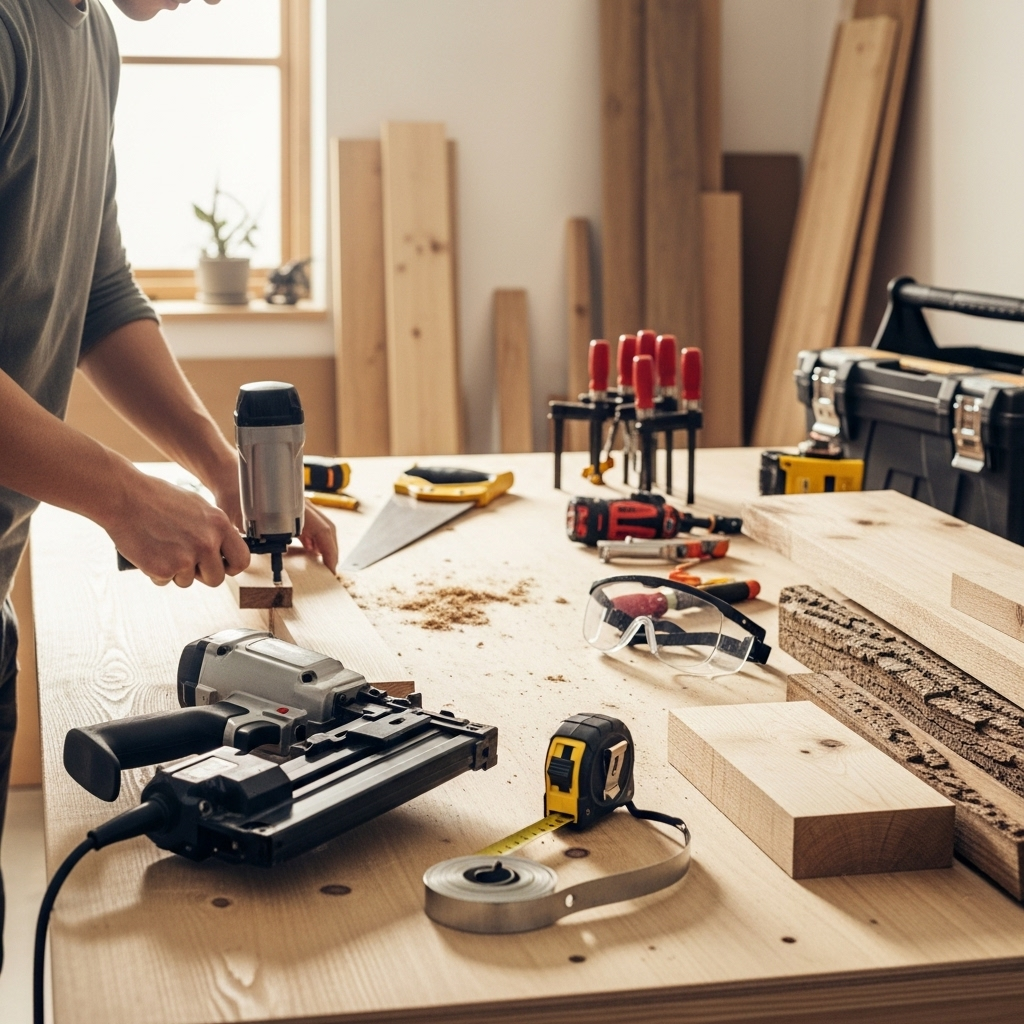
You won’t need a whole workshop for this, but having the right gear makes the job much easier and gives you professional results.
Tools You’ll Need:
Measuring Tape: For accurate measurements.
Pencil: For marking cuts and layout.
Miter Saw (or Circular Saw with a Guide): For cutting planks to length. A miter saw is ideal for clean, precise crosscuts.
Jigsaw: For cutting out notches around door frames, pipes, or other obstacles.
Floor Scraper or Pry Bar: For nudging planks snug.
Chalk Line or Straight Edge: For marking straight lines for your layout.
Utility Knife: For trimming plastic vapor barriers or underlayment.
Broom and Dustpan/Vacuum: To keep your work area clean.
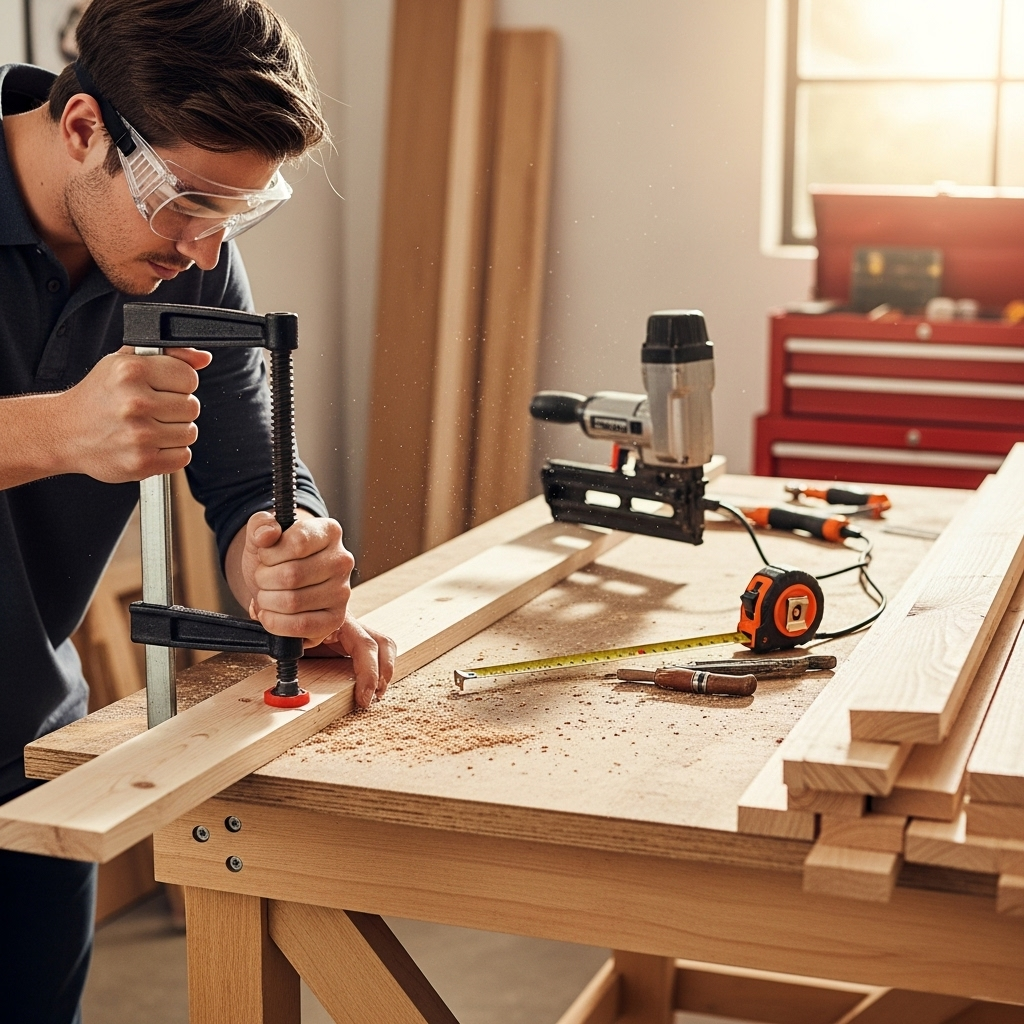
Safety Glasses: Always protect your eyes!
Work Gloves: To protect your hands.
Knee Pads: Your knees will thank you!
Flooring Nailer (Optional but Recommended): If you’re doing a nail-down installation, a specialized flooring nailer makes it much faster and more secure. I recommend pneumatic ones for ease of use; brands like Porter-Cable or DeWalt make great entry-level options. You’ll also need the correct 16-gauge cleat nails specific to your nailer and flooring thickness.
Underlayment Stapler (if using adhered underlayment): A heavy-duty stapler might be needed for some underlayments.
Tapping Block and Rubber Mallet: To gently set planks together without damaging the edges. These are crucial for getting a tight fit.
Thresholds and Trim: For doorways and along walls.
Materials You’ll Need:
Pre-Finished Hardwood Hickory Planks: Calculate your square footage and add 5-10% for waste, cuts, and mistakes.
Underlayment: This can be a thin foam or felt material that adds a moisture barrier, insulates, and cushions the floor. Check the flooring manufacturer’s recommendations.
Moisture Barrier (if needed): For basements or concrete subfloors, a polyethylene plastic sheeting (typically 6-mil) is essential. Tape the seams with a good quality construction tape.
Trims and Mouldings: Baseboards, quarter-round, or shoe molding to cover expansion gaps around the perimeter.
Transition Strips: For doorways and where you meet other flooring types (e.g., tile or carpet).
Fasteners: Appropriate nails or screws for installing baseboards and trim.
Subfloor Preparation: The Foundation of Your Floor
A solid, flat subfloor is non-negotiable for a beautiful and durable hardwood floor.
1. Clear the Room: Remove all furniture, old flooring, and baseboards.
2. Inspect the Subfloor: Whether it’s plywood or OSB (Oriented Strand Board), check for damage, rot, or loose sections.
3. Leveling: The subfloor should be flat. Use a long, straight edge (like a 6-foot level) to check for high or low spots. Low spots can be filled with a floor leveling compound. High spots can be carefully sanded down. Manufacturers typically specify a flatness tolerance, often within 3/16 inch over a 10-foot span.
4. Secure Loose Boards: Any squeaks or loose boards in a plywood/OSB subfloor should be secured with screws. Drive screws about an inch from edges and every 6-8 inches along joists.
5. Moisture Check: If you’re installing over concrete or in a basement, conduct a moisture test. A simple calcium chloride test kit can tell you if moisture levels are within acceptable limits. If not, you’ll need a proper moisture barrier. A vapor barrier is critical for preventing moisture from below from damaging your finished floor. For more information on subfloor prep, resources like the Building Science Corporation offer in-depth technical guidance.
Acclimation: Letting the Wood Adjust
Hardwood flooring needs time to adjust to the temperature and humidity of its new environment. This prevents excessive expansion or contraction after installation, which can lead to gaps or buckling.
Store Properly: Keep the unopened boxes of pre-finished hickory in the room where they will be installed for at least 48-72 hours (check manufacturer recommendations, as some may suggest longer).
Environmental Control: Ensure your heating/cooling system is running and maintaining a stable temperature and humidity level consistent with what the home will experience year-round.
Installation Methods for Pre-Finished Hickory

Pre-finished hardwood planks can be installed using several methods. The best choice depends on your subfloor, your comfort level, and the type of flooring you’ve purchased.
1. Nail-Down Installation
This is the most traditional and robust method for hardwood flooring, especially over wooden subfloors.
1. Lay the Starting Wall: Decide which wall you want to start from. It’s often recommended to start from the longest, straightest wall. Ensure this wall is perfectly straight using your chalk line. Leave an expansion gap of about 1/2 to 3/4 inch along this and all adjacent walls. This gap allows the wood to expand and contract with changes in humidity. Use spacers along the walls to maintain this gap.
2. First Row: Gently tap the first plank into place, ensuring the tongue-and-groove connection is secure. Make sure the groove side faces away from the wall. You might need to carefully trim off the tongue on the plank facing the wall to get a snug fit.
3. Nailing: Using your flooring nailer, drive nails through the tongue of the plank at an angle. Most nailers are designed to hit the sweet spot where the nail goes through the tongue and into the subfloor without damaging the visible surface of the plank. Stagger the nailing pattern according to your nailer’s instructions (usually every 6-8 inches).
4. Subsequent Rows: Continue laying rows, staggering the end joints of the planks so they don’t line up. A good rule of thumb is to stagger joints by at least 6 inches. Use your tapping block and mallet to gently tap planks together for a tight fit. Don’t hit too hard!
5. Last Row: The final row will likely need to be cut to width. Measure the distance between the last installed plank and the wall, subtracting your expansion gap. Cut the planks to this width, ensuring the tongue-and-groove connection is facing the wall. You may need to use a pry bar inserted between the wall and the plank to pull the last row into place. Carefully nail this row through the face of the plank (use a drill to pre-drill holes and then screw or nail carefully at an angle to hide the fasteners).
2. Staple-Down Installation
Similar to nail-down, but uses a pneumatic stapler designed for flooring. Staples are generally shorter and narrower than cleats.
Process: The installation process is very similar to nail-down. A flooring stapler drives staples upwards through the tongue of the plank.
Pros: Can be slightly faster than nailing and the staples tend to hold very well.
Cons: Requires a specific flooring stapler and staples, and can be less forgiving if staples aren’t driven correctly.
3. Glue-Down Installation
This method involves adhering the wood planks directly to the subfloor using a specialized flooring adhesive.
Subfloor Requirements: Works well over concrete subfloors or wooden subfloors. The subfloor must be scrupulously clean and dry.
Adhesive Application: Using a notched trowel (the size and type of notch will be specified by the adhesive manufacturer), spread a uniform layer of adhesive onto the subfloor. Work in small sections so the adhesive doesn’t skin over.
Plank Placement: Lay the planks into the wet adhesive, pressing them down firmly. Use your tapping block and mallet to ensure a tight, secure fit.
Weighting: Some manufacturers recommend placing weights on the floor for a period to ensure strong adhesion.
Pros: Can provide a very solid feel, reduces noise transmission, and is ideal for concrete subfloors over radiant heating.
Cons: Can be messy if not done carefully, requires specialized adhesive, and floor removal can be very difficult.
4. Floating Floor Installation
In this method, the planks are not attached to the subfloor. Instead, they are joined to each other, creating a single “floating” sheet of flooring that lies over the subfloor.
Underlayment: A good quality underlayment is essential for a floating floor, providing cushioning, moisture protection, and a vapor barrier.
Plank Connection: Planks usually connect via a click-lock system or a tongue-and-groove system that requires glue during installation. The glue is applied to the tongue or in the groove of the plank, and then the next plank is clicked or tapped into place.
Expansion: A generous expansion gap is critical around the perimeter of the room for floating floors.
Pros: Relatively easy for DIYers, good for basements, and can be installed over existing (sound) flooring.
Cons: Can sometimes feel hollow underfoot if the subfloor isn’t perfectly flat, and the expansion gaps at the perimeter need to be carefully covered with trim.
Installing Your Pre-Finished Hickory: Step-by-Step Guide (Nail-Down Example)
Let’s walk through a common installation method, the nail-down, to give you a clear picture of the process. Remember to always consult your specific flooring manufacturer’s installation guide!
1. Dry Lay Your First Few Rows: Before you nail anything, lay out the first few rows without fasteners. This helps you plan your plank staggering and ensure your starting wall is straight.
2. Find Your Starting Point: Typically, you’ll start from the longest, straightest wall in the room. Use a chalk line to draw a reference line parallel to the wall, about 1/2 inch away (your expansion gap).
3. First Plank: Trim off the tongue of the plank that will face the wall. Place the plank with the groove side facing towards the room, about 1/2 inch from the wall, aligning it with your chalk line.
4. Nail the First Row: Use your flooring nailer to secure the first plank. Drive nails every 6-8 inches along the plank. Drive nails through the tongue at a 45-degree angle.
5. Subsequent Planks & Rows: Continue laying planks, ensuring a tight fit between them. Use your tapping block and mallet to gently set each plank. Stagger your end joints by at least 6 inches from the previous row.
6. Cutting Around Obstacles: For door frames, pipes, or cabinets, measure and mark your cuts carefully. Use your jigsaw for curved or irregular cuts. Remember to leave an expansion gap around any fixed objects too.
7. The Last Row Challenge: The last row usually needs to be cut to width. Measure the gap from the installed flooring to the wall, subtract the expansion gap (1/2″ to 3/4″), and cut your planks to this width. You may need to trim off the tongue on the edge that butts against the wall. Use a pry bar to gently pull the last row into place, securing it with face nails (pre-drilling is a good idea).
8. Install Trim: Once all the flooring is down, reinstall your baseboards or add new ones. Quarter-round or shoe molding can also be used to cover the expansion gap if baseboards were removed. Ensure trim is nailed into the wall studs, not the flooring itself.
9. Transition Strips: Install your transition strips in doorways or where the hickory meets other flooring types. These are usually nailed or screwed into the subfloor.
10. Clean Up: Sweep or vacuum up any dust or debris.
Caring for Your New Pre-Finished Hickory Floor
Once your beautiful new floor is installed, a little routine care will keep it looking fantastic for years.
Daily/Weekly Cleaning: Sweep, dust mop, or vacuum (using a hard floor attachment, not a beater bar) regularly to remove grit and dirt that can scratch the finish.
Damp Mopping: For occasional deeper cleaning, use a well-wrung-out mop with plain water or a manufacturer-approved wood floor cleaner. Avoid excessive water, as it can seep into the seams and damage the wood.
* Protect from Furniture: Use felt pads on the legs of all furniture. On chairs with wheels