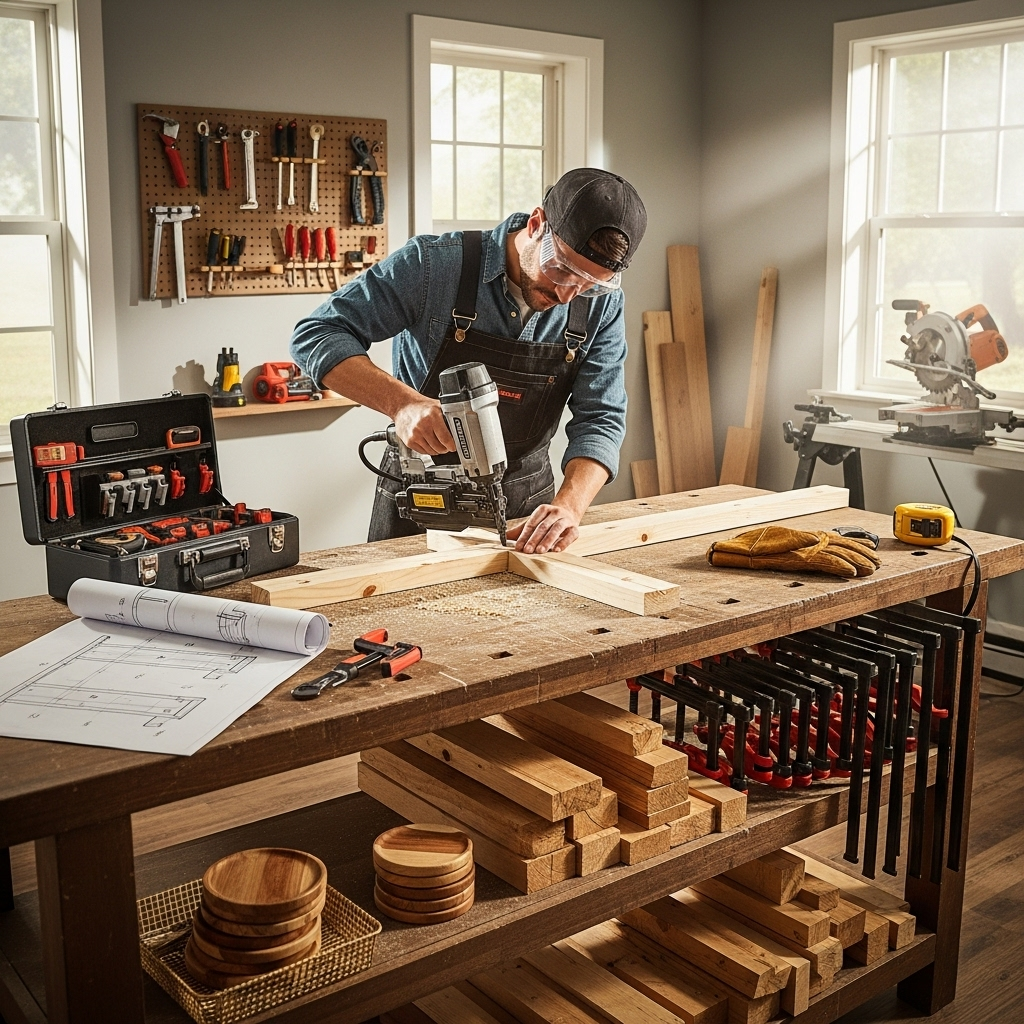
Keep your Powernailer 200 running smoothly with essential maintenance. Regular cleaning, lubrication, and inspection prevent jams, extend tool life, and ensure consistent performance, making your flooring and trim projects a breeze. Follow these simple steps!
Hey there, fellow woodworkers and DIYers! Jack Shaffer here, your friendly guide from Nailerguy. Ever felt that gut-wrenching moment when your trusty Powernailer 200 suddenly decides to take a coffee break mid-project? It’s frustrating, I know. That little hiccup can really throw a wrench in your plans and add extra time to what should be a straightforward job. But don’t worry, keeping your Powernailer 200 in tip-top shape is much easier than you might think. A little bit of regular care goes a long, long way.
In this guide, we’re going to walk through some really simple, effective maintenance tips for your Powernailer 200. We’ll cover everything from basic cleaning to essential lubrication and what to look out for. By the end, you’ll feel confident in keeping your nailer working reliably for all your future projects, whether it’s installing beautiful hardwood floors or adding those finishing touches to trim work. Let’s get your Powernailer 200 purring like a kitten!
Table of Contents
Why Powernailer 200 Maintenance Matters
Think of your Powernailer 200 like any other high-performance tool – it needs a little TLC to perform its best. Neglecting maintenance can lead to more than just minor annoyances; it can result in costly repairs or even shorten the lifespan of your tool.
- Reliability: A well-maintained nailer is a reliable nailer. You won’t have to worry about jams or misfires when you’re in the middle of a critical installation.
- Longevity: Regular cleaning and lubrication reduce wear and tear on internal parts, meaning your Powernailer 200 will serve you well for many years to come.
- Performance: Proper maintenance ensures consistent power and accurate nail placement, leading to cleaner finished work and fewer callbacks.
- Safety: A malfunctioning nailer can be a safety hazard. Ensuring everything is in good working order is crucial for preventing accidents. According to the Consumer Product Safety Commission, power tool safety is paramount, and maintenance plays a big role.
Essential Powernailer 200 Maintenance Steps
Let’s dive into the practical stuff. These steps are designed to be easy to follow, even if you’re new to tool maintenance. Grab a few basic supplies, and let’s get started.
Step 1: Gather Your Supplies
Before you begin, make sure you have everything you need. This makes the process smooth and efficient.
- Safety Glasses (Always!)
- Gloves
- Compressed air source (air compressor with a blow gun attachment is ideal)
- Clean, lint-free cloths
- Nailer-specific lubricant (check your Powernailer 200 manual for recommendations)
- O-ring lubricant
- Small brush or toothbrush
- Screwdriver (if internal cleaning is needed, based on your model)
- Nails (ensure they are the correct size and type for your nailer)
Step 2: Disconnect the Air Supply
This is the MOST important safety step. Step one, always step one. Never work on a nailer that is connected to an air source. It’s incredibly dangerous and could lead to accidental firing.
How to do it: Simply disconnect the air hose from the nailer’s air inlet port. Double-check that the airline pressure is bled off before proceeding.
Step 3: Thorough Cleaning
Over time, dust, wood debris, and old lubricant can build up. This gunk can impede the tool’s operation. A good cleaning is key.
External Cleaning:
- Use compressed air to blow away loose debris from the exterior of the nailer, paying close attention to vents and seams.
- Wipe down the main body of the tool with a dry, lint-free cloth.
- For stubborn dirt, you can use a slightly damp cloth, but ensure no moisture gets into the internal mechanisms.
Internal Cleaning (Barrel & Magazine):
- Remove any nails from the magazine.
- Using compressed air again, blow out the nail channel (the part where the nails feed and are fired). Aim the air from the top of the magazine down through the barrel.
- You can use a small brush or toothbrush to gently dislodge any stubborn debris inside the magazine.
- Wipe down the exterior of the magazine and the ram rod (if easily accessible without full disassembly) with a lint-free cloth.
Important Note: Always refer to your Powernailer 200 owner’s manual for specific instructions on disassembly and internal cleaning. Some models may require partial disassembly, while others are designed for simpler external cleaning.
Step 4: Lubrication – The Key to Smooth Operation
Lubrication is crucial for reducing friction between moving parts, preventing wear, and ensuring airtight seals. It’s the “oil” that keeps the machine running smoothly and quietly.
Where to Lubricate:
- Air Inlet: Most pneumatic nailers have a small port where you should add a drop or two of specialized air tool lubricant. This lubricates the internal piston and O-rings as air passes through.
- O-rings and Seals: If you’ve performed any level of disassembly, a light coat of O-ring lubricant on rubber seals and O-rings can prevent them from drying out and cracking.
- Moving Parts: Any metal-on-metal contact points, especially if you’ve exposed them during cleaning, can benefit from a tiny amount of lubricant.
How Often to Lubricate:
A good rule of thumb is to lubricate your Powernailer 200 every morning before starting work, or after every 1,000 to 2,000 nail actuations. If you notice a decrease in power or hear unusual noises, it’s time for lubrication.
Type of Lubricant:
It’s vital to use the correct type of lubricant. Most manufacturers recommend a light pneumatic tool oil. Avoid using general-purpose oils like WD-40 for regular lubrication, as they can actually attract dirt and gunk up the tool over time. Check your manual for the specific type recommended for your Powernailer 200.
Lubrication Best Practices:
- Use only 1-2 drops of lubricant. Too much can lead to oil spraying out with the nails, creating a mess.
- After adding lubricant, connect the air supply and fire the tool a few times into scrap material or in a safe location to distribute the oil evenly throughout the internal mechanisms.
Step 5: Inspect for Wear and Tear
Regular inspection can catch small issues before they become big problems. This is where you become a tool detective.
- Nose Piece: Check the nose piece for any damage, excessive wear, or bent parts. This can affect nail driving depth and accuracy.
- Trigger Mechanism: Ensure the trigger operates smoothly and doesn’t stick.
- O-rings and Seals: Look for cracks, tears, or signs of hardening in any visible O-rings or seals.
- Air Driver/Ram: If accessible, check the air driver or ram for any nicks or deformation.
- Magazine Feed: Make sure nails feed smoothly into the channel without binding.
If you find any significant wear or damage, it might be time to consult your manual about replacement parts or contact the manufacturer for service. For minor issues, specialized O-ring lubricant can sometimes help extend the life of seals.
Step 6: Test Fire
After cleaning and lubricating, it’s crucial to test your work. This also helps distribute the lubricant.
- Connect the air hose securely.
- Set your regulator to the recommended pressure for your Powernailer 200. (Typically, this is around 70-100 PSI, but always check your manual.)
- Fire the nailer a few times into a piece of scrap wood.
- Listen for any unusual noises (hissing, grinding) and observe the power and depth of each nail.
If everything sounds and feels good, your Powernailer 200 is ready for action!
Powernailer 200 Maintenance Schedule: A Quick Guide
Consistency is key! Here’s a simple breakdown of how often you should perform different maintenance tasks. Think of this as a helpful checklist.
| Task | Frequency | Notes |
|---|---|---|
| Disconnect Air Supply | Before Every Use/Maintenance | Crucial safety step. |
| External Cleaning | Daily (or as needed) | Blow off dust and wipe down. |
| Lubrication (Air Inlet) | Daily (before first use) or every 1,000-2,000 nails | 1-2 drops of pneumatic tool oil. |
| Internal Cleaning (Barrel/Magazine) | Weekly or if experiencing jams | Compressed air, brush. Refer to manual for disassembly. |
| Full Inspection | Monthly or if performance degrades | Check nose, trigger, O-rings, driver. |
| O-Ring/Seal Check & Lubrication | Monthly or if seals seem dry/cracked | Apply O-ring lubricant during inspections. |
This table provides a general guideline. Adjust based on how often you use your Powernailer 200 and the environments you work in. If you’re in a dusty or dirty environment, more frequent cleaning might be necessary.
Common Powernailer 200 Issues and How Maintenance Helps
Let’s talk about some common frustrations users face and how proper maintenance can prevent or resolve them.
Issue: Nails Not Firing or Driving Properly
Cause: Low air pressure, clogged air passages, worn O-rings, or insufficient lubrication. Small pieces of debris can also block the driver mechanism.
How Maintenance Helps: Regular lubrication ensures the piston moves freely. Cleaning clears blockages. Inspecting and replacing worn O-rings maintains the air seal needed for sufficient power. Ensuring proper air pressure from your compressor is also key, and you can learn more about air compressor maintenance here from Ingersoll Rand, a reputable industrial equipment provider.
Issue: Jammed Nails
Cause: Incorrect nail collation (nails not seated correctly in the strip), bent nails, worn driver blade, or debris interfering with the feeding mechanism.
How Maintenance Helps: Keeping the magazine clean ensures smooth nail feeding. A clean barrel allows nails to be driven straight. Regularly inspecting the driver blade for damage is also vital. Using only the recommended type and size of nails for your Powernailer 200 is also critical. If you’re unsure about nail compatibility, consult the manufacturer’s specifications.
Issue: Air Leaks and Hissing Sounds
Cause: Worn or damaged O-rings, loose fittings, or cracks in the tool housing.
How Maintenance Helps: Regular inspection and lubrication of O-rings and seals keep them pliable, preventing leaks. If leaks persist after lubrication, it indicates O-rings may need replacement. Tightening fittings and checking the housing for damage is also part of the inspection process.
Issue: Tool Fires Randomly (Not Safe!)
Cause: Internal mechanism malfunction, damaged trigger safety, or contamination within the firing valve.
How Maintenance Helps: While most random firing issues are due to serious internal problems that may require professional repair, regular cleaning and lubrication of all moving parts can help prevent contamination of the firing valve. If your tool exhibits this issue, disconnect the air immediately and do not use it until it’s inspected by a qualified technician. Safety is always the top priority at Nailerguy!
Troubleshooting Tips
Sometimes, things still don’t feel quite right. Here are a few extra tips:
- Check your air hose: Ensure it’s the correct diameter for your compressor and tool (typically 3/8 inch for most pneumatic nailers) and that there are no kinks or damage.
- Adjust air pressure: Too much or too little pressure can cause issues. Start at the lower end of the recommended range and increase if needed.
- Use the right nails: Always use genuine or compatible nails designed for your specific Powernailer 200 model.
- Consult the manual: Your owner’s manual is your best friend. It has specific details tailored to your model.
Frequently Asked Questions (FAQ)
How often should I lubricate my Powernailer 200?
A good general rule is to lubricate your Powernailer 200 daily before use, or every 1,000 to 2,000 nail actuations. If you notice a drop in power or performance, lubricate it immediately.
What kind of lubricant should I use?
Always use a dedicated pneumatic tool oil or air tool lubricant. Avoid using general-purpose lubricants like WD-40 for routine maintenance, as they can attract dirt and damage seals over time. Check your Powernailer 200 manual for specific recommendations.
Can I use my Powernailer 200 in dusty environments?
Yes, but you’ll need to clean it more frequently. Dust and debris can clog the tool and affect performance. Make sure to blow out the air passages and magazine regularly.
What should I do if my Powernailer 200 jams?
First, disconnect the air supply. Then, gently try to remove the jammed nail using pliers if it’s accessible. If the jam is deep or persistent, refer to your manual for specific troubleshooting or, if uncomfortable, seek professional help.
Do I need to disassemble my Powernailer 200 for maintenance?
For routine cleaning and lubrication, full disassembly is usually not required. Most maintenance can be done from the outside. However, for deep cleaning or if you suspect internal issues, consult your owner’s manual for instructions on partial disassembly or contact the manufacturer for service.
How do I know if my Powernailer 200’s O-rings need replacing?
Look for signs of wear such as cracks, tears, or if they feel brittle and dry. If you’re experiencing air leaks that lubrication doesn’t fix, O-ring replacement is often the solution. Again, refer to your manual for specific replacement procedures.
Conclusion: Your Powernailer 200, Built to Last
There you have it! Keeping your Powernailer 200 in top-notch condition is all about consistent, simple maintenance. By following these tips for cleaning, lubricating, and inspecting your tool, you’re not just preventing frustration; you’re investing in its longevity and ensuring it performs at its peak for every project.
Remember, a little bit of care goes a long way. When your nailer is well-maintained, your flooring installations will be cleaner, your trim work will look sharper, and your DIY projects will be much more enjoyable. So, get out there, give your Powernailer 200 some attention, and build with confidence!