Natural hardwood floors bring timeless beauty and lasting value to any home, offering a warm, organic feel that enhances your living space. Learn how to choose, install, and care for them to enjoy their essential, enduring elegance for years to come.
Hey DIYers, Jack Shaffer here! As a fellow woodworker and tool enthusiast, I know the pull of natural hardwood floors. They’re not just a flooring choice; they’re a statement of timeless style and a connection to nature right in your home. Many homeowners get a little intimidated by natural hardwood, worried about scratches, maintenance, and installation.
But here’s the good news: understanding natural hardwood floors is way simpler than you might think! I’m here to guide you through it, from picking the perfect wood to keeping it looking its best. We’ll break down everything you need to know, making it feel as straightforward as your favorite DIY project.
Ready to unlock the essential beauty of natural hardwood floors? Let’s dive into what makes them so special and how you can bring that charm into your home with confidence.
Table of Contents
The Unmatched Appeal of Natural Hardwood Floors
There’s something undeniably special about natural hardwood floors. They bring a warmth and character into a home that synthetic materials just can’t replicate. Think about it – every plank tells a story with its unique grain patterns, knots, and subtle color variations. This natural beauty isn’t manufactured; it’s grown, offering a direct connection to the world outside.
Beyond their aesthetic charm, hardwood floors are a fantastic investment. They can significantly increase your home’s resale value and, with proper care, can last for generations. Imagine passing down a home with original, beautiful hardwood floors – that’s the kind of legacy natural wood can create.
In this guide, we’ll explore what makes natural hardwood so desirable, help you choose the right type for your needs, and give you the know-how to keep them looking fantastic. Let’s get started with understanding the different types of wood available, because that’s the first big decision you’ll make!
Choosing Your Perfect Hardwood: A Beginner’s Guide
Picking out the right hardwood is like choosing the right tool for a job – having the right fit makes all the difference. There are two main ways hardwood flooring typically comes: solid hardwood and engineered hardwood. Each has its own pros and cons, and understanding these will help you make an informed decision for your home.
Solid Hardwood Flooring
Solid hardwood is exactly what it sounds like: planks milled from a single piece of lumber. This is the traditional hardwood floor people often picture. It’s beautiful, it can be sanded and refinished multiple times throughout its life, which means you can essentially restore it to look brand new, no matter how old it gets.
Pros:
- Timeless beauty and natural character.
- Can be sanded and refinished many times, offering a virtually limitless lifespan.
- Adds significant value to your home.
- Typically comes in various thicknesses and lengths.
Cons:
- Can be more expensive upfront than engineered hardwood.
- More susceptible to expansion and contraction with changes in humidity and temperature, making it unsuitable for basements or areas with high moisture.
- Installation can be more complex, often requiring professional help.
Engineered Hardwood Flooring
Engineered hardwood is constructed from multiple layers of wood, with a top layer (the veneer) of real hardwood. The inner layers are typically made from plywood or high-density fiberboard (HDF). This construction makes it more stable than solid hardwood, meaning it’s less likely to warp or buckle due to moisture or temperature fluctuations.
This makes engineered hardwood a great option for areas where solid wood might not be ideal, like basements or kitchens. You get the look and feel of real wood, but with enhanced durability in challenging environments.
Pros:
- More stable and less prone to moisture damage than solid hardwood.
- Can be installed in various locations, including basements and kitchens.
- Often easier and faster to install, allowing for DIY potential.
- Can be a more budget-friendly option than solid hardwood.
Cons:
- Cannot be refinished as many times as solid hardwood, depending on the thickness of the top veneer.
- The quality can vary significantly based on the construction and veneer thickness.
- May not add the same premium value to a home as solid hardwood.
Understanding Wood Species: Durability and Aesthetics
Once you’ve decided between solid and engineered, you’ll need to pick a wood species. Different woods have varying hardness, grain patterns, and colors, which affect both their durability and their look. The Janka hardness scale is a great tool to understand this.
The Janka scale measures the resistance of wood to denting and wear. A higher number indicates a harder, more durable wood. For a busy household with pets and kids, a higher Janka rating is definitely something to consider.
Popular Hardwood Choices and Their Janka Ratings:
| Wood Species | Average Janka Rating (lbs) | Common Characteristics |
|---|---|---|
| Oak (Red & White) | 1290 (Red) – 1360 (White) | Durable, readily available, classic grain patterns, picks up stain well. |
| Maple | 1450 | Very hard and dense, smooth, consistent grain, light color. |
| Hickory | 1820 | Extremely hard, dynamic grain patterns, rich color variation. |
| Walnut | 1010 | Softer, rich dark color, beautiful grain, prone to dents. |
| Cherry | 950 | Softer, reddish-brown hues that deepen with age, elegant grain. |
When choosing, think about your lifestyle. If you have a high-traffic home or pets, a harder wood like Hickory or Maple might be your best bet. If you love a darker, richer look and are mindful of potential dents, Walnut or Cherry could be stunning. Oak remains a perennial favorite for its balance of durability, beauty, and affordability.
Finishes: Protecting Your Investment
The finish on your hardwood floors is crucial. It’s the protective layer that shields the wood from spills, scratches, and daily wear. There are two main types of finishes:
- Surface-Applied Finishes (like Polyurethane): These are the most common. They sit on top of the wood. Modern water-based polyurethanes are low-VOC (volatile organic compound), meaning they don’t release many harmful fumes, making them a healthier choice for your home. They offer excellent durability and come in various sheens, from matte to high gloss.
- Penetrating Finishes (like Oil or Hardwax Oil): These soak into the wood, hardening the fibers from within. They offer a more natural, matte look and feel. While they don’t offer the same robust protection as surface finishes against spills, they are often easier to repair or touch up in small areas.
Understanding Installation Options
Installing hardwood floors can be a rewarding DIY project, but it’s also a job where precision and technique matter. Knowing your options will help you decide if this is a project you want to tackle yourself or leave to the pros.
DIY vs. Professional Installation
For beginners, engineered hardwood is often more forgiving if you’re thinking about a DIY installation. Solid hardwood, especially if it needs to be nailed down, can be trickier.
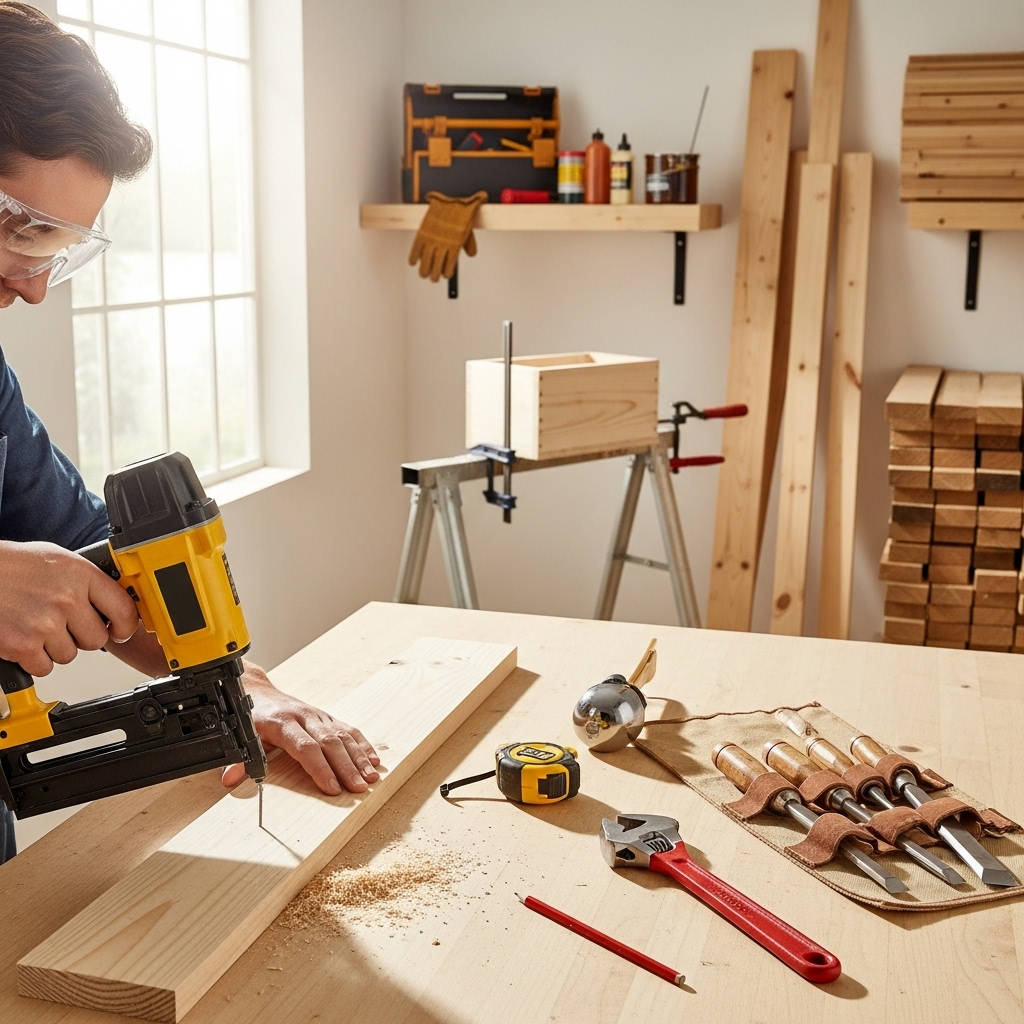
- DIY Benefits: Cost savings is the big one! Plus, the satisfaction of a job well done. You’ll need the right tools like a miter saw for cuts, a floor nailer or staple gun (for tongue-and-groove planks), and a good tape measure.
- Professional Benefits: Speed and expertise. Professionals have the experience to handle any subfloor issues, ensure a perfect fit, and achieve a flawless finish. They also have specialized tools that can make the job quicker and easier.
If you’re leaning towards DIY, I always recommend starting with a smaller, less visible area to get the hang of it. And for any complex situation or if you’re working with solid hardwood that needs to be nailed, hiring a professional is often the smartest move to ensure a beautiful, long-lasting result.
Common Installation Methods:
The method used to lay down your hardwood floors depends on the type of flooring and the subfloor:
- Nail-Down: This is the traditional method for solid hardwood floors. Planks are fastened to the subfloor (usually plywood or OSB) using a specialized flooring nailer or staple gun. This requires a wooden subfloor and is best done by professionals if you’re not experienced.
- Glue-Down: Both solid and engineered hardwood can be glued down. A strong flooring adhesive is applied to the subfloor, and the planks are pressed into it. This method is good for concrete subfloors but can be messy and requires careful troweling of the adhesive.
- Floating Floor: This is most common for engineered hardwood and laminate. The planks interlock with each other and are not attached to the subfloor at all. They typically have an underlayment beneath them. This is often the easiest method for DIYers because it doesn’t require nails or glue.
For a floating floor installation, you’ll often lay down an underlayment first. Many underlayments provide moisture barriers and sound dampening – great additions for a comfortable home. You can find resources on underlayment options from sites like Builder Magazine’s technical articles, which offer in-depth looks at construction materials.
If you’re planning to nail down, renting a floor nailer is a must. These machines are designed to drive specialized nails at an angle through the tongue of the plank, securing it to the subfloor without damaging the wood surface. It’s a tool that makes a big difference for a professional finish.
Caring for Your Natural Hardwood Floors: Keeping Them Beautiful
Once your gorgeous natural hardwood floors are in, the next big step is keeping them looking pristine. Good maintenance isn’t complicated, but it does require a little consistency. Think of it like keeping your tools sharp – a little upkeep goes a long way!
Daily and Weekly Care
The best defense against wear and tear is regular cleaning to remove dirt and grit that can act like sandpaper on your wood finish.
Here’s your basic care routine:
- Sweep or Vacuum Regularly: Use a soft-bristle broom or a vacuum cleaner with a hard floor attachment (make sure the beater bar is turned off!). Aim to do this daily or every other day, especially in high-traffic areas.
- Wipe Up Spills Immediately: Don’t let liquids sit. A quick wipe with a soft, damp cloth is usually all it takes.
- Use Door Mats: Place high-quality mats at all entryways, both inside and out, to trap dirt, sand, and moisture before they can be tracked onto your floors.
Deep Cleaning and Maintenance
For a more thorough clean, or to refresh the finish, here’s what you can do:
- Occasional Damp Mopping: Use a hardwood floor cleaner specifically designed for your type of finish. Always follow the product instructions. The key word here is damp – never use a soaking wet mop. Excess water is the enemy of hardwood floors and can cause warping or damage to the finish.
- Consider a Wood Floor Refresher: Over time, even the best finishes can get a little dull. Products called “refreshers” or “restorers” can add a new layer of protection and shine without needing to sand the floor – a great option for maintaining that essential beauty between more intensive refinishing.
- Protect from Furniture: Use felt pads on the legs of all furniture. Regularly check them to ensure they are clean and not worn down. For heavy furniture, consider furniture coasters or shields.
- Control Humidity: Wood expands and contracts with changes in humidity. Maintaining a consistent indoor humidity level between 35-55% is ideal for almost all hardwood floors. A dehumidifier or humidifier, along with a reliable hygrometer to monitor levels, can be very helpful. For more on maintaining home environments, the EPA’s guide to indoor air quality offers great advice on managing home humidity.
What to Avoid
Just like you wouldn’t force a nail with the wrong hammer, there are some things that are best avoided for your hardwood floors:
- Excess Water: As noted, never let your floors sit in water or use a steam mop, as steam can damage the wood and finish.
- Harsh Chemicals: Avoid abrasive cleaners, ammonia-based products, or silica-based cleaners, as they can dull or damage the finish. Stick to pH-neutral cleaners specifically made for hardwood.
- Scrubbing Brushes or Steel Wool: These can scratch the finish.
- Dragging Furniture: Always lift or use protective pads to move furniture.
- High Heels and Cleats: Stiletto heels can cause dents, and cleats from sports shoes are like tiny knives on your wood.
Refinishing: Bringing Back the Sparkle
For solid hardwood floors, or engineered floors with a thick enough veneer, refinishing is a way to give them a completely new lease on life. It’s a more involved process, but the results can be stunning.
Refinishing typically involves sanding down the old finish and a thin layer of wood, then applying a new stain and protective topcoat. It can remove scratches, deeply ingrained dirt, and even change the color of your floor.
When to Consider Refinishing:
- Deep scratches or gouges that can’t be buffed out.
- The finish is heavily worn in high-traffic areas.
- You want to change the color (stain) of your floors.
- There are stubborn stains that won’t come out.
While some ambitious DIYers take on refinishing themselves, it’s a dusty, labor-intensive job that requires skill for an even finish. Most people find hiring a professional flooring refinisher to be a worthwhile investment for a flawless outcome. They have the industrial-grade sanders and the expertise to manage the dust containment and application of finishes.
Frequently Asked Questions About Natural Hardwood Floors
Here are some common questions beginners have about natural hardwood floors:
Can I install hardwood floors in my kitchen?
Yes, you can. Engineered hardwood is generally recommended over solid hardwood for kitchens due to its increased stability and resistance to moisture. Always ensure spills are wiped up immediately to prevent damage.
How often should I refinish my hardwood floors?
It depends on traffic and wear. Typically, solid hardwood floors can be refinished every 7-10 years. If you take good care of them and use floor refreshers, you might extend this timeframe significantly.
Are natural hardwood floors very expensive?
The cost varies greatly depending on the wood species, the type (solid vs. engineered), and the finish. While they can be a higher upfront investment than some other flooring types, their longevity and value-adding potential make them a good long-term investment.
What’s the difference between factory-finished and site-finished hardwood?
Factory-finished floors come pre-finished from the manufacturer. Site-finished floors are installed raw and then sanded, stained, and sealed on-site in your home. Factory-finished floors are generally more durable and convenient for DIY, while site-finished allows for more customization in color and sheen.
How do I deal with pet scratches on hardwood floors?
For minor surface scratches, a hardwood floor cleaner or refresher might improve their appearance. For deeper scratches, refinishing may be necessary. Choosing a harder wood species with a more textured grain can help camouflage minor imperfections.
Is it difficult to install natural hardwood floors myself?
Engineered hardwood, especially options designed for click-lock or floating installation, can be a manageable DIY project for beginners. Solid hardwood, particularly nail-down installations, is more challenging and often benefits from professional expertise.
Can I use hardwood floors in a basement?
Solid hardwood is generally not recommended for basements due to potential moisture issues and extreme temperature fluctuations. Engineered hardwood, especially if it has good moisture resistance and a sturdy core, can be a suitable option, but careful consideration of moisture barriers and humidity control is essential.