Keep your nailer firing perfectly for years with simple, regular maintenance. Our easy tips ensure reliable performance, preventing jams and extending tool life, so you can focus on your projects, not repairs.
Hey there, DIYers! Jack Shaffer here, your go-to guy for all things nailers. Ever feel like your trusty nailer is acting up just when you need it most? A jammed nail, a weak drive, or just an overall sluggish performance can be super frustrating. But here’s the good news: a lot of these headaches can be avoided with a little bit of care. Think of it like taking care of your favorite hammer or saw – a little routine makes a big difference. In this guide, we’ll walk through how to keep your nailer in top shape, ensuring it stays reliable on every project. We’ll cover everything from cleaning to lubrication, making sure your tool lasts as long as your DIY ambitions!
Table of Contents
Why Nailer Maintenance Tops the To-Do List
Your nailer is a workhorse. Whether it’s framing walls for your latest renovation, adding trim to a beautiful piece of furniture, or just securing some fencing in the yard, it’s under pressure. Regular maintenance isn’t just about keeping it looking good; it’s crucial for its performance and lifespan. Neglecting it can lead to smaller issues snowballing into bigger, more expensive repairs, or worse, premature tool failure. Plus, a well-maintained nailer is a safer nailer. Let’s dive into how you can give your tool the TLC it deserves.
Getting Started: What You’ll Need
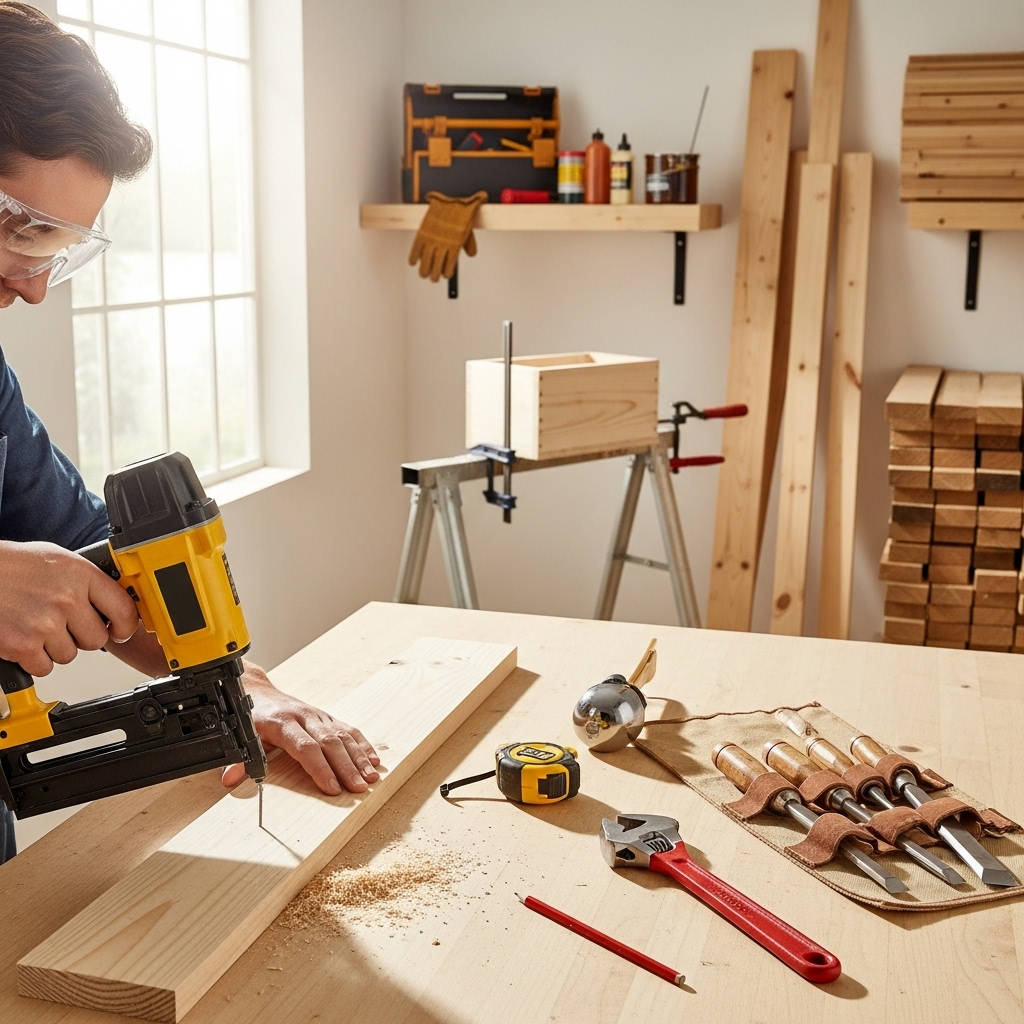
Before we roll up our sleeves, let’s gather our supplies. You don’t need a mechanic’s workshop, just a few basic items. Having these handy will make the maintenance process smooth and efficient.
Essential Tool Kit for Nailer Care:
- Safety Glasses: Always protect your eyes!
- Gloves: Keep your hands clean and protected.
- Clean Cloths or Rags: Lint-free ones are best.
- Compressed Air (for pneumatic nailers): A blower nozzle is very helpful.
- Nailer Oil (specific type depends on your nailer): Always check your manual.
- Allen Wrenches/Hex Keys: Usually included with the nailer.
- Lubricant Spray (like WD-40 or a silicone-based spray) for external parts.
- Small Brush (old toothbrush works well): For stubborn debris.
- Manufacturers’ Manual: Your best friend for specific instructions.
Nailer Maintenance by Type: Pneumatic vs. Cordless
The way you maintain your nailer often depends on its power source. Pneumatic nailers, powered by compressed air, have different needs than cordless electric or battery-powered models. Understanding these differences is key.
Pneumatic Nailer Maintenance
Pneumatic nailers are known for their power and reliability. Their maintenance focuses on the air system and the internal moving parts that rely on that compressed air. Keeping the air clean and properly lubricated is paramount.
1. Air Quality is Key: Draining Your Tanks and Filters
This is perhaps the most critical step for pneumatic nailers. Water and contaminants in your air supply can wreak havoc. They can cause rust, gum up internal parts, and lead to poor performance. This applies to your air compressor tank and any inline filters you might use.
For the Air Compressor Tank:
- Regularly check the drain valve at the bottom of your air compressor tank.
- Open it up briefly at the end of each use to release any accumulated moisture. You’ll often see water or a bit of mist come out.
- If you’re in a humid environment or using the compressor frequently, you might need to drain it more often.
A clean air supply means a healthier nailer. For more on compressor maintenance, check out resources from the Occupational Safety and Health Administration (OSHA) on compressed air safety, which also touches upon equipment care.
2. Lubrication for Smooth Operation
Pneumatic nailers need a bit of oil to keep their internal mechanisms working smoothly. This oil is typically very light and designed for air tools.
- Check Your Manual: First and foremost, consult your nailer’s manual. Some high-end or specialized nailers might not require oil, or they might use a specific type.
- At the Air Inlet: Many pneumatic nailers have an oil port right at the air inlet where the hose connects.
- How Much Oil? Add just a few drops (typically 2-3) of dedicated pneumatic tool oil. Too much oil can cause excessive blow-by and a messy tool.
- When to Oil? A good rule of thumb is to oil your nailer at the beginning of each day you use it. If you’re using it heavily for an extended period, a dose mid-day can be beneficial.
- Run a Few Nails: After oiling, fire off a few scrap nails or screws into a piece of scrap wood. This helps distribute the oil throughout the tool’s internal components.
3. Keeping the Exterior Clean
Dirt, sawdust, and debris can get into moving parts. A clean exterior helps prevent this.
- Wipe down the exterior of your nailer after each use with a dry cloth.
- For stubborn grime, use a slightly damp cloth, but ensure no water gets into the air inlet or any ports.
- You can use a small brush to clean around the nose and trigger area.
4. Nose and Magazine Care
The nail gun’s nose is where the magic happens, and the magazine feeds the fasteners. Keeping these clean and clear is essential for proper nail feeding and driving.
- Nose Area: Periodically, inspect the nose for any bent nails, debris, or damage. You might need to use pliers to carefully remove any stuck nails.
- Magazine: Wipe down the magazine so nails slide in and out smoothly. Check for any worn or damaged parts that might prevent proper feeding.
- Removal for Cleaning: Some nailer magazines can be partially or fully detached for easier cleaning. Again, your manual is your guide here.
5. O-ring and Seal Checks
These small rubber parts are vital for sealing air within the tool. If they wear out or get damaged, you’ll likely experience air leaks, which reduces power and can lead to a hissing sound even when not firing.
- Periodically inspect visible O-rings and seals.
- If you notice any cracks, tears, or if the tool consistently leaks air, it might be time to replace these seals. This is often a job for a repair shop if you’re not comfortable, but many manuals detail common seal replacements.
Cordless Nailer Maintenance (Battery & Electric)
Cordless nailers offer fantastic portability. Their maintenance is less about air and oil and more about keeping the battery healthy, preventing jams, and ensuring electrical components are clean.
1. Battery Care for Peak Performance
The battery is the heart of your cordless tool. Proper care ensures it holds a charge and lasts a long time.
- Charge Smartly: Avoid fully depleting the battery every time. Most modern lithium-ion batteries are happiest with partial charges.
- Storage: Store batteries in a cool, dry place, away from direct sunlight and extreme temperatures. Don’t leave them in a hot car or a freezing garage.
- Full Charge for Long Storage: If you’re storing a battery for a very long time (months), aim for a charge level of around 40-60%. Storing them fully charged or fully depleted for extended periods can degrade the battery.
- Clean Contacts: Periodically, gently wipe the battery terminals and the tool’s connection points with a clean, dry cloth. This ensures a good electrical connection.
For more insights into battery technology and care, resources from organizations like Energizer often provide general tips applicable to rechargeable batteries.
2. Keeping the Motor and Vents Clear
Like any electric tool, cordless nailers have motors that need airflow to prevent overheating. Dust and debris can clog these vents.
- Use compressed air (gently!) to blow out dust from the ventilation slots on the tool.
- A soft brush can help dislodge stubborn particles.
- Ensure the battery compartment is also free of debris.
3. Magazine Maintenance
Similar to pneumatic nailers, the magazine on a cordless model needs to be clean for reliable nail feeding.
- Wipe down the magazine track to ensure nails slide freely.
- Inspect for any bent nails or debris that might obstruct feeding.
- For some models, the magazine can be removed for better access to clean it thoroughly.
4. Drive Mechanism Care
Cordless nailers have a firing mechanism that engages the nail. While often sealed, some basic cleaning can help.
- Occasionally, remove any visible debris from the nose area where the nail is driven.
- Consult your manual for any specific lubrication points. Some cordless models have a small maintenance port, though many are designed to be maintenance-free in this regard beyond external cleaning.
General Nailer Maintenance Tips (Applies to All Types)
Regardless of how your nailer is powered, certain maintenance practices are universally beneficial. These are the golden rules for keeping any nailer happy.
1. Regular Cleaning is Non-Negotiable
We’ve touched on this for specific types, but it bears repeating. A clean nailer performs better and lasts longer.
- After Every Use: A quick wipe-down with a dry cloth.
- Deep Clean (Periodically): Depending on how much you use it and in what conditions, a more thorough clean might be needed every few months. This might involve taking off the magazine, cleaning the nose area, and brushing out vents.
- Avoid Harsh Chemicals: Stick to mild cleaners if needed, like a slightly damp cloth. Harsh solvents can damage plastic and rubber components.
2. Inspect for Damage
Before and after each job, give your nailer a quick once-over.
- Look for cracked housings, loose parts, or damaged cords/hoses.
- Check the nose area and trigger for any signs of wear or damage.
- Report any issues to yourself – it’s often easier to fix a small problem before it becomes a big one.
3. Lubrication: The Right Type, The Right Amount
As mentioned, this is critical for pneumatic tools. For cordless tools, consult your manual – some have specific grease points, while others are sealed for maintenance-free operation.
Pneumatic Nailer Oil vs. General Lubricants
It’s important to use the correct lubricant. Standard lubricating oils (like motor oil) and penetrating lubricants (like WD-40) are generally NOT suitable for the internal mechanisms of pneumatic nailers. These can gum up the seals and O-rings or evaporate too quickly. Always use a dedicated pneumatic tool oil.
Here’s a quick comparison:
| Lubricant Type | Best Use | Nailer Suitability |
|---|---|---|
| Pneumatic Tool Oil | Internal parts of pneumatic tools (cylinders, valves, O-rings). | Essential for most pneumatic nailers. |
| Silicone Spray | External moving parts, rubber seals, slides; can offer some water repellency. | Good for external cleaning and protection of cordless tool vents or pneumatic tool exteriors. May be used on some magazine tracks. |
| Penetrating Oil (like WD-40) | Loosening rusted parts, displacing moisture, temporary lubrication. | Not for internal nailer mechanisms. Can be used sparingly on external bolts or seized parts if absolutely necessary, then cleaned off. |
| Lithium Grease | Bearings, gears, higher load friction points. | Rarely needed for nailers unless specified by the manufacturer for specific pivot points or gearboxes (more common in heavy-duty industrial tools). |
4. Nailer Jam Troubleshooting and Prevention
Jams are frustrating but often preventable. When they do happen, dealing with them correctly is important.
- Safety First: Always disconnect power (unplug, remove battery, or disconnect air hose) before attempting to clear a jam.
- Use a Tool (Gently): Often, a gentle nudge with a small screwdriver or the end of a nail can release the jam. Never force it.
- Check the Magazine: Ensure nails are loaded correctly and not bent or misaligned.
- Inspect the Nose: Sometimes a jammed nail can be stuck in the nose mechanism. Look for any obstructions.
- Prevention: Using the correct size and type of nails for your nailer is the best way to prevent jams. Ensure your nails are straight and free of damage.
Understanding fastener standards can also help prevent issues. For instance, the Nailer Nail Guide from Fasteners Inc. provides a good overview of different nail types and their uses.
5. Storage: Protect Your Investment
When your nailer isn’t in use, proper storage is key to protecting it.
- Clean Before Storing: Always give your nailer a quick clean before putting it away.
- Dry Environment: Store tools in a dry place. Moisture is the enemy of both pneumatic and electric tools.
- Protective Case: If your nailer came with a case, use it! It protects against dust, bumps, and accidental drops.
- Cord/Hose Management: Don’t leave air hoses or power cords kinked or under tension. Coil them loosely.
Quick Maintenance Checklist
Here’s a handy checklist to help you remember the key maintenance tasks. You can print this out and keep it in your workshop!
Daily/Per Use Checklist:
- Disconnect power source (air, battery, cord).
- Wipe down exterior with a dry cloth.
- Check nose and magazine for debris or damage.
- (Pneumatic) Add 2-3 drops of pneumatic oil if applicable.
- (Cordless) Ensure battery contacts are clean.
Weekly/Monthly Checklist (Depending on Usage):
- (Pneumatic) Drain air compressor tank of moisture.
- Blow out air vents of cordless tools.
- Inspect O-rings and seals (if accessible and if you know what to look for).
- Check for loose screws or fasteners.
- (Pneumatic) Check inline air filter, clean or replace if necessary.
- (All types) Inspect power cord or air hose for damage.
Annual/As-Needed Checklist:
- Professional inspection if experiencing persistent issues.
- Replacement of worn O-rings or seals (DIY or professional).
- Deep cleaning of internal components (often best left to professionals unless you’re experienced).
When to Call a Professional
While most nailer maintenance is straightforward, there are times when it’s best to seek expert help.
- Persistent Jams: If you’ve tried clearing jams and they keep happening, there might be an internal issue.
- Significant Air Leaks: A constant hissing sound that doesn’t go away usually means a seal has failed.
- Loss of Power: If your nailer is no longer driving nails fully, even with proper air pressure or a charged battery.
- Unusual Noises: Grinding, knocking, or other strange sounds can indicate internal damage.
- Visible Internal Damage: If you’ve disassembled something and can see bent springs, broken parts, or damaged pistons.
A good tool repair shop can diagnose complex problems and source specific parts, saving you time and potential further damage.
FAQs
Q1: How often should I lubricate my pneumatic nailer?
A1: For pneumatic nailers, it’s a good practice to add 2-3 drops of dedicated pneumatic tool oil at the start of each day you plan to use it. If you’re using it heavily for many hours, a mid-day re-oiling can also be beneficial. Always check your manufacturer’s manual first.