Quick Summary: Choosing the right nailer for crafts and hobbies is crucial for success. From compact finishing nailers for trim to brad nailers for delicate projects, understanding the types, features, and uses will ensure your projects are built efficiently and beautifully, saving you time and frustration.
Hey there, fellow DIYer! Ever get that feeling when you’re working on a craft project, maybe building a birdhouse or assembling some decorative shelves, and you’re just tired of dealing with tiny nails, hammers, and sore thumbs? It’s a common frustration, and honestly, it can really slow down your creative flow. But what if I told you there’s a tool that can make fastening pieces together quick, easy, and super accurate? That’s where a nailer comes in handy! Today, we’re going to demystify the world of nailers specifically for your crafts and hobbies. We’ll explore different types, what makes them suitable for smaller projects, and how to pick the perfect one for whatever you’re dreaming up next. Get ready to take your projects from good to great with the right tool!
Table of Contents
Why a Nailer is Your New Best Friend for Crafts and Hobbies
When you’re deep into a craft or hobby project, the last thing you want is for your fastening tools to be the bottleneck. Traditional methods, like using a hammer and nails, can be time-consuming and, let’s be honest, sometimes a bit clunky for delicate work. This is where a dedicated nail gun, often referred to as a nailer, truly shines for crafters and hobbyists.
A nailer is designed to drive nails quickly and precisely. Think of it as a powered hammer, but much more controlled. This means you can attach pieces of wood, upholstery, or other materials with minimal effort and much greater accuracy. For intricate projects, small furniture builds, or even decorative trim, the speed and clean finish a nailer provides are invaluable.
The benefits are pretty significant:
- Speed: Drive nails in seconds, not minutes.
- Precision: Hit your mark every time, reducing mistakes.
- Consistency: Every nail is driven to a similar depth.
- Ergonomics: Less strain on your hands and wrists.
- Professional Finish: Achieve cleaner lines and neater joints.
Choosing the right nailer can seem a bit daunting at first, but once you understand the basic types and what they’re best suited for, you’ll feel much more confident. Let’s dive into the different kinds of nailers that are perfect for your creative endeavors.
Understanding the Main Types of Nail Guns for Crafting
Not all nailers are created equal, and the world of craft and hobby projects benefits from specific types that offer power without being overly bulky or aggressive. For most DIYers and crafters, you’ll likely be looking at a few key players:
1. Brad Nailers
These are perhaps the most popular choice for crafters and hobbyists. Brad nailers use very thin, small-gauge nails (hence “brad”) that are almost headless or have very small heads. This makes them ideal for projects where hiding the fasteners is important.
- Nail Size: Typically use nails ranging from 18-gauge to 16-gauge. 18-gauge brad nailers are common for very detailed work.
- Best For: Attaching delicate molding, trim work, small decorative boxes, picture frames, upholstery, and light woodworking projects.
- Pros: Leaves very small holes, easy to conceal with wood filler or paint; generally lightweight and easy to maneuver.
- Cons: Not strong enough for structural joints or heavy-duty applications.
2. Finish Nailers
Finish nailers are a step up in size and power from brad nailers. They use slightly larger nails (often 15-gauge or 16-gauge) with small heads, but they are still designed to be less conspicuous than framing nails.
- Nail Size: Typically 15-gauge or 16-gauge nails. The 15-gauge nails leave a slightly larger, but still small, hole than 18-gauge brads.
- Best For: Installing baseboards, window and door casings, chair rails, and other decorative trim where a stronger hold is needed than a brad nailer can provide. They’re also great for assembling simple furniture pieces.
- Pros: Provide a good balance of holding power and minimal visible damage; suitable for holding trim in place while glue dries.
- Cons: Holes are more noticeable than with brad nailers, though still easily filled; can be a bit heavier than brad nailers.
3. Pin Nailers (or Micro Pin Nailers)
If you’re working with extremely delicate materials or fine woodworking, a pin nailer, also known as a bradless or headless pinner, might be your go-to. These use extremely thin, headless pins that are virtually invisible.
- Nail Size: Use tiny pins, often 23-gauge.
- Best For: Attaching very thin wood pieces, beading, intricate trim work, and applications where absolutely no visible fastener is desired. They are perfect for assembling small, detailed items like dollhouse furniture or delicate models.
- Pros: The fastener is practically invisible; ideal for materials that might split easily.
- Cons: Offer very little holding power on their own – usually used in conjunction with wood glue. Can be more expensive and require a specific air compressor.
4. Staplers (Often Considered in the “Nailer” Category for Crafts)
While technically not a “nailer,” a staple gun or narrow crown stapler is a very common tool for crafters. They use staples instead of nails, providing a strong grip, especially for upholstery or fabric work.
- Fastener Type: Staples (narrow crown staples are common for woodworking).
- Best For: Upholstery, attaching fabric to frames, building lightweight enclosures, or anytime you need wide holding power.
- Pros: Excellent holding power, especially for fabric; relatively inexpensive.
- Cons: Staples are more visible and harder to remove than nails; not ideal for fine woodworking where aesthetics are paramount.
For beginners often starting with common crafts like building simple shelves, creating decorative boxes, or working with thinner plywood, an 18-gauge brad nailer is usually the most versatile and recommended starting point. It offers a great balance of ease of use, effectiveness, and a clean finish.
The Power Source: Pneumatic vs. Electric vs. Battery
Just like with other power tools, nailers come in different flavors based on how they’re powered. The choice often comes down to your budget, the type of projects you do, and your existing tool collection.
1. Pneumatic (Air-Powered) Nailers
These are the traditional workhorses. They connect to an air compressor via a hose, and the air pressure drives the nail.
- Pros:
- Generally more powerful and reliable.
- Lighter tool weight since the motor is in the compressor.
- Often less expensive upfront for the tool itself.
- Less maintenance compared to some electric models.
- Cons:
- Requires an air compressor, which can be bulky and noisy.
- The air hose can be restrictive and a tripping hazard.
- Initial investment in a compressor can be significant.
2. Electric Nailers (Corded)
These nailers plug directly into a wall outlet. They often use a firing mechanism powered by a solenoid or a small electric motor.
- Pros:
- No need for an air compressor.
- Usually more affordable than battery-powered models.
- Continuous power as long as it’s plugged in.
- Cons:
- Can be heavier due to the motor and internal mechanisms.
- The cord limits portability and can be a nuisance.
- May have less power than pneumatic nailers, making them less suitable for harder woods or thicker applications.
3. Cordless Battery-Powered Nailers
These are the most convenient as they run on rechargeable batteries, offering complete freedom from cords and air hoses.
- Pros:
- Maximum portability and freedom of movement.
- No need for a compressor or cords.
- Modern battery technology offers good power and runtime.
- Cons:
- Generally the most expensive option upfront.
- Tool weight can be heavier due to the battery.
- Battery life can be a limitation for extended projects.
- Can sometimes be less powerful than pneumatic counterparts.
For craft and hobby use: If you don’t already own an air compressor, an electric or battery-powered brad or finish nailer is often the most convenient and budget-friendly entry point. Battery-powered models offer the ultimate in portability, which is fantastic for moving around projects or working in various locations.
Key Features to Look for in a Craft Nailer
Beyond the type and power source, several features can make a nailer more suitable and enjoyable for craft and hobby projects.
- Adjustable Depth Control: This is a crucial feature! It allows you to set how deep the nail is driven. For delicate woods, you’ll want to drive nails just below the surface. For harder woods, you might need to drive them a bit deeper. Tools like the DEWALT 18-Gauge Brad Nailer often feature this.
- No-Mar Tip/Nose Guard: A rubber or plastic cover on the nose of the nailer protects the workpiece from accidental cosmetic damage. This is essential for projects where a pristine finish is important.
- Selectable Mode Trigger (Sequential vs. Contact Fire):
- Sequential: You must depress the safety tip against the wood then pull the trigger to fire a nail. This is safer and allows for precise placement.
- Contact: You can keep the trigger pulled and “bump” the nose against the wood to fire nails repeatedly. Great for speed but requires more control to avoid accidental firing.
Many modern nailers offer a switch to toggle between these modes. For crafters, sequential firing is often preferred for accuracy.
- Tool-Free Jam Release: Jams happen, especially with smaller nailers. A tool-free release means you can quickly clear a jammed nail without needing extra tools, saving a lot of frustration.
- Swivel Belt Hook: If you’re working in a workshop or on a larger project, a belt hook can be handy for keeping the nailer accessible.
- Lightweight Design: For prolonged use or intricate maneuvering, a lighter nailer makes a big difference. Check the tool’s weight and consider how it feels in your hand.
- Magazine Capacity: Higher capacity means fewer reloads, which is great for efficiency. For hobbyists, even smaller capacities are often manageable.
- Air/Battery Indicator: For pneumatic or battery models, knowing how much power you have left is essential to avoid interruptions.
Considering these features will help you find a nailer that not only performs well but also makes your crafting experience smoother and more enjoyable. For instance, a good depth adjustment ensures you don’t overdrive your nails and damage delicate material, a common concern in hobby work.
How to Choose the Right Nailer for Your Crafts: A Decision Guide
With so many options, how do you pick the perfect nailer for your specific crafts and hobbies? Let’s break it down with a few scenarios.
Scenario 1: I’m building small decorative boxes, picture frames, and doing delicate interior trim.
- Recommendation: 18-Gauge Brad Nailer.
- Why: The thin nails leave minimal holes, making it easy to get a clean, paintable finish. It’s precise and won’t split thin wood easily. Look for adjustable depth and a no-mar tip. A cordless electric model would be ideal for portability.
Scenario 2: I’m installing baseboards, window casings, and building simple shelving units.
- Recommendation: 15-Gauge or 16-Gauge Finish Nailer.
- Why: These nails offer slightly more holding power than brads, important for supporting trim against walls or holding shelves together more securely. The holes are still relatively small and easy to fill. A pneumatic model might be excellent if you have a compressor, offering consistent power.
Scenario 3: I’m working with very thin materials, model building, or need completely invisible fasteners.
- Recommendation: 23-Gauge Pin Nailer.
- Why: These use tiny, headless pins that are virtually impossible to see. They’re ideal for extremely delicate work where even a brad mark would be too much. Remember, these are usually used with wood glue for strength.
Scenario 4: I’m doing upholstery or attaching fabric to frames.
Recommendation: Narrow Crown Stapler (often 18-gauge or similar). While not a nailer, a stapler is superior here.
- Why: Staples offer excellent holding power for fabrics and thin materials. A narrow crown stapler keeps the staple legs close together for a neater appearance.
Quick Cheat Sheet: Nailer vs. Project Type
Here’s a quick reference table to help you match the nailer to your project:
| Project Type | Recommended Nailer/Fastener | Gauge/Size Consideration | Notes |
|---|---|---|---|
| Picture Frames, Ornament Boxes | 18-Gauge Brad Nailer | 18-gauge | Minimal hole, clean finish needed. |
| Decorative Trim, Small Furniture Assembly | 15-Gauge or 16-Gauge Finish Nailer | 15- or 16-gauge | Good balance of holding power and discretion. |
| Dollhouse Furniture, Delicate Models, Thin Veneers | 23-Gauge Pin Nailer | 23-gauge | Virtually invisible fasteners, use with glue. |
| Upholstery, Fabric Attaching | Narrow Crown Stapler | 3/8″ to 1/2″ Crown Width; 18-gauge often | Superior holding power for fabric. |
| Lightweight Shelving, Small Boxes (simple) | 16-Gauge Finish Nailer or 18-Gauge Brad Nailer | 16- or 18-gauge | Either works, finish nailer offers more hold. |
When in doubt, it’s often better to start with an 18-gauge brad nailer. It’s the most versatile for a wide range of craft and hobby applications and is very forgiving for beginners. You can always add specialized nailers later as your projects become more complex.
Getting Started: Essential Usage and Safety Tips
Using a nailer is fairly straightforward, but like any power tool, safety is paramount. A little knowledge goes a long way to prevent accidents and ensure optimal results.
Safety First!
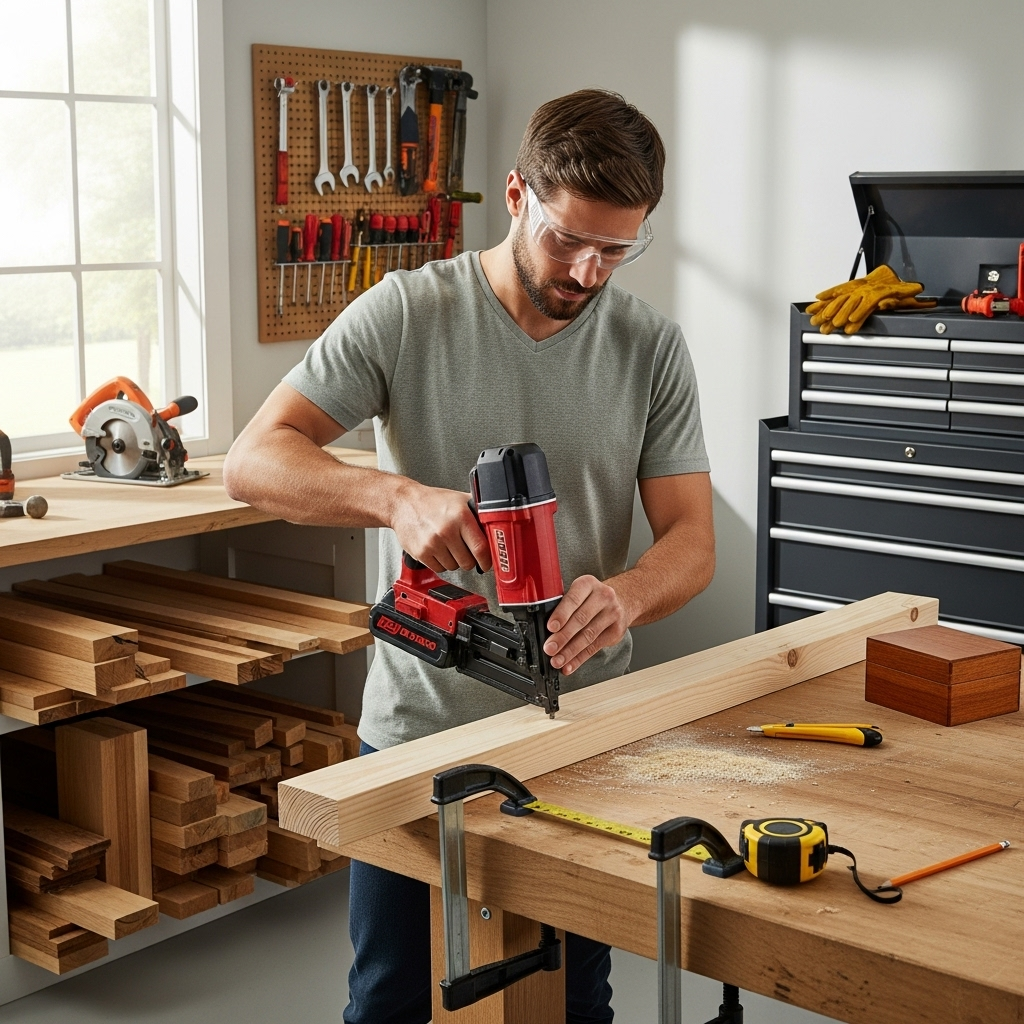
- Always wear safety glasses: This is non-negotiable. Flying debris or nails can cause serious eye injury.
- Read the manual: Every nailer is slightly different. Familiarize yourself with its specific operation and safety features.
- Keep fingers away from the firing mechanism: Never place your finger on the trigger or in front of the nose when the tool is powered and ready to fire.
- Ensure the workpiece is stable: Don’t try to nail small, unstable pieces by hand. Clamp them down.
- Understand the trigger modes: If your nailer has sequential and contact fire, know which one you’re using. For precise placement, always use sequential fire.
- Never point the nailer at anyone: Even a nailer with no air or battery connected can potentially misfire.
- Disconnect power when not in use: For pneumatic nailers, disconnect the air hose. For electric/battery models, remove the battery or unplug it when changing nails, performing maintenance, or leaving it unattended.
- Use the correct nails: Always use the type and size of nails recommended for your specific nailer. Using the wrong size can damage the tool or cause misfires. You can find great online resources for nail types