Have you ever thought about how a small tool can change a whole room? A nail gun for decorative trim is like magic in a box. It helps you put together beautiful pieces of wood quickly and easily.
Imagine transforming a plain room into a cozy space with just a few finishing touches. That’s the power of using a nail gun. Instead of hammering away, you can just squeeze the trigger. It’s faster and makes your projects look super neat.
Did you know that decorating with trim has been around for hundreds of years? It adds charm and elegance to homes. With the right tools, like a nail gun, you can join this creative tradition. Whether you’re a beginner or a pro, this guide to using a nail gun for decorative trim will help you make your ideas come to life.
Are you ready to learn how easy it can be? Let’s dive into the world of nail guns and discover how they can make your next project fun and simple!
Table of Contents
Nail Gun For Decorative Trim Guide: The Perfect Tool Choice
Choosing the right nail gun for decorative trim can make your project easier and faster. A good nail gun saves time and keeps your work neat. Did you know that some nail guns are designed specifically for trim work? They help create clean lines without splitting the wood. You can also adjust the depth of the nails, ensuring a perfect fit. Knowing these details can change how your trim looks in your home!
Understanding Nail Guns
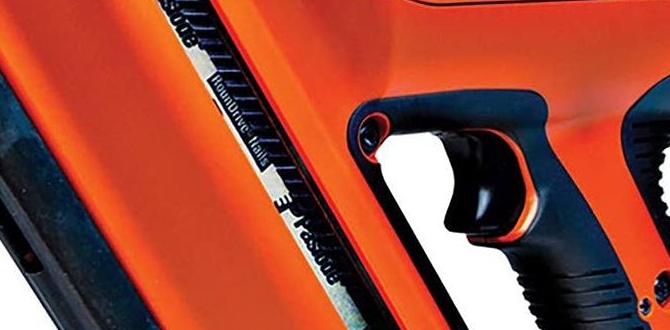
Different types of nail guns: framing, finishing, brad nailers, and pin nailers. Pros and cons of using nail guns for trim work.
Nail guns come in different styles, each with its own special powers! First up, we have framing nailers. They are like the superheroes of construction, driving large nails for sturdy frameworks. Then, there are finishing nailers. These guys are great for holding trim and molding. Next, we see brad nailers! They’re perfect for lighter jobs, using thin nails that are less visible. Lastly, we have pin nailers, which are like the ninjas of nails, leaving tiny holes.
Using nail guns for trim work has its ups and downs. The pros include speed and precision—who has time for hammering, right? But on the flip side, one wrong move and you could end up with a hole bigger than your thumb! Keep safety gear handy, and you’ll be laughing every time your trim looks professional!
| Type of Nail Gun | Pros | Cons |
|---|---|---|
| Framing Nailers | Strong and durable | Heavy and hard to handle |
| Finishing Nailers | Great for trim | Can leave marks if not careful |
| Brad Nailers | Less visible nails | Not for heavy-duty |
| Pin Nailers | Minimal damage | Not as strong |
Choosing the Right Nail Gun
Key features to look for in a nail gun for trim work. Recommended brands and models for decorative trim.
Picking the right nail gun can make a big difference for your trim work. Here are key features to consider:
- Type: Choose between pneumatic or cordless. Pneumatic guns use air, while cordless are battery-powered.
- Gauge: Look for a 16 or 18-gauge nail gun for best results on trim.
- Depth Adjustment: This helps control how deep the nails go.
- Weight: A lighter tool is easier to handle.
Some recommended brands include:
- DeWalt
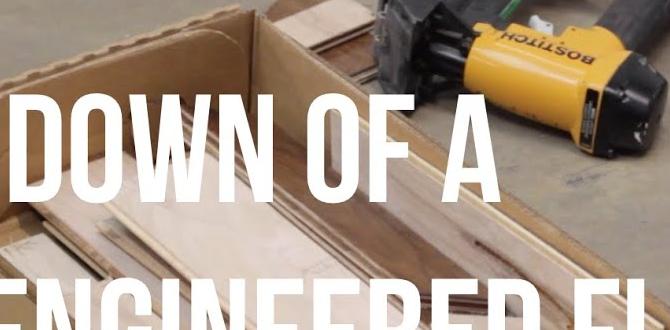
- Bostitch
- Hitachi
Check out these models for great performance:
- DeWalt DC618K – Cordless finish nailer
- Bostitch BTFP72155 – Pneumatic finish nailer
With the right choice, your trim work will look fantastic!
What should I look for in a finish nail gun?
Key features include gauge size, weight, and whether it’s cordless or pneumatic.
Preparation for Using a Nail Gun
Safety precautions to consider before operating a nail gun. Tools and materials needed for trim installation.
Before using a nail gun, safety is key. Always wear protective gear, like goggles and gloves. This keeps you safe from flying debris and accidental hits. Make sure to check the nail gun for damage and keep it clean. Also, have these tools ready: hammer, measuring tape, and wood adhesive. Wood adhesive helps secure the trim better. Prepare your workspace, too. Keep it tidy and free from clutter.
What safety gear do I need for using a nail gun?
You need safety goggles, gloves, and ear protection. These items protect your eyes, hands, and ears from potential harm while using a nail gun.
Tools and materials needed:
- Nail gun
- Nails
- Wood adhesive
- Measuring tape
- Hammer
Techniques for Decorative Trim Installation
Stepbystep guide to installing decorative trim using a nail gun. Common mistakes to avoid while using a nail gun for trim.
Installing decorative trim can be a fun project. Begin by measuring the area carefully. Cut the trim pieces to fit. Next, grab your nail gun. Hold it steady and aim for the wood’s edge. Press the trigger gently. This makes the job quick and easy. Remember to avoid these common mistakes:
- Not measuring twice before cutting.
- Using the wrong type of nails for the trim.
- Forgetting to wear safety glasses.
Following these steps helps you create a beautiful finish!
What are some tips for using a nail gun safely?
Always wear safety glasses and keep your fingers clear of the gun’s trigger. Check the pressure and ensure the area is clear of obstacles before you start.
Maintenance and Care for Your Nail Gun
Regular maintenance tips to prolong the life of your nail gun. Troubleshooting common issues and repairs.
Your nail gun can be your best buddy, but only if you care for it! Regular cleaning is key. A quick wipe after each use keeps the dust away. Check the air filter too—nobody likes a stuffy nose, right? If it starts misfiring, it might be low on oil or needing a new trigger. Don’t worry; most fixes are easy! Here’s a quick troubleshooting table for you:
| Issue | What to Do |
|---|---|
| Jams | Clear nails and clean the chamber. |
| Weak Shot | Check air pressure or refill oil. |
| No Power | Inspect the battery or plug. |
Spend a few minutes fixing these issues, and your nail gun will be as happy as a clam at high tide!
Advanced Techniques and Tips
Creative ways to use a nail gun for various trim designs. Tips for achieving a professional finish with your trim work.
Using a nail gun for decorative trim can bring your creative ideas to life! You can make different designs with simple techniques. Here are some tips to help you achieve a professional finish:
- Choose the right nail length for your trim to ensure a strong hold.
- Practice on scrap wood first to build your skills.
- Use painter’s tape to mark straight lines and get clean edges.
- Check for uneven spots and fill them before painting for a smooth look.
With these tricks, your trim will look amazing!
What are creative uses for a nail gun?
There are many ways to use a nail gun for decoration. You can attach molding, build frames, or even create art pieces! Let your imagination lead the way!
Conclusion
In summary, a nail gun for decorative trim makes projects easier and faster. You save time and energy while achieving a polished look. Remember to choose the right type for your needs and follow safety guidelines. Try it out on your next DIY project! For more tips on using a nail gun, check out our other articles. Happy decorating!
FAQs
What Type Of Nail Gun Is Best Suited For Installing Decorative Trim, Such As Crown Molding Or Baseboards?
The best nail gun for installing decorative trim is a finish nailer. It fires small nails that hold trim well without damaging it. You can use it for crown molding or baseboards. A cordless finish nailer is easy to carry around. It makes your work quick and neat!
How Do I Select The Appropriate Nail Size And Type For Different Types Of Decorative Trim?
To pick the right nail for your decorative trim, start by looking at the trim’s thickness. For thin trim, use smaller nails, like 1 or 1.5 inches. For thicker trim, you might need 2 or 2.5-inch nails. Use finish nails for a clean look, and brads for lighter trims. Always make sure the nails grip well but don’t poke out the other side!
What Safety Precautions Should I Take When Using A Nail Gun For Trim Work?
When you use a nail gun, always wear safety goggles to protect your eyes. Make sure to keep your fingers away from the front of the gun. Always point the nail gun away from your body and others. Before you load it, check that it’s not plugged in or powered up. Finally, never use the nail gun when you’re tired or distracted.
Are There Specific Techniques Or Tips For Achieving A Clean Finish When Using A Nail Gun For Decorative Trim?
Yes! To get a clean finish with a nail gun, start by making sure your trim pieces fit well together. Use a straight edge to guide your cuts. When you fire the nail gun, press it firmly against the trim to avoid any gaps. After nailing, fill any holes with putty and sand them smooth. Finally, paint or stain the trim for a nice, finished look!
How Do I Properly Maintain And Troubleshoot My Nail Gun To Ensure Consistent Performance While Working On Trim Projects?
To keep your nail gun working well, check it often. Make sure it’s clean and free of dust. Always use the right nails for your projects. If it jams, turn it off, clear the jam, and try again. If it still doesn’t work, ask a grown-up for help.